
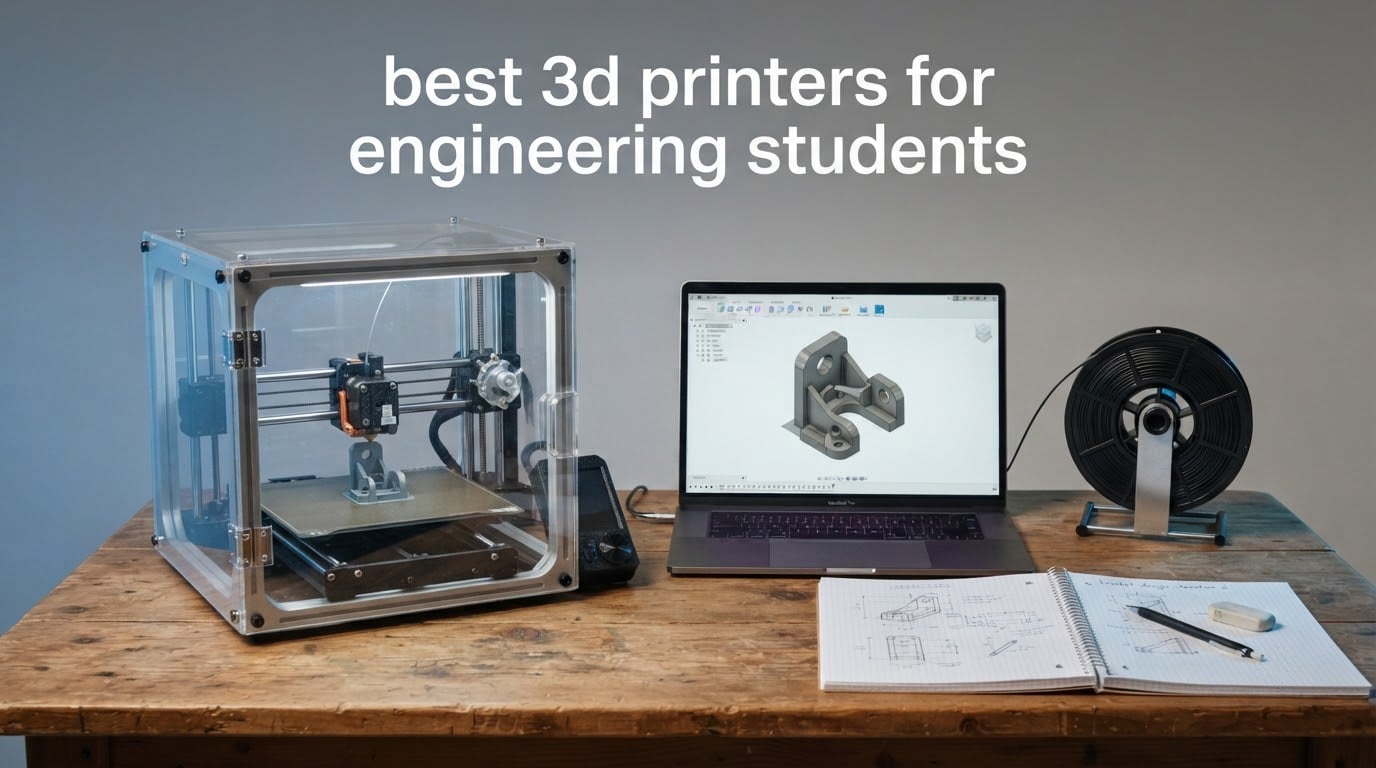
Short answer: the best 3D printer for engineering students is the Bambu Lab A1 for most people starting out, because it auto-levels, prints PLA and PETG cleanly out of the box, and needs no manual tuning. The Bambu Lab P1S is the better long-term pick if you will print ABS and ASA, and the Creality K2 Plus Combo is the one to buy when your parts exceed a 300mm build volume.
I started printing on the cheapest open-frame PLA machine I could find, and I regretted it by the middle of my sophomore year. That is not a rare story. On r/3Dprinter and r/EngineeringStudents, students repeatedly describe the same arc: cheap open-frame machine first, frustration with ABS warping later, then a move to an enclosed Bambu Lab unit as the single biggest quality jump they ever made.
That arc is what this guide is built around. Rather than ranking printers purely by hardware tier like most roundups do, I have organized the best 3D printers for engineering students around the questions that actually decide the purchase: what your dorm allows, what your major requires, and whether your university makerspace already does the job for free. Every machine below was scored on enclosure and chamber heating, material headroom, build volume, calibration burden, and how much attention it needs across a four to six year degree.
If you are brand new and want the gentlest on-ramp, read our beginner printer guide first. If your budget is genuinely tight, the budget roundup under 300 dollars covers the entry tier. Everything here sits above that floor because engineering coursework pushes past PLA faster than most buying guides admit.
Table of Contents
Top 3 Picks for Best 3D Printers for Engineering Students (October 2026)
These three cover the widest range of real student needs. The A1 wins on outright ease of use, the P1S wins on material headroom per dollar spent, and the P2S Combo wins when multi-color output matters for your project.

Bambu Lab A1
- Full-auto calibration
- Active flow compensation
- 1-Clip quick swap nozzle
- Open-frame design

Bambu Lab P1S
- Fully enclosed chamber
- CoreXY 500mm/s
- Handles ABS and ASA
- Automatic bed leveling

Bambu Lab P2S Combo
- 600mm/s with servo extruder
- AMS 2 Pro with 65C drying
- 50C chamber
- Carbon filtration
One note on the P2S Combo: it is a recent machine with far fewer reviews than the other two, so treat its rating as provisional rather than settled.
Quick Overview of All 8 Printers Side by Side
The table below carries the full lineup. Scan the enclosure column and the chamber temperature column first, because those two specs decide whether you can print engineering materials at all.
| Product | Specs | Action |
|---|---|---|
| Bambu Lab A1 |
|
Check Latest Price |
| Bambu Lab P1S |
|
Check Latest Price |
| Bambu Lab P2S Combo |
|
Check Latest Price |
 FlashForge Adventurer 5M FlashForge Adventurer 5M |
|
Check Latest Price |
 Snapmaker U1 Snapmaker U1 |
|
Check Latest Price |
 Creality K2 Plus Combo Creality K2 Plus Combo |
|
Check Latest Price |
 FlashForge AD5M FlashForge AD5M |
|
Check Latest Price |
 FlashForge Adventurer 5M Pro FlashForge Adventurer 5M Pro |
|
Check Latest Price |
Note how only three of these eight machines have an enclosed chamber, and only two reach a heated chamber above 50C. If your major involves ABS, ASA, nylon or any composite filament, that single row of the spec sheet rules out five of the eight.
1. Bambu Lab A1 – Best Overall for Engineering Students
Bambu Lab A1 3D Printer, Ready-to-Use FDM 3D Printer for Beginners and Kids
Open-frame CoreXY
10,000 mm/s2 acceleration
Full-auto calibration
PLA, PETG, TPU
Pros
- Highest rating in the lineup at 4.7
- Full-auto Z-offset and bed leveling
- Active Flow Rate Compensation
- 1-Clip quick swap nozzle
- Quiet motor noise cancelling
Cons
- Open frame rules out ABS and ASA
- AMS lite sold separately
- Proprietary slicer ecosystem
The A1 is the machine I recommend to a student who has never printed before. It comes out of the box, calibrates itself, and produces a clean first layer without a single manual adjustment. On r/3Dprinter, students describe watching a roommate unbox an A1 and print a functional gear within about 25 minutes with no bed leveling and no Z-offset tuning at all.
For coursework that means your time goes into modeling rather than troubleshooting. The full-auto calibration routine handles bed leveling and Z-offset, and Active Flow Rate Compensation adjusts extrusion flow as the machine moves, which is why first-layer consistency stays high even when you swap filament spools mid-term. The 1-Clip nozzle means a clog takes about a minute of your time instead of an afternoon.
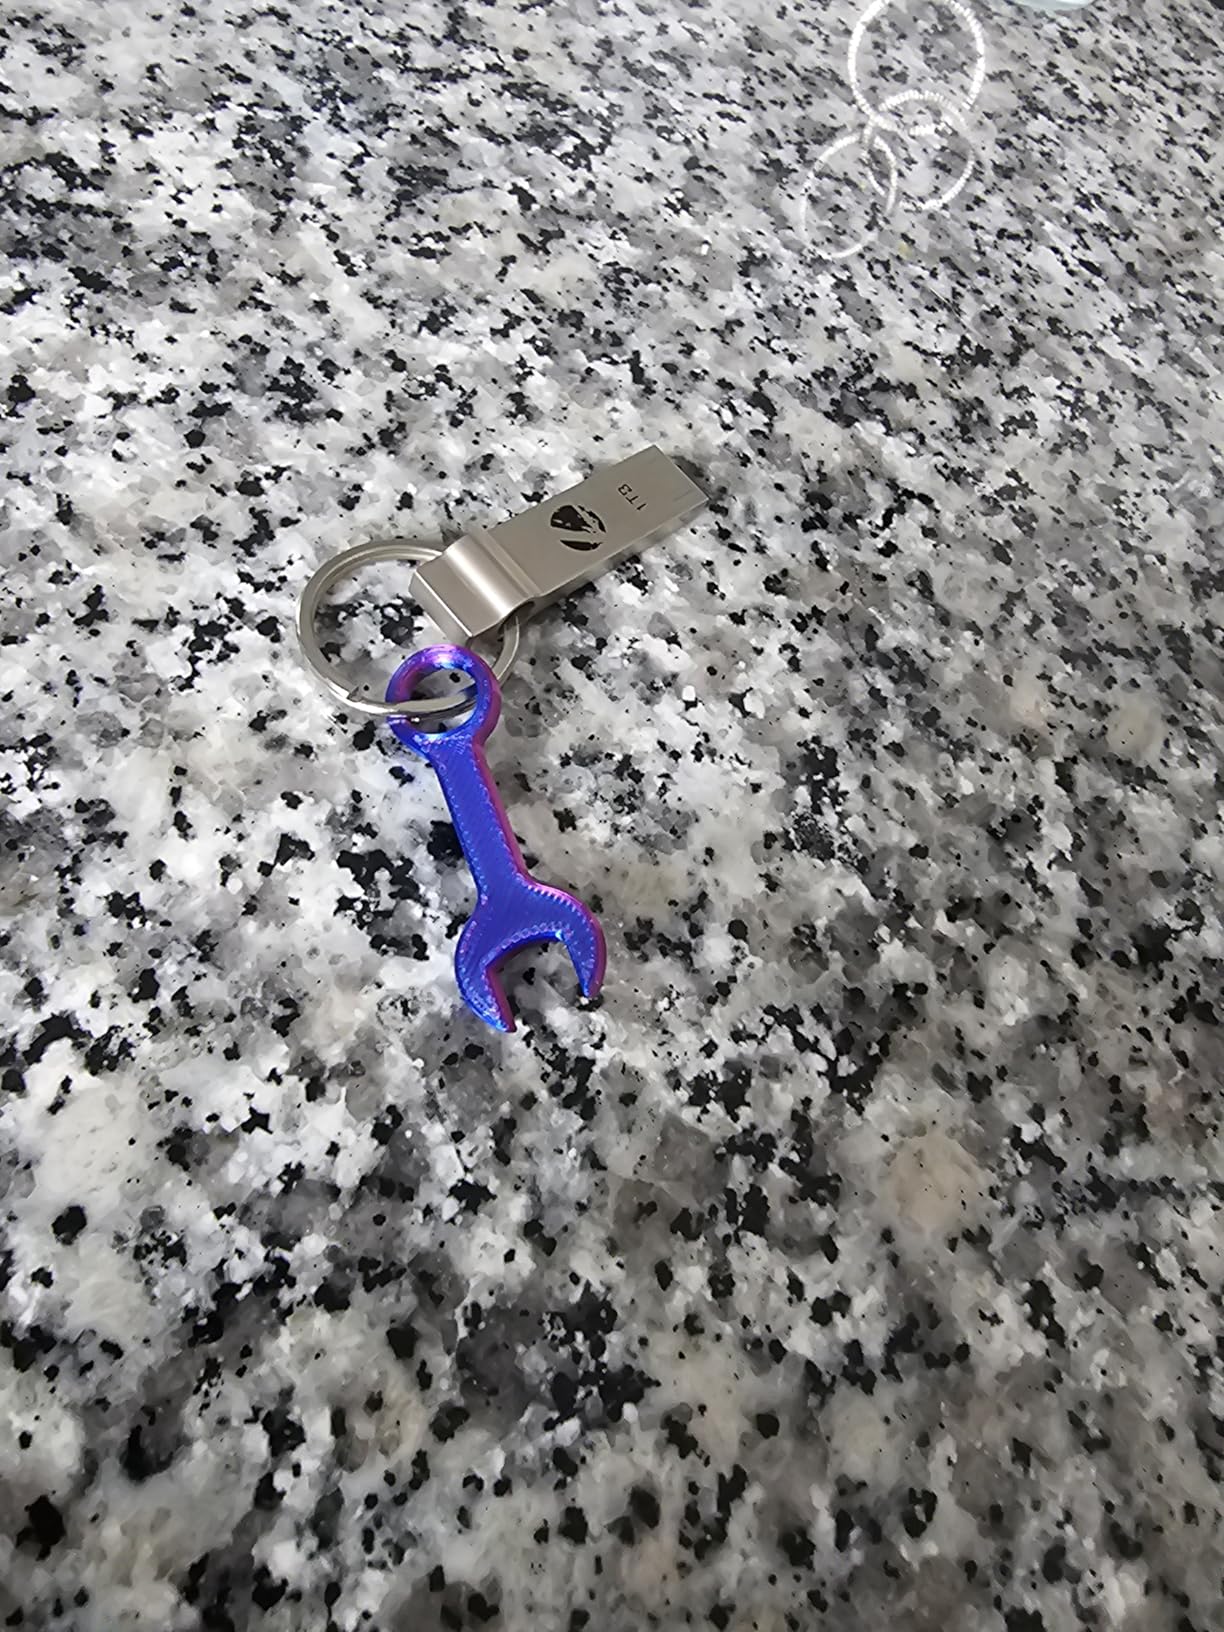
The 10,000 mm/s² acceleration figure is not a stunt number. It translates into fast short prints, which matters because most engineering models are small. A gearbox housing, a sensor mount or a snap-fit bracket finishes in well under an hour, so the iteration loop that actually teaches you additive manufacturing stays tight. Motor noise cancelling also makes it one of the quieter machines here, which is a genuine bonus in a dorm.
The engineering filament support list is honest: PLA, PETG and TPU. That covers concept models, electronics enclosures, robotics brackets, jigs and low-stress functional parts. The moment a project needs real heat deflection resistance or UV stability, you need an enclosure and you should look at the P1S instead.
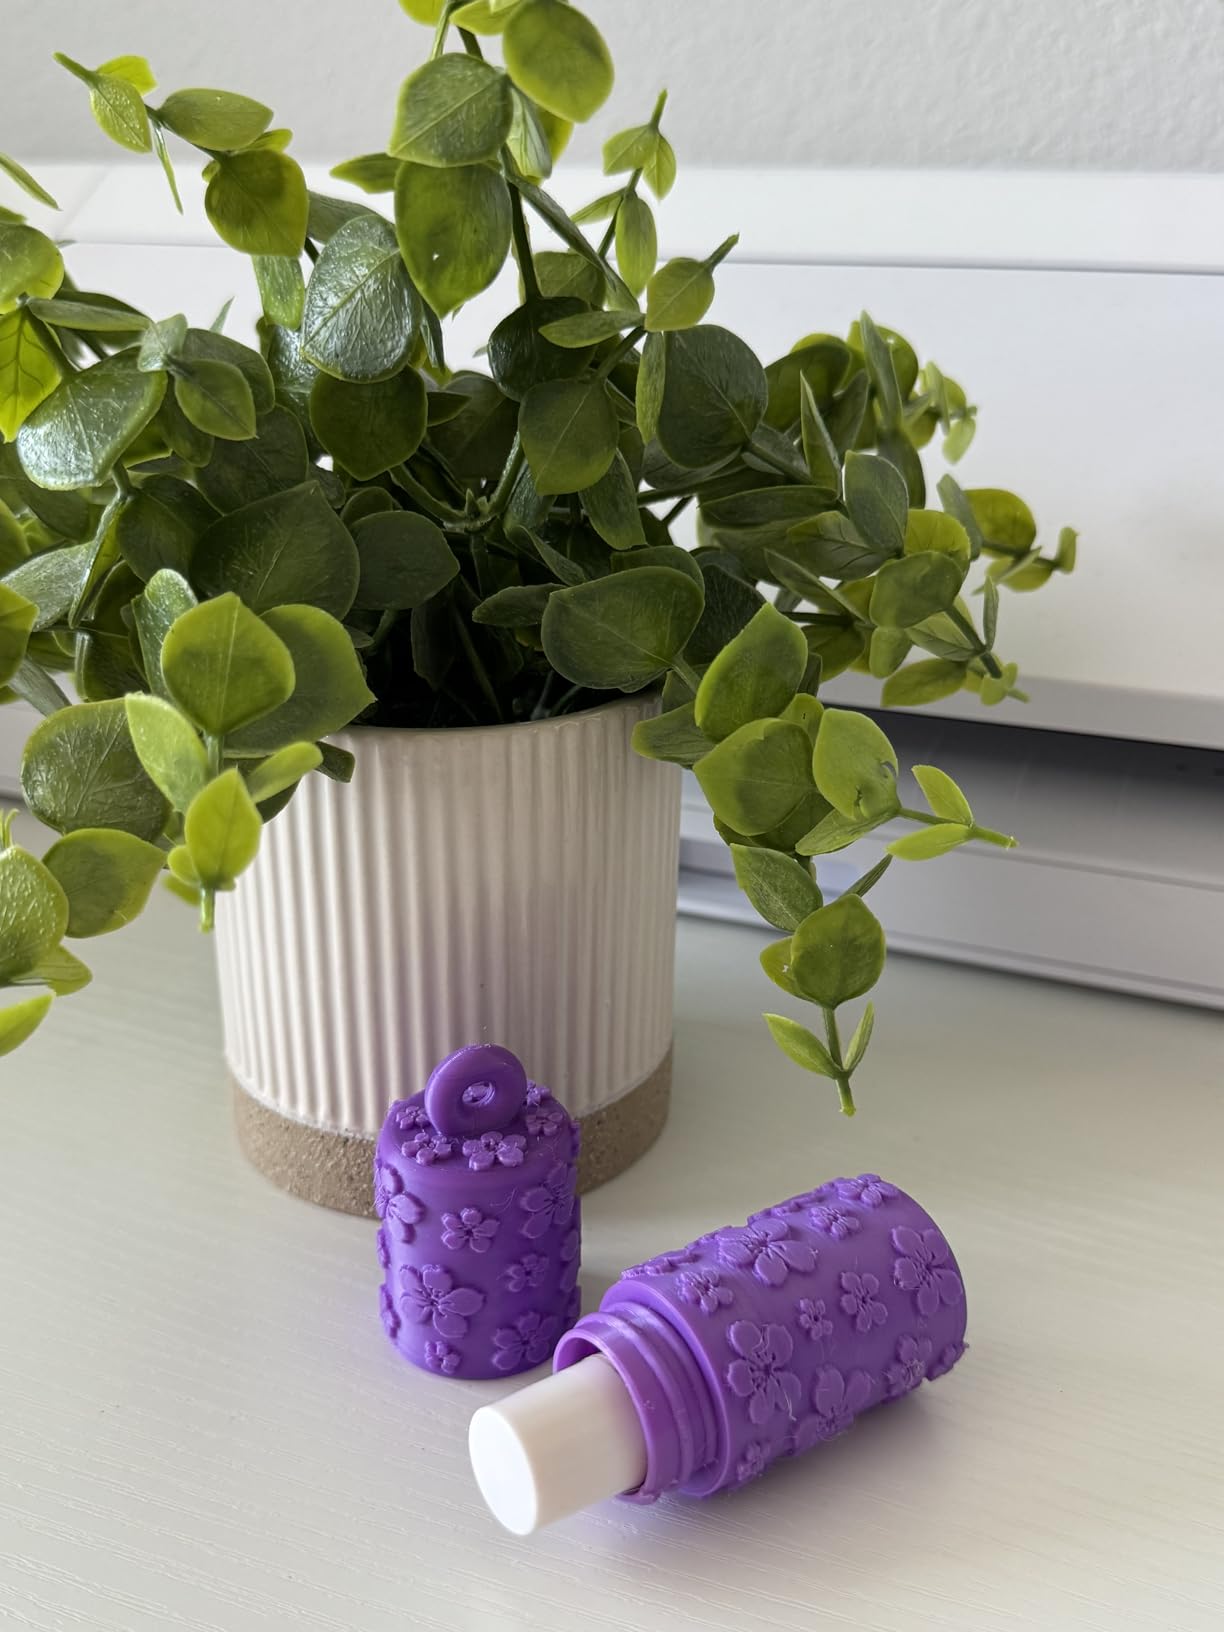
Who the A1 suits best
First-year and second-year students who are still learning the CAD-to-print pipeline, anyone in electrical or biomedical engineering building enclosures and brackets, and any student who wants a working part without a single evening spent tuning. It is also the right first machine for a robotics club member testing a chassis concept before committing to a design.
It also makes the most sense as a shared dorm machine, since it is light at 22 pounds and small enough for a desk or a closet shelf. If you plan to add multi-color later, buy the version that includes the AMS lite from the start, because owners consistently report that adding it afterward costs more.
Where the A1 runs out of road
The open frame is the dealbreaker, and it is not a small one. ABS and ASA warp badly without a chamber, and forum reports of layer lifting at corners on open machines are the most common complaint category in student threads. The P2S and P1S solve this outright.
The proprietary slicer ecosystem is the softer limitation. It works well, but it is a closed stack, and students who want to tinker with firmware or run on Linux tend to migrate to Prusa or Snapmaker hardware instead. Expect to set aside an evening later if the A1 ever feels limiting, and budget for a second enclosed machine rather than expecting this one to grow into ABS work.
2. Bambu Lab P1S – Best Value Enclosed Printer for Coursework
Bambu Lab P1S 3D Printer, Ready-to-Use FDM 3D Printer
Fully enclosed CoreXY
38.9 pounds
Handles ABS ASA PETG
AMS supports 16 colors
Pros
- Enclosed glass chamber dampens noise
- Reliable ABS and ASA results
- Fast 500mm/s CoreXY motion
- Strong first-layer adhesion on PEI plate
- Ready in 15 minutes
Cons
- No built-in touchscreen
- Carbon fiber not supported on stock hotend
- Low frame rate camera preview
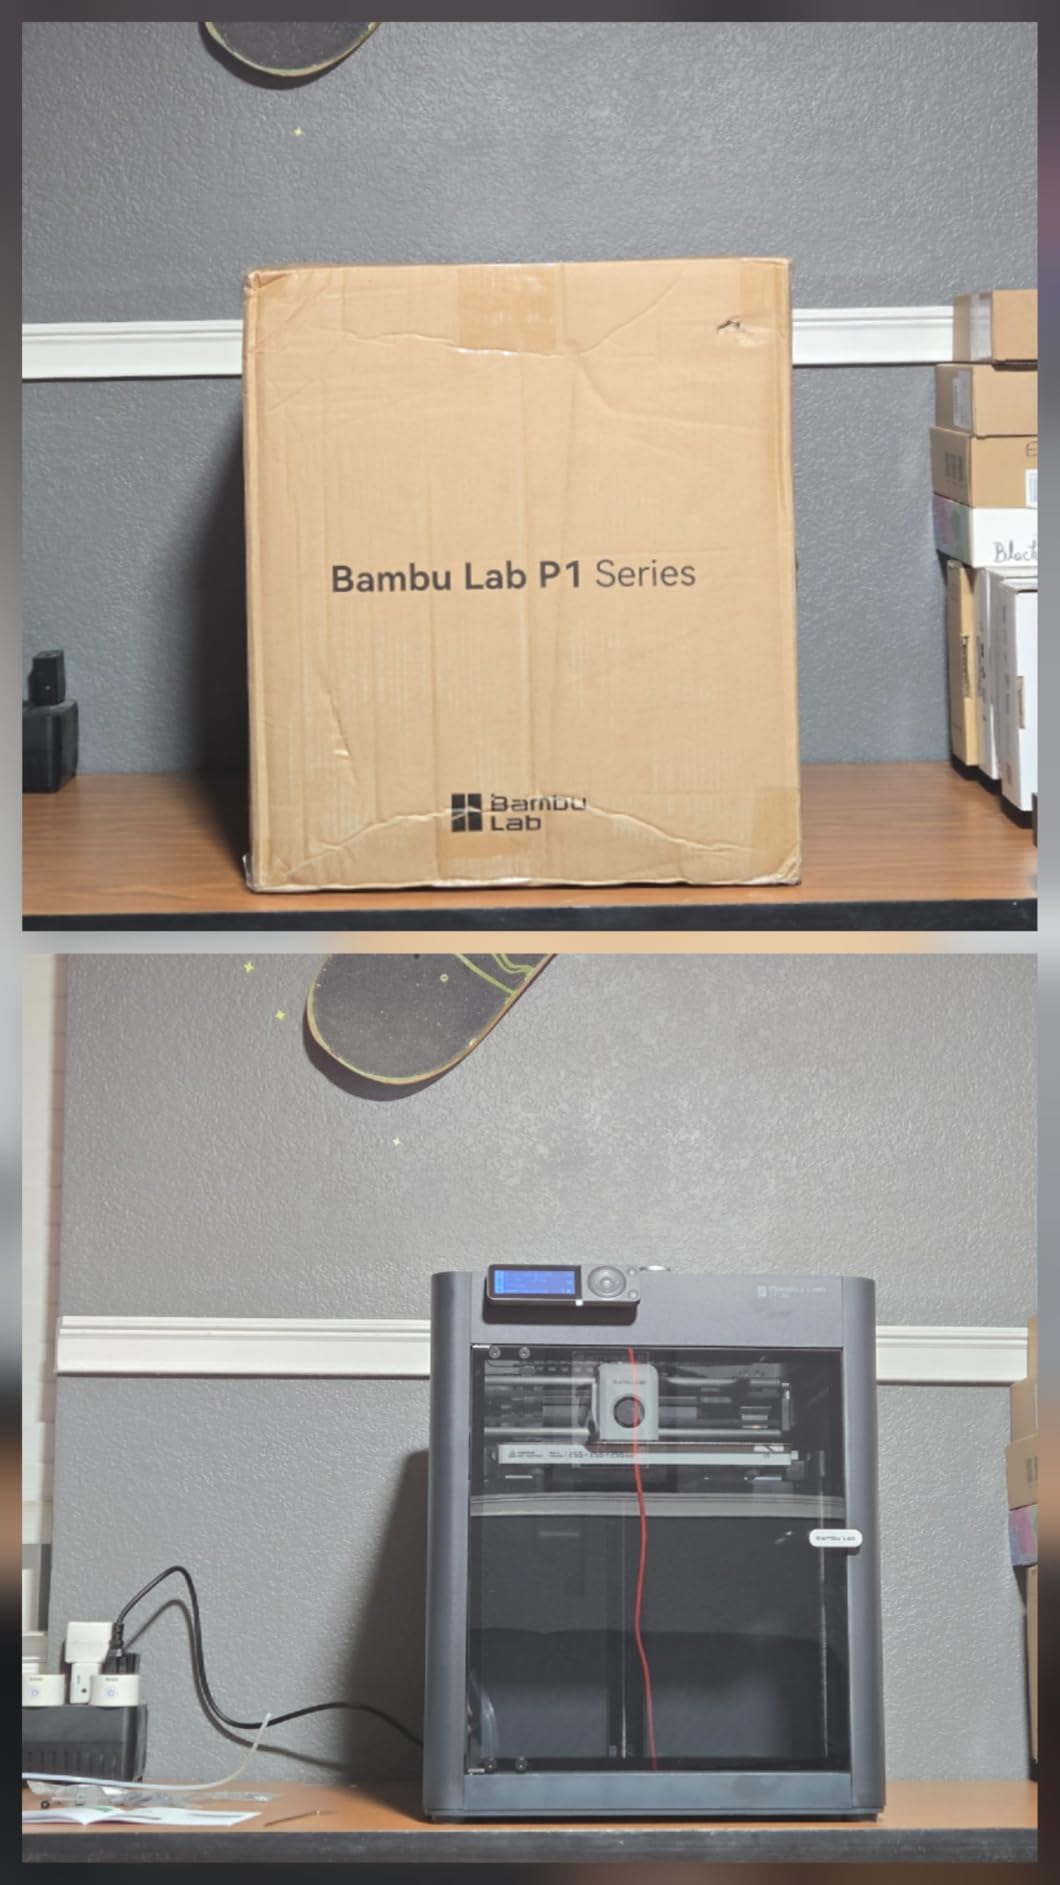
The P1S is the machine most engineering students end up on, and it is the one I would buy if I were starting sophomore year. The fully enclosed chamber is the whole point: it kills the draft and the temperature swing that make ABS and ASA lift off the bed, which is the exact failure that ends most students’ patience with cheaper machines.
On r/3Dprinter, the recurring student narrative is that the jump from an open-frame PLA machine to an enclosed P1S was the single biggest quality step they made. That matches what the filament support data shows: PLA, PETG, TPU, PVA, PET, ABS and ASA listed as ideal, with PA and PC marked capable. For an aerospace or mechanical major, that list covers the majority of coursework prints.
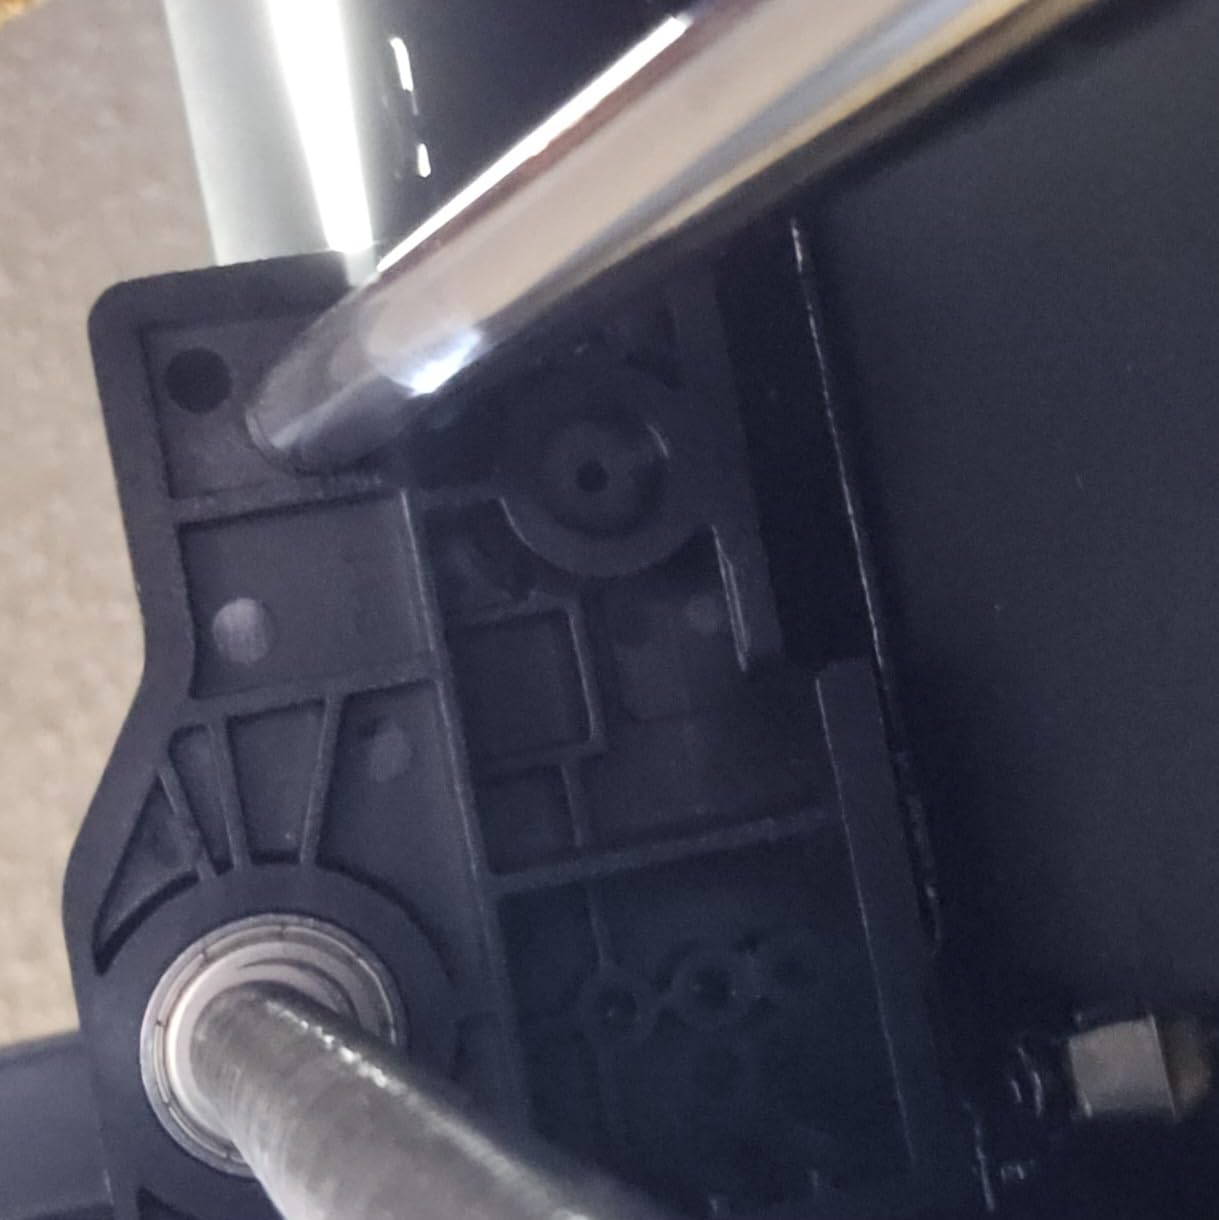
Build quality holds up when you actually need function. The CoreXY layout with 500mm/s maximum speed and 20000 mm/s² acceleration keeps corners tight and surfaces clean at speed, so threaded parts, snap-fit features and press-fit assemblies print the way the model intends. The included PEI plate delivers the strong first-layer adhesion that is the number one cause of a wasted print.
It is also quiet for an enclosed machine, because glass panels dampen the fan and stepper noise. That matters more than most spec sheets admit when you are printing after roommates have gone to bed. The 38.9 pound weight is real, so plan the furniture before you buy rather than after.
Who the P1S suits best
Mechanical, aerospace and civil engineering students who already know how to slice and want an enclosure for ABS and ASA work. It is also the right choice for a senior with a capstone deadline, because a warping failure two days before a presentation is the kind of failure no amount of skill can absorb.
Students who want multi-color output should note that up to 16 colors require the AMS, which is not included. Everything else in the box is enough to start printing the same day.
Where the P1S runs out of road
Carbon fiber reinforced filament is listed as not recommended on the stock hotend, and this is the limitation that trips up most student composite projects. You can move up with a hardened nozzle, but that is an extra step and an extra cost, and the P2S or the Creality K2 Plus handle composites natively.
There is no built-in touchscreen, so control runs through your phone or computer. Some students find that convenient and others find it irritating when standing at the machine. Silk and translucent filaments are also reported to cause hotend clogging on this model, so plan on sticking to matte and standard finishes for coursework.
3. Bambu Lab P2S Combo – Best for Multi-Color and Automation
Bambu Lab P2S Combo, P2S 3D Printer & AMS 2 Pro, Multi-Color 3D Printing
AMS 2 Pro with 65C drying
50C heated chamber
600mm/s with servo extruder
46.3 pounds
Pros
- AMS 2 Pro multi-color with built-in drying
- Adaptive Airflow keeps overhangs crisp
- AI failure detection
- Carbon filtration in the chamber
- 600mm/s at fine detail
Cons
- AMS 2 Pro door and ribbon cable fragile
- Replacement filament sensors break
- Noisy in operation
- Only 91 reviews so far
The P2S Combo is the answer when a project needs more than one material or color in a single build. The AMS 2 Pro handles multi-color and multi-material work and includes filament drying up to 65C, which matters more than it sounds because wet filament is the cause of most failed prints students blame on the machine.
Owners with decades of printing experience describe the P2S as removing nearly the entire learning curve. Automatic calibration and AI failure detection mean a print that is going wrong gets flagged rather than discovered six hours later. From a time-management angle for a student with a capstone deadline, that is worth more than any spec on the sheet.
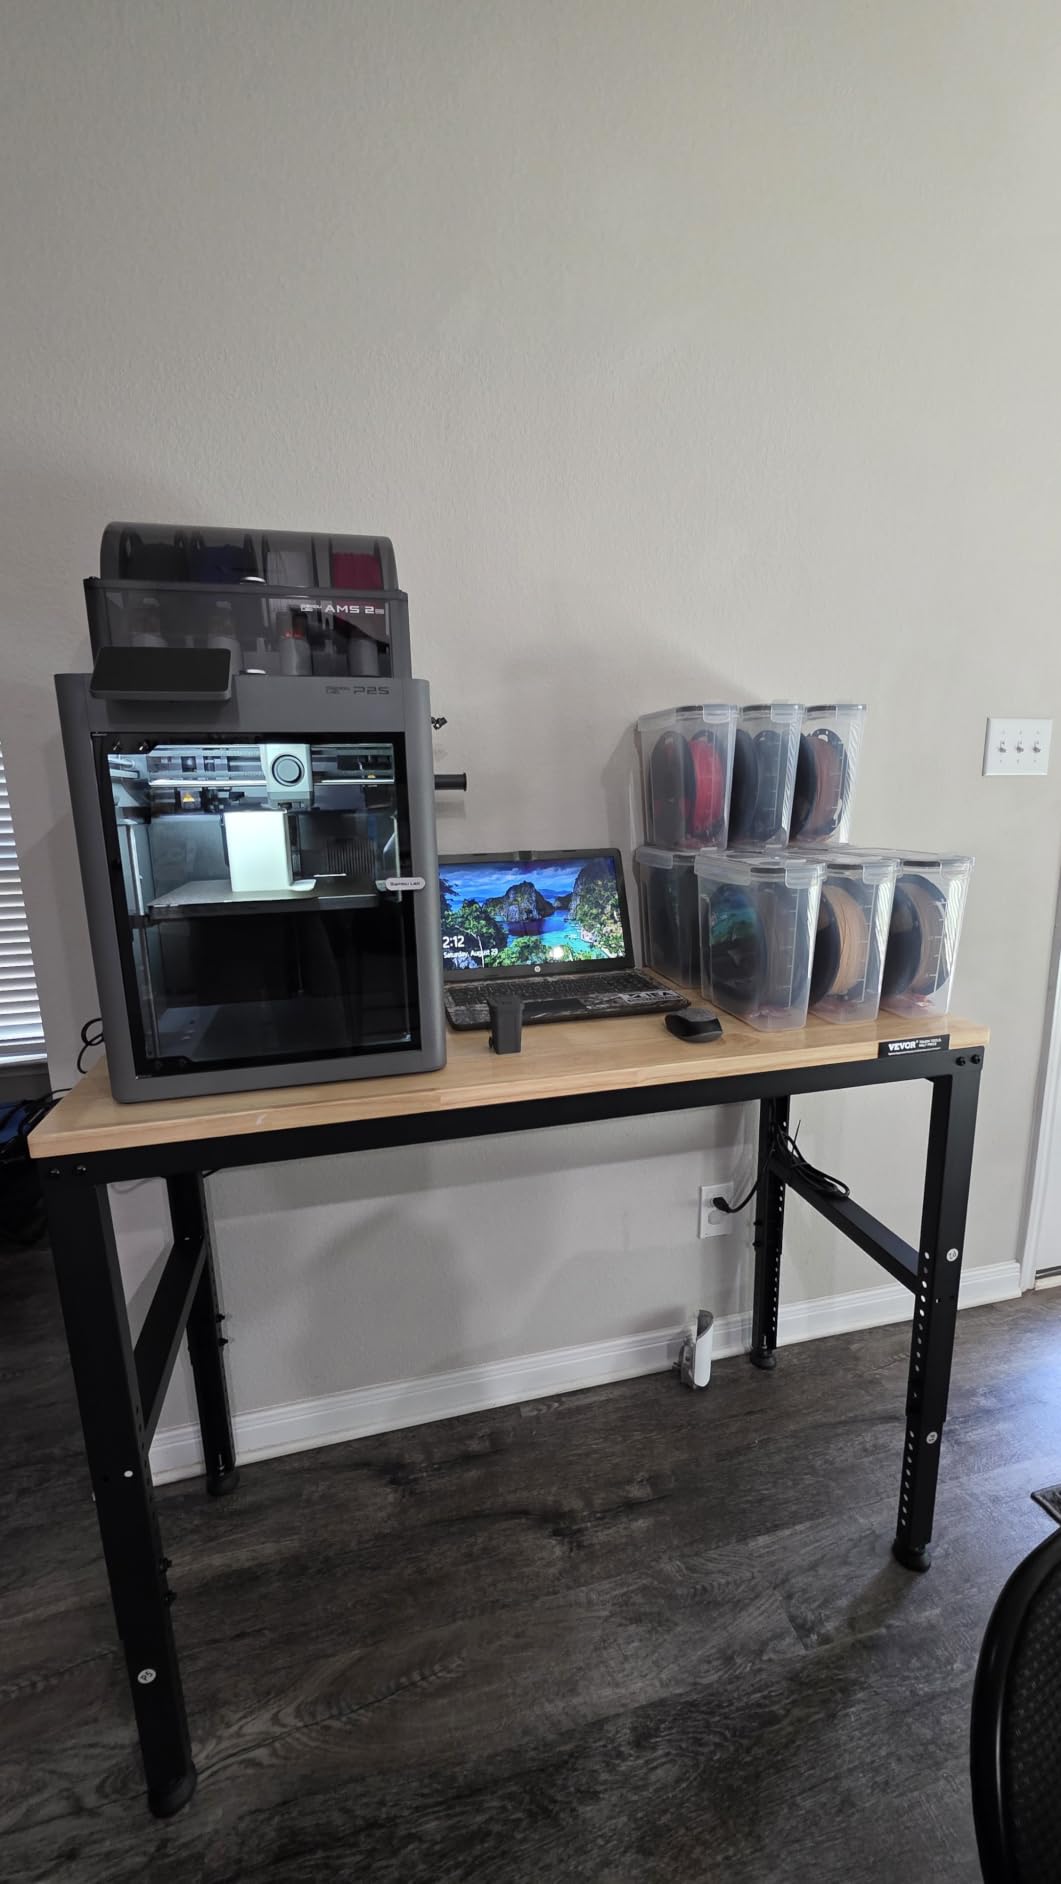
The Adaptive Airflow System with a 50C chamber is the engineering story here. Heated chamber air is what keeps ABS and ASA parts dimensionally stable, and the carbon filter addresses the styrene odor question that decides whether you can print these materials in shared housing at all. A 600mm/s print speed with a PMSM servo extruder and active flowrate compensation means the speed is real rather than headline-only.
Reviewers who own long-format multi-color jobs point to the drying system as the standout feature. Damp PETG-CF and damp ASA are the classic failure, and a built-in dryer removes a whole category of problem from your first year of ownership.
Who the P2S Combo suits best
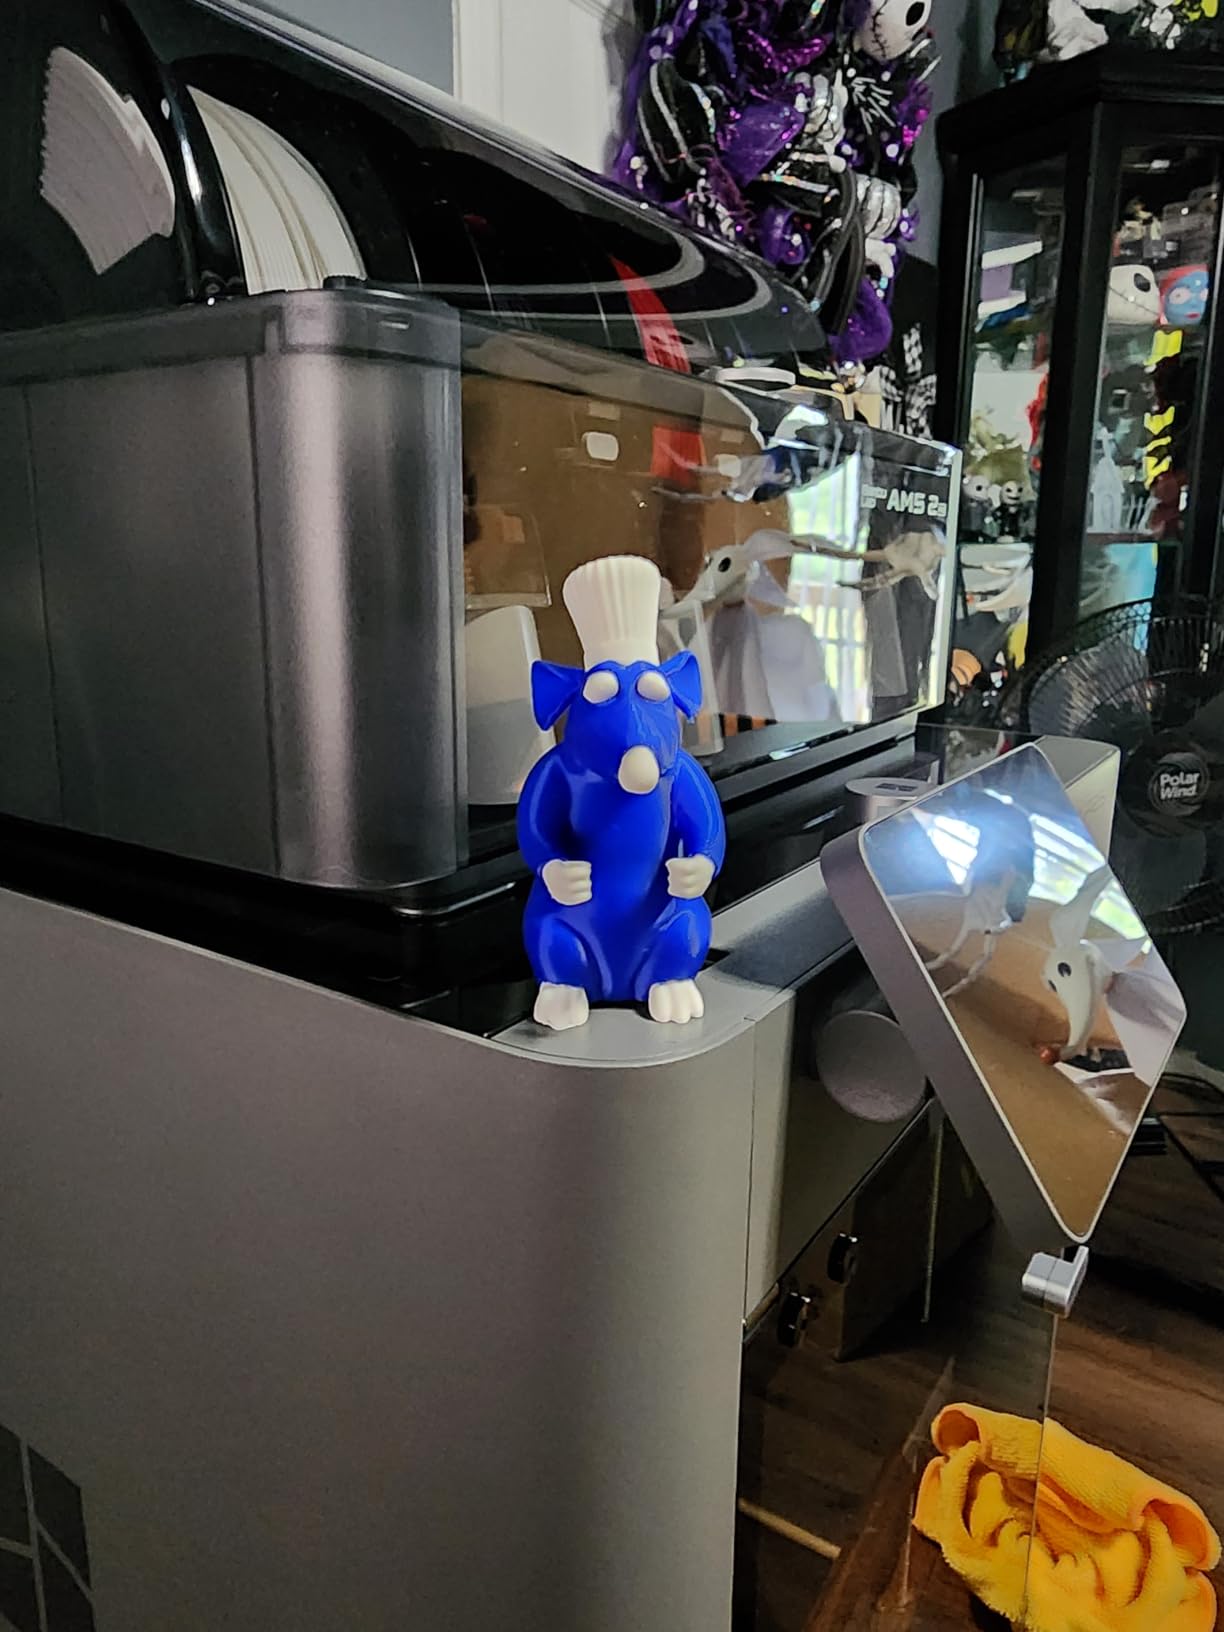
Students building color-coded assembly demonstrations, robotics teams making multi-part frames where different colors mark mating surfaces, and anyone doing dissolvable support in the same job as the model itself. For an industrial design or product design student, multi-color is the difference between a prototype and a presentation piece.
It also suits seniors who want a machine that runs unattended overnight. AI failure detection combined with a heated, filtered chamber is the combination that makes a long print safe to start before bed.
Where the P2S Combo runs out of road
The durability of the AMS 2 Pro consumables is the most cited negative. Owners report the door and the ribbon cable assembly breaking easily, and replacement filament sensors failing soon after purchase. On a machine whose main value is the multi-unit system, that is a real reliability concern, and it is the reason I would not make this your only printer if you depend on multi-color daily.
Operating noise is high, which is a problem in a dorm but not in a garage or lab. And with only 91 reviews on record, the long-term picture is not yet settled. The base P2S without the Combo bundle does not do multi-color at all, so be clear about which version you are buying.
4. FlashForge Adventurer 5M – Best for High-Speed Coursework
FLASHFORGE Adventurer 5M 3D Printer, 600mm/s High-Speed, 1 Click Fully Auto Leveling, Upgraded Direct extruder Quick Detachable 280°C Nozzle, Dual-Sided PEI Coating Plate, Print Size 220x220x220mm
CoreXY 600mm/s
220mm cube build volume
23.8 pounds
One-click auto leveling
Pros
- CoreXY frame delivers real high speed
- Input shaping removes ghosting
- Ready in about 10 minutes
- Removable dual-sided PEI plate
- Strong technical support
Cons
- Open frame with no enclosure
- Small 220mm build cube
- Firmware freezes reported
- Wi-Fi and app hit or miss
- Early hardware failures on some copies
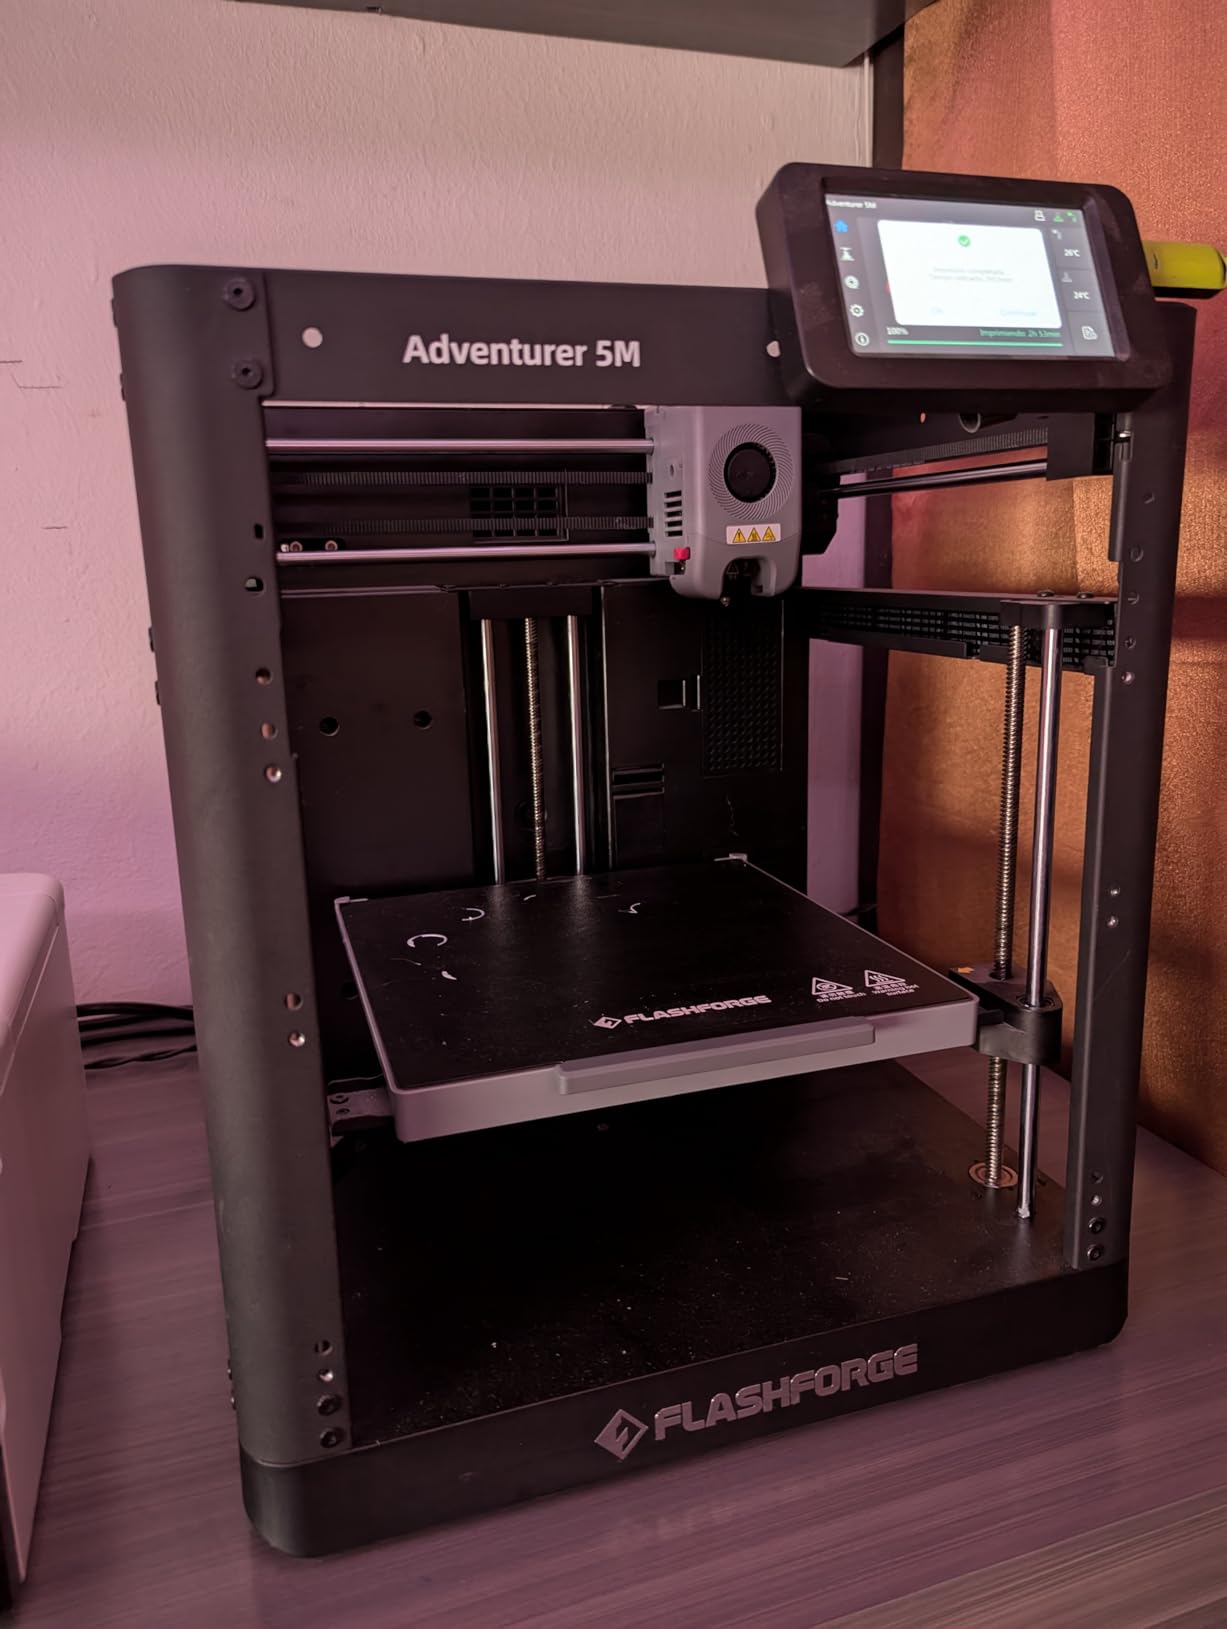
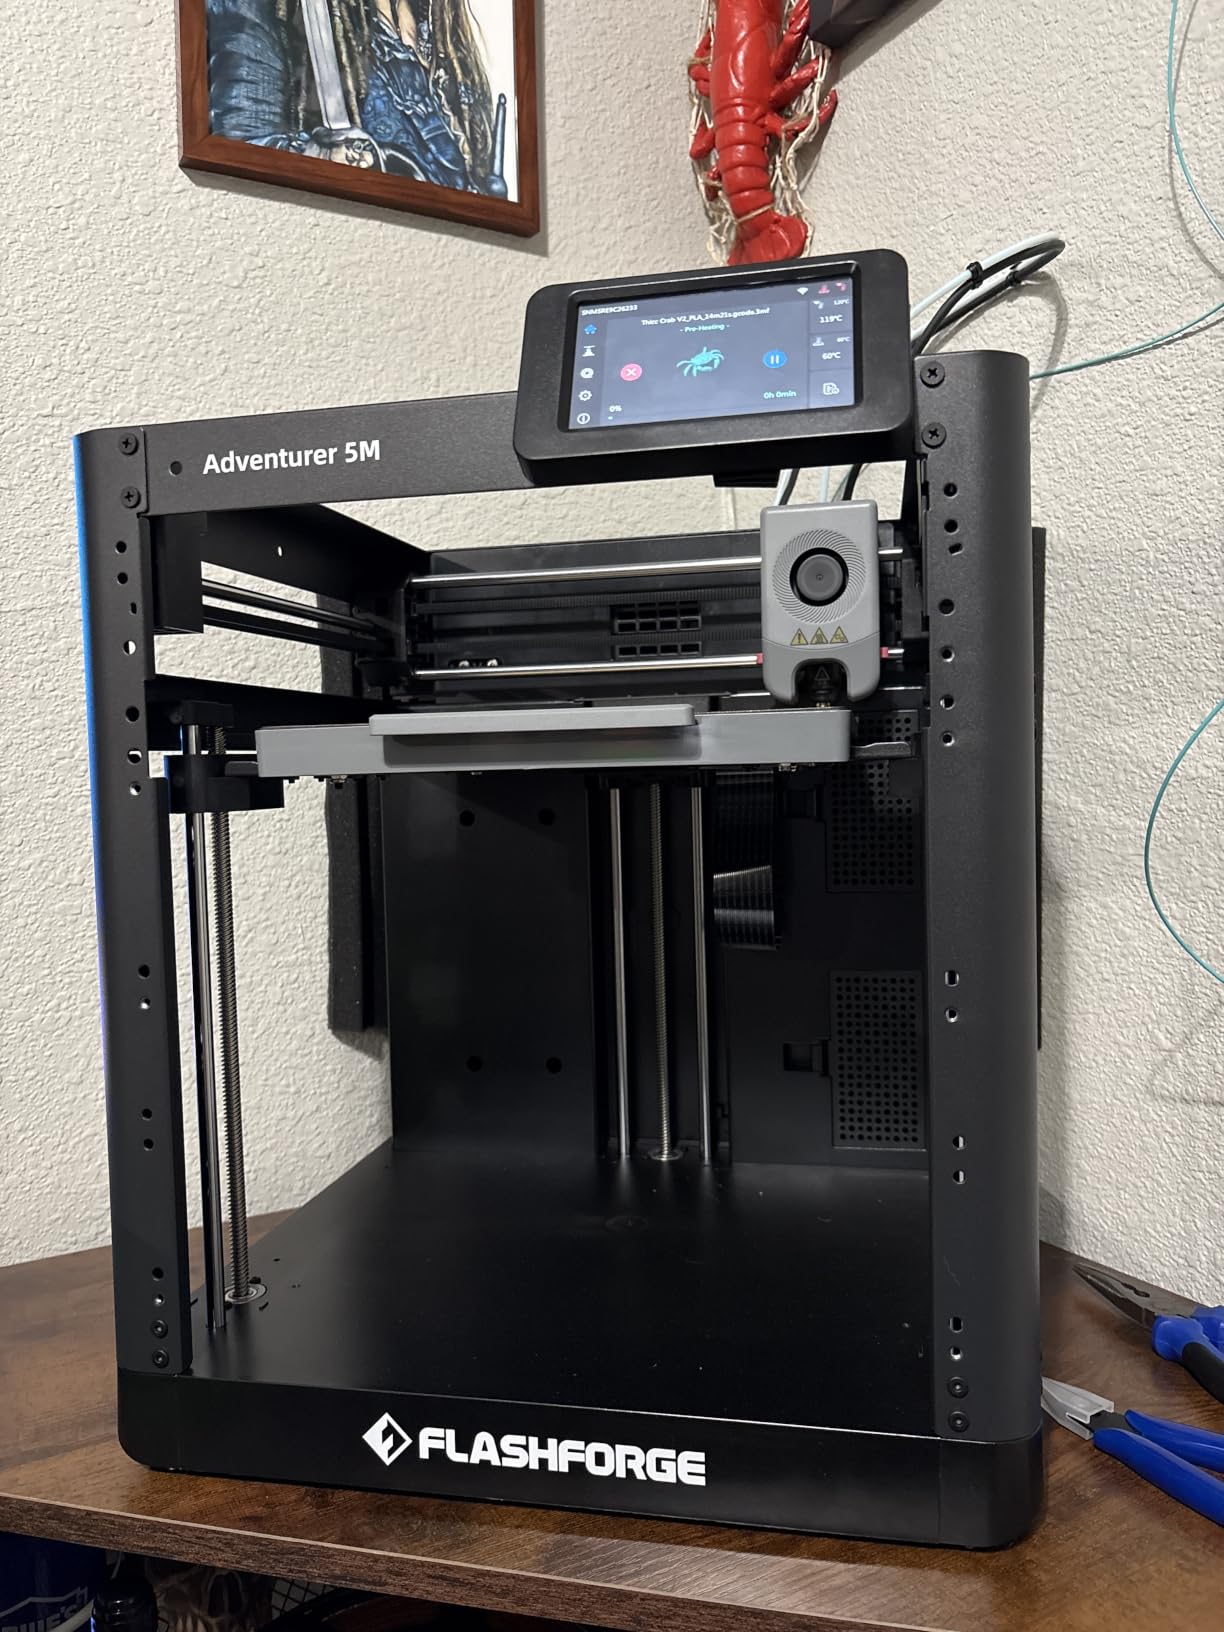
The Adventurer 5M is the pick for students who care about raw speed and who are still printing PLA and PETG. A CoreXY frame at 600mm/s with 20000 mm/s² acceleration is a real motion system, not a bed slinger pretending, and that distinction shows up in corner sharpness and surface finish at higher print speeds.
Vibration compensation eliminates the ringing and ghosting that normally appear on a fast machine, so quality does not collapse the moment you raise the speed profile. Long-term owners report running it daily with very few failed prints, and FlashForge support is repeatedly praised for replacing parts quickly.
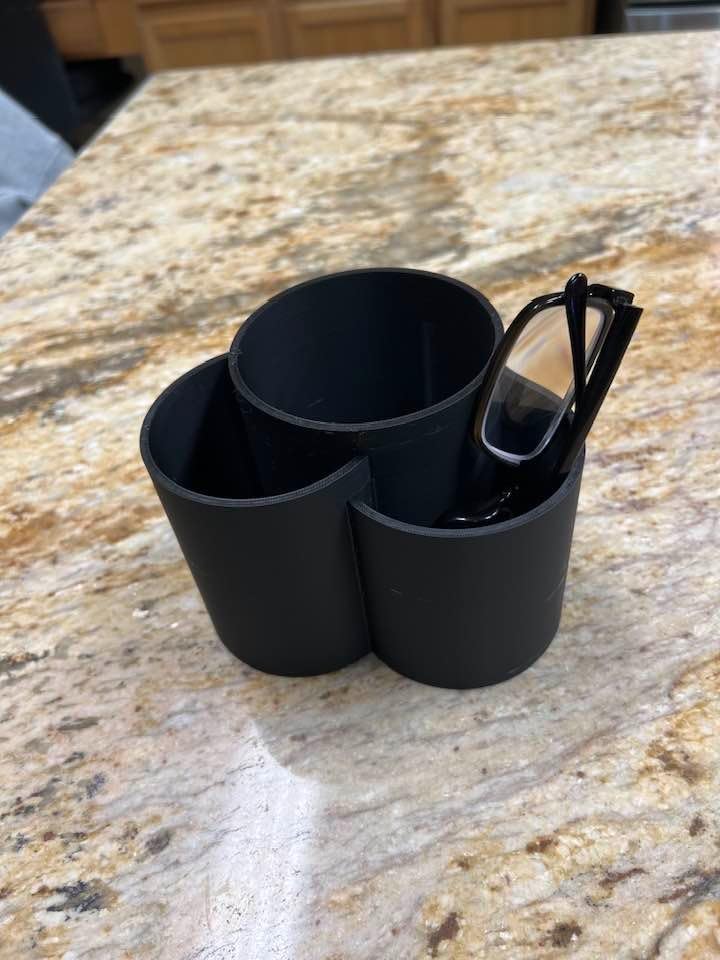
The 32mm³/s hotend flow and 50W heater that reaches 200C in 35 seconds mean short prints stay genuinely short. For a student printing dozens of small brackets, a sensor mount or a set of gears in a week, throughput is the metric that matters. The removable dual-sided PEI steel plate is easy to swap between materials without re-leveling.
There is a run-out sensor and power loss recovery, so a filament failure or a tripped breaker does not mean losing a six-hour print. Those two features quietly remove more wasted student hours than any resolution upgrade.
Who the Adventurer 5M suits best
Students on a tight budget who want a proper CoreXY machine and are working in PLA, PETG or TPU. It is a strong robotics or drone team machine for prototype iterations, and the small footprint and low weight make it easy to move between a dorm, a club room and a lab bench.
If your project list is entirely polymer concept models and enclosures, this machine delivers more speed per dollar than anything else here.
Where the Adventurer 5M runs out of road
No enclosure, so engineering materials are out in practice despite the hotend being capable of more. The 220mm cube build volume is small enough that larger assemblies need splitting and gluing, which adds post-processing time you did not budget for.
The bigger issue is unit-to-unit consistency. Several early buyers report low print success rates, bowed beds and unreliable extrusion that demanded hours of troubleshooting, and the rating distribution shows a 10% one-star share. Firmware freezing and unreliable app connectivity are also recurring. For a student who cannot afford to debug hardware during a project week, that risk profile matters.
5. Snapmaker U1 – Best for Multi-Material Assemblies
Snapmaker U1 3D Printer,4-Toolhead with 5s Toolchanger,Multi-Color Printing
Four toolheads with 5s changer
270mm cube
59 pounds
Open-source slicer
Pros
- Four toolheads with near-zero purge waste
- True rigid plus flexible in one job
- Works on Linux with open-source slicer
- 500mm/s CoreXY with CF rails
- Forgiving of beginner mistakes
Cons
- Open top needs a cover for some materials
- Workflow less seamless than Bambu
- STL to G-code docs unclear
- 59 pounds is heavy
- Some motherboard failures
The U1 solves a specific engineering problem better than anything else here: printing a part that needs both a rigid and a flexible section in a single build. Four independent toolheads swap in about five seconds, so you can print a TPU gasket and a PLA bracket together, or a model with water-soluble PVA supports in the same job.
The waste argument is the strongest number in this whole roundup. Reviewers measure a 32-hour multi-color print that would take roughly 58 hours on a single-nozzle machine and burn about 350g of purge waste. Forum discussion of multi-color systems routinely lands on 15 to 25% filament waste per print, so the toolchanger architecture genuinely changes the economics for a student on a tight budget.
The SnapSwap toolchanger was validated over 1,000,000 swaps, and automatic toolhead offset calibration plus vibration compensation keep the four nozzles consistent with each other. The 270 x 270 x 270mm build volume sits in the useful middle of the range, large enough for a robotics subassembly without being a floor-draining monster.
Spaghetti detection and filament run-out resume make it forgiving when you are learning, and the 3.5-inch touchscreen means you are not locked to a phone. For students who work on Linux or dislike proprietary ecosystems, the open-source-friendly stack is a deliberate reason to choose this over a closed one.
Who the U1 suits best
Mechanical and biomedical engineering students prototyping assemblies that mix materials, anyone building vibration dampers or TPU grips alongside rigid mounts, and teams making color-coded instructional models. The toolhead approach also suits multi-part prints where you would otherwise run three separate jobs and glue them together.
If you are already comfortable with slicers, the learning curve is manageable and the flexibility is the reward. The documented swap count suggests this is not a novelty mechanism.
Where the U1 runs out of road
The top is open, so some materials need an aftermarket or printed cover before you can use them safely. At 59 pounds this is a two-person lift, which is a real constraint in a dorm room and a reason to plan your furniture first.
The file workflow is less seamless than Bambu, since files must be imported into Snapmaker Orca rather than sent straight from a phone, and the STL to G-code documentation is unclear for newcomers. A few early copies report motherboard problems soon after delivery, so the support experience matters more than usual with this one.
6. Creality K2 Plus Combo – Best for Large Engineering Parts
Creality K2 Plus Combo 3D Printer, Multi Color Printing with New CFS 600mm/s High-Speed Full Auto-Leveling Dual Al Camera Next-Gen Direct Drive Extruder Large Build Volume 13.78×13.78×13.78inch
350mm cube build volume
60C chamber
350C hardened nozzle
70.4 pounds
Pros
- Largest build volume in the lineup
- 60C chamber for ASA and PPA
- Hardened 350C nozzle for composites
- Dual AI cameras and 18 sensors
- 16-color CFS with RFID detection
Cons
- Very heavy at 70.4 pounds
- High learning curve
- CFS units add cost and complexity
- Firmware ecosystem is involved
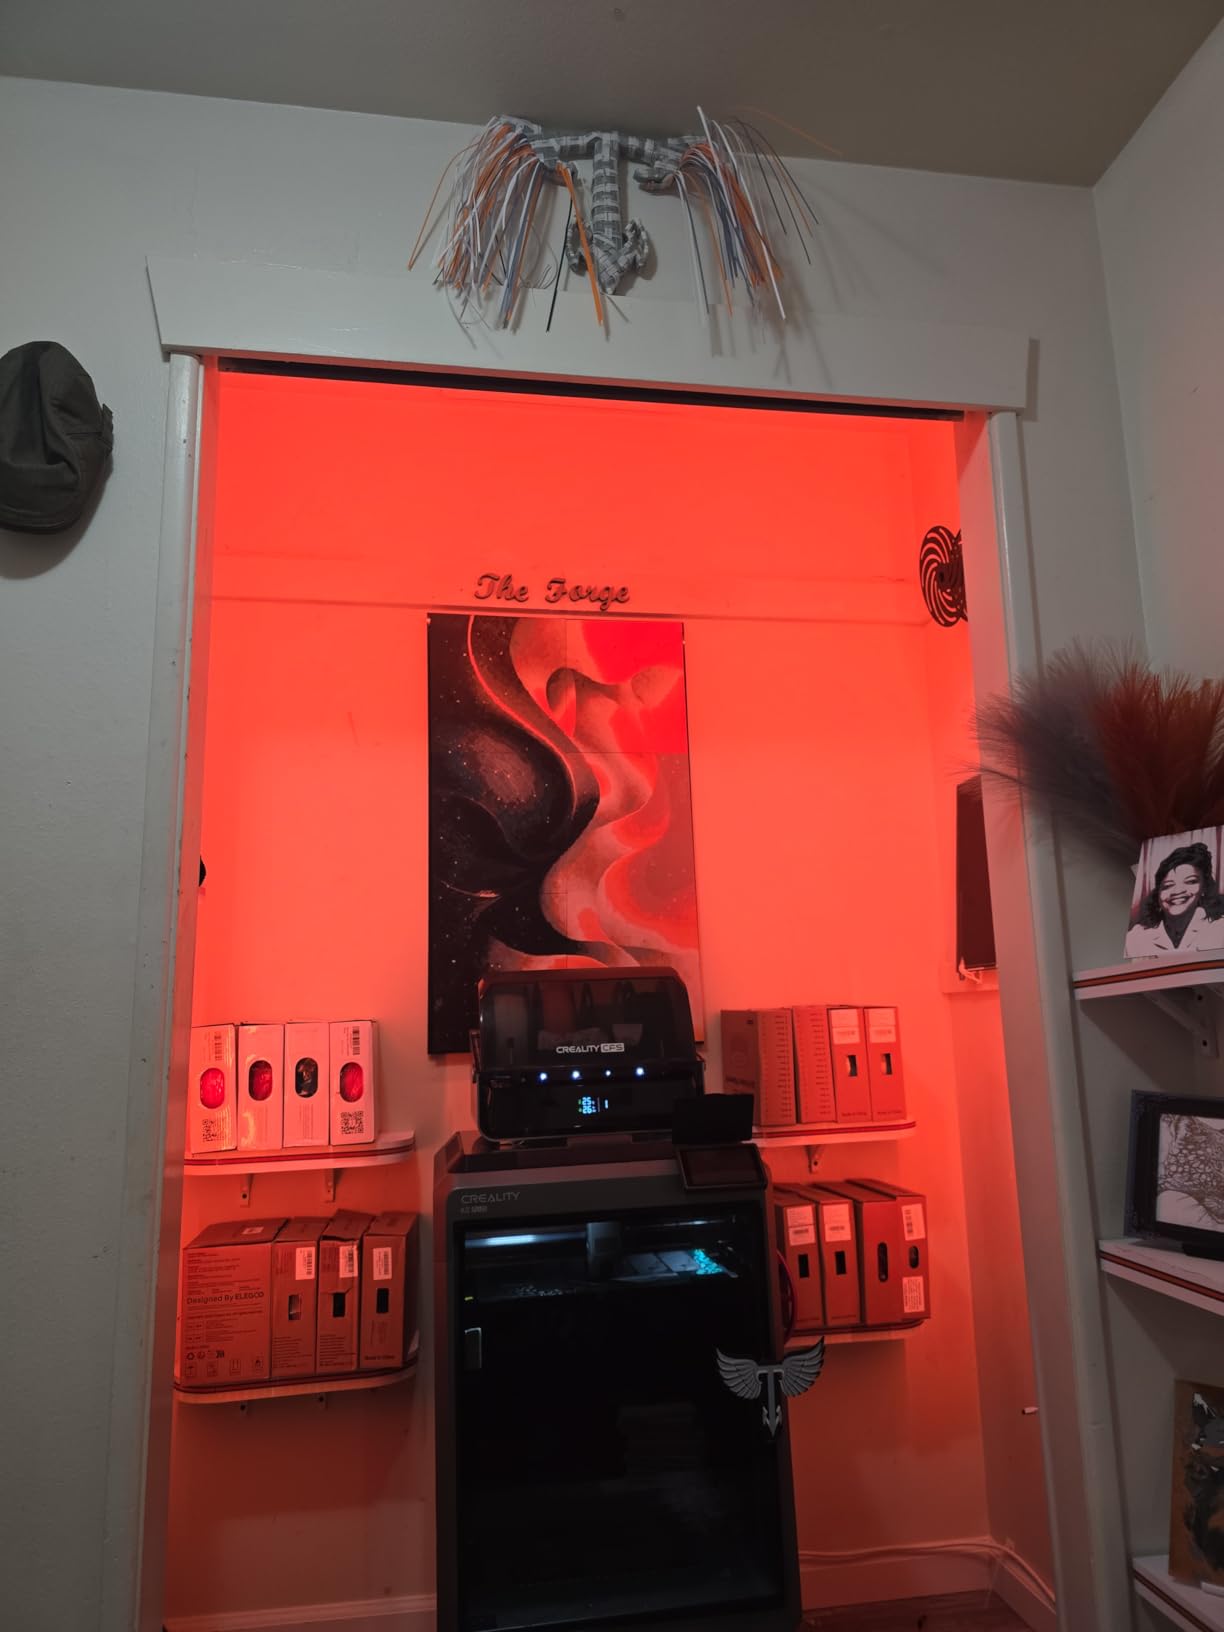
The K2 Plus Combo is the answer to a specific constraint: a part that will not fit in a 220mm or 270mm cube. At 350 x 350 x 350mm it is by far the largest build volume here, and that alone removes the split-and-glue step that adds hours of post-processing to large assemblies.
It is also the most capable machine for engineering filament in this roundup. Chamber heating to 60C and a hardened steel nozzle rated to 350C is exactly the pairing you need for ASA, PPA and other high-melting-point wear-resistant filaments, and the 40mm³/s high-flow extruder feeds them at a reasonable rate.
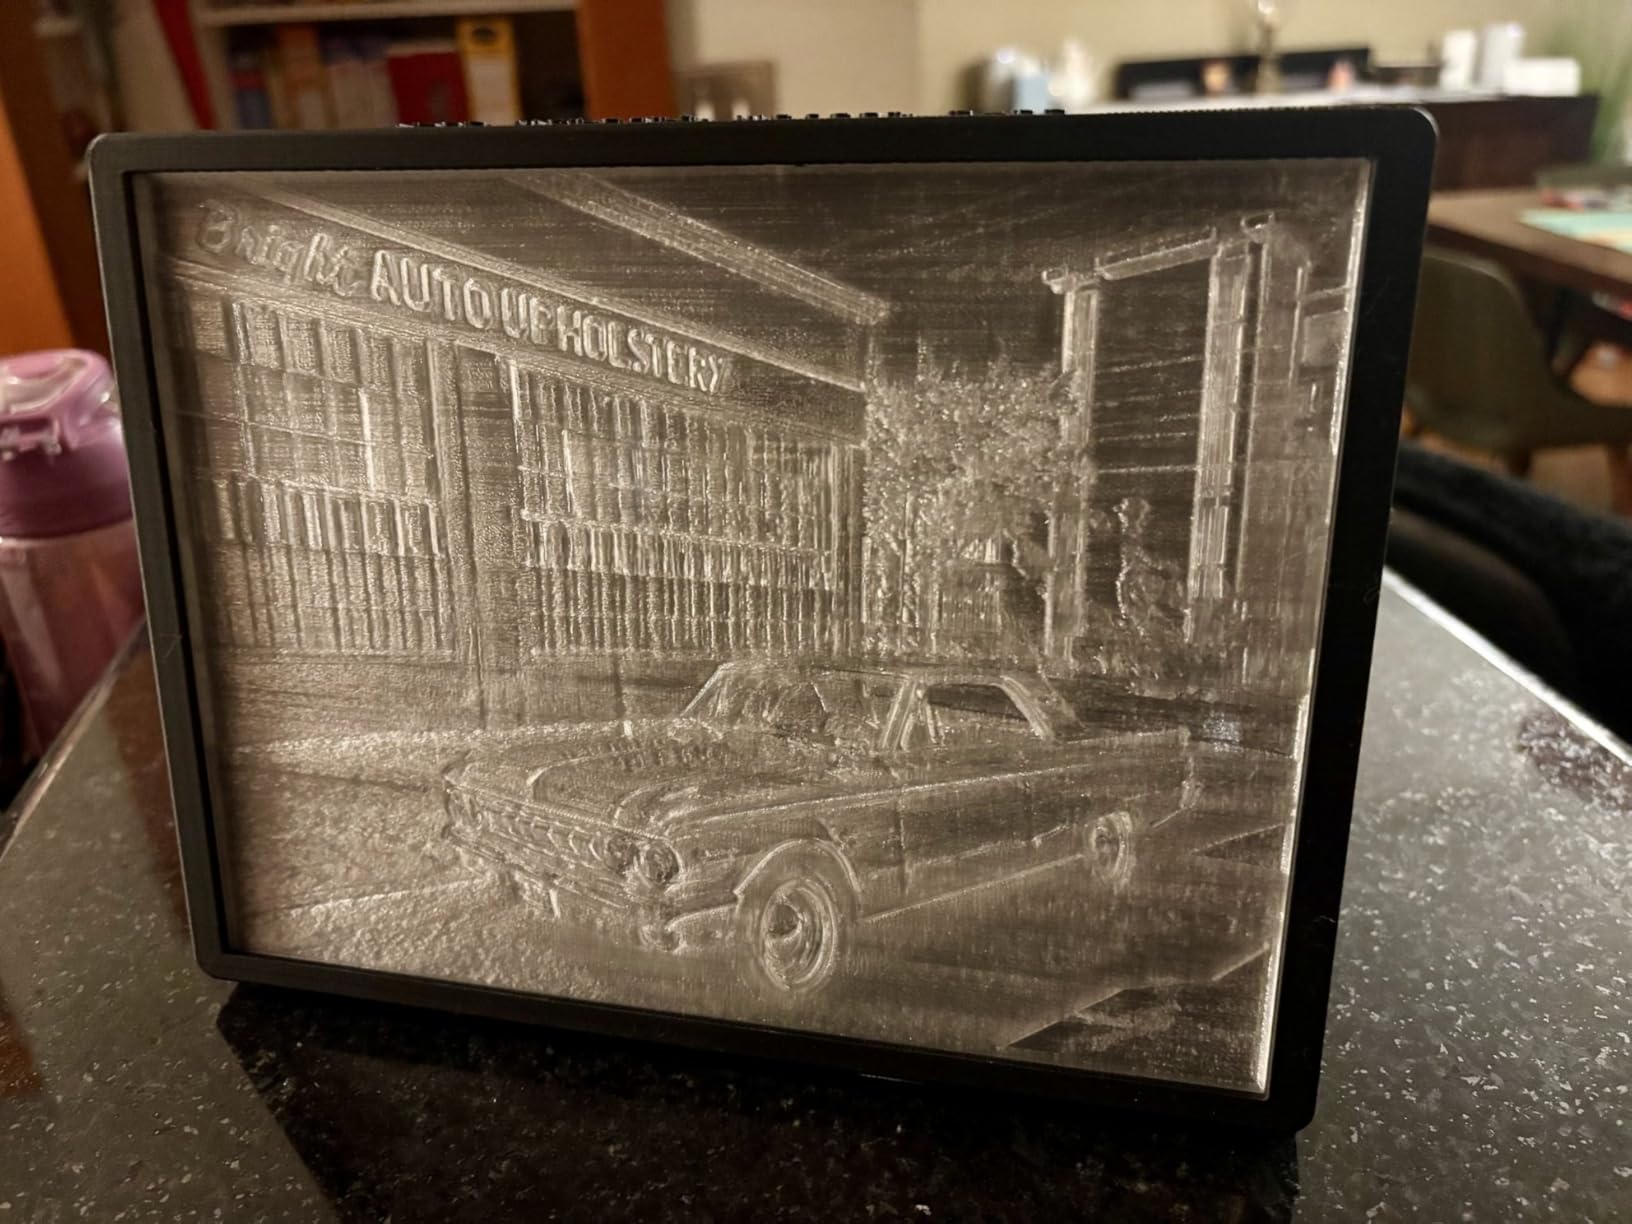
The dual Z-axis motors, 18 smart sensors and matrix die-cast aluminum frame add real rigidity, and the step-servo motors deliver 600mm/s at 30000mm/s² acceleration. Two AI cameras watch the chamber side for spaghetti failures and the toolhead for flow optimization, which on long prints is the difference between an overnight job and an overnight failure.
Four CFS units with RFID filament detection enable 16-color printing and automatic filament selection. For a team printing color-coded assemblies or matched material sets, that is a genuine capability rather than a novelty.
Who the K2 Plus Combo suits best
Senior students and capstone teams working on large components, Formula SAE and robotics projects where a single part exceeds 300mm, and anyone whose major genuinely requires ASA or PPA rather than ABS. It is also the right machine for a shared lab or engineering club that several people will use with different materials.
Budget for the placement before you commit. At 70.4 pounds and a large footprint, this is a garage, basement or lab machine, not a dorm desk machine.
Where the K2 Plus Combo runs out of road
The 4.0 rating with a 17% one-star share tells the story: satisfaction depends heavily on whether you actually need the advanced features. Owners who bought it as a first printer report that the firmware and app ecosystem is more involved than simpler single-extruder machines and that the learning curve is steep for a beginner.
Weight and footprint are genuine disqualifiers in shared housing, and four CFS units add both cost and consumable complexity. If you are a first-year student unsure what you will be printing, this machine asks you to know your answer before you buy.
7. FlashForge AD5M – Best for Learning Printer Maintenance
FLASHFORGE AD5M 3D Printer Fully Auto Calibration Print with 1-Click Max 600mm/s Speed, All-Metal CoreXY Structure Precise Printing, Easy-Maintenance Quick-Swap Nozzle, Print Size 220x220x220mm
All-metal CoreXY
22 pounds
Quick-swap nozzle in 4 diameters
Power loss recovery
Pros
- Assembles in 15 to 20 minutes
- Tool-free nozzle swap in 3 seconds
- All-metal CoreXY holds precision at speed
- Quiet even in high-speed mode
- Good value leaving budget for filament
Cons
- Open frame with no enclosure
- Wi-Fi and app connectivity unreliable
- Slicing needs a desktop PC
- Third-party filament feeds poorly
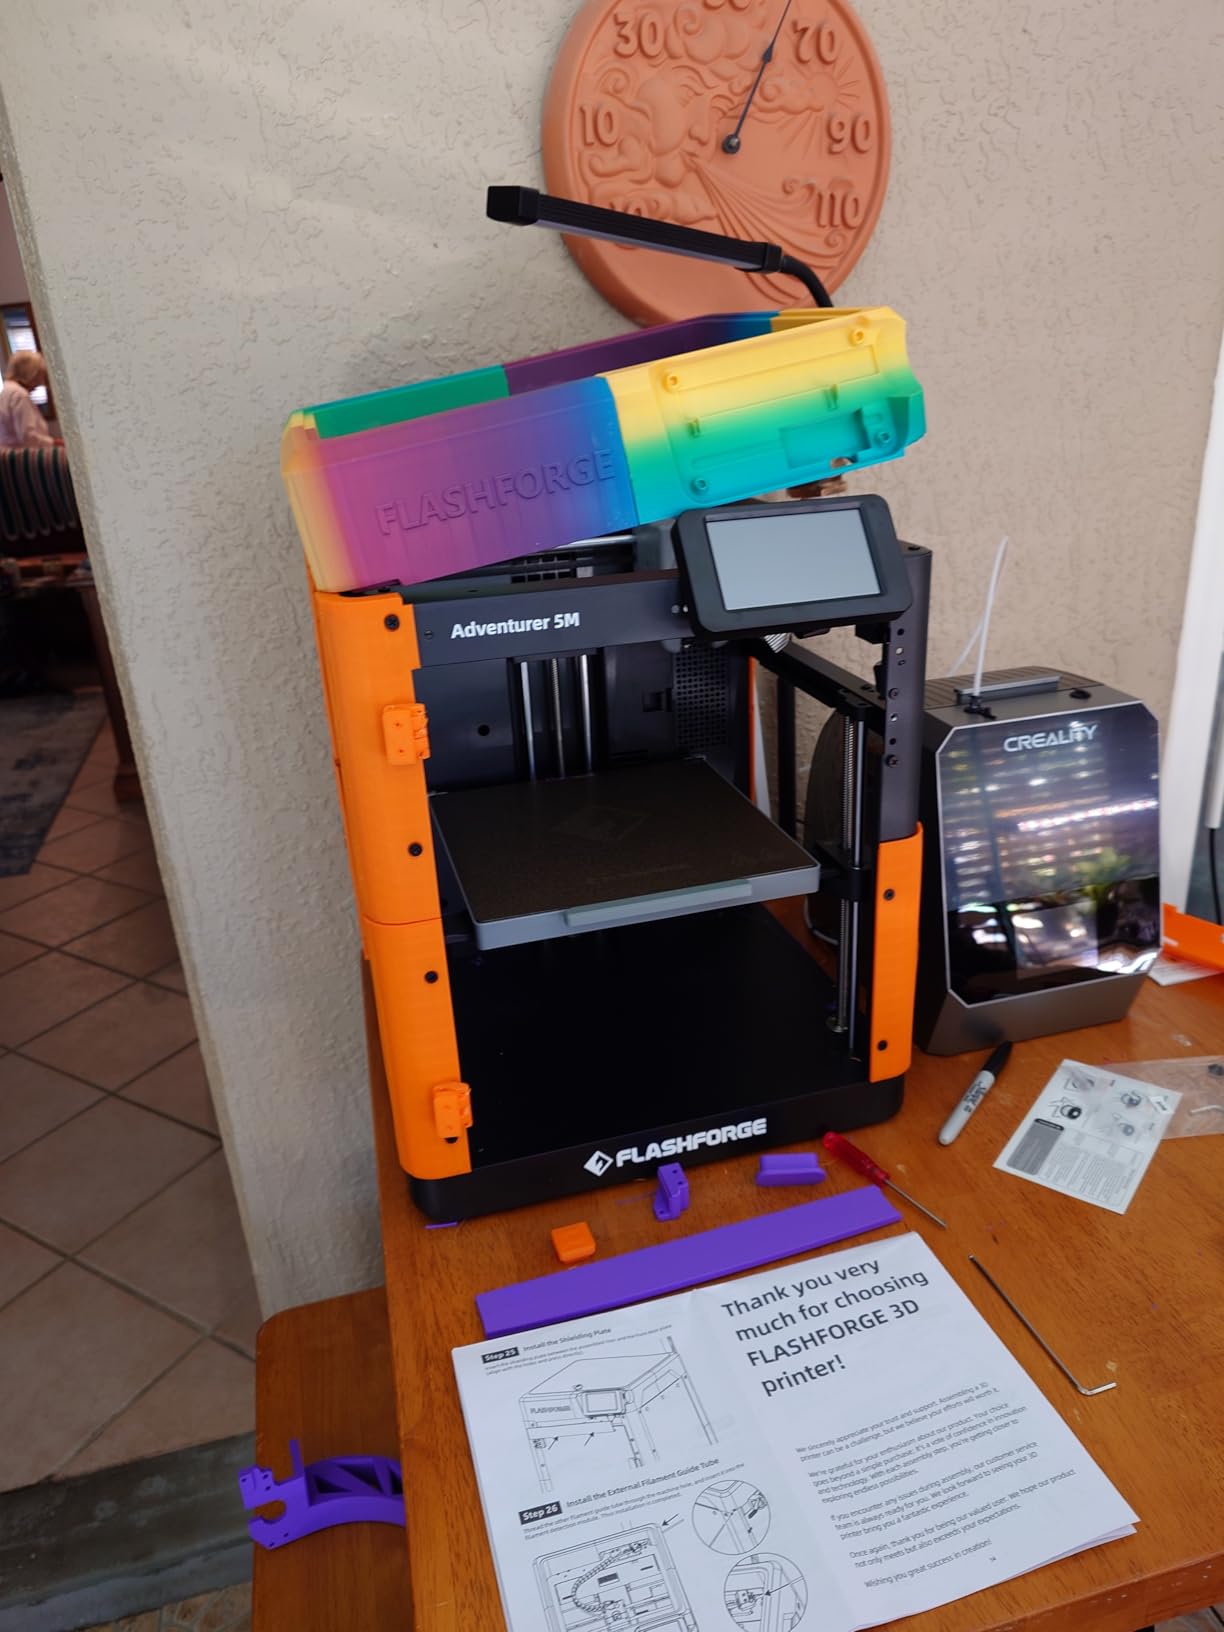
The AD5M is the machine to buy if you want to understand how a 3D printer actually works. The quick-release nozzle swaps without tools in about three seconds and comes in 0.25, 0.4, 0.6 and 0.8mm, so changing nozzle diameter is a routine operation rather than a repair job. That single feature makes it the best teaching tool in this lineup.
Most owners are first-time buyers who got 20 to 30 prints out of the machine within weeks and rate it as an ideal gateway printer. The all-metal CoreXY structure holds precision at 600mm/s, and the Orca-flashforge slicer includes batch transmission and multi-printer monitoring, which is genuinely useful if your robotics club runs more than one machine.
For a student, the practical argument is that a machine you can open will teach you more than a machine you cannot. Understanding extrusion flow, Z-offset and nozzle diameter is directly transferable to CAD design decisions, because it is how you learn which tolerances are actually printable and which are not.
Power loss recovery and a double-sided PEI steel plate round out a machine that asks very little of you. At 22 pounds and roughly the size of a large bookshelf, it also moves easily between a dorm, a club room and a lab.
Who the AD5M suits best
Students who want to learn the full workflow, engineering club members running a small fleet with the multi-printer monitoring software, and anyone who needs a range of nozzle diameters for detail work or for thicker fiber. It is also a good second machine for a lab that values cheap, repairable hardware.
At this weight class it is one of the few machines here you can carry up a staircase alone, which matters in older campus housing.
Where the AD5M runs out of road
Like the Adventurer 5M, it has no enclosure, so engineering thermoplastics are effectively off the table. Slicing requires a Windows or Mac computer rather than an iPad or tablet, which is a genuine problem if your entire workflow is mobile.
Connectivity is the recurring software complaint: Wi-Fi and the phone app are unreliable, and Ethernet is more dependable. Owners also report better results with branded filament than with third-party spools, which adds a small ongoing cost. Slow heating times and a 4.2 rating with a 10% one-star share round out the picture, including a minority of machines that could not complete a test print.
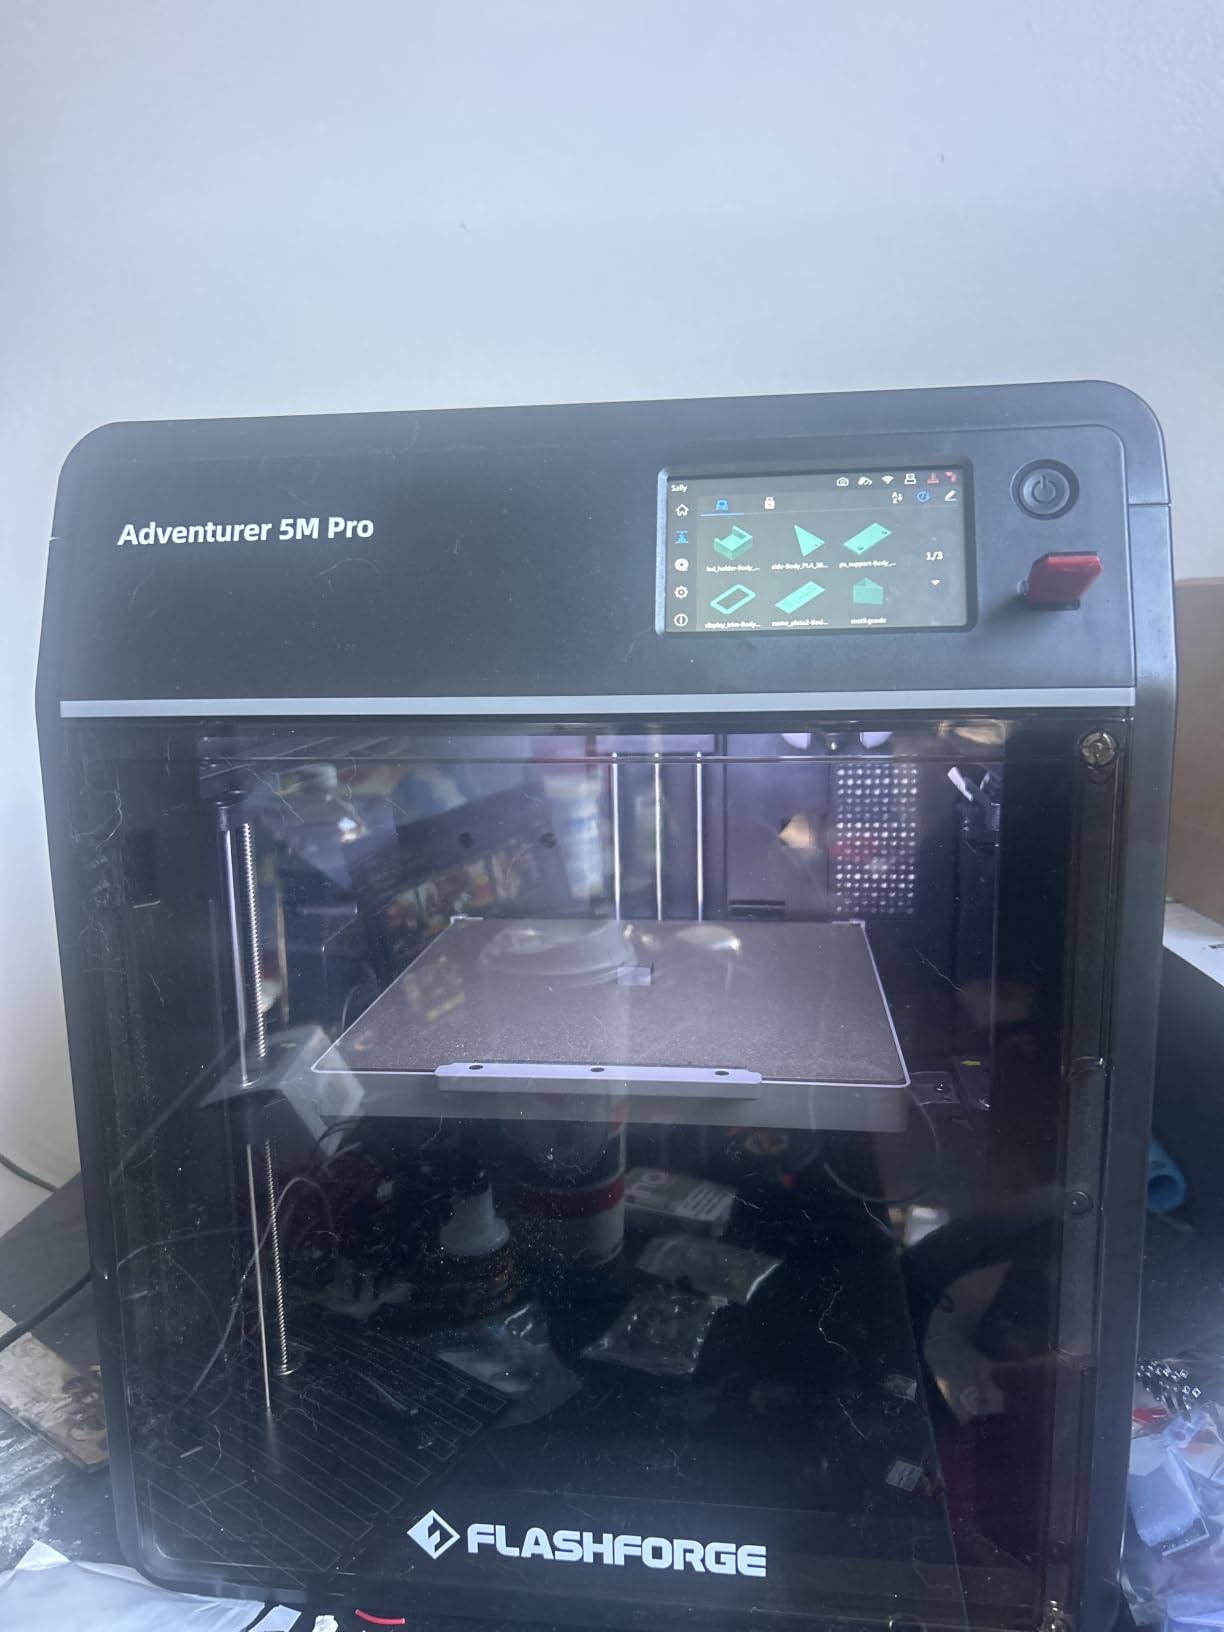
8. FlashForge Adventurer 5M Pro – Best for Quiet Dorm Rooms
FLASHFORGE Adventurer 5M Pro 3D Printer with 1 Click Auto Printing System
Enclosed dual filtration
Under 50dB
280C nozzle, 110C bed
220mm cube
Pros
- Runs under 50dB for late-night printing
- Dual filtration addresses fumes
- 280C hotend handles ABS ASA PETG-CF
- Camera for remote monitoring
- Wi-Fi and Ethernet both supported
Cons
- 18% one-star share is the highest here
- Nozzle crashes reported repeatedly
- Legacy installers fail on current macOS
- Filament feed can stop mid-print
- 220mm cube is limiting
The Adventurer 5M Pro is the enclosed option that prioritizes a single number: under 50dB. That figure, combined with a fully enclosed dual-filtration chamber, is why it sits at the top of my dorm-room list. In a shared room with a roommate who is not a maker, noise and odor are the two constraints that actually get a printer unplugged.
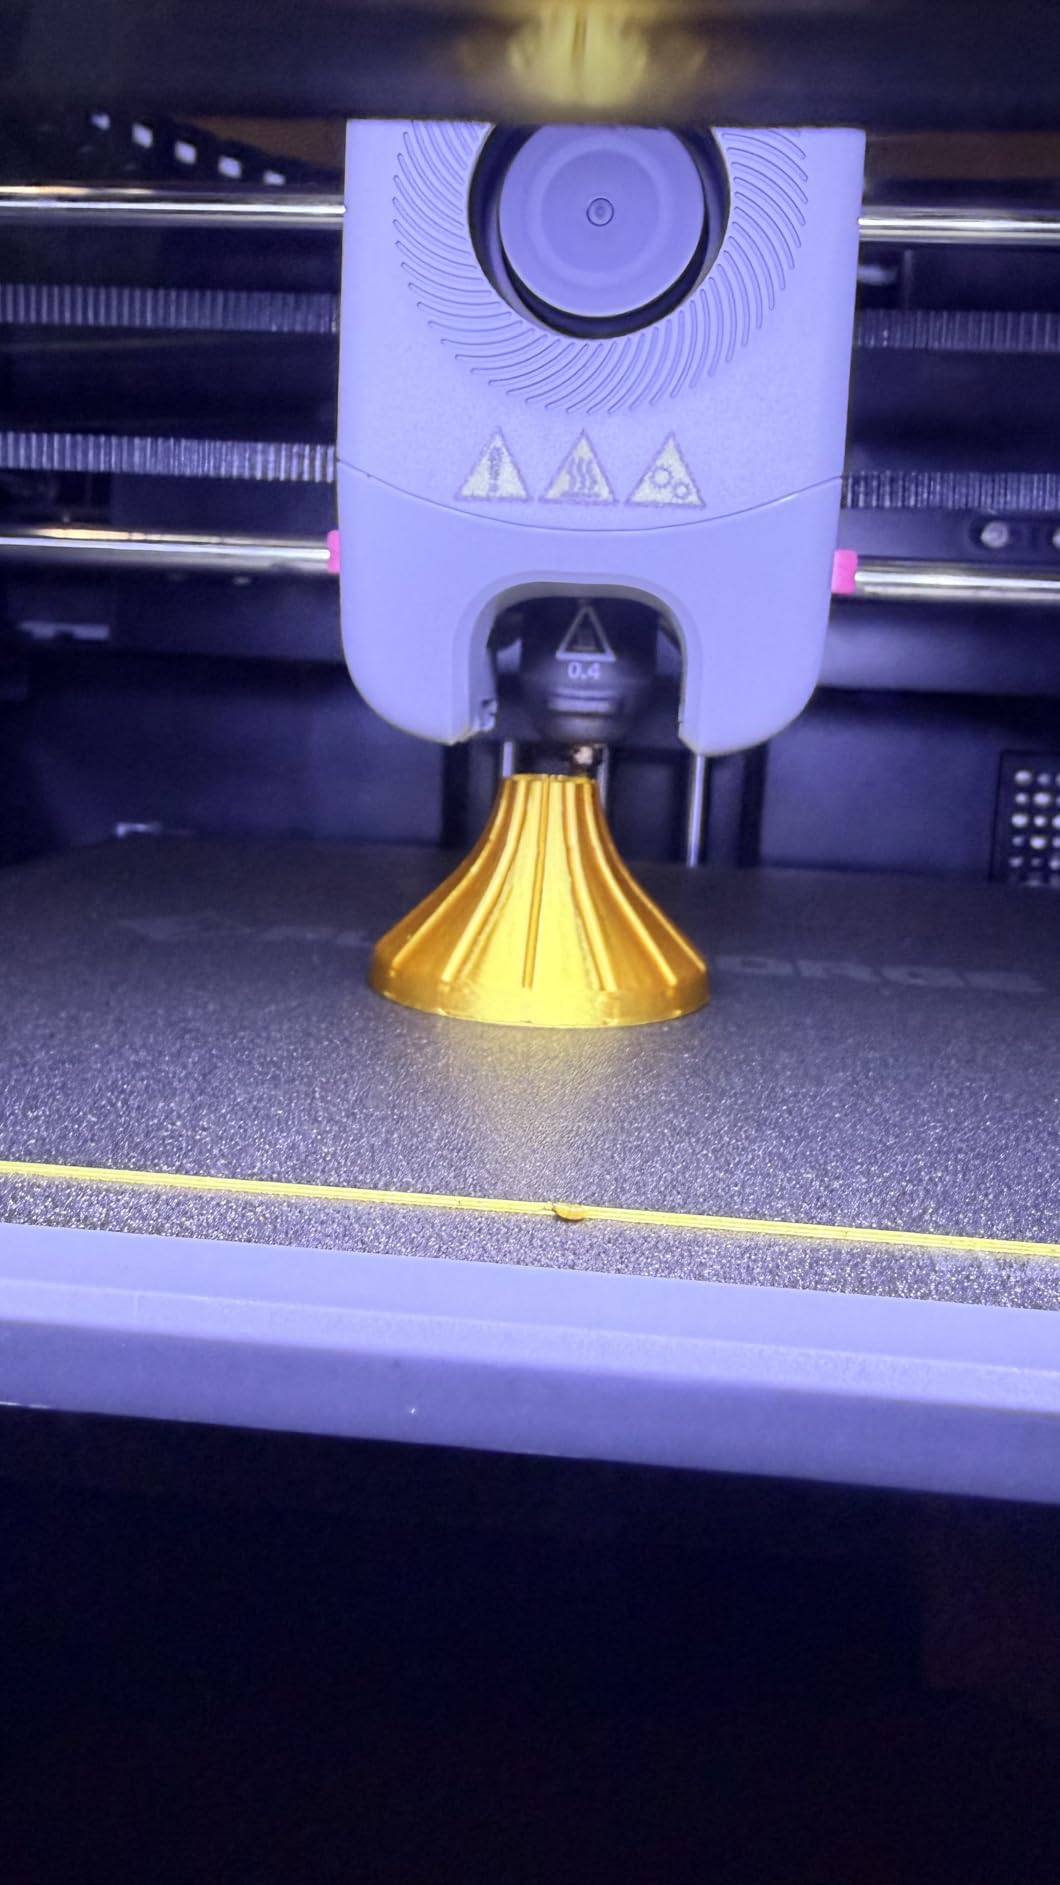
The 280C hotend and 110C heated bed handle ABS, ASA and PETG-CF engineering materials, so the material list is genuinely useful for coursework. Setup takes about 10 to 15 minutes, and the built-in camera with time-lapse capture means you can monitor a print from another room, which is exactly what a dorm arrangement allows.
It is also the most-reviewed machine in this roundup, with 1061 reviews on record, so the long-term picture is better documented than for the newer models here. Both Wi-Fi and Ethernet connectivity are supported, which addresses one of the common reliability complaints about cheaper machines.
Many owners call it an excellent enclosed starter machine, and FlashForge’s support and refund handling are praised even by people who had problems. That matters for a student who cannot easily return a machine once a semester has started.
Who the Adventurer 5M Pro suits best
Students in enforced quiet housing, anyone who needs ABS or ASA without moving to a garage, and buyers who want a documented, well-reviewed enclosed machine at the lower end of that category. The 4.3-inch touchscreen is a real convenience when you are not using your phone for everything.
It also makes sense as a club machine for a robotics team that needs one reliable enclosed printer rather than several fast open ones.
Where the Adventurer 5M Pro runs out of road
The 4.0 rating carries an 18% one-star share, the highest in this lineup, and the reason is hardware reliability rather than print quality. Several owners report repeated nozzle crashes requiring replacement parts and downtime, and filament feed that stops mid-print while the machine keeps running. Those are expensive problems for a student budget.
Software is the other real issue: bundled FlashPrint and Orca-Flashforge installers can be legacy versions that fail on current macOS releases. The 220mm cube build volume is also limiting for larger models, and ABS results are reported as less reliable than PLA on some machines.
Should You Buy a 3D Printer at All? Check the Makerspace First
Yes, if you print weekly. No, if you print twice a semester. This is the first question students ask on r/college and r/EngineeringStudents, and it is the one most roundups skip entirely, which is a shame because the wrong answer wastes real money.
Ask first whether your university already provides printers any student can use. Most campuses run a makerspace, an engineering club, or both, and access is usually free or heavily subsidised. That covers concept modeling, course assignments and the occasional jig. What campus access does not cover is the hours outside building opening times, the deadlines when the queue is two days long, and the freedom to run a twelve-hour print overnight.
Buy if your work has deadlines that campus hours cannot meet, if you need a specific material the makerspace does not run, or if the iteration speed of your project is the thing limiting you. Skip buying if you are still deciding whether additive manufacturing is something you care about, because the first year is mostly learning and the makerspace removes the cost of that learning.
Students often worry about a closed ecosystem locking them in. A one-semester trial on campus hardware costs nothing and tells you whether you are a person who enjoys this. Several of the picks here, including the machines we rate for home workshops, are worth owning eventually, but eventually is a different word than immediately.
How to Choose a 3D Printer for Engineering School
Six criteria decide this purchase, in this order. Everything else on a spec sheet is secondary to the first two.
1. Enclosure and active chamber heating
Enclosed versus open frame is the single most important engineering-specific decision, because ABS and ASA warp without both. An enclosure keeps drafts off the part, and active chamber heating keeps the whole chamber hot enough that the material never cools unevenly between layers. A 50C or 60C chamber is what makes ASA and PPA parts dimensionally stable. If your major involves thermoplastics at all, do not buy open frame.
2. Hardened steel nozzle for abrasive and composite filament
Carbon fiber reinforced PETG, carbon fiber nylon, PPS-CF and PPA-CF all wear a brass nozzle down in a few hundred grams. The failure is nasty because you discover it mid-print. A hardened steel nozzle is the answer, and you should check whether the machine ships with one or requires a swap. Stock brass hotends on machines like the Bambu Lab P1S are the main reason those machines list carbon fiber as not recommended.
3. Build volume versus your dorm desk
Build volume should be matched to the largest part you actually anticipate, not the largest part you can imagine. A 220mm cube handles robotics parts, drone frames and electronics enclosures. A 270mm cube adds a little margin. A 350mm cube handles chassis-scale work without splitting and gluing. Beyond that, the weight becomes the problem, because 70 pounds does not move between a dorm and a lab without two people.
4. Ease of use and automatic calibration
Manual bed leveling and Z-offset tuning are the most cited dealbreaker on budget printers in student forums. Full-auto calibration removes an entire category of first-week frustration and is the reason the Bambu Lab A1 has the highest rating in this lineup. Pressure-based or sensor-based leveling, quick-swap nozzles and run-out detection all buy you back evenings you would rather spend designing.
5. Slicer software and the CAD workflow
A machine is only as useful as its software path from your CAD file to G-code. Fusion 360, SolidWorks and FreeCAD export to STL, and some also export STEP which Bambu Studio and Orca can import directly. Learn that pipeline, because knowing which features a slicer cannot reproduce is a design skill. PrusaSlicer, OrcaSlicer, Bambu Studio and Snapmaker Orca are all reasonable choices; what matters is whether the one your machine uses is open source and whether it supports the STEP workflow.
6. Multi-color and multi-material capability
AMS and CFS systems give multi-color output but typically waste 15 to 25% of filament per print in purging. Toolchanger systems such as the Snapmaker U1 slash that waste dramatically. Decide whether your projects genuinely need color before paying for the hardware, because for most coursework prints, color is a presentation nicety rather than a requirement. Our resin roundup covers the other way to get detail and color.
Which Engineering Filaments Can You Actually Print?
PLA and PETG are the baseline. Everything beyond that needs an enclosure, a hotend, and often a hardened nozzle. Here is what each material demands, matched to the machines in this roundup.
PLA prints on every machine here. It is stiff, dimensionally accurate, easy to print and poor at heat. Use it for concept models, enclosures, visualisations and jigs. PETG also prints everywhere, with better heat resistance and toughness, making it the best default for functional parts. Its real drawbacks are stringing, a matte surface finish, and a slightly fuzzy look that some students dislike for presentation models.
TPU prints on the A1, Adventurer 5M and U1, giving you gaskets, dampers and grips. It needs slower speeds and direct drive, which is why it is not universal. PVA for dissolvable supports appears on the P1S and U1, and is the answer to internal channels and overhangs in a snap-fit assembly.
ABS and ASA require an enclosure, which narrows the field to the P1S, P2S Combo, Adventurer 5M Pro and Creality K2 Plus Combo. ASA adds UV stability, so it is the better outdoor choice. Polycarbonate and nylon are listed as capable on the P1S and supported on the K2 Plus Combo, but both demand higher chamber temperatures than most machines here deliver.
Carbon fiber reinforced filament, whether PETG-CF or PA-CF, is where hardened nozzles stop being optional. The K2 Plus Combo, with its 350C hardened nozzle and 60C chamber, is the machine in this lineup built for it. PPS-CF and PPA-CF are the toughest prints available to a student, and the Creality is the one here that lists PPA support outright.
That is the whole compatibility question in one line: a printer you cannot heat, cannot enclose, or cannot feed with an abrasive nozzle will not print engineering filament, no matter what the marketing page says.
Bambu Lab A1 vs P1S: Which One Should You Buy?
Buy the P1S if you will print ABS or ASA within a year. Buy the A1 if you will only ever print PLA and PETG. The A1 is rated 4.7 across 671 reviews, the P1S 4.5 across 407, and both sit near the top of this category, so the decision is about materials rather than quality.
Pragmatic guidance: if your major is mechanical, aerospace or civil, buy the P1S. If you are undecided, electrical, biomedical, or entering in your first year, buy the A1 and use the makerspace for any ABS project that comes up. The upgrade path is real and forum consensus treats the move from the A1 to an enclosed machine as the natural second step, so the A1 is not wasted money even if you outgrow it.
Dorm Room Rules, Noise and Filtration
Check your housing policy before you buy, because it can disqualify an otherwise perfect machine. Many universities explicitly prohibit ABS in dorms regardless of filtration, and some treat ultrafine particle emissions as a fire or health code matter. Talk to your resident adviser in writing before you unbox anything.
Noise matters just as much. The Adventurer 5M Pro is the quietest machine here at under 50dB with a fully enclosed dual-filtration chamber, and the Bambu Lab A1 uses motor noise cancelling. Open-frame machines like the AD5M and Adventurer 5M are noticeably louder. If you share a room, an enclosed filtered machine is not a luxury purchase; it is the difference between keeping the printer and losing it.
Filtration handles particles and, with a carbon element, some of the styrene smell from ABS. On r/college, students report roommate complaints and RA involvement as the main reason people stop printing, not the smell itself but the conflict it creates. Our handheld scanner guide covers the measurement side if you need existing parts reverse engineered into your models.
What NOT to Buy as an Engineering Student
Do not buy a glass-bed open-frame bed slinger as your main machine. They are fine for a single PLA test print and nothing else, and forum regret consistently points to them being outgrown by junior year. Do not buy a printer you must assemble from loose parts during the week your capstone proposal is due, which rules out most DIY kits despite their educational merit.
Do not buy a large-format machine before you know your part sizes, because the 70-pound weight in a dorm is a solved problem you have created for yourself. And do not buy a multi-color system because the demo videos are satisfying, until you have calculated the 15 to 25% purge waste against a student budget.
Do not buy resin without reading the handling requirements. If you want fine-detail visualization models, resin is a genuine option, but it changes your workflow, your room ventilation needs and your cleaning routine. We cover the hardware in our resin printer roundup.
FDM vs Resin for Engineering Visualization Models
Use FDM for anything functional and resin for anything that has to look precise. Resin gives surface detail and dimensional fidelity that FDM cannot approach at fine feature sizes, which makes it the right tool for fit checks, assembly visualization and presentation models.
FDM wins on everything else: size, speed, material range, safety and cost per part. For a mechanical engineering student building a fixture or a robotics bracket, FDM is the correct default. Reserve resin for the final visual prototype you present, and treat its handling as a separate skill to learn.
Filament Budgeting and Running Costs Over a Degree
The printer is not the main cost. Filament is, over a four to six year degree, and students on r/3Dprinting and r/EngineeringStudents consistently point this out. Budget by semester, and budget for failed prints, which are normal early on.
The practical levers are simple. Dry your filament, because wet filament ruins prints and wastes material. Buy mid-tier PLA and PETG rather than the cheapest spools, since poor quality filament causes more failures than it saves. Learn to print thin walls where strength allows, which cuts material use substantially. And if you print multi-color, account for purge waste as a real line item, because it runs 15 to 25% of filament on AMS and CFS style systems and close to zero on a four-toolhead machine like the Snapmaker U1.
Electricity is real but secondary. A heated bed is the biggest draw, and a typical course print is measured in hours rather than days. The number that actually matters is failed prints, which is why reliability is the most cost-effective specification to buy. The Adventurer 5M Pro and the Creality K2 Plus Combo have the highest one-star shares in this lineup, and both of those percentages represent wasted filament and wasted evenings.
Frequently Asked Questions
What is the best 3D printer for engineering students?
The Bambu Lab A1 is the best 3D printer for engineering students starting out, because full-auto calibration and active flow compensation make it reliable with no manual tuning. If your major needs ABS or ASA, choose the enclosed Bambu Lab P1S. For large parts over 300mm, the Creality K2 Plus Combo is the only machine here that fits them.
Which 3D printer is best for engineering filament?
Engineering filament needs an enclosed chamber, a hotend of at least 280C, and a hardened steel nozzle for anything carbon fiber reinforced. In this roundup the Creality K2 Plus Combo pairs a 60C chamber with a 350C hardened nozzle, making it the strongest choice for ASA, PPA and CF composites. The Bambu Lab P2S Combo reaches a 50C chamber and is the faster option.
Is Bambu or Prusa better for engineering students?
Bambu wins on out-of-box ease, speed and price, which suits students who want results in their first week. Prusa wins on repairability and open-source firmware, which matters if you keep a printer through a full degree. Forum consensus treats Prusa’s repairability as a decisive long-term advantage, while Bambu’s automation is the decisive advantage for beginners.
What is the best 3D printer for college students?
For a college student on a tight budget, the Bambu Lab A1 is the pick, printing PLA, PETG and TPU reliably with full-auto calibration and quiet operation. It weighs 22 pounds, so it moves easily between a dorm, a club room and a lab. Add the AMS lite at purchase if you want multi-color later.
Which 3D printer has the fewest problems?
By rating and review volume, the Bambu Lab A1 at 4.7 across 671 reviews shows the fewest problems, and it is rated highest in this lineup. The Bambu Lab P1S follows at 4.5 across 407. At the other end, the Creality K2 Plus Combo and the FlashForge Adventurer 5M Pro both sit at 4.0 with one-star shares of 17% and 18%.
What are the disadvantages of using PETG?
PETG strings more than PLA, leaves a matte surface finish, and can be hard to sand or paint for presentation models. It also runs hotter, which widens the gap between a first and last layer on tall prints. For functional parts it is tougher and more heat resistant than PLA, so the trade is usually worth making.
Can you print ABS in a college dorm room?
Only if your housing policy permits it, and many universities prohibit ABS in dorms regardless of filtration. Physically it is possible with an enclosed filtered machine, and the FlashForge Adventurer 5M Pro runs under 50dB with dual filtration. Check your resident adviser in writing before you buy, because a policy conflict can end your printing entirely.
Should engineering students buy a 3D printer at all?
Check your university makerspace first, since most campuses provide free or subsidised access that covers coursework. Buy your own if you have deadlines campus hours cannot meet, need a material the makerspace does not run, or want to print overnight. If you are undecided about additive manufacturing, a semester on campus hardware costs nothing.
What nozzle do I need for carbon fiber filament?
A hardened steel nozzle, not the brass one that ships with most printers. Carbon fiber reinforced PETG, PA-CF, PPS-CF and PPA-CF wear a brass nozzle out within a few hundred grams, and the failure appears mid-print. The Creality K2 Plus Combo ships with a hardened nozzle rated to 350C, which is why it handles composites natively.
How much does it cost to run a 3D printer for one hour?
The cost is dominated by filament and failed prints rather than electricity. A typical course print of a few hours consumes tens of grams of PLA or PETG, so the per-hour cost is modest. The larger factor is multi-color, where purge waste runs 15 to 25% of filament on AMS and CFS systems versus almost none on a four-toolhead machine.
What are good 3D printing projects for engineering students?
Capstone brackets, Formula SAE intake manifolds, robotics chassis and gearbox housings, drone frames, CNC jigs and fixtures, electronics enclosures, snap-fit assemblies and TPU vibration dampers are the projects that print cleanly. Multi-material projects such as a rigid bracket with a TPU bumper need a toolchanger like the Snapmaker U1 to do in one build.
Final Verdict by Year of Study
The best 3D printers for engineering students in 2026 split cleanly by where you are in the degree and what your major demands. Start there, then check the housing rules.
First year, undecided major: Bambu Lab A1. It teaches you the whole pipeline with no tuning and no risk, and it is the highest-rated machine in the lineup at 4.7. Check the makerspace first, though, and borrow before you buy.
Second and third year, mechanical or aerospace: Bambu Lab P1S. The enclosure is what stops the ABS frustration that ends most students’ patience, and the 500mm/s CoreXY keeps iteration tight.
Senior with a capstone deadline: Bambu Lab P2S Combo if your project needs color or multiple materials and value automation, or the Creality K2 Plus Combo if your parts are large or need ASA and PPA. Buy early. Both are the machines you will not outgrow.
Quiet dorm housing, mandatory: FlashForge Adventurer 5M Pro, at under 50dB with dual filtration. Confirm the ABS policy in writing first.
Multi-material assemblies: Snapmaker U1. Four toolheads, near-zero purge waste, and an open-source stack that will not lock you in for the rest of your degree.
Whatever you choose, buy the enclosure you will need by junior year rather than the open frame you can afford now. That is the one piece of advice from every student thread on this topic, and it is the one most buying guides skip.