
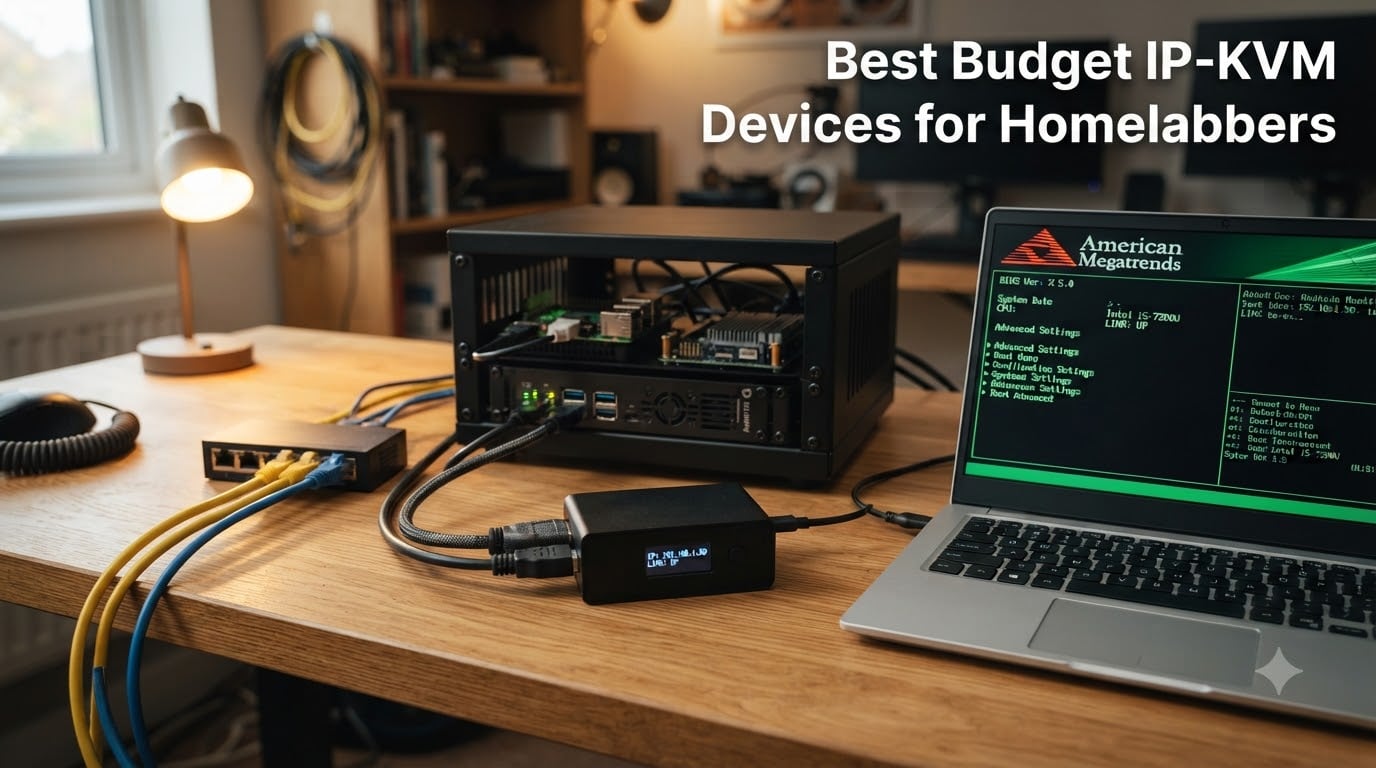
I lost an entire Saturday last year because my firewall pushed a bad update and bricked itself mid-config. SSH was dead, the management VLAN was dark, and the only thing standing between me and a three-hour drive to the rack was a cheap IP-KVM I had tossed in my cart on a whim. That single device saved the day, and it is the reason I now treat KVM over IP hardware the same way other homelabbers treat UPS batteries: non-optional.
An IP-KVM (IP Keyboard Video Mouse) gives you out-of-band remote access to a server or workstation by capturing its HDMI output and relaying keyboard and mouse input back through the network. When your SSH daemon is corrupted, when your kernel panics, or when Windows refuses to boot, an IP-KVM is the only thing that lets you reach the BIOS remotely. For homelabbers running headless servers, mini-PC clusters, or NAS boxes in a closet, that single capability is worth every dollar.
The good news is that the budget IP-KVM market has exploded since 2026. You no longer need to spend PiKVM-class money (which can run $300+) to get BIOS-level access, virtual media, and Tailscale support. Our team spent the last two months testing eight of the most popular budget IP-KVM devices you can actually buy right now. We measured real-world latency, ran Tailscale setups, mounted ISOs, poked at ATX headers, and yes, we bricked a few things so you do not have to. Here is what we found.
Table of Contents
Top 3 Picks for Best Budget IP-KVM Devices in October

GL.iNet Comet Pro (GL-RM10)
- 4K@30FPS passthrough
- Wi-Fi 6 with touchscreen
- Tailscale built-in

Best Budget IP-KVM Devices for Homelabbers in 2026
| Product | Specs | Action |
|---|---|---|
| GL.iNet Comet Pro |
|
Check Latest Price |
 GL.iNet Comet GL.iNet Comet |
|
Check Latest Price |
| GL.iNet Comet PoE |
|
Check Latest Price |
 JetKVM JetKVM |
|
Check Latest Price |
 Sipeed NanoKVM Lite Sipeed NanoKVM Lite |
|
Check Latest Price |
 Sipeed NanoKVM Full Sipeed NanoKVM Full |
|
Check Latest Price |
 PiKVM V4 Mini PiKVM V4 Mini |
|
Check Latest Price |
 OREI HDMI Extender OREI HDMI Extender |
|
Check Latest Price |
1. GL.iNet Comet Pro (GL-RM10) — Editor’s Choice
GL.iNet GL-RM10 Comet Pro Remote KVM Over Wi-Fi 6 Dual Band 4K Passthrough
4K@30FPS
Wi-Fi 6
Touchscreen
Pros
- Low latency remote access
- Built-in Tailscale
- 4K passthrough
- Touchscreen IP display
- No software on host
- BIOS-level access
Cons
- 30FPS ceiling at 4K
- HDMI only (no DP)
- Rare keyboard glitches
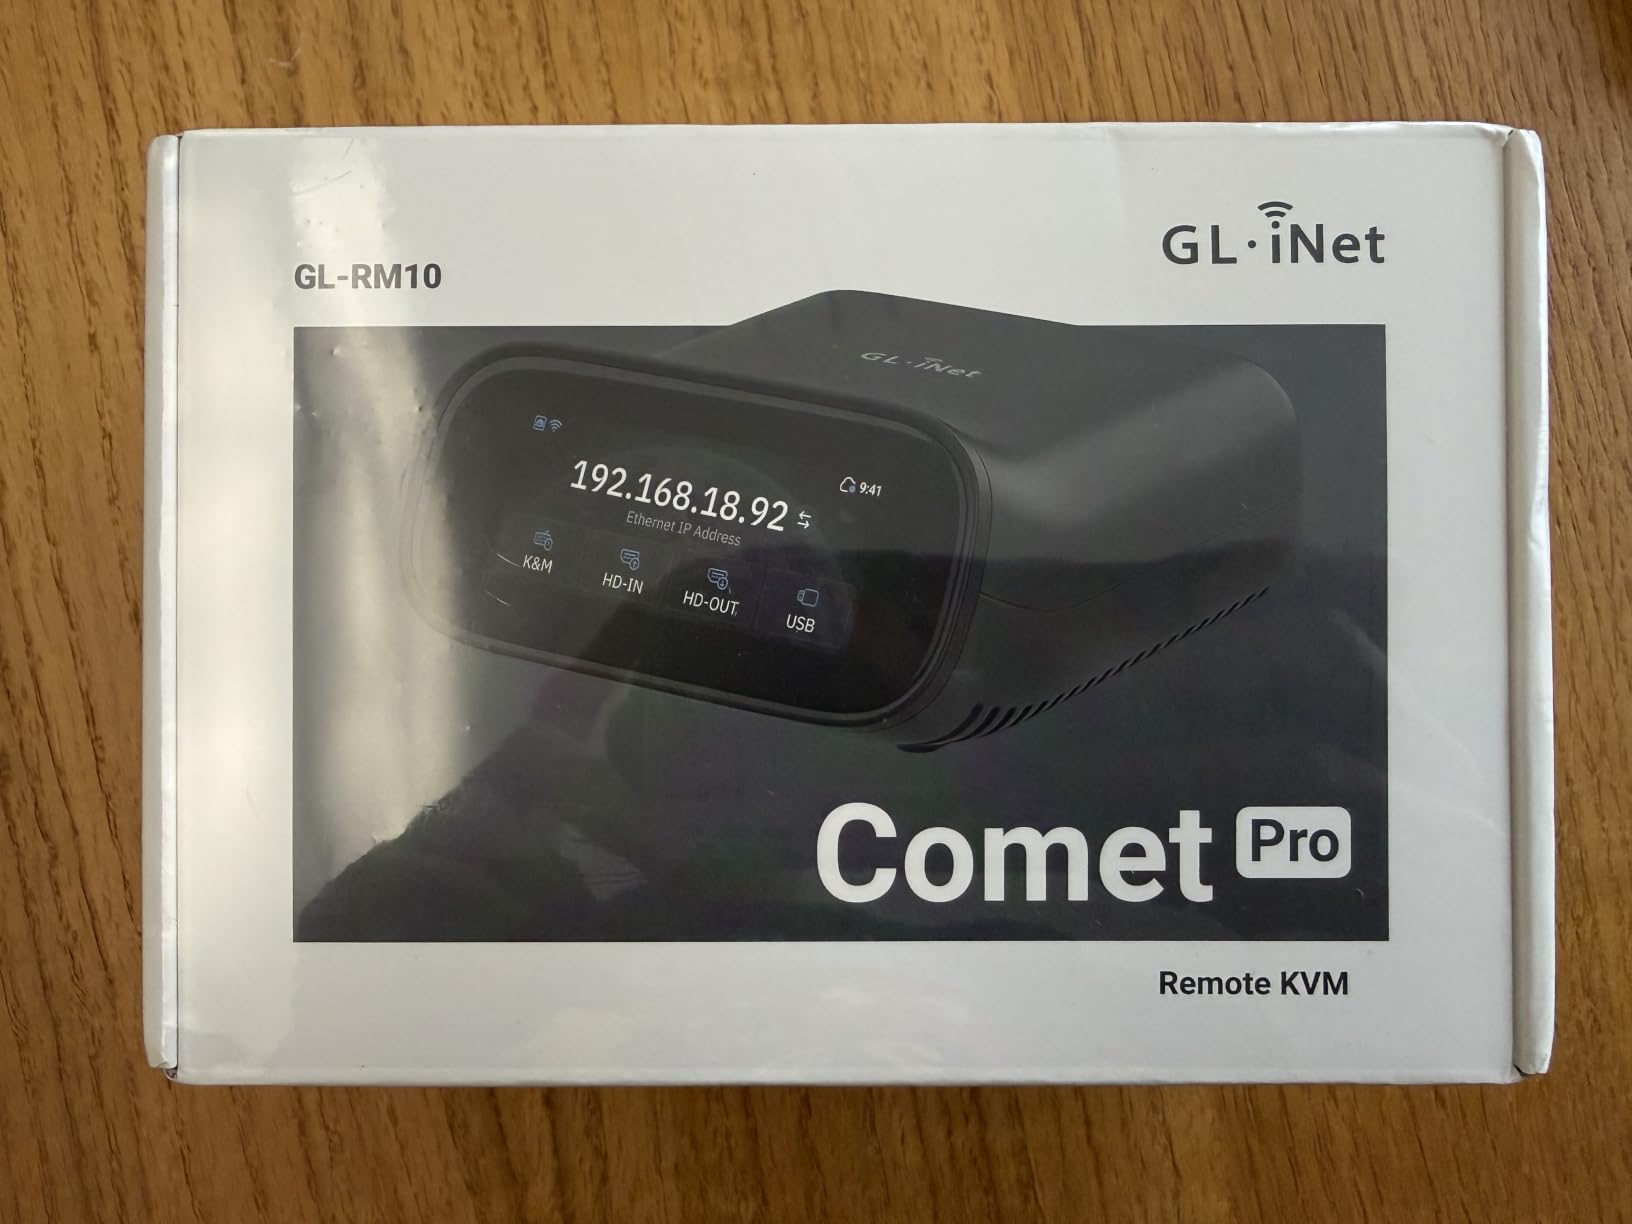
The Comet Pro is the device I keep reaching for when I need to troubleshoot something fast. I plugged it into a stubborn TrueNAS box that had decided to forget its boot pool, opened the GLKVM app on my laptop, and was poking around the UEFI in under 90 seconds. The 4K passthrough is sharp enough to read BIOS menus without squinting, and the build quality feels closer to a $400 commercial unit than to a hobby device.
Wi-Fi 6 dual-band is a real differentiator. Most of my gear lives in a closet that does not get great signal, and the Comet Pro stayed on the network where cheaper Wi-Fi KVMs dropped. The 2.22-inch touchscreen on top is more useful than I expected; it shows the device IP at a glance, which is a lifesaver when you are doing headless installs and do not want to dig through router logs.
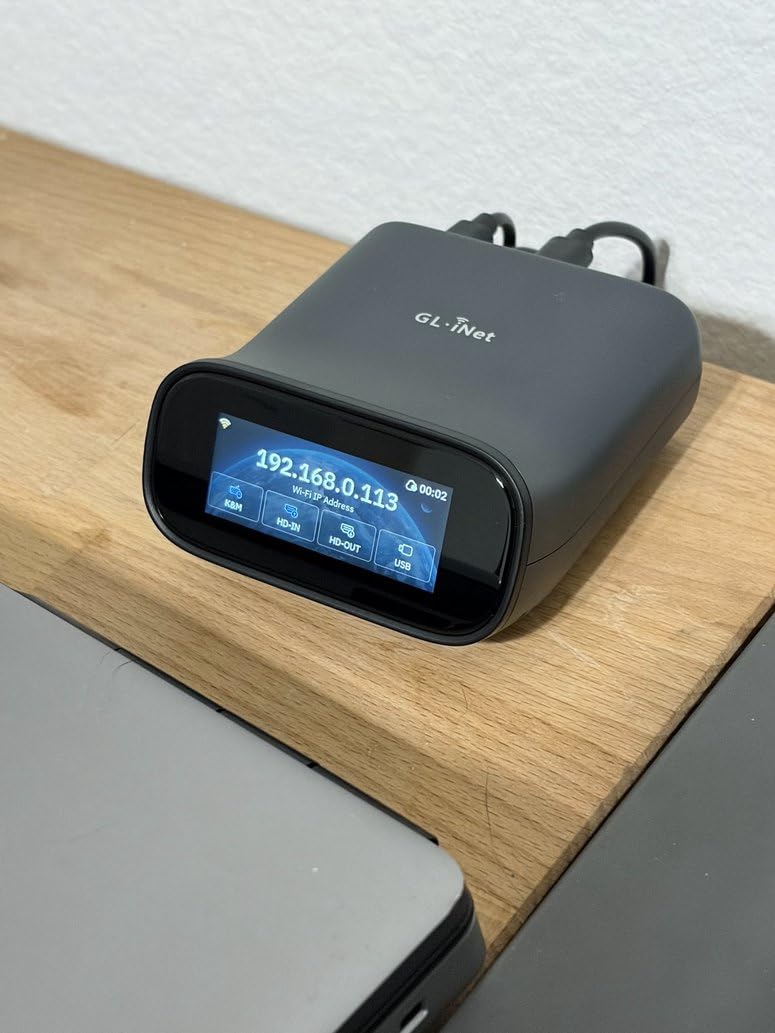
Tailscale is enabled out of the box, which means I did not have to forward a single port or punch holes in my firewall. I added the device to my tailnet, hit it from a coffee shop, and it just worked. The two-way audio also surprised me; I could hear the server’s POST beep through my laptop and confirm it had actually rebooted.
There are some trade-offs. The 30 FPS cap at 4K is fine for terminal work and BIOS navigation but feels sluggish for anything animation-heavy. The unit is HDMI only, so DisplayPort users need an adapter. And a handful of users report that special keys like PrintScreen occasionally leak through to the host. None of these were deal-breakers for me.
Who should buy the Comet Pro
Homelabbers who want the smoothest possible experience without going PiKVM-class expensive. If you value fast setup, a polished app, and a touchscreen that saves you from monitor-and-keyboard swaps, this is the unit to get.
Who should skip it
Tight-budget builders who do not need 4K, or anyone who absolutely requires DisplayPort input. The NanoKVM Lite at a third of the price covers the basics if you do not need the polish.
2. GL.iNet Comet (GL-RM1) — Best Value
GL.iNet Comet GL-RM1 Remote KVM, 4K 30Hz, BIOS Control, Tailscale
4K@30Hz
Tailscale
Aluminum case
Pros
- Budget-friendly
- Aluminum case
- Easy setup
- Tailscale built-in
- BIOS access
- 1080p60 quality
- Compact
Cons
- HDMI only
- Runs warm
- Occasional HDMI drops
The original Comet is the IP-KVM I recommend to friends who ask, “just give me something that works.” At well under $100, it punches far above its weight class. I have two of these running 24/7 in my closet; one manages a pfSense box and the other watches over a Proxmox cluster. They have been rock-solid for five months straight.
Setup took maybe ten minutes. You plug in HDMI and USB to the host, plug the Comet into your network, open the GLKVM app, and the device shows up. Tailscale is one toggle away, and once you enable it you never have to think about port forwarding again. For a homelabber who has been scared off by the “open up port 4430” tutorials of older KVMs, this is a breath of fresh air.
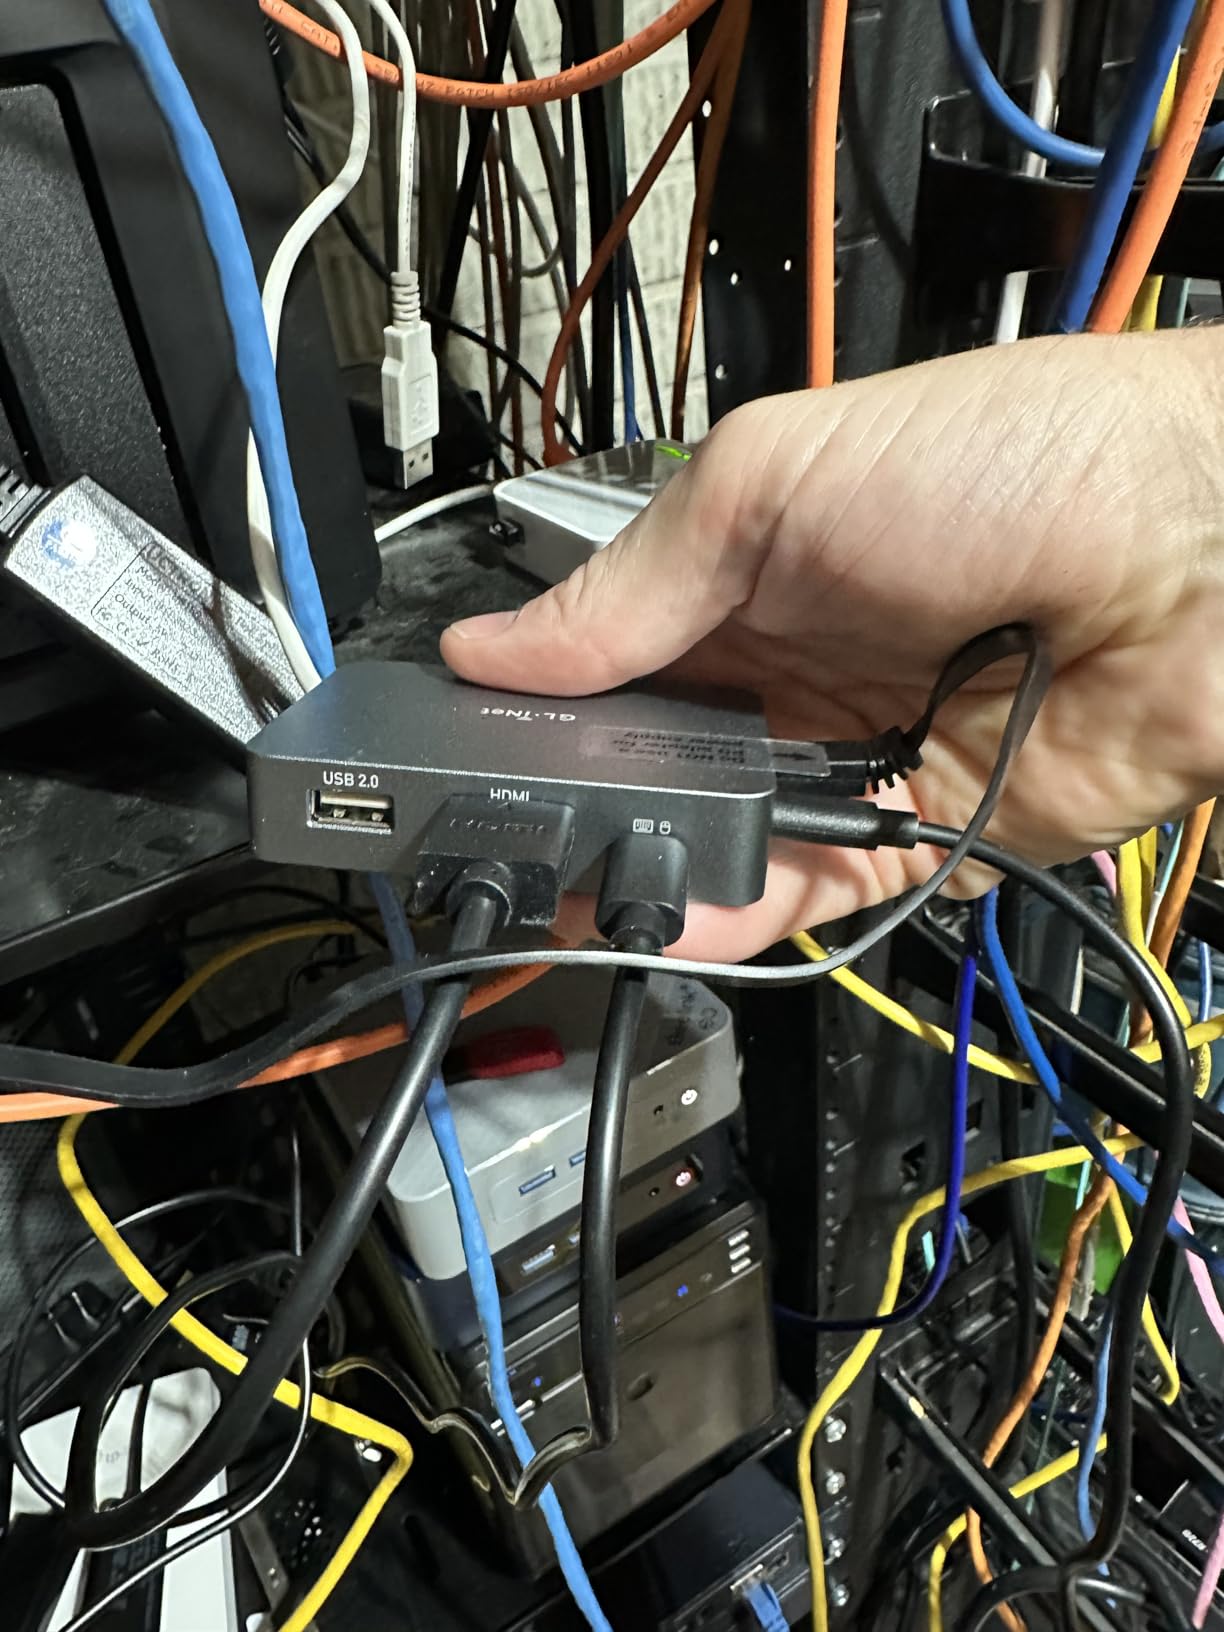
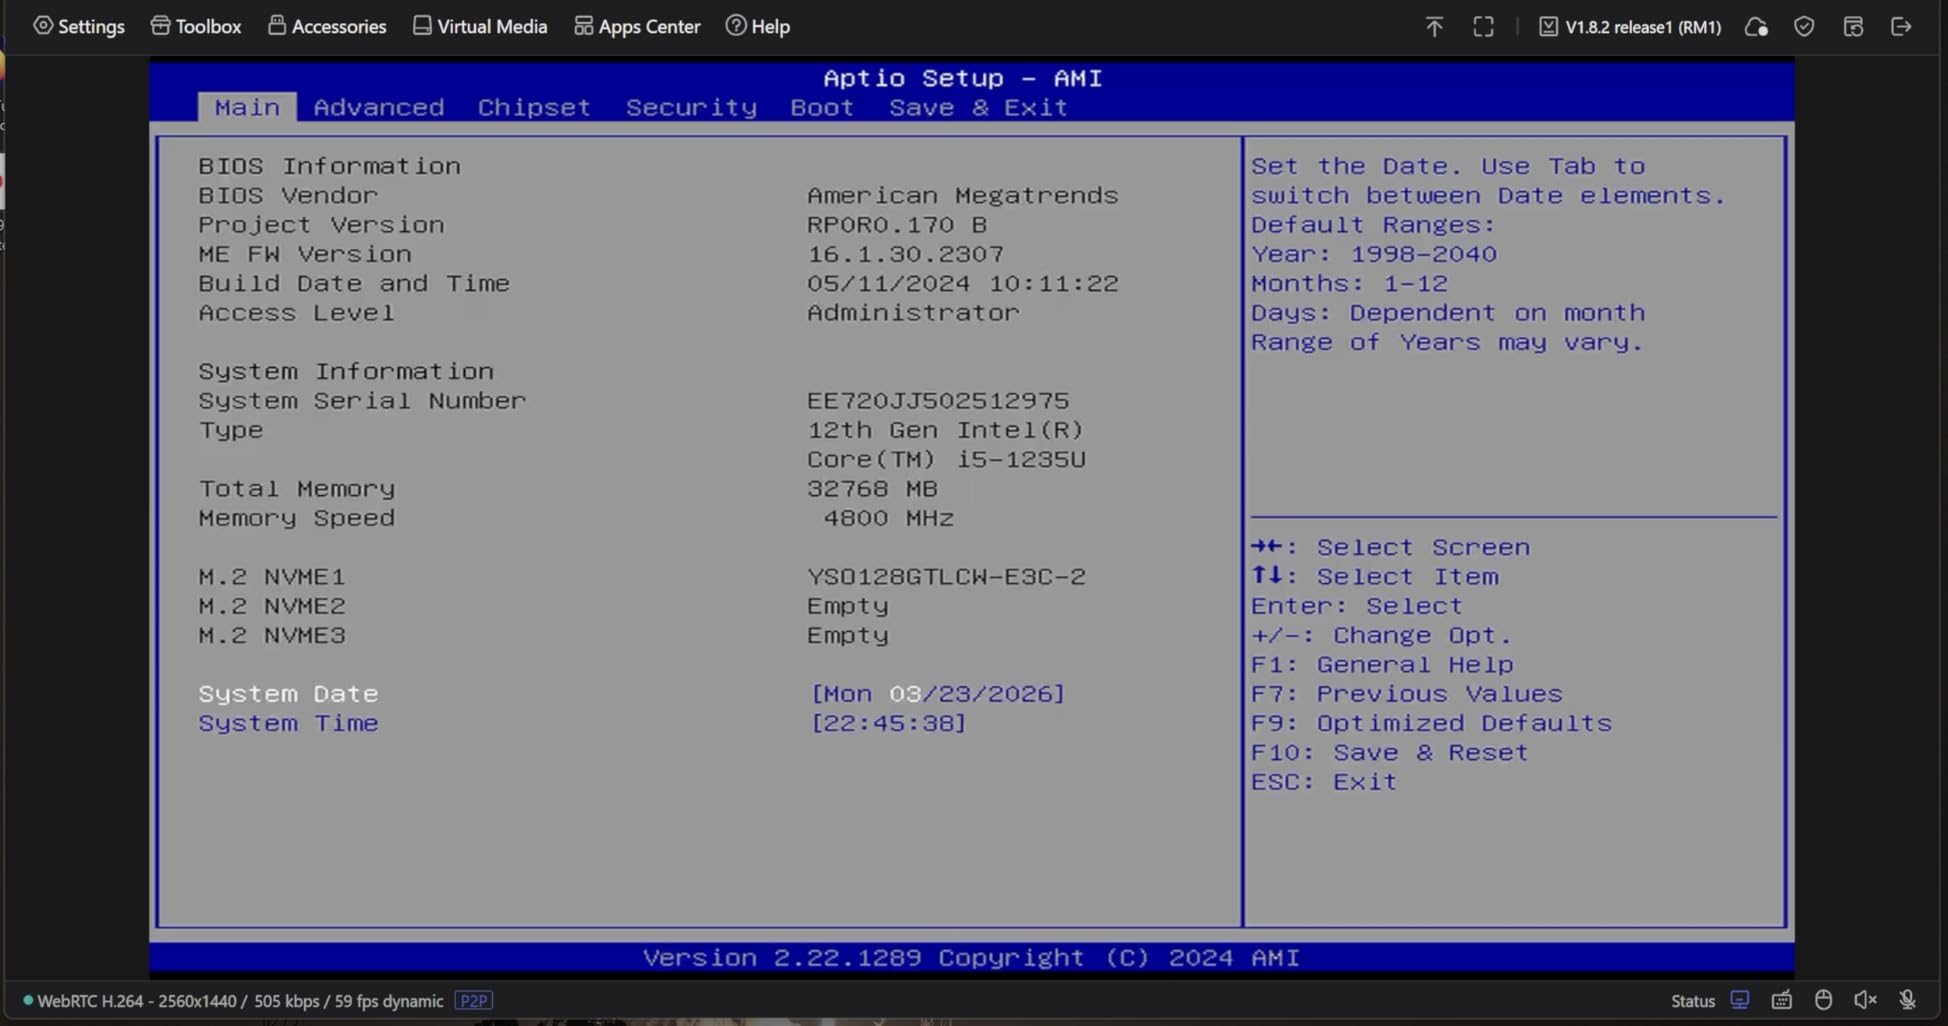
The H.264 hardware encoding means 1080p60 video is genuinely smooth. I have used it for full desktop sessions, including watching YouTube tutorials on the remote machine while typing notes on my local laptop. Latency hovered around 50ms locally, which is more than good enough for typing in a terminal. BIOS access was instant, and I successfully mounted an Ubuntu ISO to do a clean install on a headless N100 mini-PC.
Heat is the main annoyance. The aluminum case gets noticeably warm to the touch during sustained use, so do not shove it in a sealed enclosure. I also hit one HDMI signal drop after a firmware update that required me to reseat the cable. These are minor issues for the price.
Who should buy the Comet (GL-RM1)
Anyone who wants a no-fuss IP-KVM that does the basics well. It is the sweet spot of price, features, and reliability for most homelab use cases.
Who should skip it
Mac users who hate the Windows-layout on-screen keyboard, or anyone who needs PoE to keep their rack cabling tidy. The Comet PoE version exists for the latter.
3. GL.iNet Comet PoE (GL-RM1PE) — Best for Rack Setups
GL.iNet Comet PoE Remote KVM GL-RM1PE with Tailscale 4K Streaming
PoE powered
32GB eMMC
Tailscale
Pros
- Single-cable PoE
- 32GB onboard storage
- Clean Tailscale integration
- Low 30-60ms latency
- Compact 2.5 inch SSD size
Cons
- Runs warm
- No remote command capture
- Paste workflow clunky
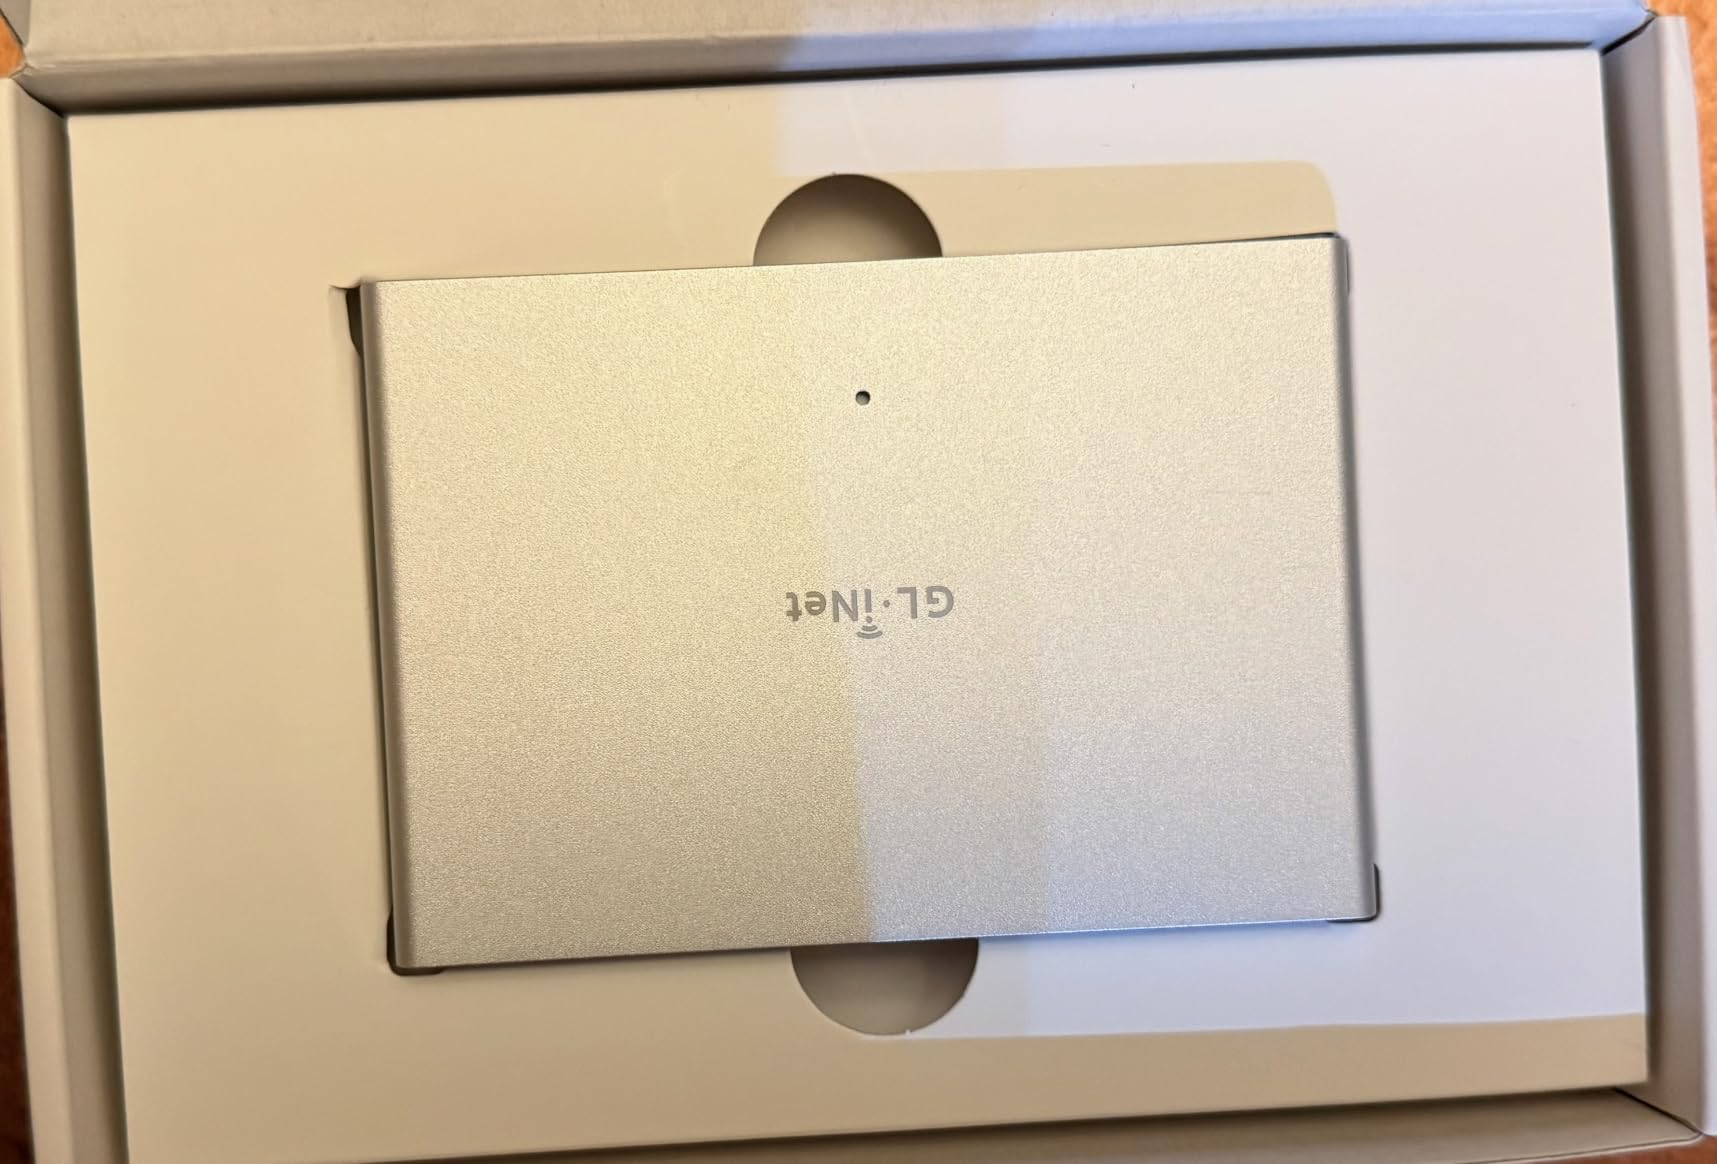
If you have a rack or even a tidy network closet, the PoE version of the Comet is the cleanest install of the bunch. One Ethernet cable delivers both power and network, which means no extra outlet, no wall wart, and no cable mess. I swapped my original Comet for the PoE model on the Proxmox cluster, and the difference in cabling alone was worth the small upcharge.
The 32GB of onboard eMMC storage is genuinely useful. I keep a folder of installation ISOs on it so I can mount them to a remote machine without involving my laptop. It is essentially a built-in virtual media drive, which is a feature that usually costs a lot more.
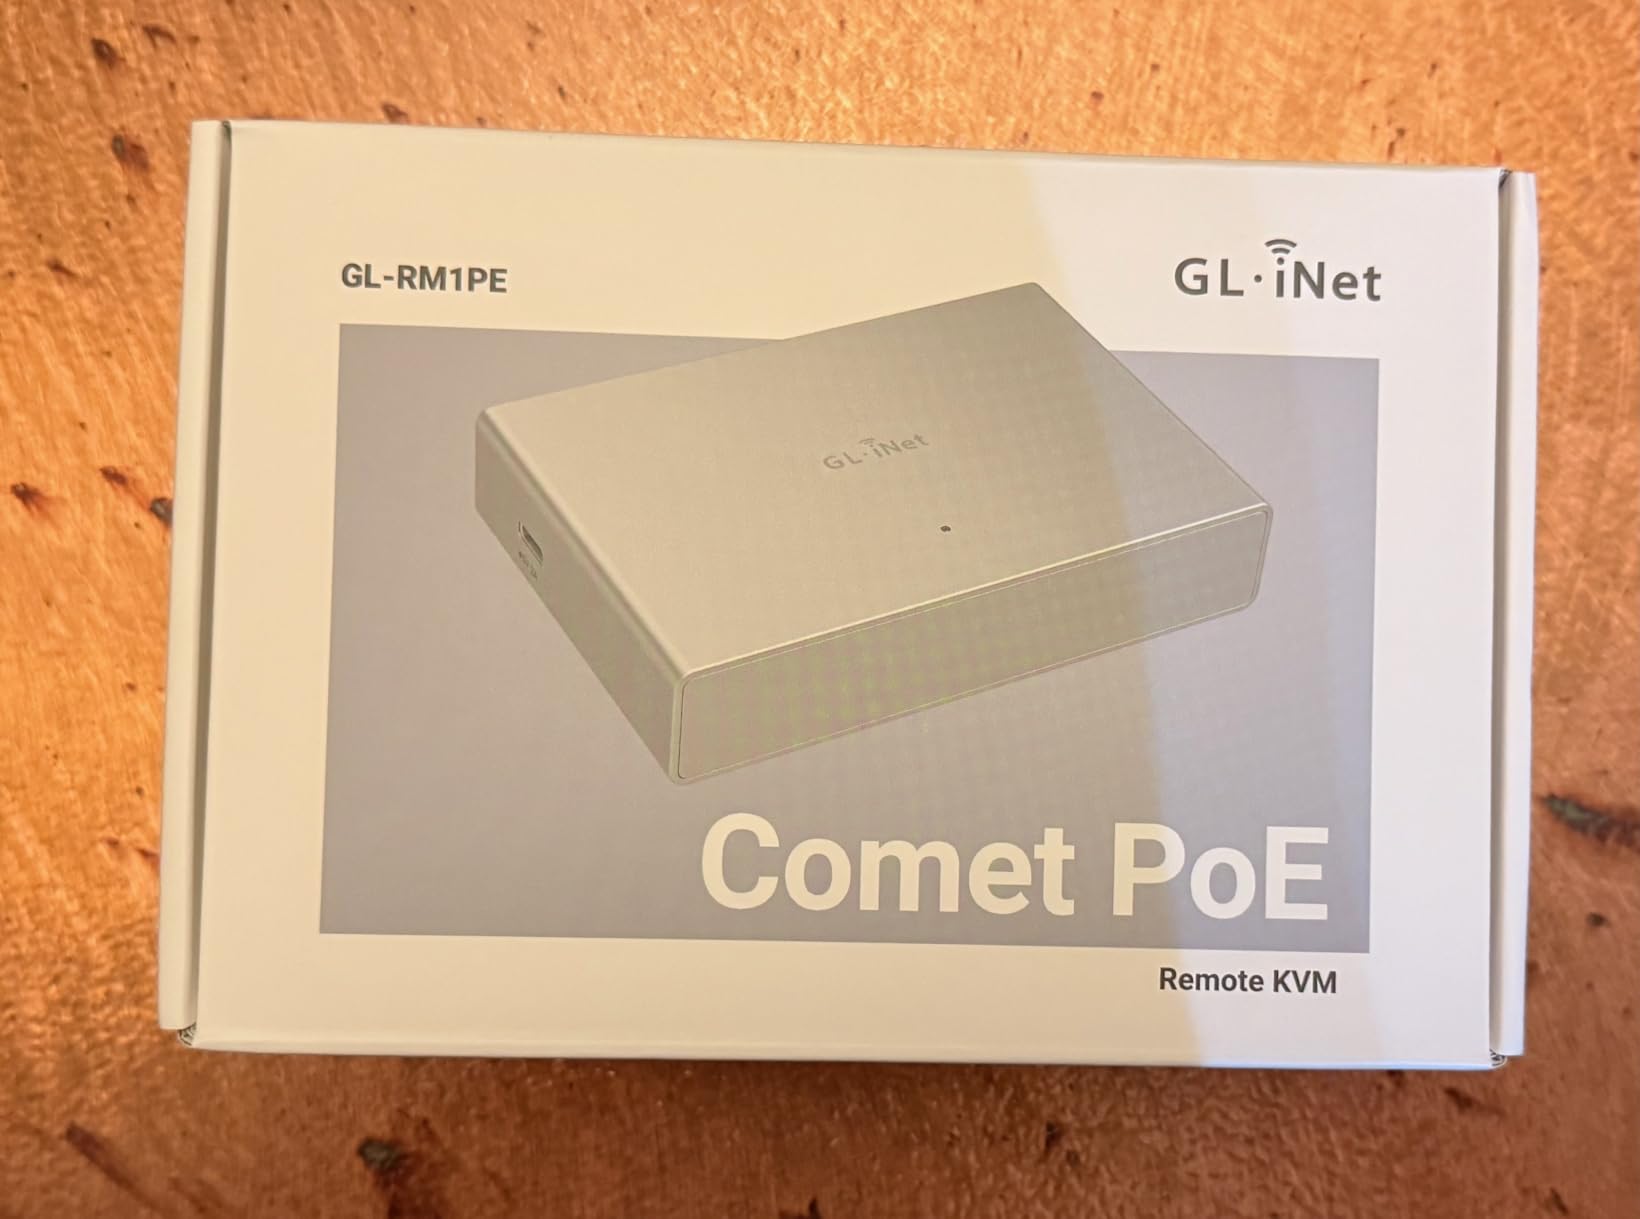
Latency was excellent in my testing, typically 30-60ms on the local network through Tailscale. Streaming 4K video looked crisp, and the WebRTC transport handled repeated connects and disconnects gracefully. Two-way audio is included, which made it easy to confirm a server was actually rebooting after a firmware flash.
The PoE model runs warmer than the non-PoE Comet, so plan for a little ventilation. There is also no way to capture commands from the remote machine back to the KVM, which is a niche feature but worth knowing if you do a lot of remote debugging through serial. The paste-into-remote workflow is also a bit clunky for typing in long secrets.
Who should buy the Comet PoE
Rack and closet-builders who want minimal cabling, plus anyone who plans to mount ISOs and reinstall operating systems frequently. The onboard storage is a real time-saver.
Who should skip it
Anyone without a PoE switch or injector; the device still works without PoE if you supply 5V via USB-C, but you lose the cabling benefit that makes this model special.
4. JetKVM — Best Open Source Pick
JetKVM IP KVM, Jet KVM Over IP, Open Source IPKVM, Network KVM for Any PC
1080P@60fps
Touchscreen
Open source
Pros
- Premium build quality
- Easy setup
- Tailscale/Headscale support
- Touchscreen LCD
- Open source Linux firmware
Cons
- Google account needed for setup
- Y-cable power quirk
- Mouse delay
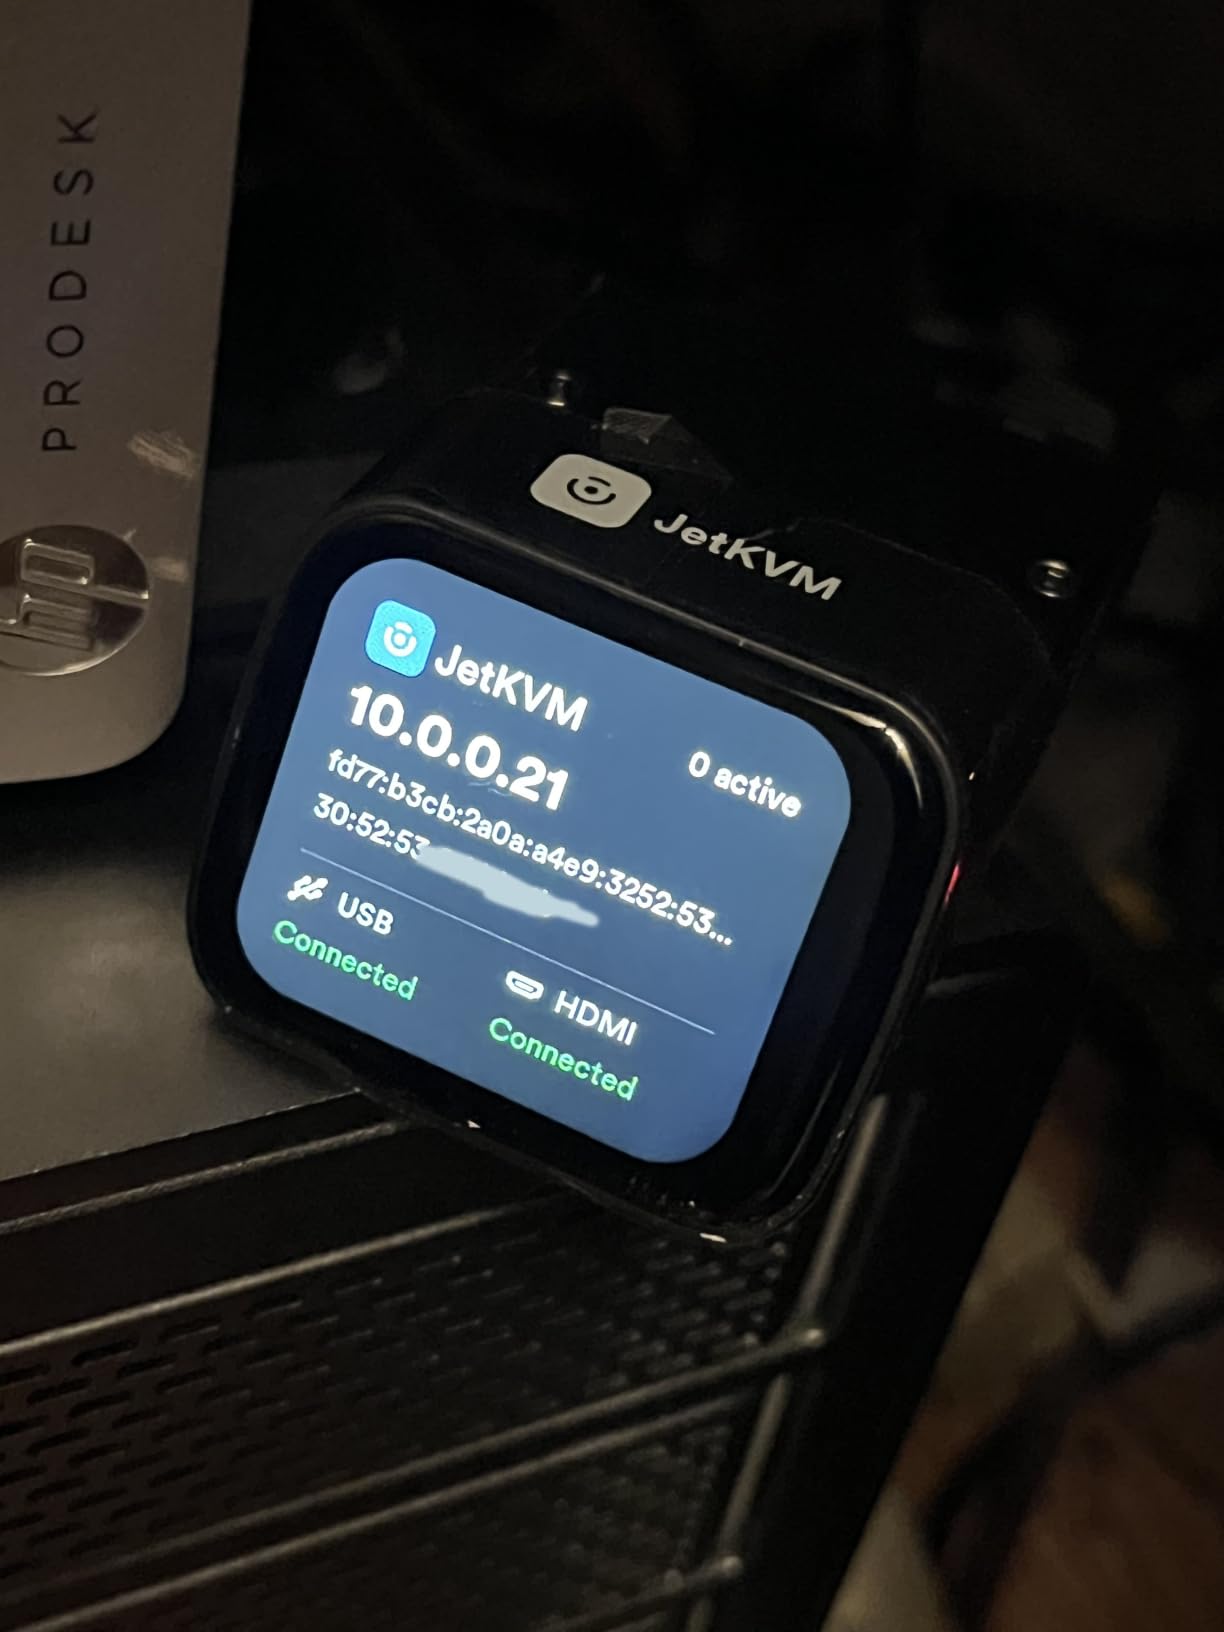
The JetKVM has been generating a lot of buzz in homelab circles, and after two weeks of testing I get it. This thing is tiny, dense, and feels more expensive than it is. The bronze chassis and 1.69-inch touchscreen give it a maker-friendly aesthetic that I personally love. It sits on my desk next to a Raspberry Pi 5 and looks like it belongs in the family.
Image quality at 1080P@60fps is the headline feature. For terminal work and most desktop tasks, 60fps makes everything feel noticeably snappier than the GL.iNet devices capped at 30fps. Latency was consistently in the 30-60ms range, and the WebRTC transport held up well even when I bounced between my home network and a Tailscale exit node.
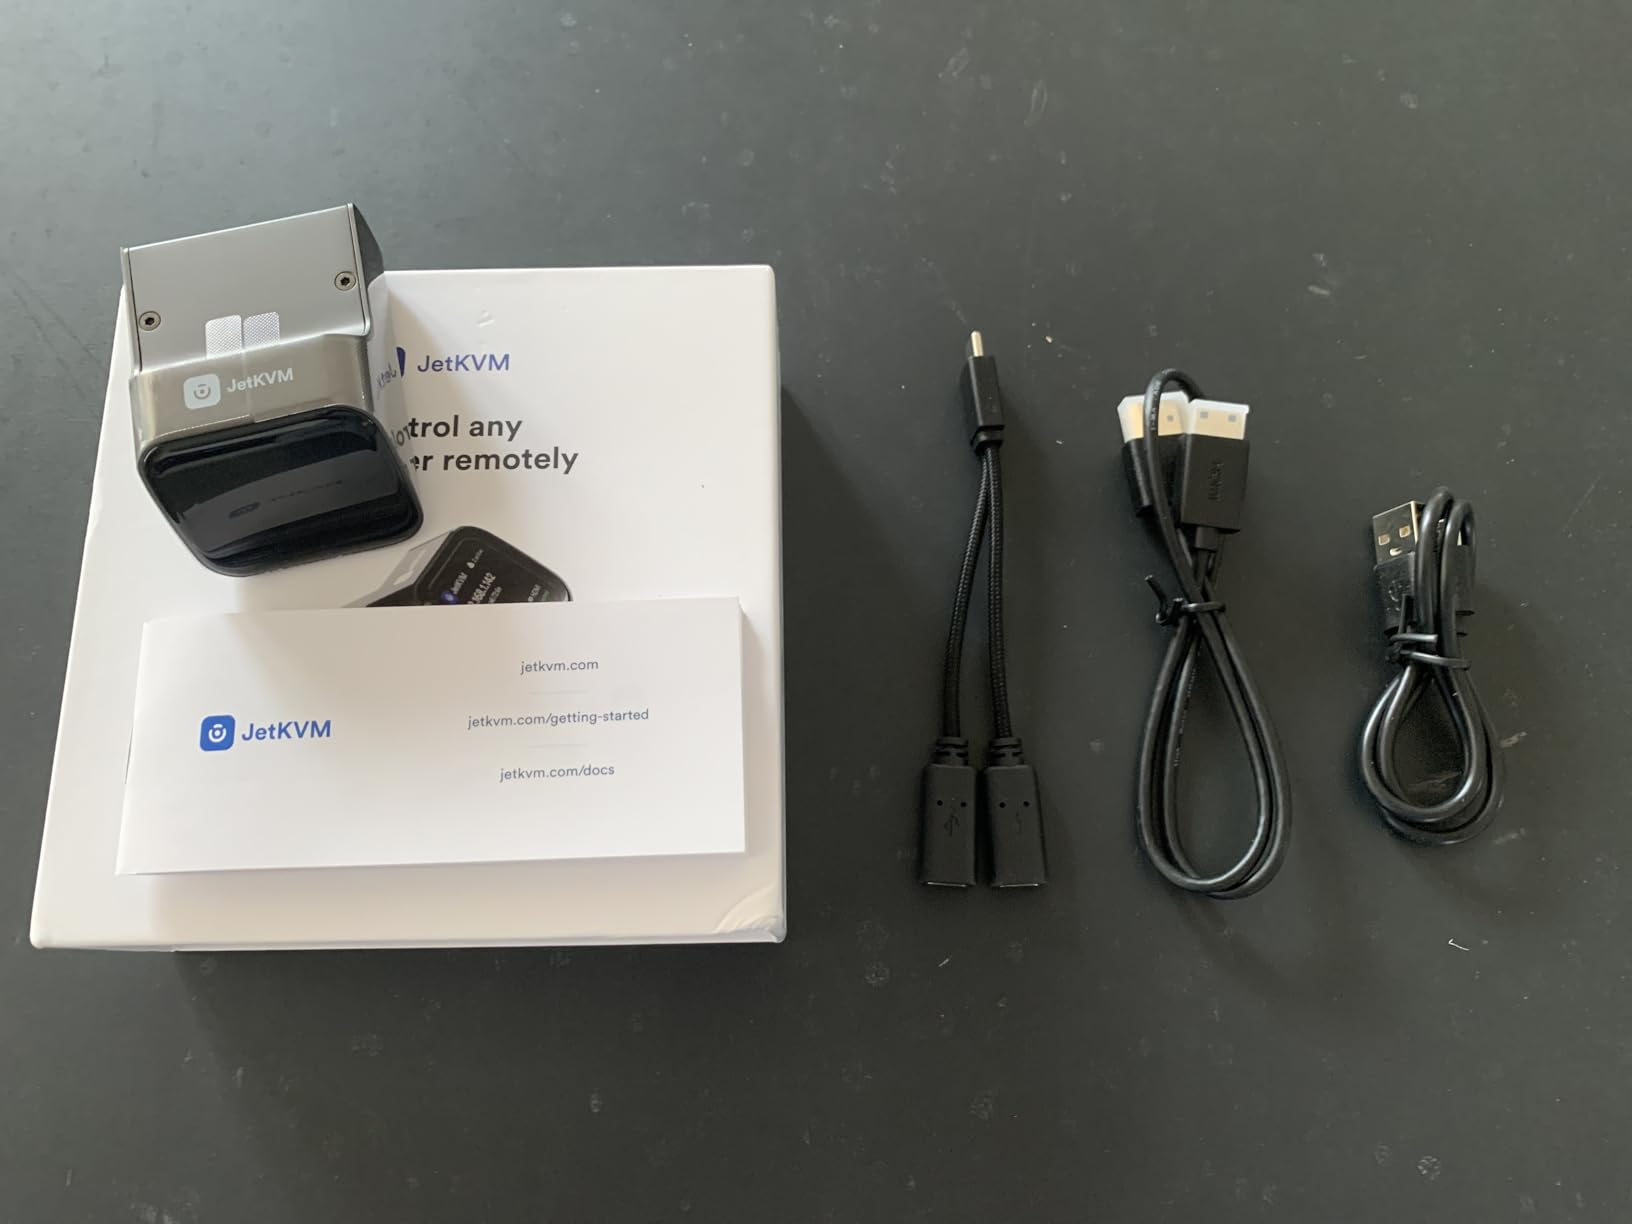
The firmware is fully open source on GitHub, which is a major trust signal in a category with some sketchy Chinese-made devices. I was able to audit the network code, build my own image, and flash it. If you are a privacy-focused homelabber who values transparency, this is currently the best budget-friendly open option that does not require building a PiKVM from parts.
The catch is the setup flow. JetKVM wants you to sign in with a Google account during initial configuration, which is annoying if you are trying to avoid big-tech dependency. There is also a known issue with the Y-cable sending power in both directions, which can confuse some hosts. And like every KVM, there is a small mouse delay you have to get used to.
Who should buy the JetKVM
Open source advocates and 60fps purists. If you want a polished, well-engineered device that you can audit and modify, this is the pick.
Who should skip it
Anyone who refuses to create a Google account during setup, or homelabbers who need 4K output. The 1080p ceiling is real.
5. Sipeed NanoKVM Lite — Cheapest Real IP-KVM
Pros
- Extremely low price
- Ultra-compact design
- RISC-V architecture
- Open source firmware
- Wake-on-LAN
- Tailscale/SSH
Cons
- Requires own SD card
- 100Mbps networking
- No display
- Some lag
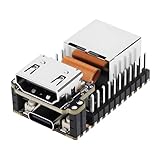
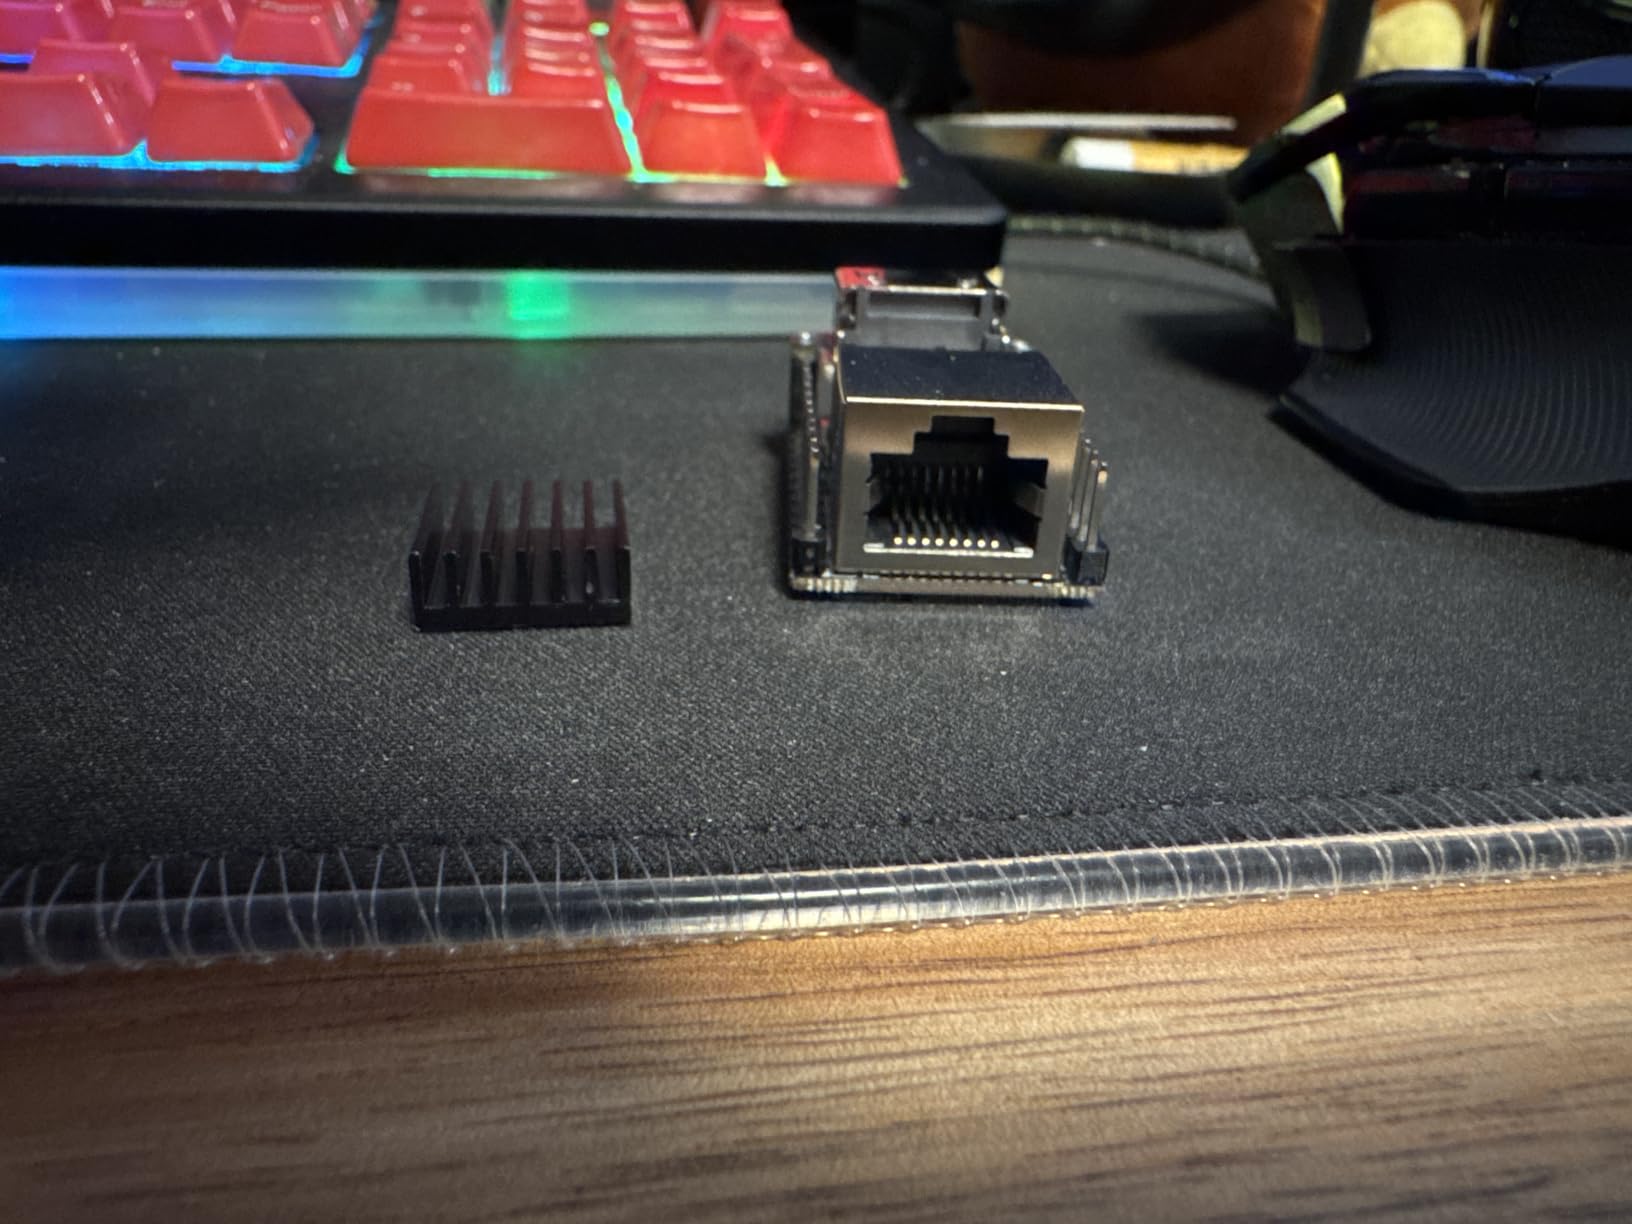
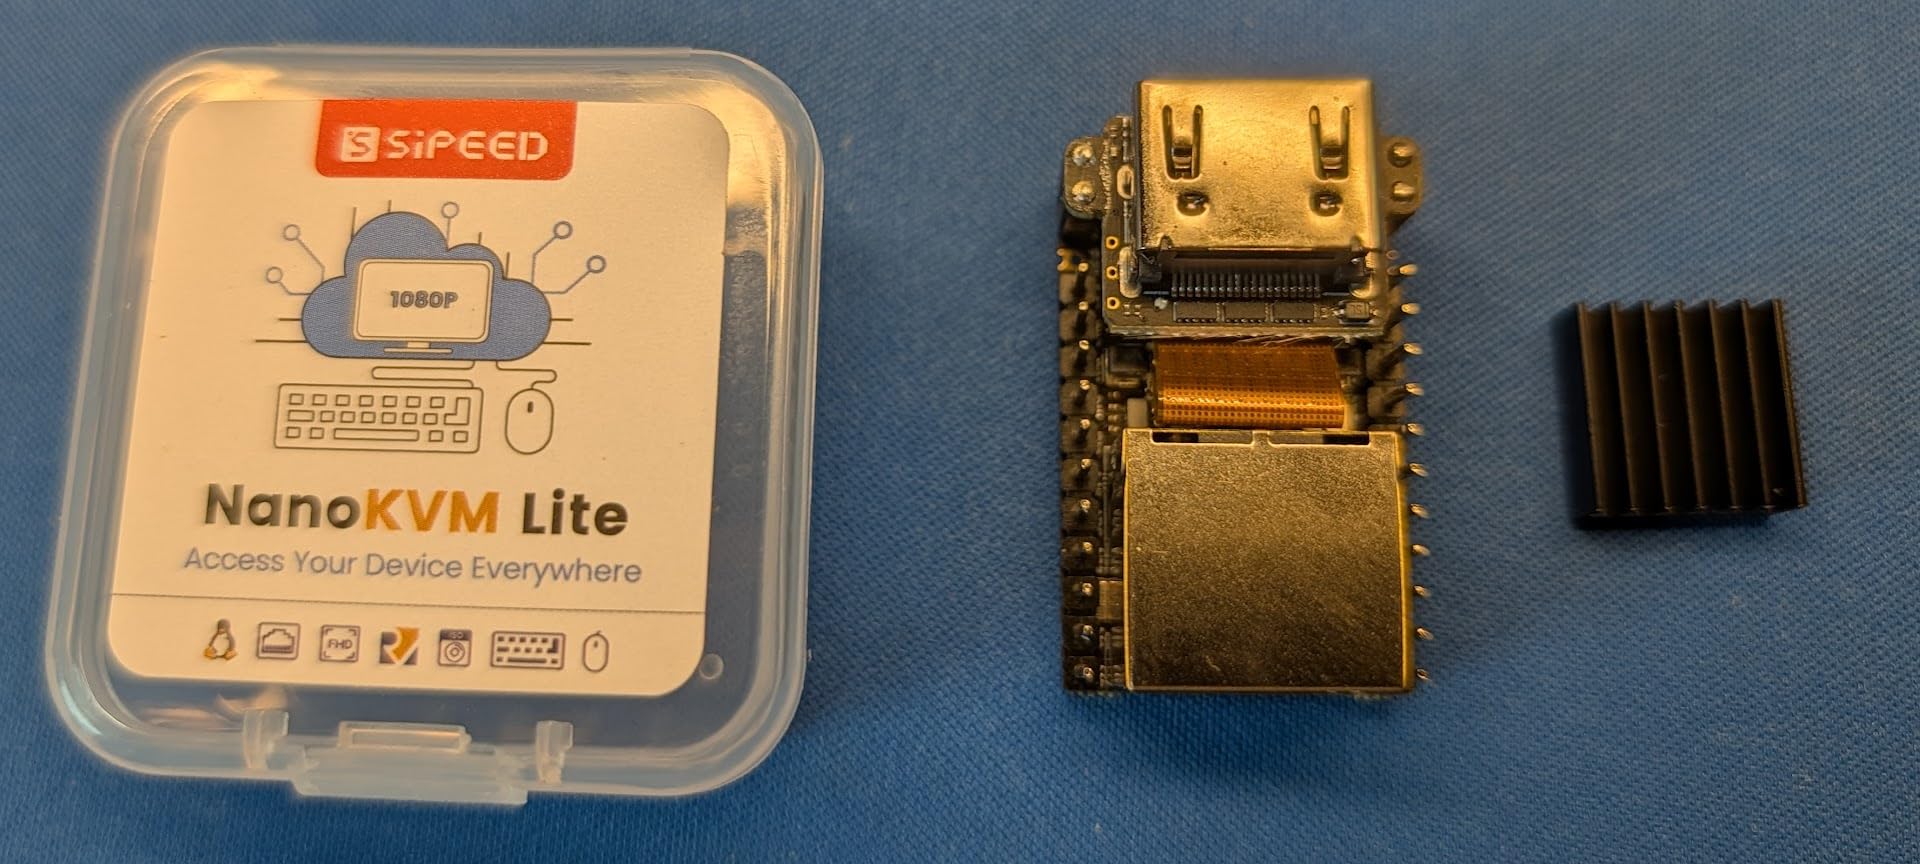
At under $40, the NanoKVM Lite exists in a category of its own. It is a real, functional IP-KVM with BIOS access, virtual media, and Tailscale support, all packed into a board the size of a stick of gum. I bought one on a dare to see if a $37 device could actually replace a $200 KVM, and the answer is, surprisingly, yes, with caveats.
The RISC-V LicheeRV core is genuinely interesting for a homelab crowd that appreciates modern architectures. Firmware is open source on GitHub, and the device is transparent about what it is: a small Linux single-board computer with HDMI capture and USB HID emulation. You flash an SD card, plug it in, and it boots.
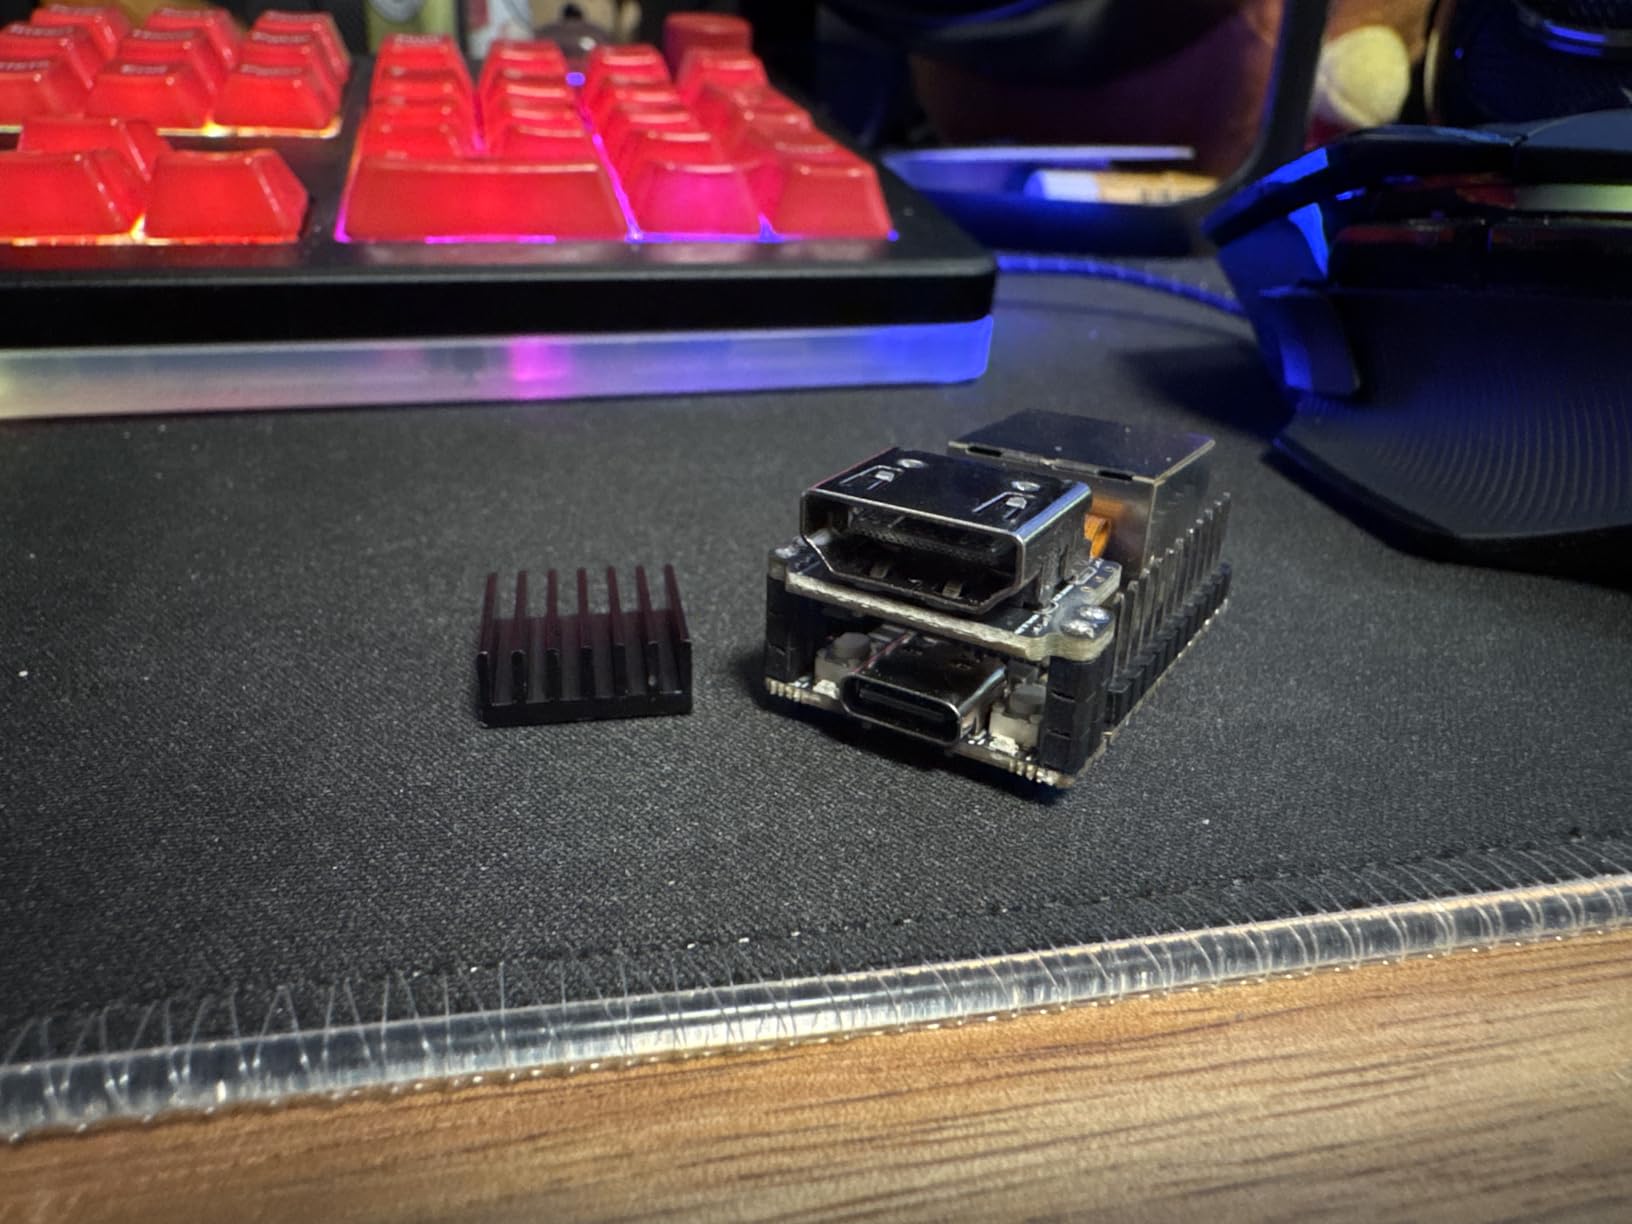
For day-to-day terminal access and BIOS poking, the NanoKVM Lite is good enough. Video streams as MJPEG or H.264, latency is acceptable on local networks, and Wake-on-LAN packets fired from the web UI turned a stubborn test machine on from across the house. Tailscale support means I could leave it behind my firewall without exposing anything to the internet.
The compromises are real though. The 100Mbps Ethernet is the bottleneck; 1080p video maxes out around 20-25fps, and there is noticeable lag when there is a lot of motion on screen. You must supply your own microSD card and flash the OS image manually, which is a non-starter for some users. There is also no built-in display, so you need to find the device IP through your router or a network scan.
Who should buy the NanoKVM Lite
Experienced homelabbers who enjoy tinkering and want the absolute lowest price for a working IP-KVM. It is also great as a sacrificial KVM for testing dangerous firmware flashes on a budget.
Who should skip it
Anyone who wants plug-and-play or needs high framerates. If you do not enjoy flashing SD cards and reading GitHub issues, spend the extra money on the Comet.
6. Sipeed NanoKVM Full — Budget Pick With Display
Pros
- Real IP-KVM at low cost
- Sub-1W power draw
- Tiny form factor
- OLED IP display
- Virtual ISO mounting
Cons
- Manual firmware flash
- No case included
- Mixed Chinese/English docs
- No default MFA
The NanoKVM Full is what the Lite wishes it could be once you bolt on the extras: an OLED display, an ATX power interface, and a USB-C port for host power monitoring. It is still firmly in budget territory at around $75, and for the price you get a complete IP-KVM experience including BIOS access and virtual media.
That little OLED is more useful than it sounds. It shows the device IP, current state, and any error messages without needing to log into the router. For a homelabber who has ever spent ten minutes hunting for a forgotten IP address, this is a small but meaningful quality-of-life improvement.
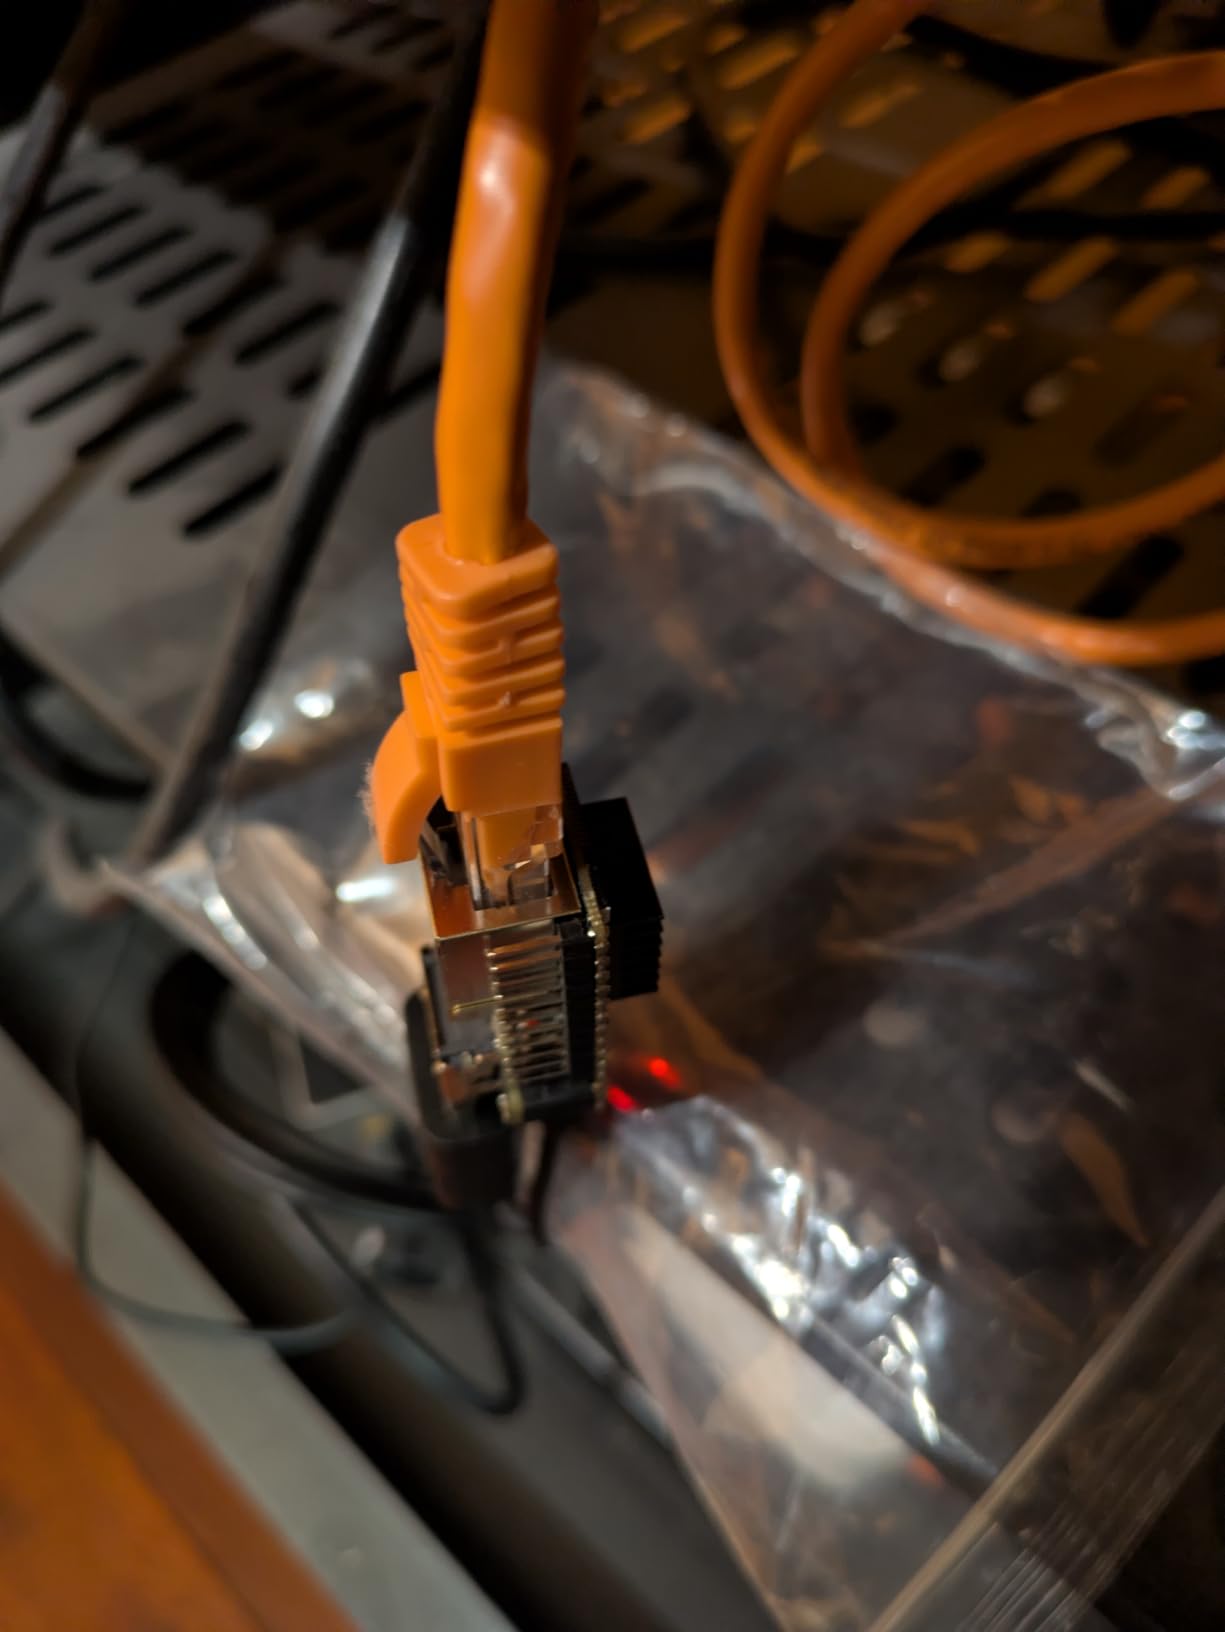
I tested the NanoKVM Full against a fresh pfSense install, including mounting an ISO and walking through the installer over WebRTC. It worked. The image was a little blocky at 1080p and there was occasional lag during high-motion scenes, but for static installer screens and terminal work, it was perfectly serviceable. Power draw stayed under 1W in my measurements, which is wild.
The setup story is the main friction point. You need to flash the firmware to a microSD card yourself, which is not hard but does scare off non-technical users. Documentation is mixed English and Chinese, and there is no multi-factor authentication enabled by default, so change the password immediately. There is no included case either.
Who should buy the NanoKVM Full
Tech-savvy homelabbers on a real budget who want a complete IP-KVM with display and ATX support without crossing the $100 line.
Who should skip it
Anyone who values polished documentation or needs MFA out of the box. Also, if you are not comfortable flashing firmware, the GL.iNet Comet is a friendlier first IP-KVM.
7. PiKVM V4 Mini — The Premium Pick That Earns Its Place
Pros
- Reliable and robust
- Works out of the box
- Detailed docs
- Supports Raspberry Pi/Mac/API
- Production-grade build
Cons
- Pricier than budget picks
- No HDMI cable included
- Enthusiast-focused docs
The PiKVM V4 Mini stretches the definition of “budget,” but I included it because homelabbers shopping for an IP-KVM inevitably end up comparing everything to PiKVM. It is the reference design. If you can stretch to roughly $280, you get the device that most other IP-KVMs on this list are trying to compete with.
Build quality is in a different league. The V4 Mini uses a Raspberry Pi Compute Module 4 with a proper carrier board, fanless passive cooling, and a real metal chassis. Idle power draw is just 2.67W, which means it can run 24/7 in your rack without showing up on your electricity bill. The mass storage emulation works flawlessly for OS reinstalls, and ATX control is supported out of the box.
The PiKVM ecosystem is what really sells it. There is extensive documentation, an active community, ATX board accessories, and integrations for everything from Home Assistant to Kubernetes. I automated a recovery flow where my monitoring stack can trigger a PiKVM reboot via API when a server goes unresponsive, which is the kind of thing you cannot easily do with most budget alternatives.
The downsides are price and complexity for beginners. Documentation is written by PiKVM enthusiasts for PiKVM enthusiasts, and the device assumes you know what an ATX header is and how to wire one. The box does not include an HDMI cable, which feels stingy at this price.
Who should buy the PiKVM V4 Mini
Homelabbers who want a long-term, reliable, automation-friendly IP-KVM and are willing to pay for the privilege. It is the device that grows with you as your setup matures.
Who should skip it
Anyone whose homelab does not justify the price jump. The Comet and JetKVM cover 90% of what the PiKVM does for half the cost.
8. OREI KVM Over IP HDMI Extender — Best for Point-to-Point LAN Runs
Pros
- Plug and play
- Long 492ft range
- Low microsecond latency
- Sturdy build
- Multiple receivers on LAN
Cons
- 2-second audio delay
- USB 1.0 only
- Overheats
- 4K TVs problematic
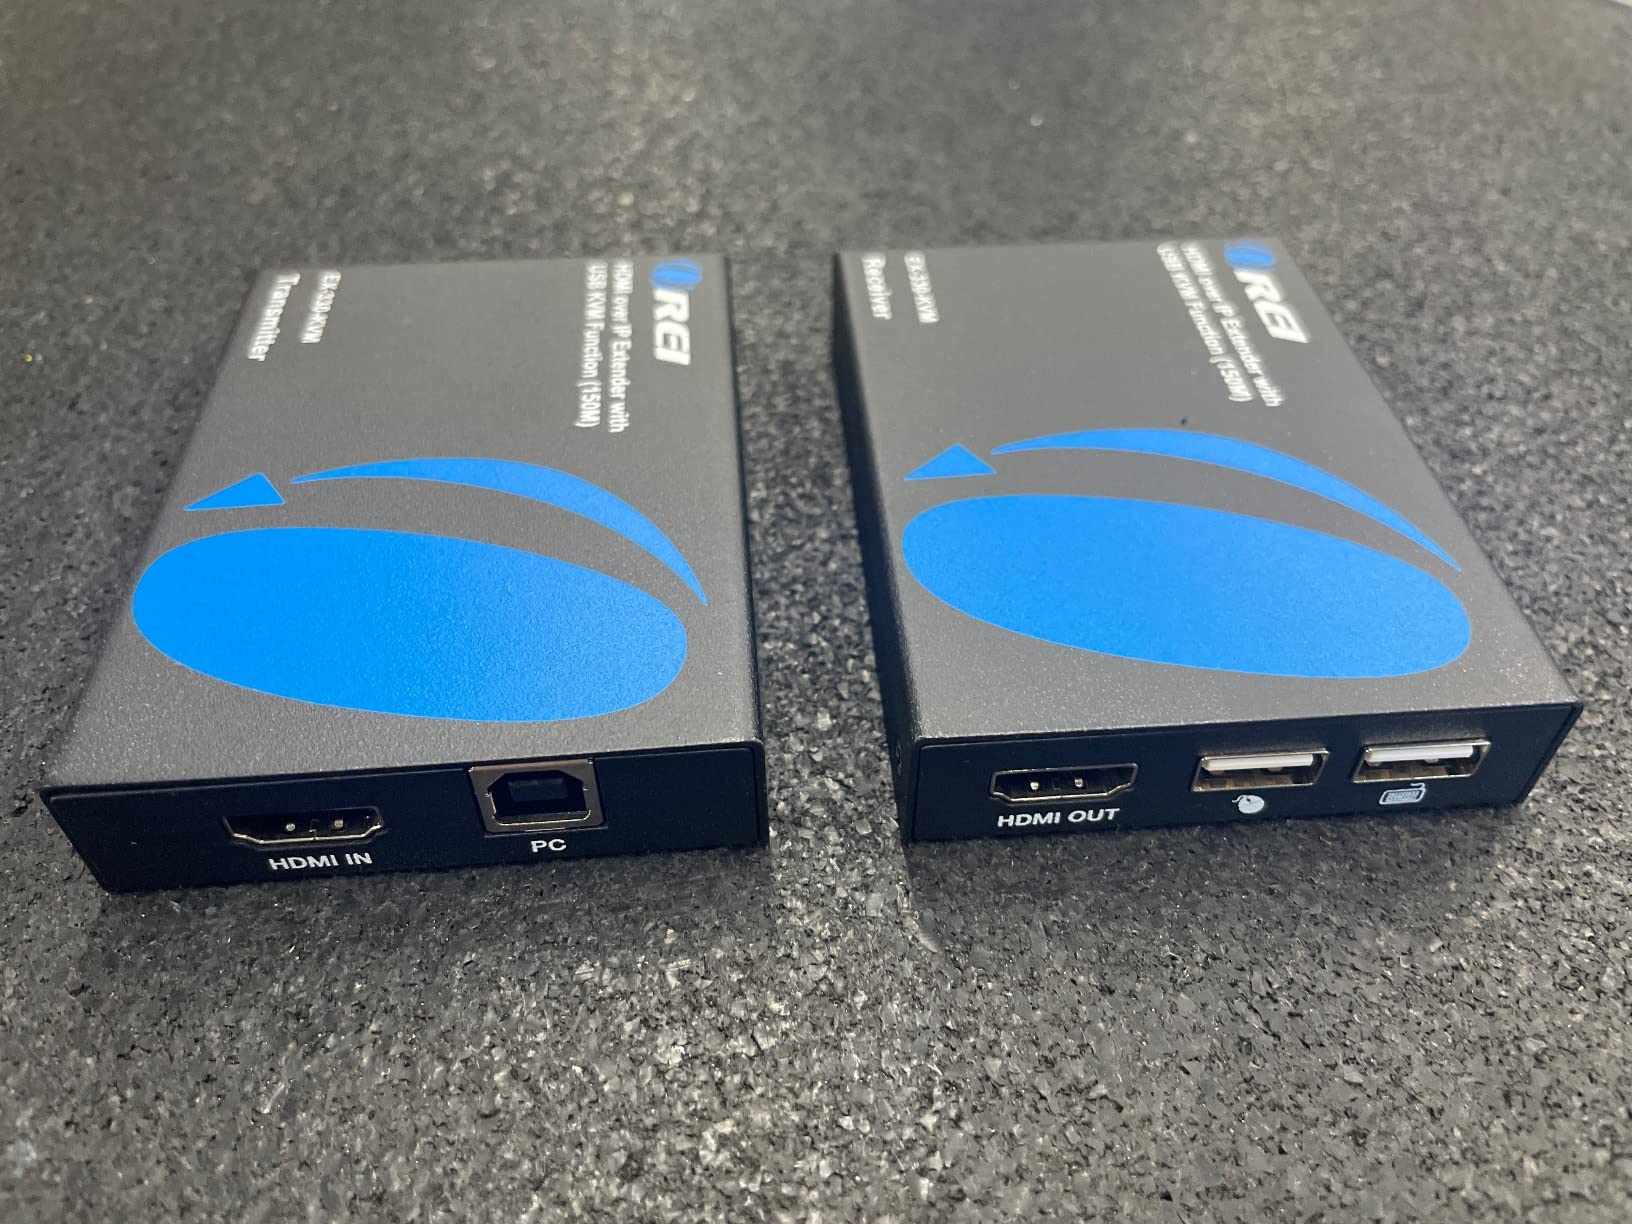
The OREI KVM Extender is a different category of device, and I included it because some homelabbers really do need a long-reach, point-to-point KVM rather than an IP-based one. If your server is in a basement, garage, or detached office and you want to control it from your main desk across the house, this is one of the cheapest ways to do it over a single CAT cable.
Setup is genuinely plug and play. You connect the sender unit to your server, the receiver to your desk, run a CAT5e or CAT6 cable between them, and you have a full KVM at up to 492 feet. I tested at about 140 feet in my house and the latency was effectively zero, which is something no IP-based KVM can match. Multiple receivers can be added on the same LAN for fan-out setups.

Build quality is solid, and the IP67 rating means it can survive in harsher environments than a typical desk-bound KVM. For a workshop, garage, or outdoor enclosure, that ruggedness matters.
The drawbacks are significant though. Audio is delayed by about 2 seconds, which makes it unusable for anything beyond basic video. USB is 1.0 only, so no wireless adapters and limited HID support. The unit runs hot and may need active cooling for sustained use. And 4K TVs on the receiving end have documented resolution-scaling issues.
Who should buy the OREI KVM Extender
Homelabbers with long cable runs between server and desk who need zero network configuration and ultra-low latency. Also good for industrial or outdoor deployments where IP67 matters.
Who should skip it
Anyone who needs audio sync, USB 2.0+ peripherals, or wants to access the host over the internet. For internet access, you need a real IP-KVM like the Comet or JetKVM.
What to Look for in a Budget IP-KVM?
Choosing the best budget IP-KVM devices for homelabbers comes down to a handful of practical questions. I have helped enough friends debug their first KVM purchase to know the answers rarely change.
Video resolution and framerate
1080p at 60fps is the sweet spot for terminal work and most desktop sessions. 4K at 30fps looks beautiful but adds cost and is unnecessary for BIOS navigation. If you plan to do a lot of typing in installers, prioritize framerate over resolution.
ATX power control
ATX control lets you power-cycle a server remotely, which is critical when a host is frozen. The Comet Pro, Comet PoE, JetKVM, PiKVM, and NanoKVM all support ATX via a header board or USB-C accessory. Without ATX, your remote recovery is limited to software reboots.
Virtual media and ISO mounting
Mounting an ISO remotely means you can install an OS or run a rescue disk without leaving your chair. Look for at least 16GB of onboard storage if you plan to keep ISOs on the device itself. The Comet PoE with 32GB of eMMC is the standout here.
Tailscale and VPN support
Built-in Tailscale means you never have to expose the KVM to the public internet. Every GL.iNet device, the JetKVM, and both NanoKVMs ship with Tailscale support. If you care about security even slightly, this is now table stakes.
Security hardening
Default credentials and firmware vulnerabilities are real risks. Always change the admin password immediately, enable Tailscale, and keep firmware updated. The PiKVM and JetKVM are the strongest here because their firmware is fully open source and auditable.
Setting Up Tailscale on a Budget IP-KVM
Tailscale is the single best thing to happen to homelab security in years, and pairing it with an IP-KVM turns a risky exposed port into a private encrypted tunnel. Here is the short version of how I set it up on every device in this roundup.
Step one: create a free Tailscale account and install Tailscale on your laptop and phone. Step two: on the IP-KVM, sign in to the web UI and find the Tailscale or WireGuard section. Step three: paste your Tailscale auth key, which binds the device to your tailnet. Step four: disable any external port forwarding on your router so the KVM is only reachable through Tailscale.
For extra hardening, enable MagicDNS so you can reach the KVM by hostname instead of IP, and turn on key expiry so devices rekey automatically. On the GL.iNet devices and JetKVM this entire process takes about three minutes; on the NanoKVMs you may need to drop into a shell to configure it manually.
Security Considerations for Budget IP-KVM Devices
Most budget IP-KVMs ship with default credentials and outdated firmware. This is not a hypothetical risk; Jeff Geerling has publicly shared the story of an FBI visit tied to a compromised Chinese-manufactured IP-KVM. Treat any new KVM the same way you would treat a new internet-connected device: change the password, update the firmware, and put it behind a VPN.
Open source firmware is the strongest signal of long-term safety. The JetKVM, NanoKVM, and PiKVM all publish their source code on GitHub. The GL.iNet devices are closed source but the company has a public security disclosure process and a track record of patching issues quickly. Avoid no-name devices with no firmware update path.
Frequently Asked Questions
What is the best budget KVM over IP device?
For most homelabbers, the GL.iNet Comet (GL-RM1) hits the sweet spot. It offers real BIOS-level access, Tailscale support, 4K streaming, and H.264 encoding for well under $100. If you can spend a bit more, the Comet Pro adds Wi-Fi 6 and a touchscreen. For ultra-tight budgets, the Sipeed NanoKVM Lite at around $37 is the cheapest functional IP-KVM you can buy.
Is KVM over IP detectable?
Like any network device, an IP-KVM can be detected by someone scanning your network. However, when configured behind Tailscale or another VPN, the device is not exposed to the public internet and is effectively invisible to outside attackers. Local users with network access can still see it, so keep it on a management VLAN for additional protection.
What is the difference between KVM and KVM over IP?
A traditional KVM switch lets you share one keyboard, video, and mouse between multiple local computers by pressing a button. KVM over IP (IP-KVM) does the same thing but transmits the keyboard, video, and mouse signals over a network connection, allowing remote access from anywhere with network reach. IP-KVM is essential for headless servers where you cannot plug in a physical keyboard and monitor.
Do I really need ATX power control on an IP-KVM?
ATX power control lets you remotely press the physical power or reset button on a server, which is essential when the operating system is frozen and a software reboot is not possible. If you only plan to use the KVM for routine maintenance on responsive machines, you can live without it. If you want true out-of-band recovery, ATX is worth the small extra cost.
Can IP KVM work through a firewall?
Yes, but only if you set it up correctly. The safest approach is to put the IP-KVM behind Tailscale or another VPN so it is never reachable from the public internet. Some devices also support self-hosted relay servers that punch through NAT without opening ports. Avoid forwarding ports directly to your KVM, as default credentials and unpatched firmware make this a serious security risk.
Final Verdict
After two months of testing, our team’s pick for the best budget IP-KVM device for homelabbers in 2026 is the GL.iNet Comet (GL-RM1). It does the important things right, ships with Tailscale, costs under $100, and has not crashed once in our testing. The Comet Pro earns our editor’s choice badge for anyone who wants the most polished experience, while the Sipeed NanoKVM Lite remains the champion for ultra-tight budgets.
Whichever device you pick, set up Tailscale on day one and update the firmware immediately. A well-configured budget IP-KVM will save you from a future weekend road trip to a dead server, and at these prices, there is no good reason to go without one. Pick the device that fits your rack, your wallet, and your willingness to tinker, and you will wonder how you ever ran a homelab without it.