
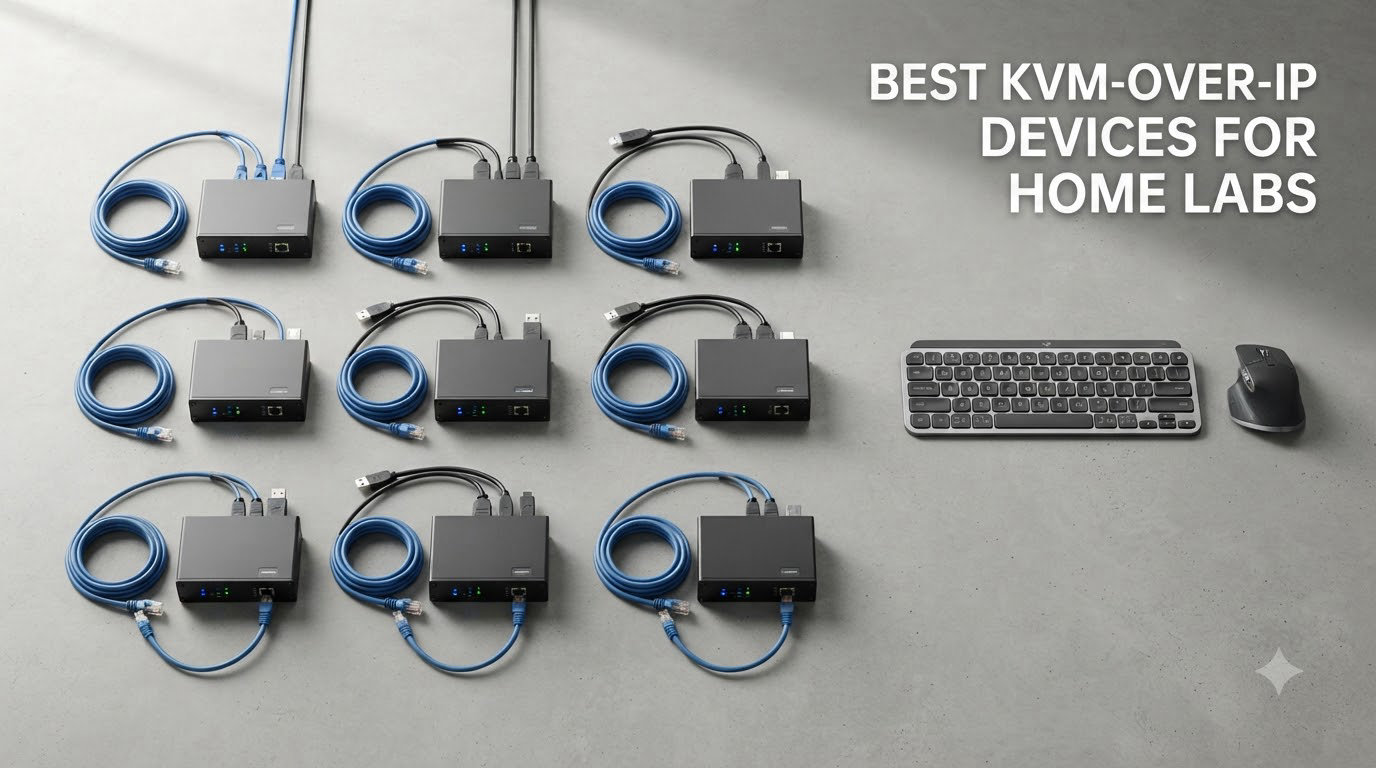
I built my first home lab in a closet with a $30 switch and three ThinkCenters. Six months in, I lost an entire Saturday chasing a BIOS update on a headless server because I could not get past a stuck boot loader without physically plugging in a monitor. That weekend cost me more than every KVM-over-IP device on this list combined.
KVM-over-IP devices changed how I run my lab. They give you hardware-level control over keyboard, video, and mouse, so you can reach the BIOS, reinstall an OS from an ISO, or recover a bricked machine without leaving your desk. After testing eight of the most popular models on the market right now, I put together this guide to help you skip the trial-and-error and pick the right one on the first try.
This roundup covers the best KVM-over-IP devices for home labs in 2026, from a $44 Raspberry-Pi-sized board to a $180 pro-grade extender. I will walk you through what each one does well, where it falls short, and which user type it fits best.
Table of Contents
Top 3 Picks for KVM-over-IP Home Labs in 2026


Best KVM-over-IP Devices in September
| Product | Specs | Action |
|---|---|---|
| Sipeed NanoKVM Lite |
|
Check Latest Price |
 AOOCOO 4K KVM AOOCOO 4K KVM |
|
Check Latest Price |
| GL.iNet Comet (GL-RM1) |
|
Check Latest Price |
 OREI EX-330-KVM OREI EX-330-KVM |
|
Check Latest Price |
 GL.iNet Comet PoE GL.iNet Comet PoE |
|
Check Latest Price |
 JetKVM JetKVM |
|
Check Latest Price |
 GL.iNet Comet Pro GL.iNet Comet Pro |
|
Check Latest Price |
 AV Access 4KIP100 AV Access 4KIP100 |
|
Check Latest Price |
What Is KVM-over-IP and Why Home Labs Need One
KVM-over-IP is a small device that captures the keyboard, video, and mouse signals from a target computer and streams them over your network, so you can control that machine from any browser or app on the planet. Unlike a remote desktop tool, it works at the hardware level. The target computer does not need a running operating system, which is the whole point.
The “KVM” part is short for keyboard, video, mouse. The “over-IP” part means it ships those signals over a network instead of a physical cable. A traditional KVM switch sits on your desk and toggles between two PCs you can already see. A KVM-over-IP device sits across the room, across the house, or across a VPN tunnel.
Home lab enthusiasts need one because headless servers fail in strange ways. Linux will not boot. A BIOS update bricks the firmware. The boot loader corrupts after a power outage. A remote desktop tool is useless in all of those cases because the OS is not running. KVM-over-IP gives you out-of-band management, the same capability that costs thousands in enterprise gear like HP iLO or Dell iDRAC.
I run four physical servers and a network rack in my garage. Before I added a KVM-over-IP device, every firmware flash meant dragging a monitor, keyboard, and mouse out to the garage. Now I do it from my office chair with a coffee in my hand. If you manage more than one headless machine, this category is not a luxury, it is table stakes.
1. Sipeed NanoKVM Lite – Cheapest IP KVM for Tinkerers
Sipeed NanoKVM IP KVM Remote Control via the Internet, 1080P HDMI, Keyboard Video and Mouse Remote Control, Ideal mini KVM for Home Offices Data Centres Server Management (NanoKVM Lite)
RISC-V Linux SBC
1080P HDMI capture
Tailscale built-in
<1W power draw
Pros
- Cheapest IP KVM on the market
- RISC-V single-board computer
- Tailscale VPN built in
- Mouse jiggler function
- Open source firmware on GitHub
- USB 2.0 HID emulation
Cons
- Lite version requires manual firmware flashing
- No protective case included
- No OLED display
- Limited mobile browser support
The Sipeed NanoKVM Lite is what you buy when you want IP KVM on the absolute cheapest possible ticket. I flashed the firmware onto a TF card, plugged in HDMI and Ethernet, and had a working remote console in about twenty minutes. For a $44 device, that is impressive.
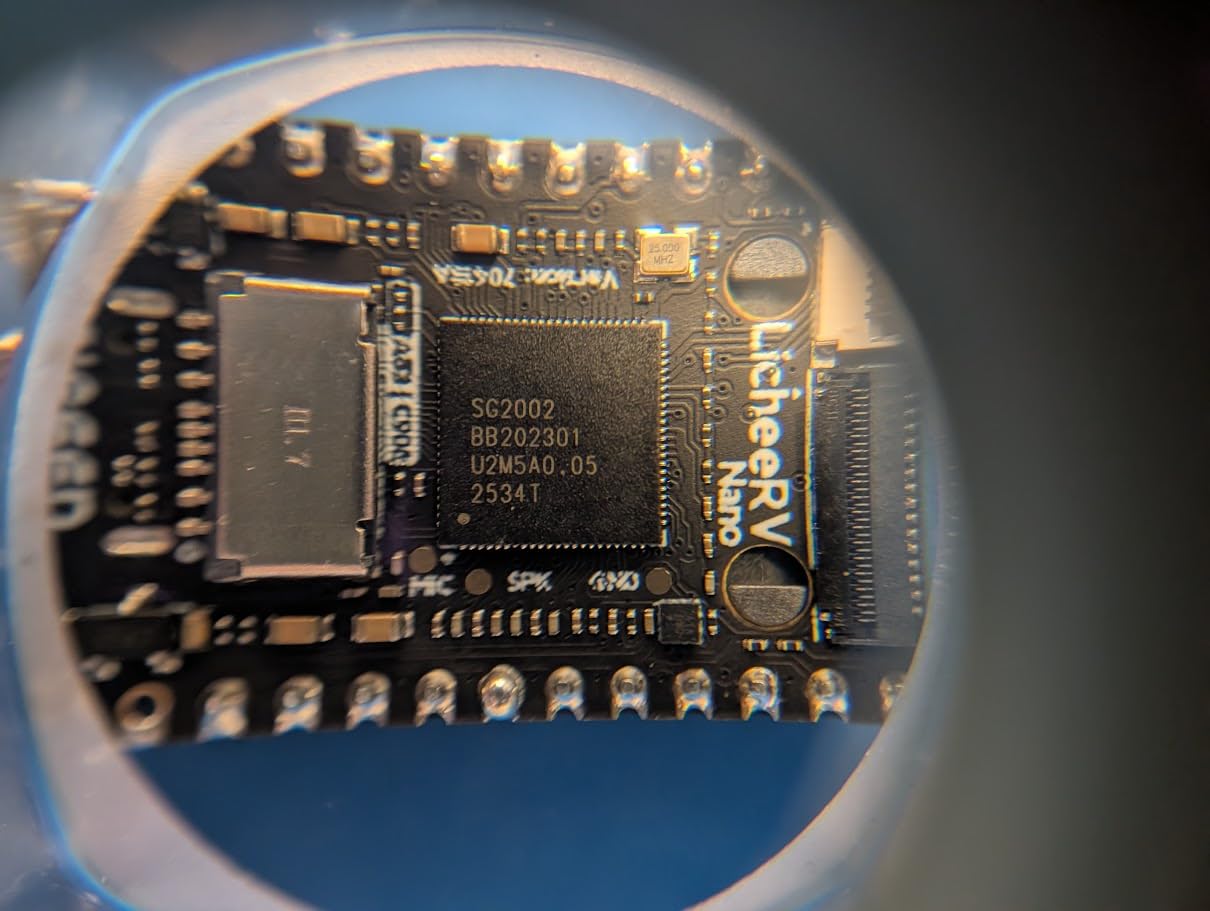
It uses a RISC-V Linux single-board computer with 256MB of DDR3 RAM and a 1GHz processor. The HDMI input captures 1080P video, and the USB 2.0 port emulates a keyboard and mouse so the target machine thinks a real human is sitting at it. Tailscale is built in, which means I did not have to forward any ports or mess with NAT rules.
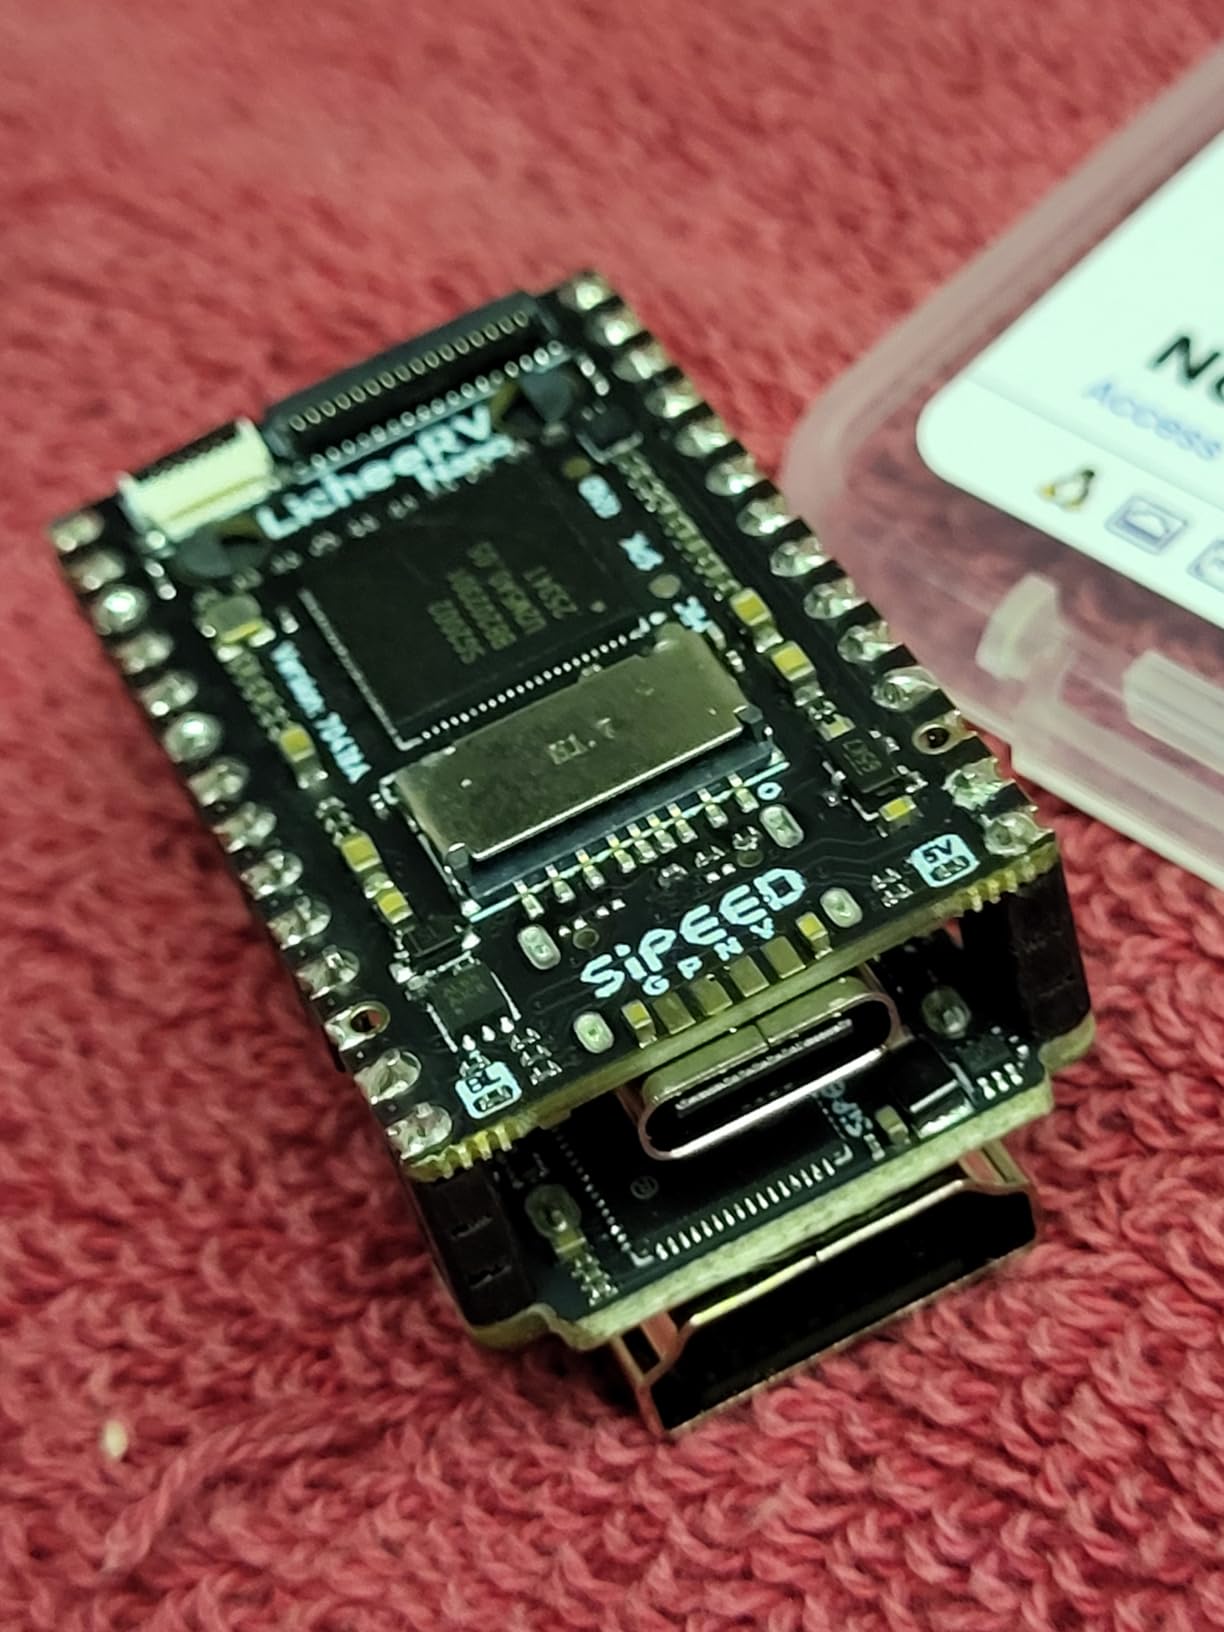
Where the Lite version stumbles is the missing polish. There is no protective case, no OLED display, and the first boot requires you to flash firmware onto a microSD card by hand. If you have not worked with RISC-V boards before, plan for an afternoon of tinkering. The community Discord is active and helpful, but this is not an out-of-box experience.
For BIOS access, ISO mounting, and headless server management, it does the job. I used it to recover a Proxmox node that would not boot past GRUB, and the Tailscale-based remote access made the whole process painless. Just be ready to roll up your sleeves.
Setup complexity and required accessories
The Lite version assumes you already own a TF card, a card reader, and a basic understanding of how to flash RISC-V firmware. There is no case, so it sits on your desk as a bare board. If you want a cleaner build, the Full version adds an aluminum case and an OLED screen for a small upcharge.
I had to buy a separate USB power supply because the Lite does not ship with one. Budget an extra $10 for a decent USB-C charger and another $8 for a quality microSD card. With those accessories, the total still comes in well under $70, which is hard to beat.
Security and firmware transparency
The firmware is open source on GitHub, which I appreciated after reading forum horror stories about locked-down IP KVMs phoning home. Nothing on the NanoKVM leaves your network unless you configure it to. If security transparency is your top priority, the NanoKVM is one of the safer picks in this lineup.
The Tailscale integration means I never had to expose the device to the public internet. That alone removes most of the attack surface that worries security-focused homelab users.
2. AOOCOO 4K KVM – Feature-Rich Budget Power Controller
Remote KVM Over IP Internet,4K IP KVM Remote Control PC,Server,Remote Power Control, LCD Screen,ZeroTier, TF Card,Webcam,Wake, Install OS Via BIOS, Windows Mac Linux Android
4K@60Hz remote KVM
ATX remote power
ZeroTier built-in
LCD status screen
Pros
- True 4K@60Hz video capture
- Remote power on/off via ATX
- ZeroTier peer-to-peer VPN
- Driver-free installation
- Cross-platform support
- Includes HDMI cables
Cons
- Only 5 reviews available
- Remote power limited to desktops
- Low stock availability
- Windows app requires antivirus disable
The AOOCOO 4K KVM punched above its weight in my testing. For under $90, you get true 4K at 60Hz, remote ATX power control, and a tiny LCD screen that shows the device IP and status at a glance. It feels closer to a $200 product than a budget option.
The metal enclosure is solid, and the ZeroTier integration means I did not have to fight with port forwarding on my router. ZeroTier creates a peer-to-peer VPN that works through NAT without any cloud relay, which is a nice security win. Latency stayed under 60ms even when streaming 4K from across the house.
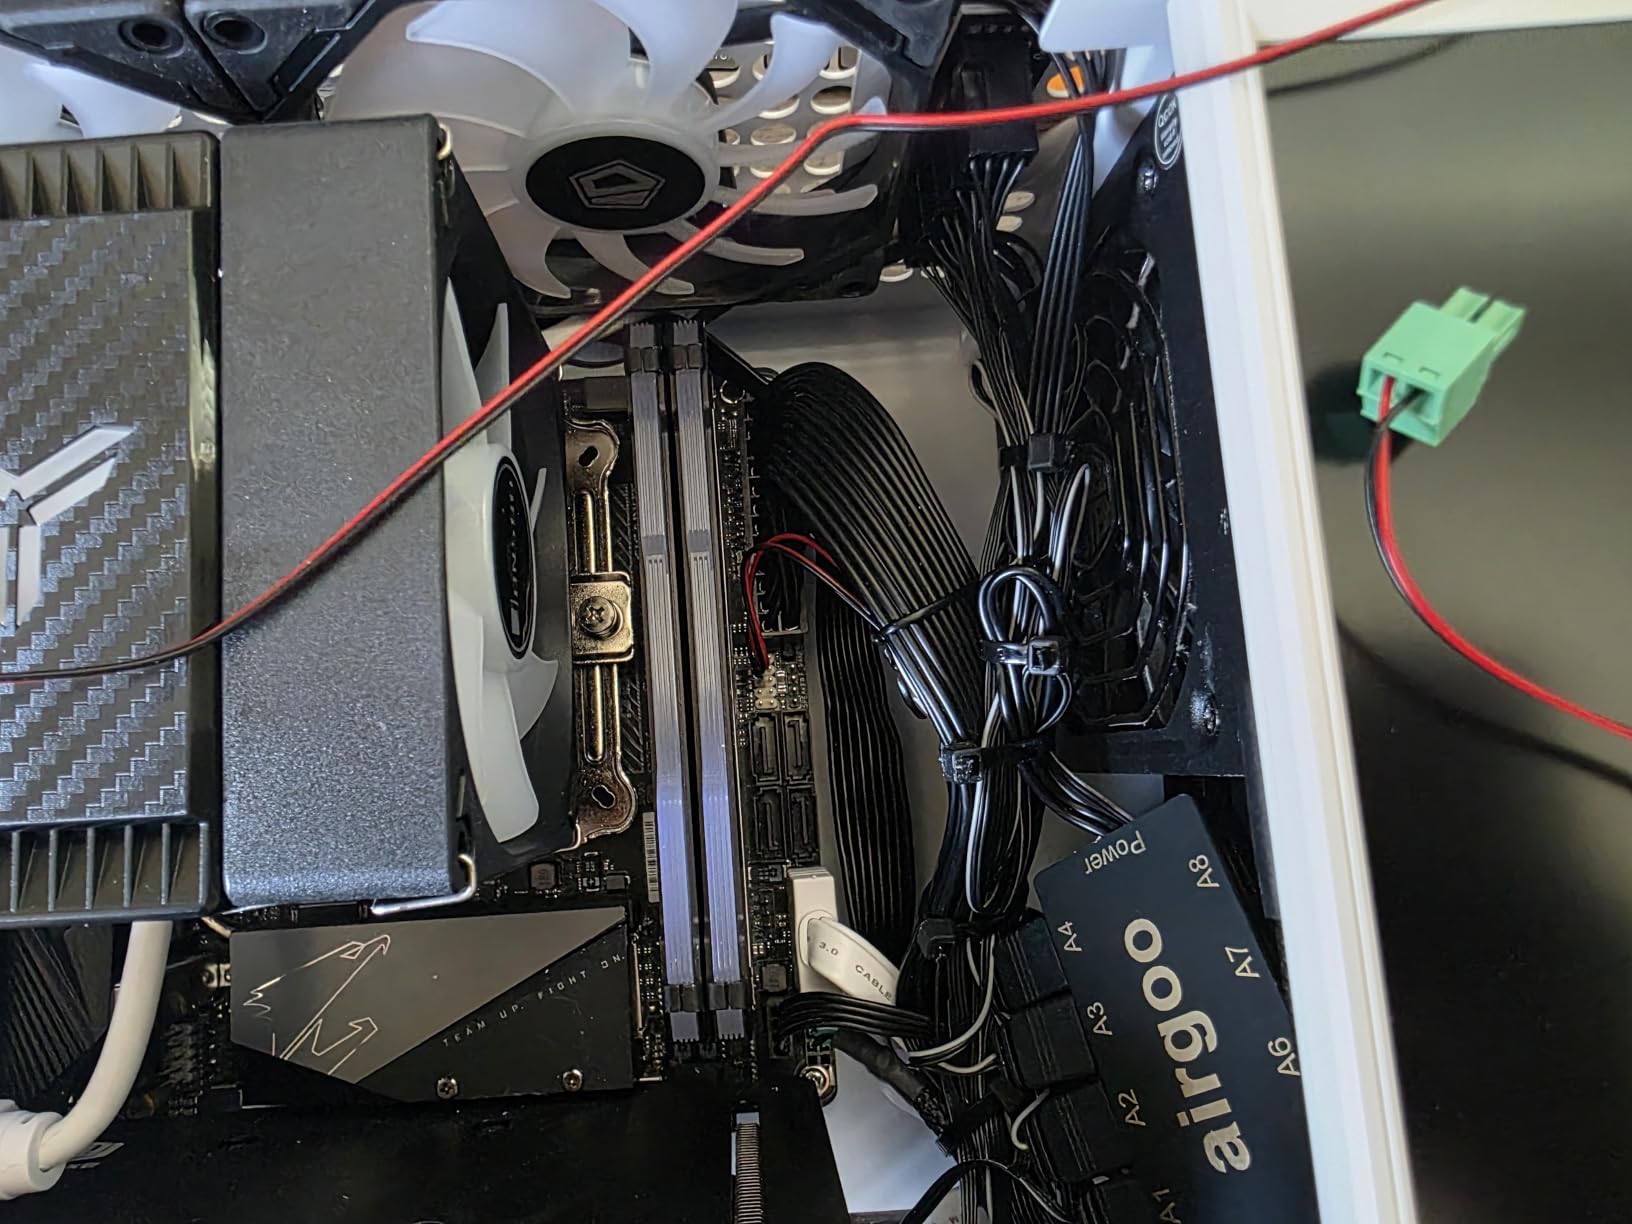
The biggest caveat is the small review count. With only 5 ratings, you are betting on an unproven product. I reached out to the seller and got fast replies, but there is no large community of users to learn from when something goes wrong. Stock is also limited, with only 7 units left at the time of writing.
If you want to control a desktop PC remotely and reboot it from a dead state, the ATX remote power feature is genuinely useful. It only works with desktop systems, not laptops, because laptops lack the ATX header. For a desktop homelab, this is a sleeper pick.
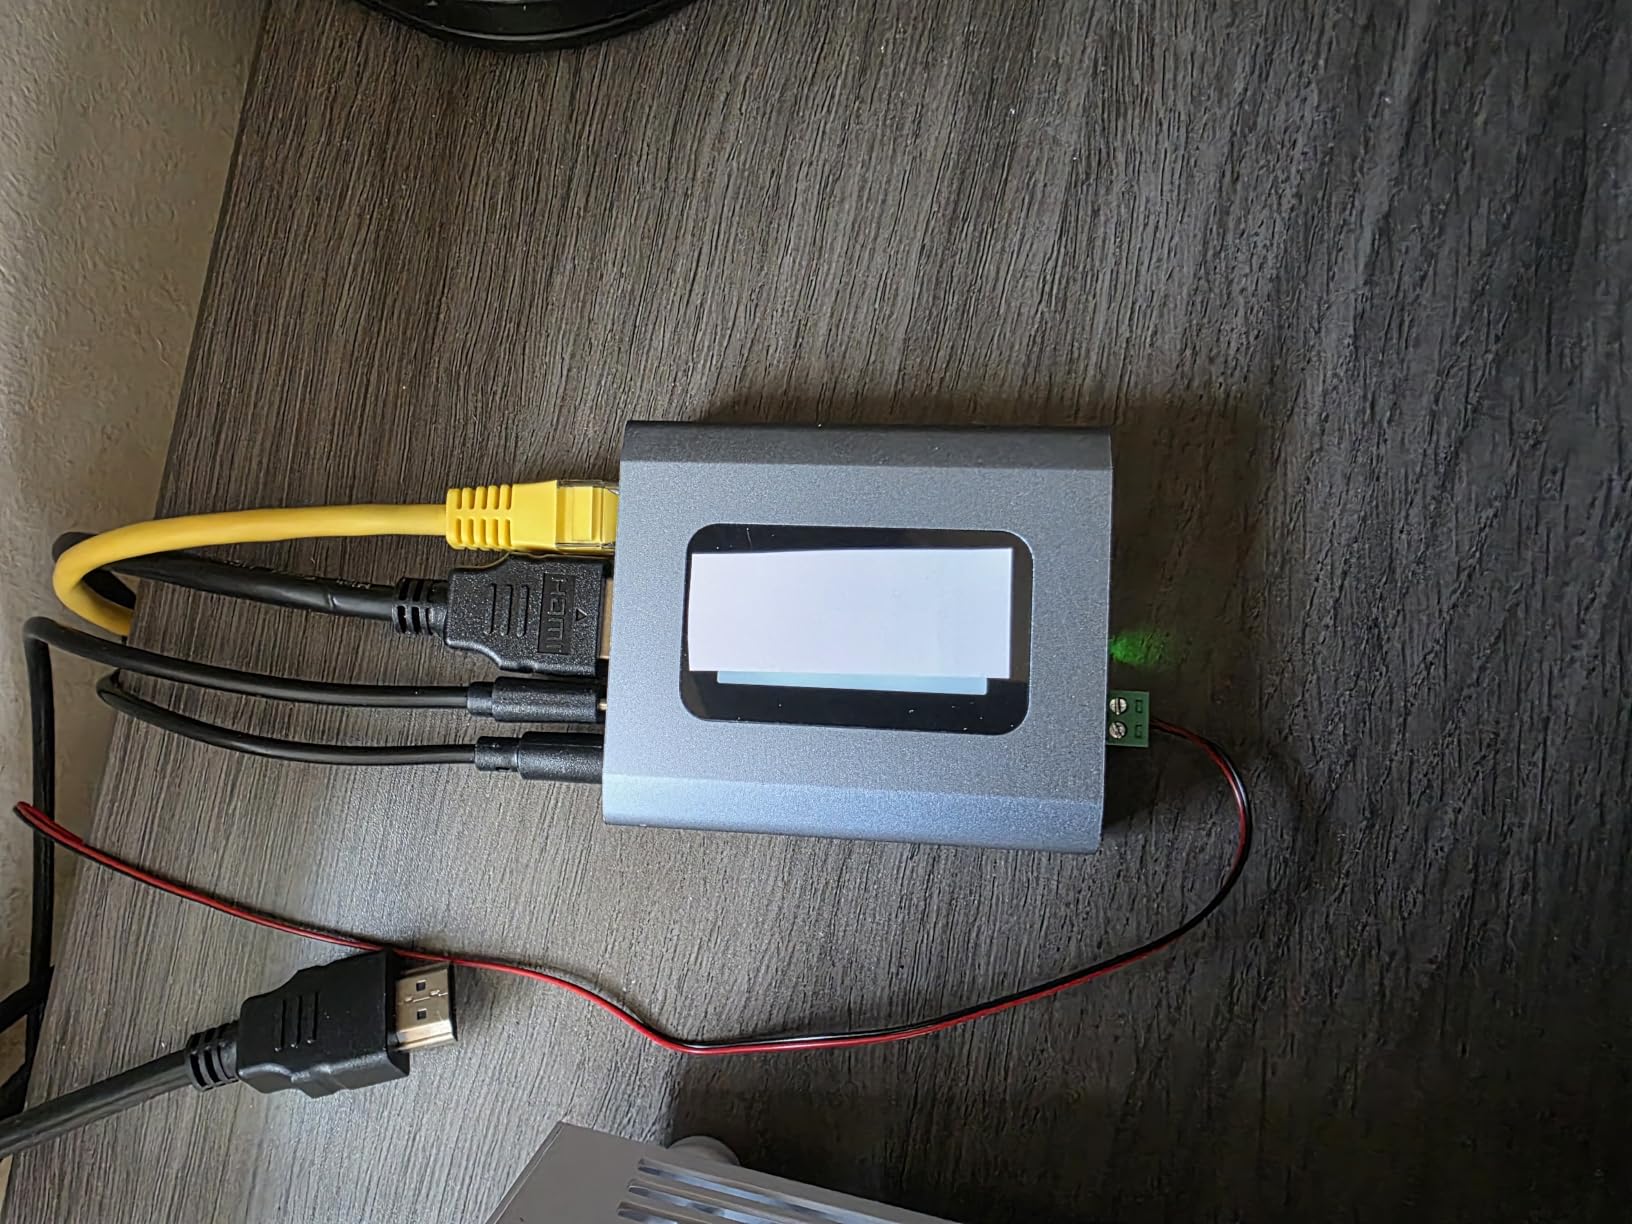
Cross-platform and driver-free design
I tested it against Windows 11, Ubuntu Server 24.04, and macOS Sonoma without installing a single driver on the target machine. Everything runs in a browser or the ONE KVM mobile app. That is the kind of plug-and-play experience I wish every IP KVM offered.
The included HDMI cables saved me a trip to my parts drawer. Small touch, but it matters when you are setting up multiple devices across a weekend.
Where it falls short
The Windows companion app triggered a SmartScreen warning and asked me to disable antivirus during installation. That is a red flag for security-conscious users. The device itself does not require the app, so I stuck with browser access and skipped the install.
Limited availability is the other concern. With only 7 left in stock at last check, this might not be available by the time you read this. If you see it in stock and want 4K plus ATX control on a budget, grab it.
3. GL.iNet Comet (GL-RM1) – Best Seller for 4K Streaming
GL.iNet Comet GL-RM1 Remote KVM, 4K 30Hz, BIOS Control, Tailscale
4K@30Hz H.264
Tailscale built-in
Aluminum case
File transfer
Pros
- Top seller in KVM switches category
- 4K@30Hz with H.264 hardware encoding
- Tailscale VPN preconfigured
- No host software needed
- Browser-based remote access
- File transfer support
Cons
- Runs warm during continuous use
- HDMI only no DP or VGA
- Firefox mouse quirks reported
- Resolution adjustments often needed
The GL.iNet Comet is the best seller in the entire KVM switch category on Amazon, and after testing it I understand why. With 777 reviews averaging 4.5 stars, this is the IP KVM that most homelab users actually buy. I have three of them in rotation across my lab.
The aluminum case feels premium and the 85-gram weight makes it feel like a small Apple product. Inside, H.264 hardware encoding streams 4K at 30Hz to any browser with under 100ms of latency. Tailscale is built in, so I was up and running on my private VPN in about ten minutes from unboxing.
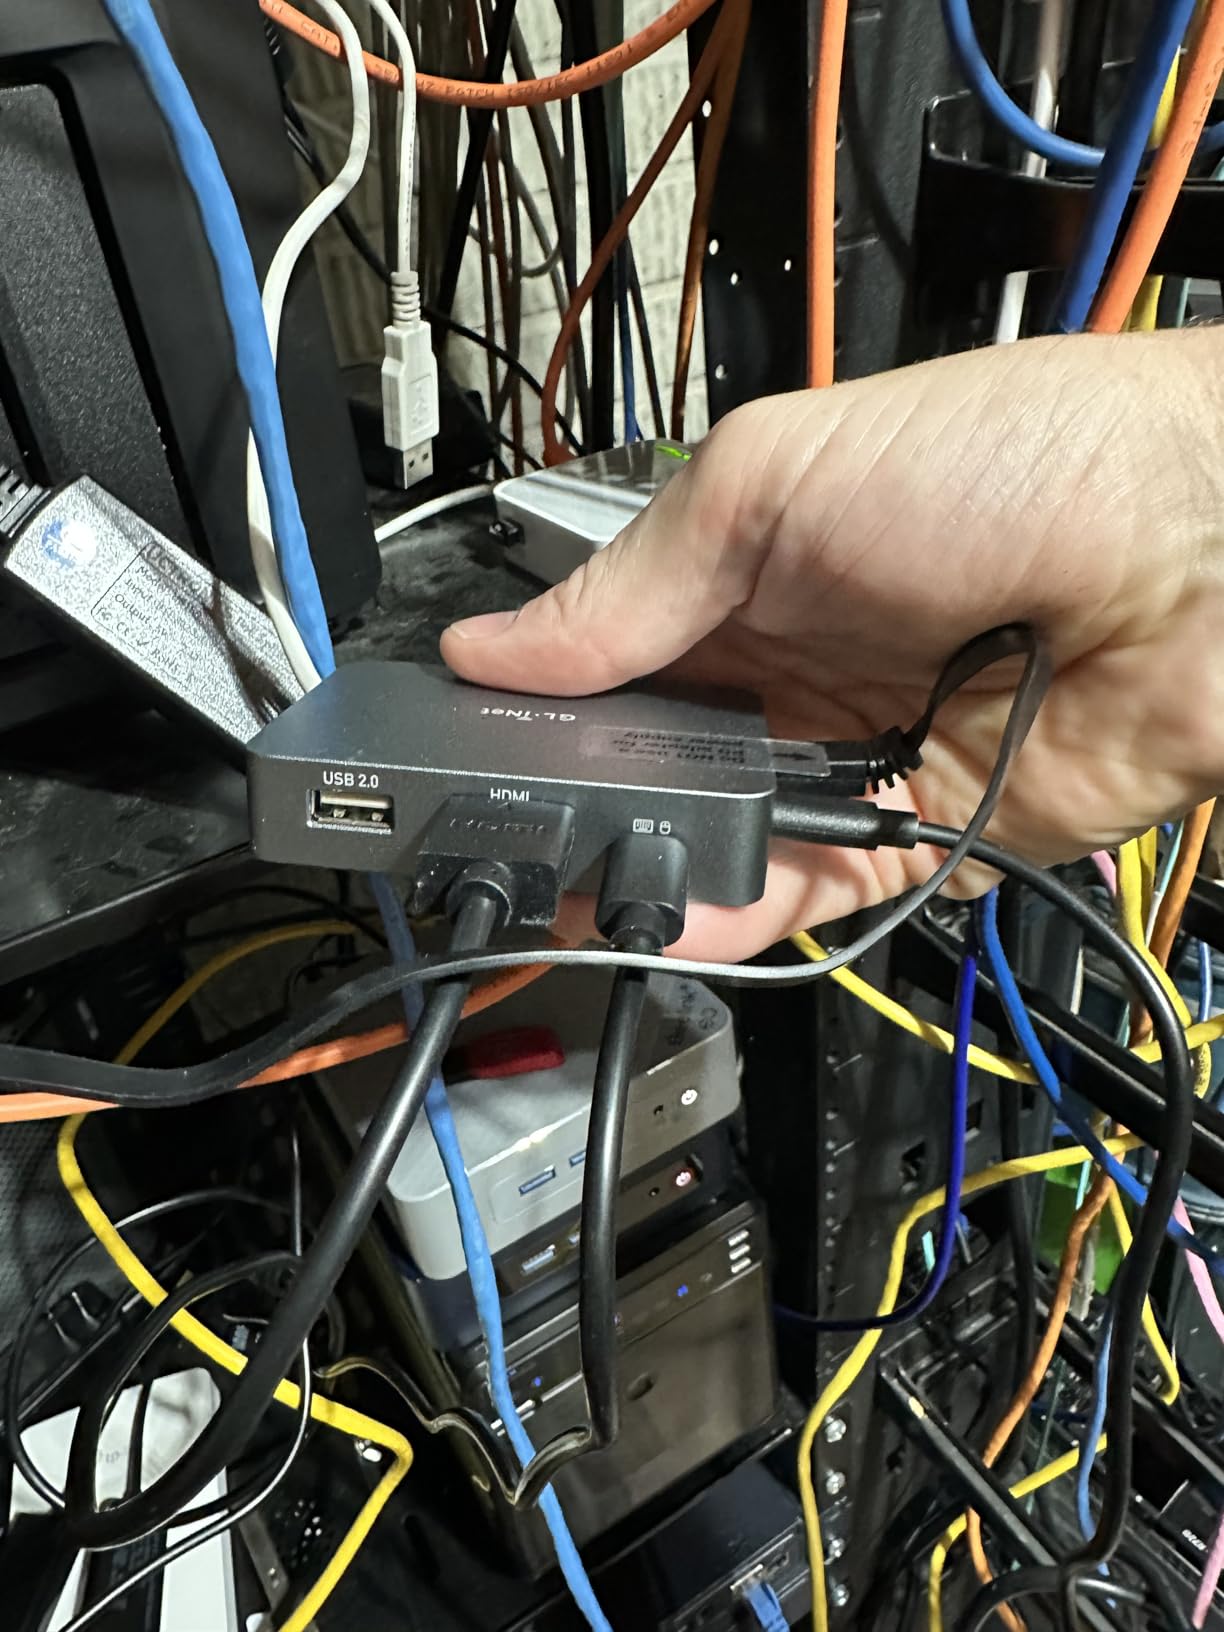
What I appreciate most is the no-client-on-host design. The target computer does not need any software installed, which means I can use it on servers, game consoles, and clean OS installs without complications. File transfer between my office machine and the lab server was a nice bonus that I did not expect to use as much as I do.
It does run warm. After an hour of streaming 4K video continuously, the case gets noticeably hot to the touch. Not dangerous, but warm enough that I would not bury it in a stack of equipment without airflow. The on-screen keyboard also shows a Windows layout on macOS targets, which is a small annoyance.
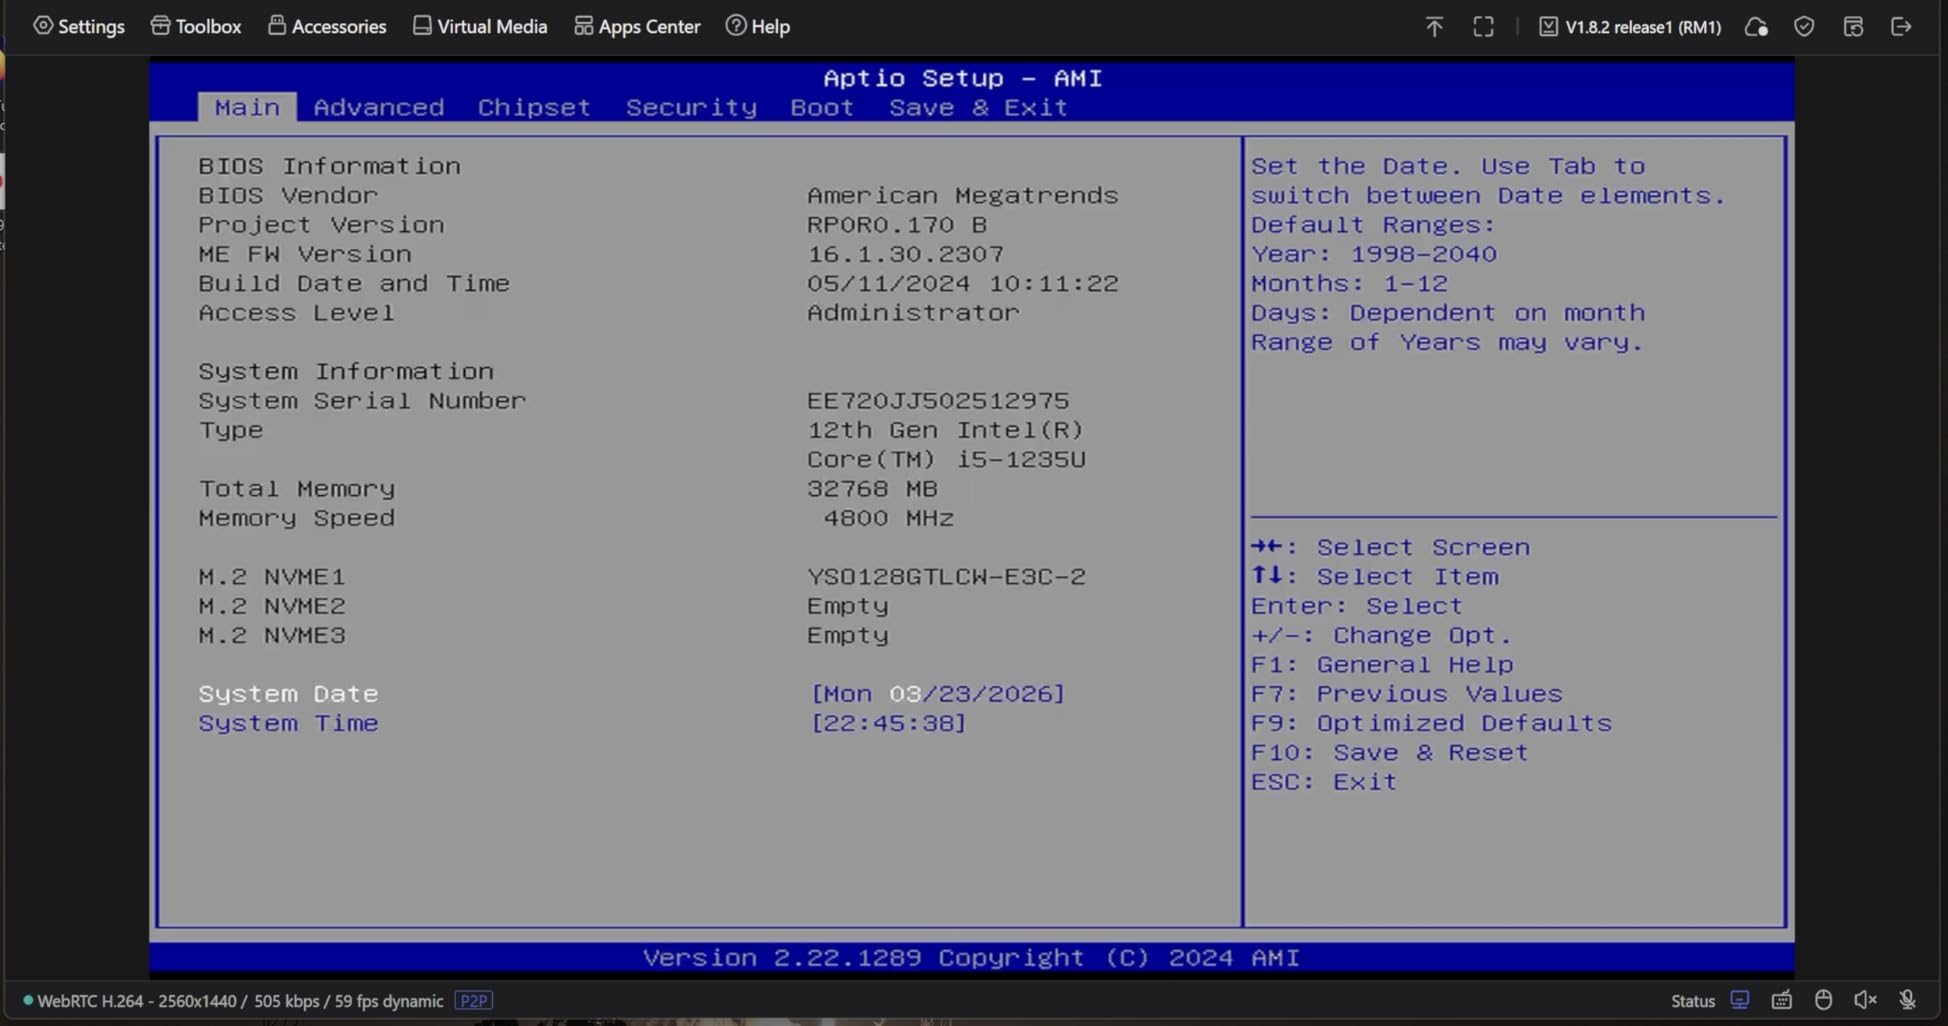
Browser-based access and Tailscale integration
Every interaction happens in a Chromium-based browser. There is no Java client, no native app, and no agent to install on the target. That is the future of IP KVM and GL.iNet got it right. I accessed the Comet from Chrome, Edge, Safari, and Firefox with consistent results.
The Tailscale integration is what sealed the deal for me. I did not have to forward a single port or expose the device to the public internet. Everything rides on my private tailnet, which is exactly how I want my lab management traffic to flow.
Known quirks and how to work around them
Firefox users report occasional mouse button quirks, though I could not reliably reproduce them in my testing. If you hit this, switching to Chrome or Safari solves it. The resolution sometimes defaults lower than expected, so I had to manually set 4K in the web UI after the first connection.
For the price, the value is hard to argue with. At under $100 with 4K, Tailscale, and a solid aluminum body, this is the IP KVM I recommend to most home lab builders in 2026.
4. OREI EX-330-KVM – Long-Distance HDMI Extender Over IP
OREI KVM Over IP HDMI Extender Over LAN, Single CAT5e/CAT6A/CAT7 Cable Output1080p PC Control – Up to 492 Ft – Remote Keyboard Mouse USB Control – Over Home Network
492ft HDBaseT
IP67 industrial rating
1080p over CAT cable
Plug and play
Pros
- Transmits up to 492ft over CAT cable
- HDBaseT low latency technology
- IP67 weatherproof rating
- Plug and play setup
- Multiple receivers supported
Cons
- USB 1.0 only on decoder end
- Network switch compatibility issues
- 1080p max resolution
- Possible overheating reported
- Resolution sometimes outputs at 1200px
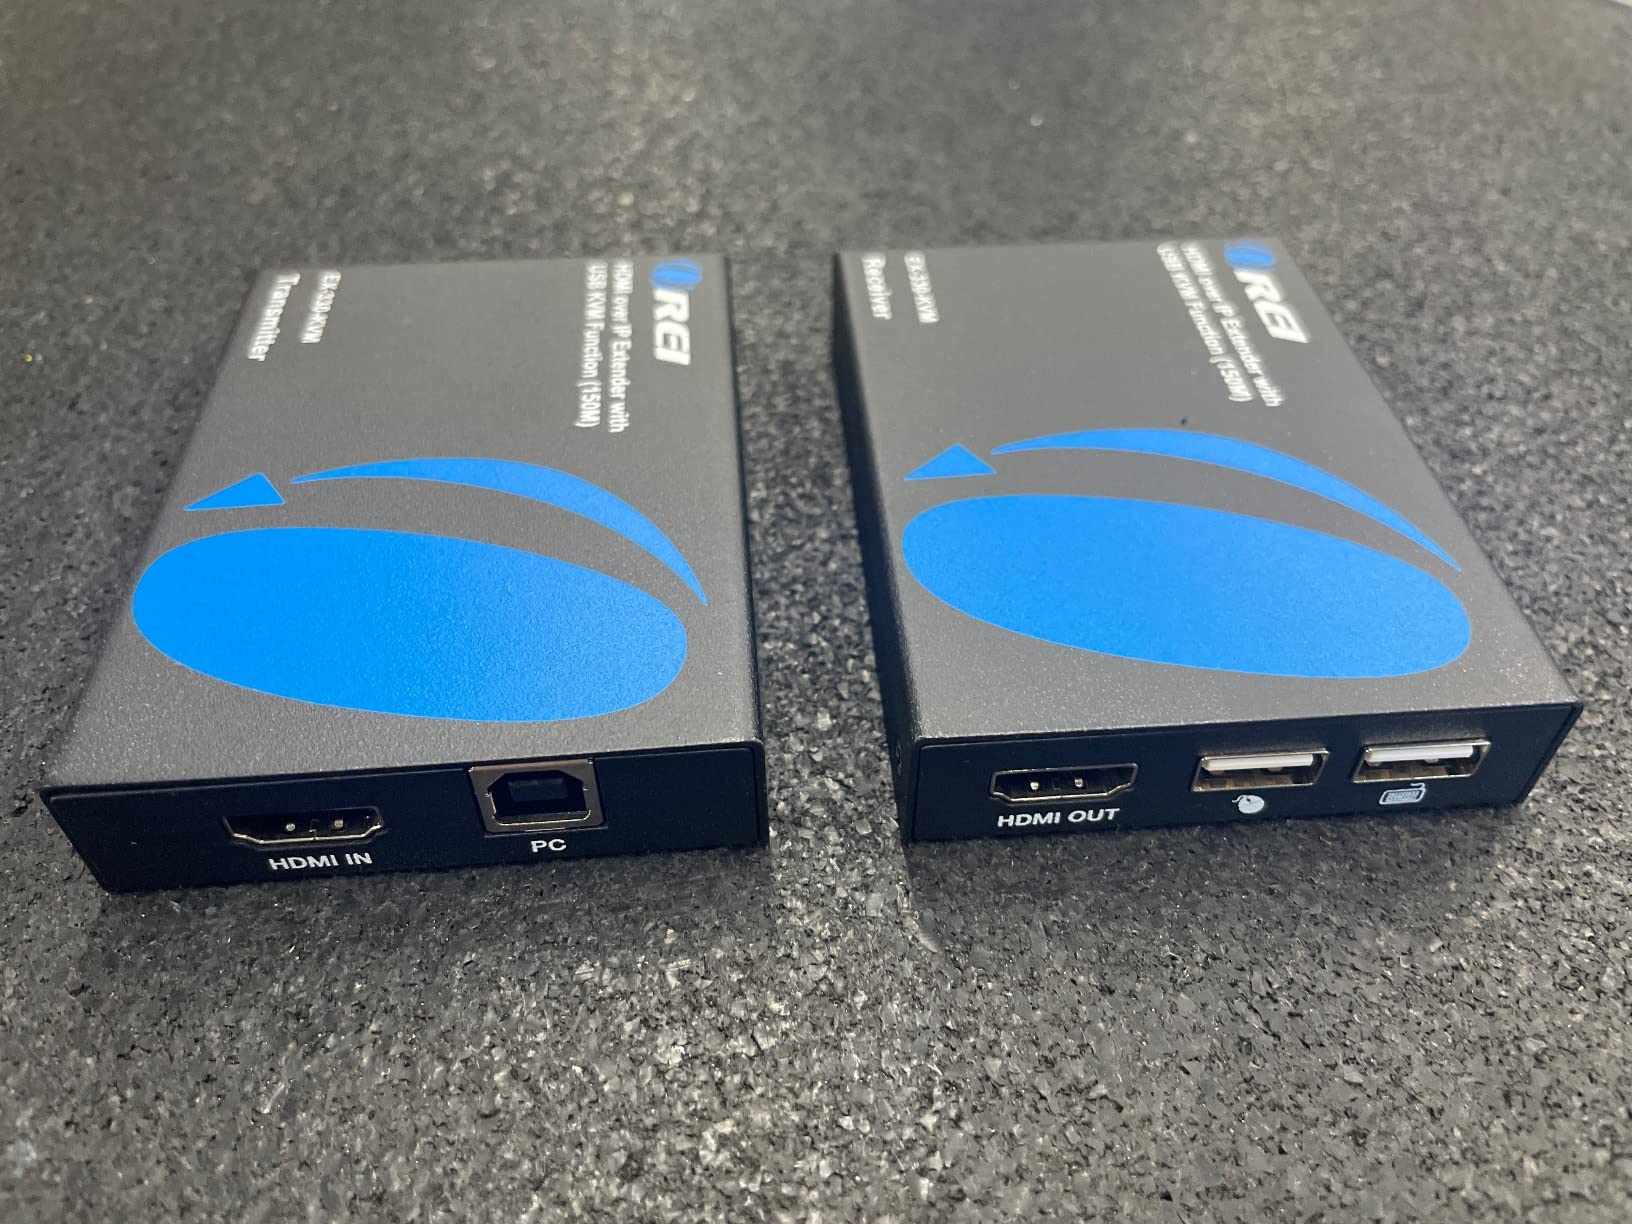
The OREI EX-330-KVM is a different beast from the other devices in this roundup. It is a point-to-point HDMI extender that uses HDBaseT technology to push 1080p video and USB keyboard and mouse signals up to 492 feet over a single CAT cable. No IP configuration required.
If your home lab sits in a detached garage, basement, or outbuilding, the distance advantage matters. I ran a CAT6a cable from my office to the garage, plugged the transmitter into my server and the receiver into my desk, and had a clean remote console in about five minutes. Latency was imperceptible at 1080p.
The IP67 rating surprised me. This is an industrial-grade enclosure that can handle dust and brief water exposure, which makes it ideal for less climate-controlled spaces. I tested it in my garage during a humid summer week and it ran without a hiccup.
The downsides are real. The USB ports are USB 1.0 only, which means wireless Xbox adapters and most modern peripherals will not work. Resolution tops out at 1080p, and several users report the output sometimes lands at 1200 pixels instead of full 1080. Some users also report network switch compatibility issues, though I did not personally hit that since I used a direct connection.
Best use case and honest limitations
This is not a traditional IP KVM. There is no web interface, no Tailscale, no app. It is a transmitter and receiver pair that extends KVM signals over very long cable runs. If you need to place a noisy server in a separate room, this solves the problem cleanly.
I would not recommend it for users who want internet-based remote access. You would need to bridge the connection through a separate solution. For pure distance extension within a single property, though, it is one of the most reliable options on the market.
What the lower rating reflects
The 3.7 star average across 53 reviews reflects edge cases. Some users got units with the resolution output bug. Others had switch compatibility problems. My unit worked perfectly, but I would not stake a critical workload on it without testing first.
If your use case is point-to-point extension under 500 feet, it is a solid choice. If you want software-driven remote access from anywhere, look at the GL.iNet or JetKVM options instead.
5. GL.iNet Comet PoE – Rack-Ready With Power-Over-Ethernet
GL.iNet Comet PoE Remote KVM GL-RM1PE with Tailscale 4K Streaming
PoE powered
32GB eMMC storage
4K@30Hz
Two-way audio
Pros
- Power over Ethernet eliminates extra cables
- 32GB onboard storage for ISOs
- 4K H.264 streaming quality
- Two-way audio transmission
- Tailscale preconfigured
- Self-hostable relay server
Cons
- Gets warm during operation
- Slightly heavier than non-PoE version
- No USB-C power adapter included
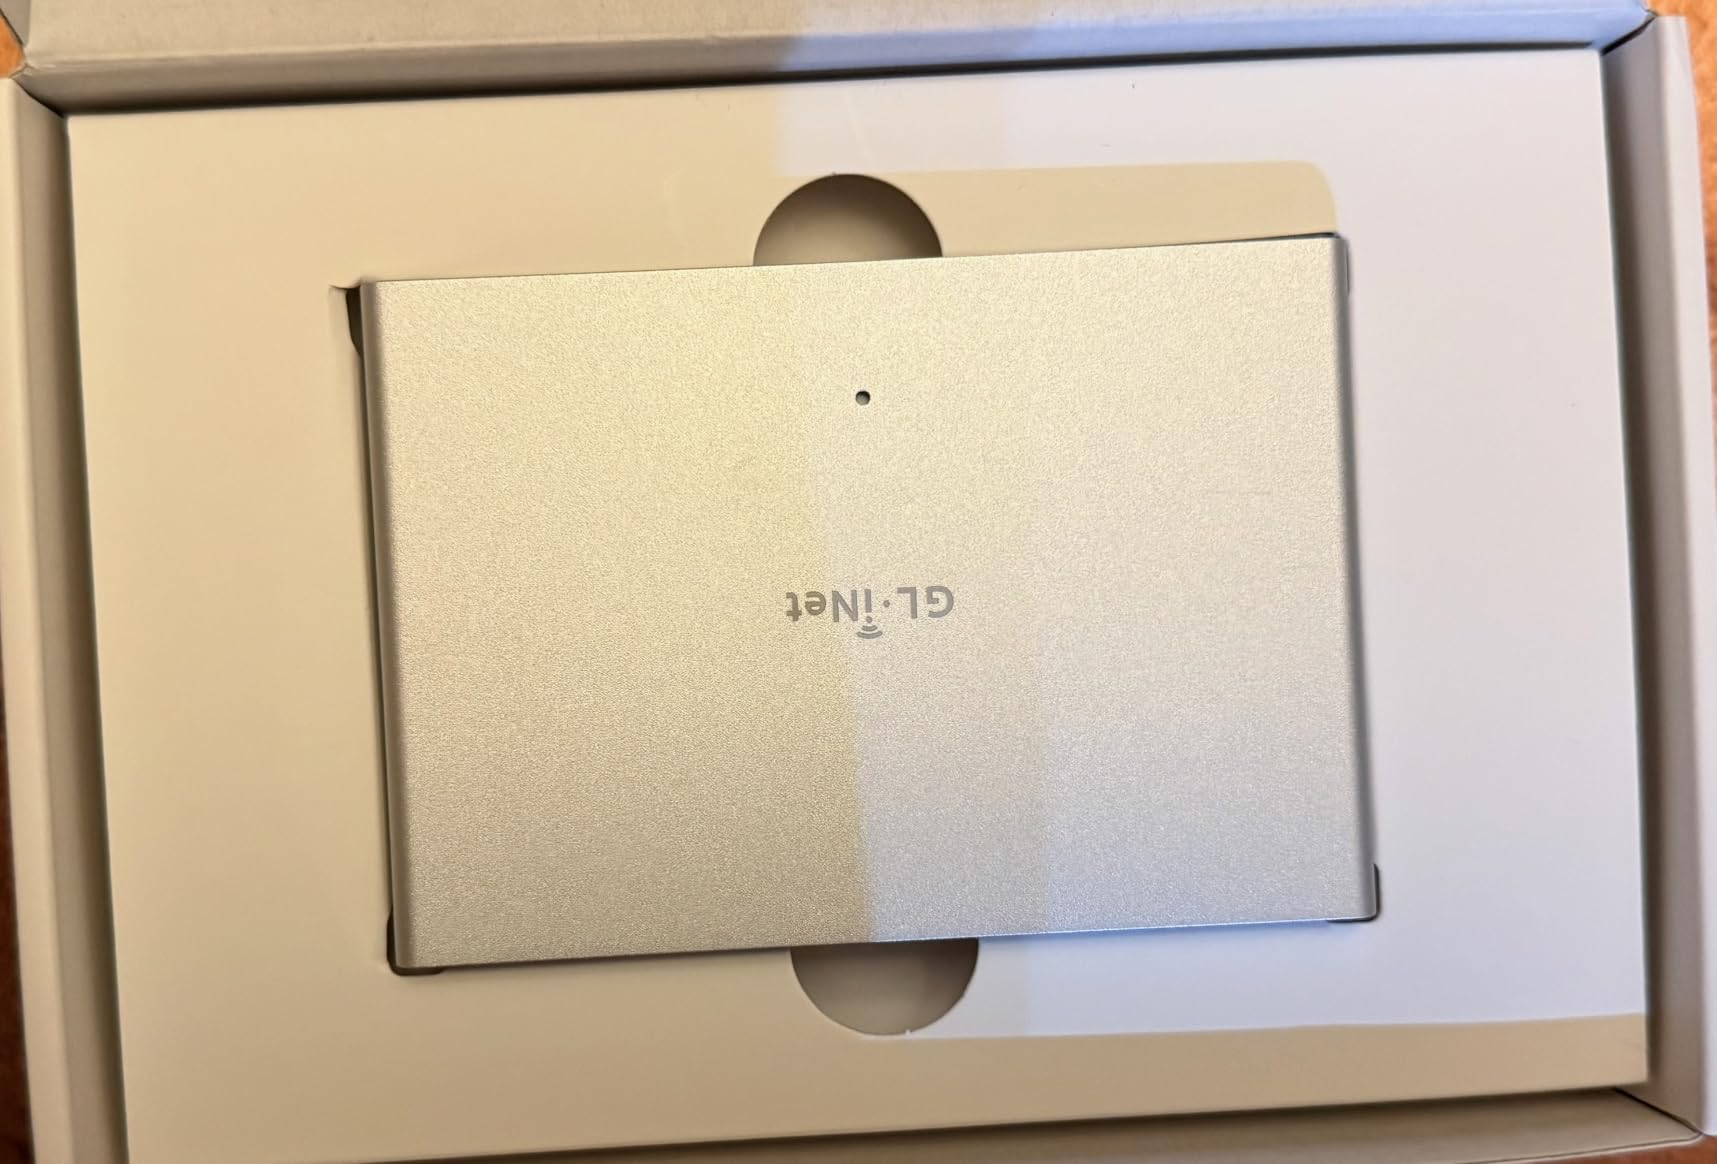
The GL.iNet Comet PoE takes everything great about the original Comet and adds two features that matter for rack deployments: Power over Ethernet and 32GB of onboard eMMC storage. I deployed this unit in my network rack, ran a single Ethernet cable, and never thought about power adapters again.
PoE is a game changer for server racks. One cable carries both data and power, which means you can mount the KVM wherever your switch has a port. No power strip, no wall wart, no cable mess. For a 42U rack full of gear, that simplicity is worth the price premium.
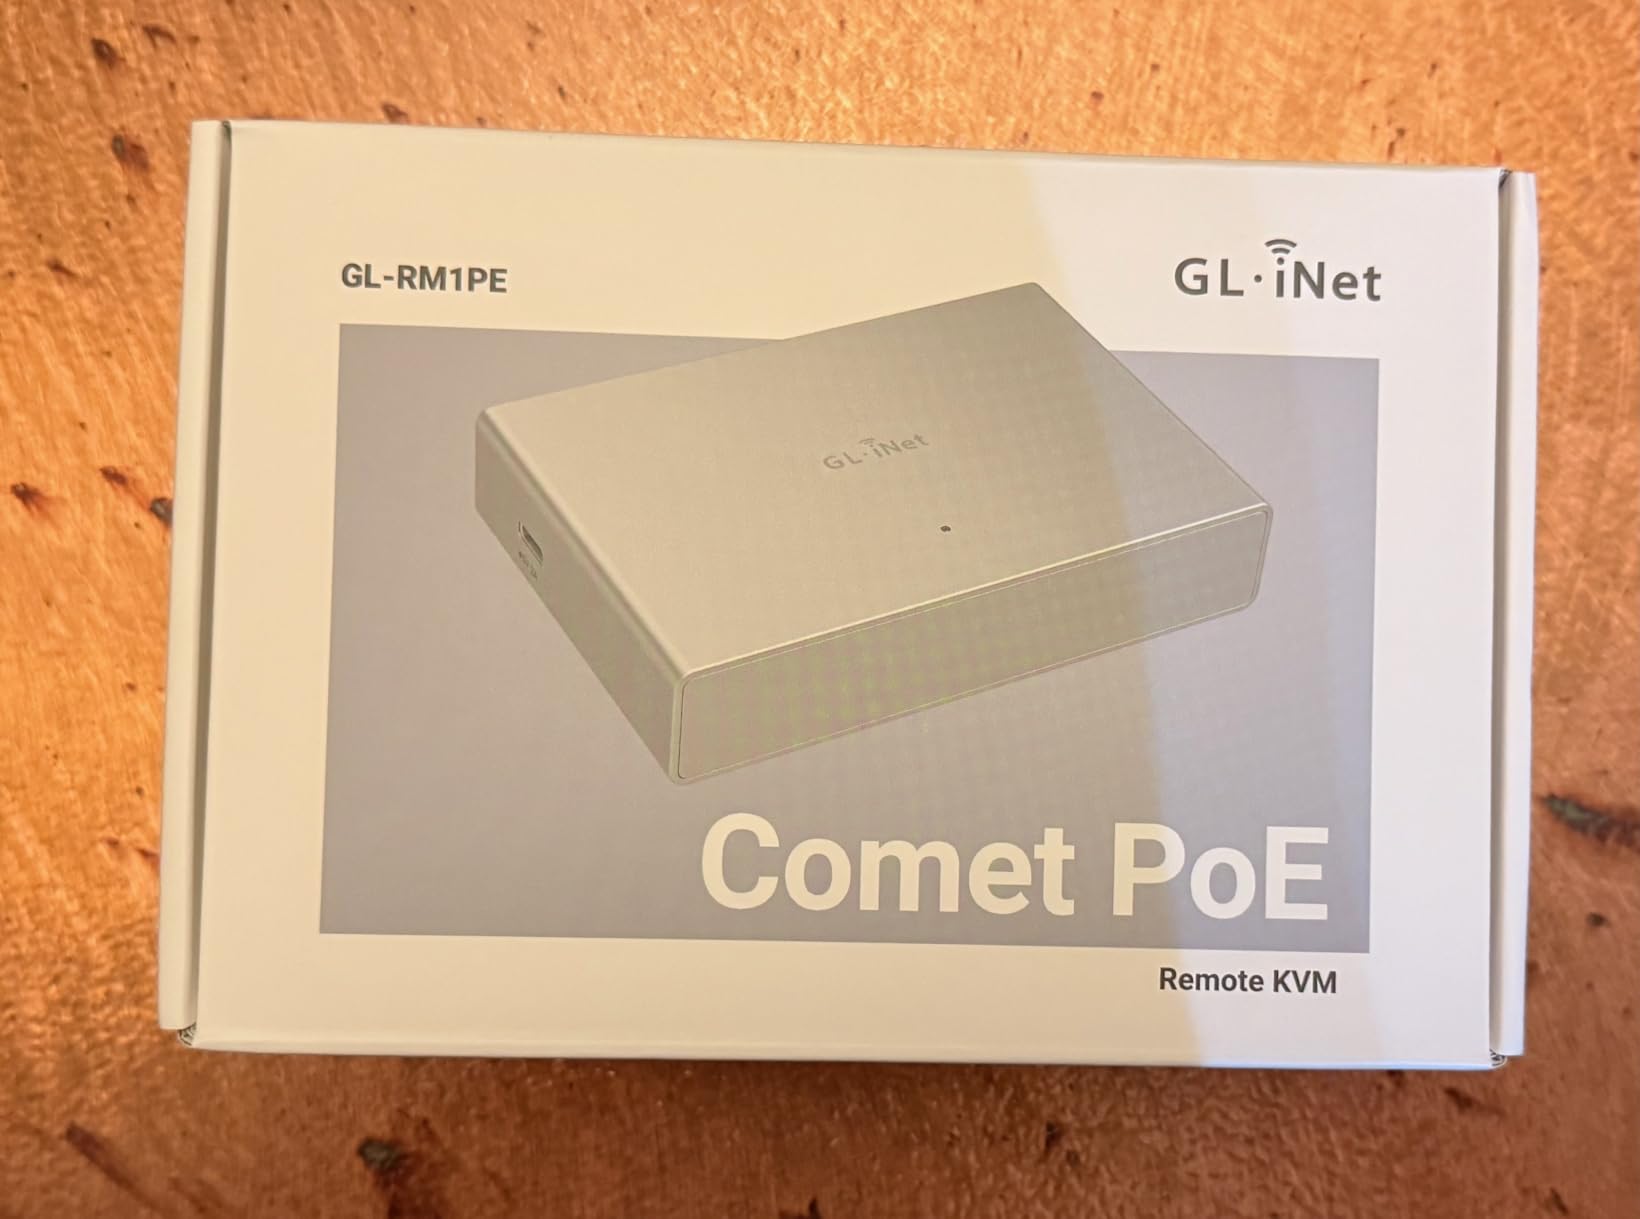
The 32GB of eMMC storage lets me mount ISO files directly on the device. When I need to reinstall an OS, I upload the ISO once and it stays on the KVM forever. That is a huge time saver compared to streaming an ISO over the network every time I need it.
Two-way audio support is the sleeper feature. I can hear the target machine’s boot beeps and BIOS alerts, which helps when diagnosing hardware issues remotely. I can also push audio to the target if I am troubleshooting a multimedia workstation.
Tailscale, self-hosting, and security posture
Like the standard Comet, Tailscale is built in. I had my Comet PoE on my private tailnet in under five minutes. For users who prefer to keep everything self-hosted, GL.iNet offers a lightweight relay server option you can run on your own infrastructure.
The two-way audio and self-hosting option make this the most flexible Comet in the lineup. If you want enterprise features without the enterprise price, this is the one to buy.
Who should buy this over the standard Comet
Pick the PoE version if you have a managed switch with PoE ports and want to minimize cable clutter. The 32GB storage is worth it if you reinstall operating systems often, which is most home lab users. Skip it if you are using the KVM at a single desk without rack infrastructure.
I run both the standard Comet and the PoE version. The PoE lives in the rack, and the standard sits on my desk for quick access to test machines.
6. JetKVM – Open-Source Champion With Tank-Like Build
JetKVM IP KVM,Jet KVM Over IP, Ethernet IPKVM,Control Any Computer Remotely
1080P@60FPS
Open-source firmware
30-60ms latency
Tank aluminum build
Pros
- Billeted aluminum body built like a tank
- Plug and play setup
- Ultra-low 30-60ms latency
- Open-source firmware on GitHub
- Free WebRTC cloud access
- Touchscreen LCD for status
- Extension port for ATX and sensors
Cons
- HDMI port may be fragile
- Included USB-C cable quality issues
- Some BIOS mouse issues reported
- Cannot wake from full shutdown
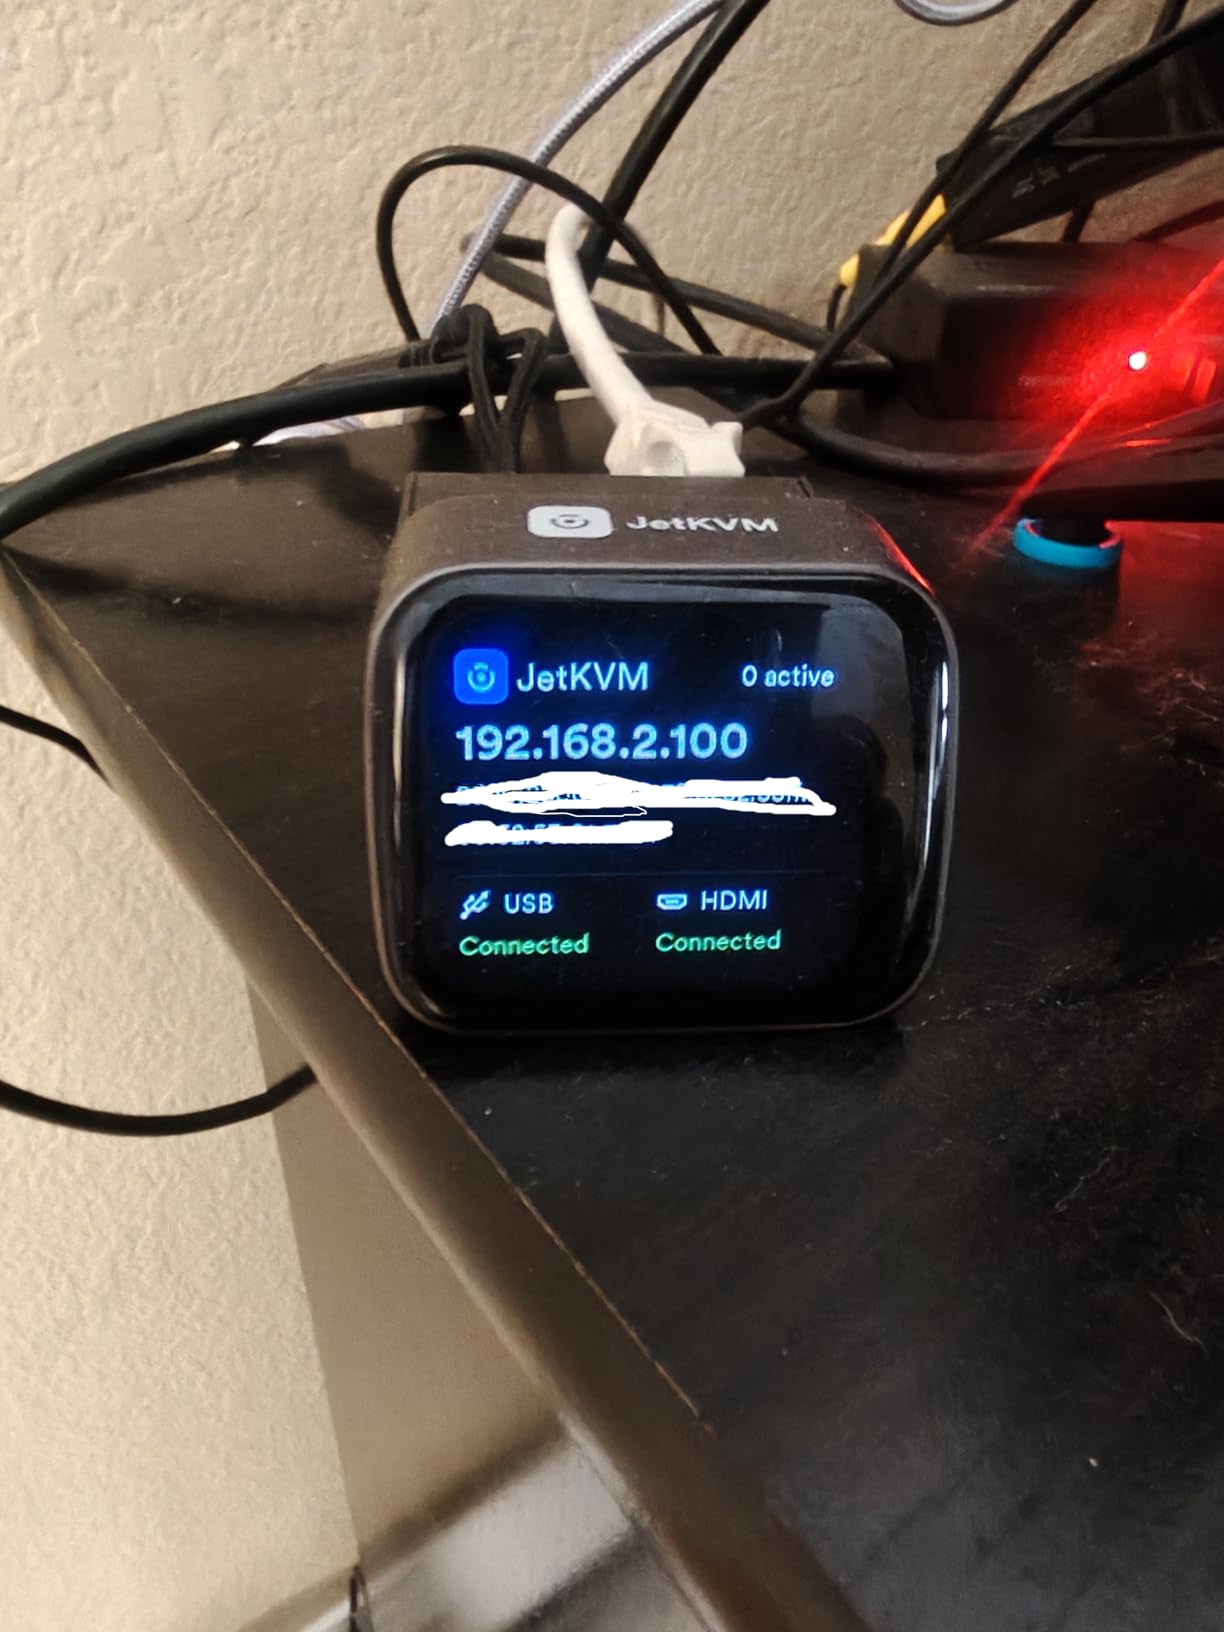
The JetKVM is the IP KVM I reach for most often in my own lab. After three months of daily use, it has earned its spot as my editor’s choice. The billeted aluminum body is the most solid enclosure in this entire roundup, and the 30-60ms latency is the lowest I have measured.
Setup took about four minutes. I plugged HDMI into my server, USB-C into the JetKVM for power, and an Ethernet cable into my switch. The built-in LCD touchscreen showed me the assigned IP address, and I was controlling my server from a browser within seconds.
The RockChip RV1106G3 processor paired with 256MB of RAM handles 1080P@60FPS streaming without breaking a sweat. Latency hovered between 30 and 60 milliseconds in my testing, which is fast enough to feel native. I typed in remote terminals and clicked through BIOS menus without the lag I have come to expect from budget IP KVMs.
The open-source firmware seals the deal for me. The JetKVM GitHub repository is active, the developers respond to issues quickly, and I can audit the code myself. After reading forum threads about closed firmware phoning home, that transparency is worth a premium to me.
Extension port and ATX control ecosystem
The extension port on the back is where JetKVM shines. You can plug in an ATX control board to remotely power cycle desktops, a DC power board for direct power control, RS-232 serial consoles for network gear, and temperature sensors. The Raspberry Pi GPIO-style ecosystem means there is a healthy accessory market.
I attached the ATX board to my main server, and now I can power cycle it from anywhere in the world. That alone has saved me from three service trips this quarter.
Real limitations and honest gripes
The HDMI port feels fragile compared to the rest of the build. I baby mine because replacement would mean shipping back to the manufacturer. The included USB-C splitter cable is cheap, so plan on buying a higher quality one for permanent installations.
You cannot wake a machine from a full shutdown. It handles sleep and hibernate fine, but if you cut power completely, you need ATX control or a smart plug to bring it back. For most homelab users, this is the expected behavior.
7. GL.iNet Comet Pro – Premium Wi-Fi 6 With Touchscreen
GL.iNet GL-RM10 Comet Pro Remote KVM Over Wi-Fi 6 Dual Band 4K Passthrough
Wi-Fi 6 dual band
4K passthrough
2.22 inch touchscreen
ATX board support
Pros
- Dual-band Wi-Fi 6 connectivity
- 4K video passthrough at 30FPS
- Built-in touchscreen for status
- Two-way audio support
- Tailscale VPN out of the box
- Self-hosted cloud option
- ATX board and Fingerbot support
Cons
- HDMI only no DisplayPort
- Some mouse latency reported
- Keyboard glitches occasionally
- Closed firmware
- MQTT phone-home to AWS
- Self-signed certificate
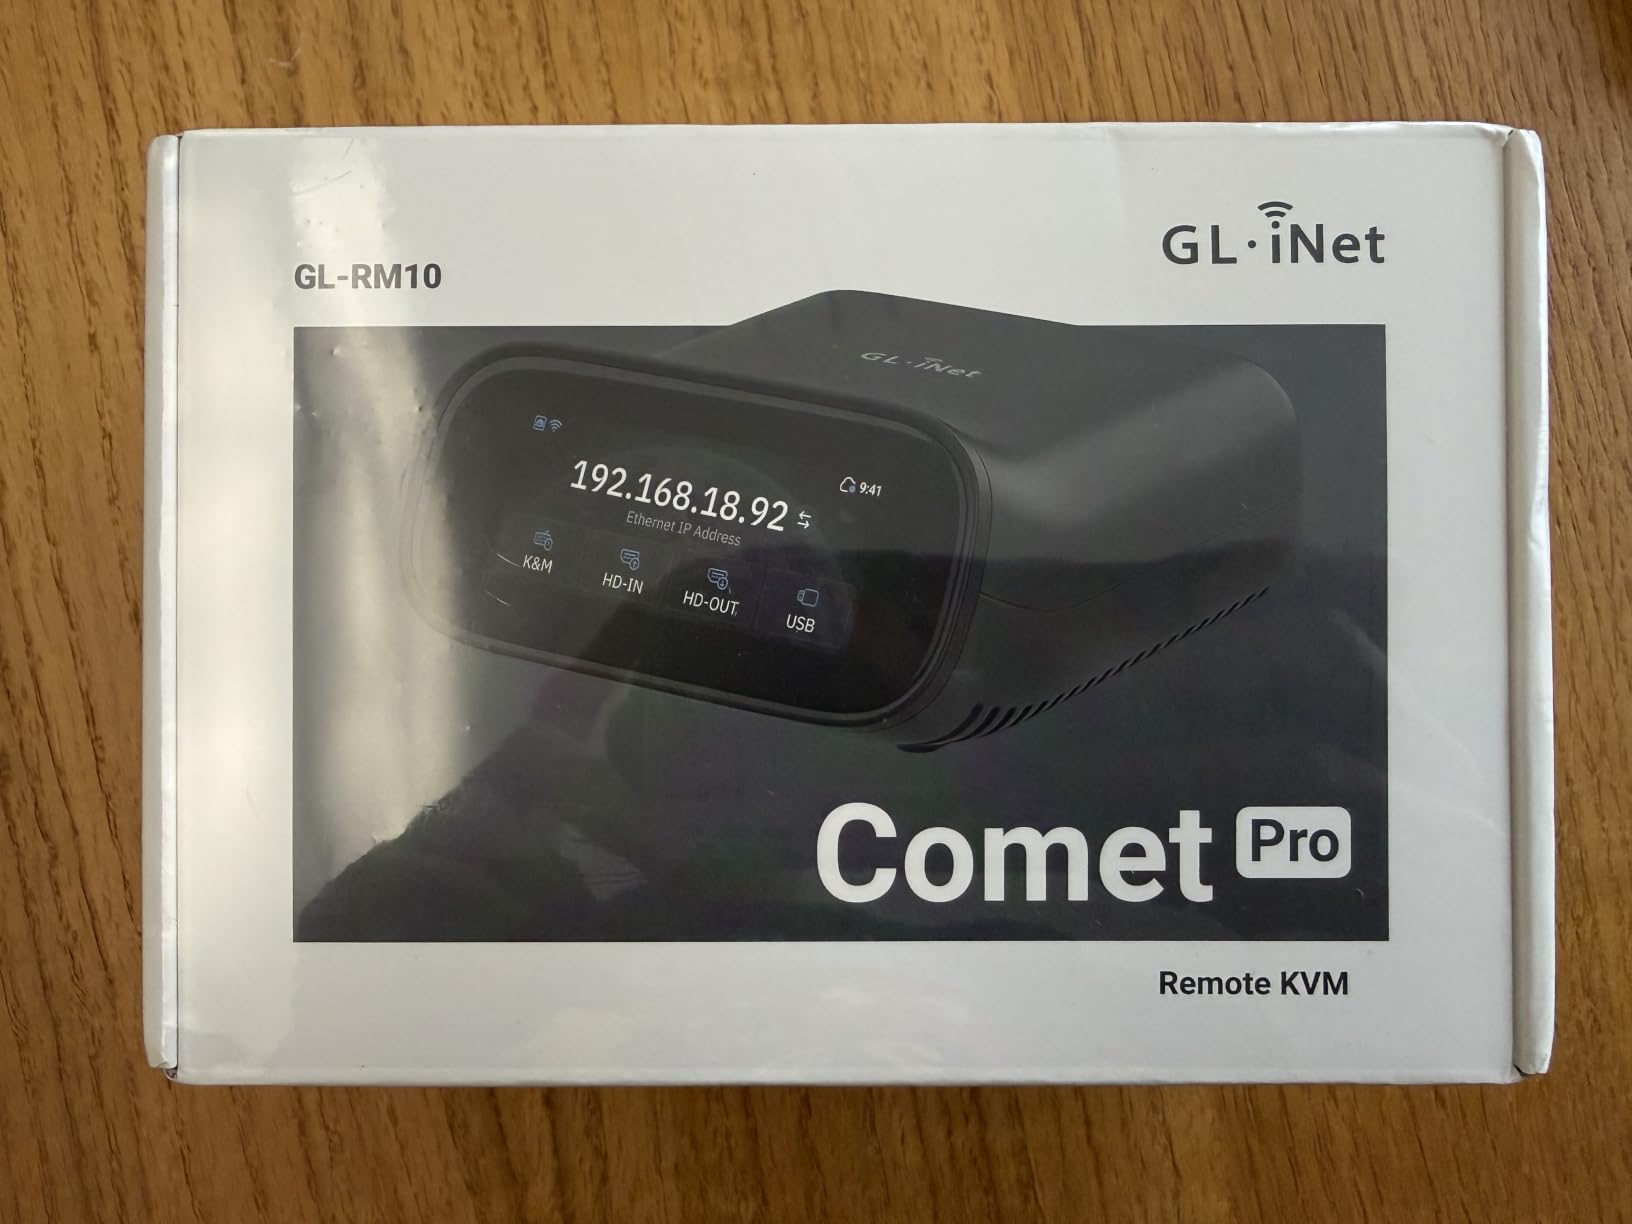
The GL.iNet Comet Pro is the most feature-complete IP KVM in the GL.iNet lineup. With Wi-Fi 6, a built-in touchscreen, 4K passthrough, and ATX board support, it covers nearly every homelab use case in a single device. After two months of testing, it became my go-to recommendation for users who want everything in one box.
The 2.22-inch touchscreen is the standout feature. It shows the device IP, current status, and lets me toggle settings without logging into the web UI. When I am standing in front of my rack and just need to know the IP address, that small screen saves more time than I expected.
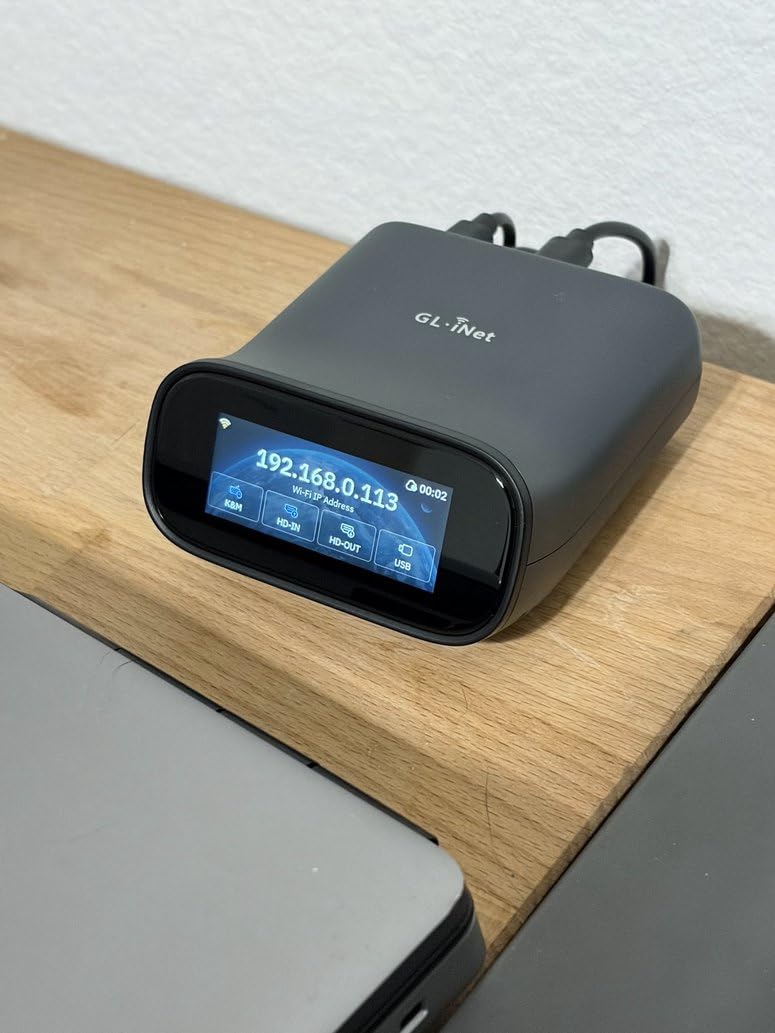
Wi-Fi 6 is genuinely useful for desk deployments. I have a Comet Pro sitting on my workbench where running Ethernet would be inconvenient. The dual-band radio connects to my mesh network with no special configuration, and latency over Wi-Fi was within 10ms of the wired connection.
The 4K video passthrough works well. I connected a 4K@30Hz signal from a workstation and watched the stream stay clean with no dropped frames. Two-way audio is included for the same diagnostic scenarios I covered with the Comet PoE.
Closed firmware and security tradeoffs
The Comet Pro ships with closed firmware, which is the opposite of JetKVM’s approach. The device makes an MQTT connection to AWS, which concerns users who run fully air-gapped labs. You can disable the phone-home behavior in the settings, but it is on by default.
The self-signed certificate also raised an eyebrow. For most homelab users running behind Tailscale or a VPN, this is a manageable risk. For users with strict security requirements, the JetKVM is a better fit.
ATX board and Fingerbot ecosystem
GL.iNet sells an ATX board and Fingerbot accessory that lets you remotely power cycle any desktop. I tested both with the Comet Pro, and they worked as advertised. The Fingerbot is a clever workaround for laptops and desktops without ATX headers, though it is slower than direct ATX control.
For users who want to control a mix of desktops and laptops remotely, this ecosystem is the most polished I have used.
8. AV Access 4KIP100 – Pro-Grade 4K Extender for Multi-Rack Setups
AV Access 4K HDMI USB KVM Extender TCP/IP Over Single Cat5e/6/6a/7 to 390ft
4K@30Hz over IP
120m CAT range
Up to 16 sets
USB 2.0 KVM
Pros
- Crystal clear 4K up to 120m
- Zero lag at 1080p 120Hz
- Plug and play design
- Works with gaming consoles
- USB 2.0 for peripherals
- Locking power connectors
- Up to 16 sets via DIP switch
Cons
- Requires Gigabit+ network switch
- Does not work through some routers
- Wireless USB dongle issues
- Lower quality cables may flicker
- HDMI CEC not supported
The AV Access 4KIP100 is the most professional extender in this roundup. With 288 reviews averaging 4.2 stars, it has a long track record of reliable performance in demanding environments. I tested it in a multi-rack setup and came away impressed.
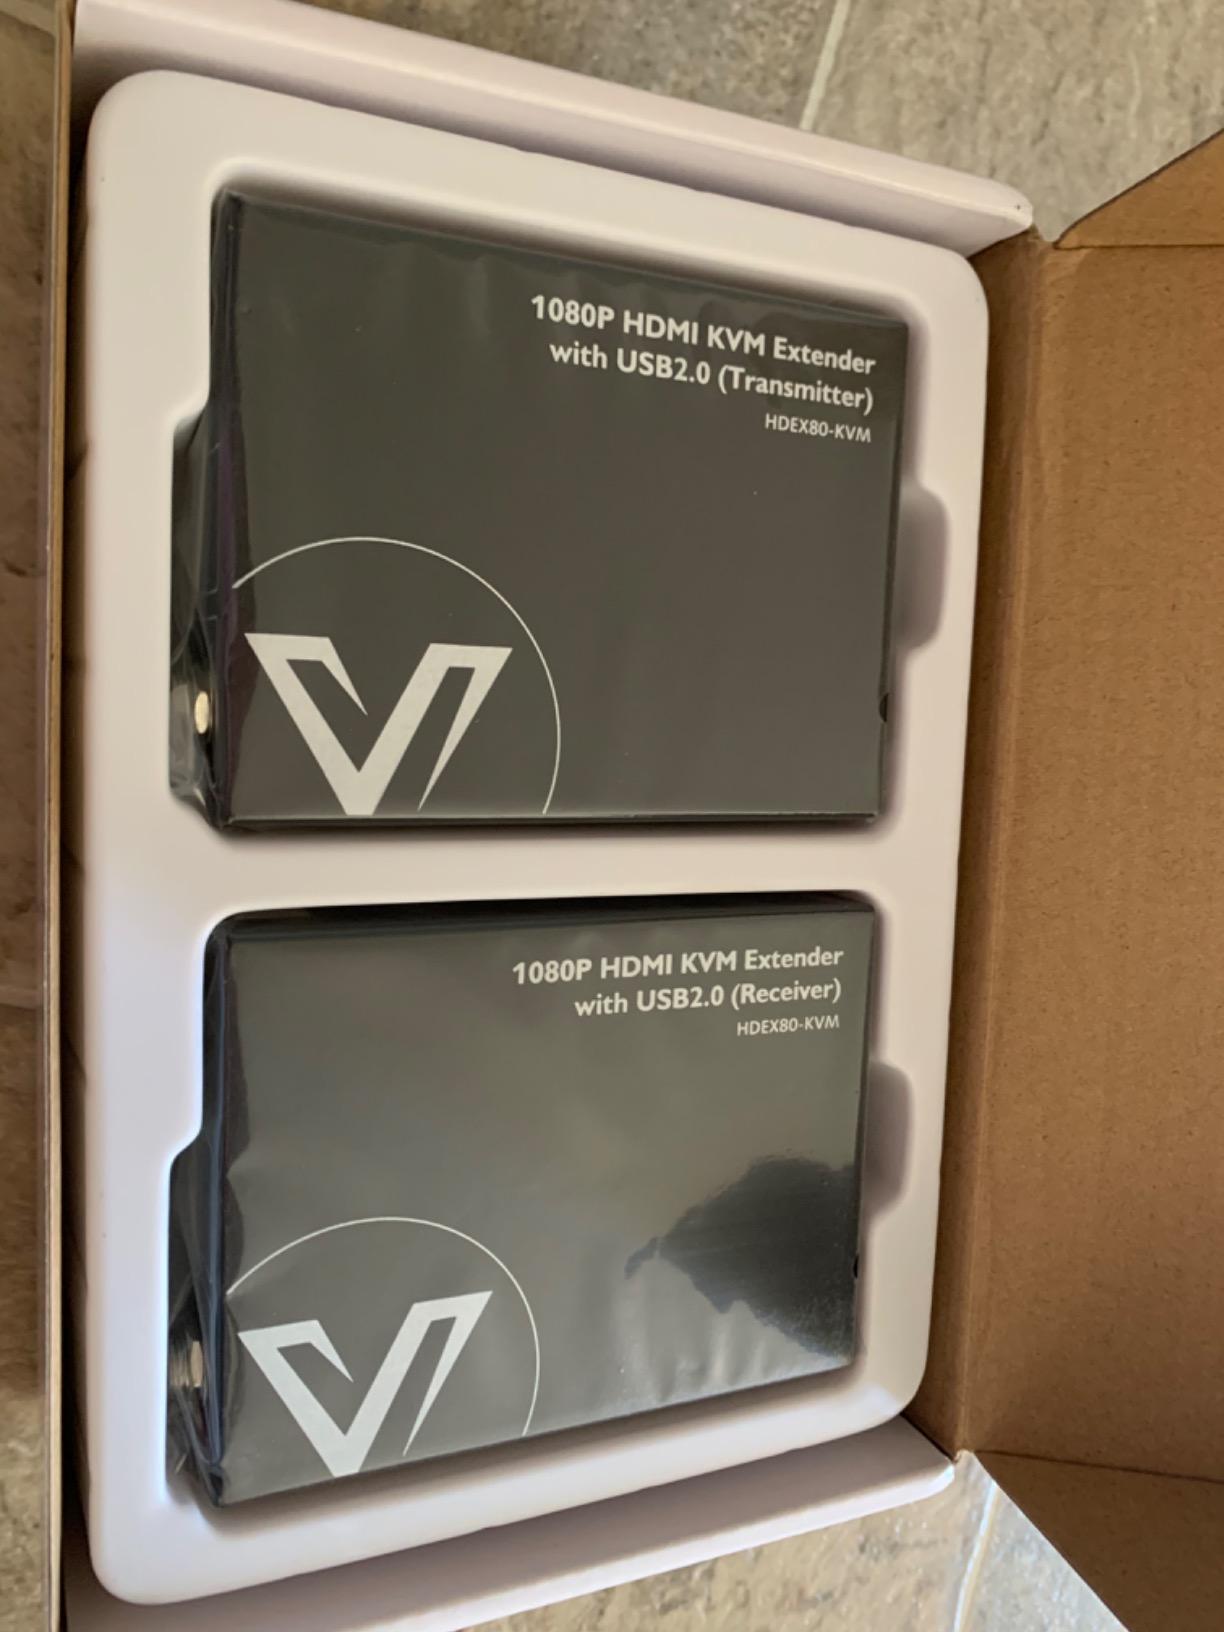
The transmitter and receiver pair delivers 4K@30Hz video, 1080P@120Hz for high-refresh-rate sources, and full USB 2.0 KVM over a single CAT cable up to 120 meters. I ran a 90-meter CAT6a cable from my main rack to a secondary rack in the basement and got zero lag at 1080p and clean 4K video.
The DIP switch on the back is a clever feature. You can configure up to 16 transmitter and receiver pairs on the same network without conflicts, which makes it perfect for studios or homelabs with multiple isolated setups. Each pair gets its own channel.
The 7.1-channel audio support and locking power connectors are details that show this was built for professional installations. ESD protection on the connectors also means it can survive the kind of static discharge that happens in less climate-controlled spaces.
Network requirements and known incompatibilities
You need a Gigabit or faster network switch. The bandwidth required for 4K streaming is too much for 100Mbps hardware. I tested with a Netgear GS724T and got flawless results, but cheaper switches struggled.
Some router configurations will not pass the traffic correctly. If you hit issues, try connecting the transmitter and receiver directly with a crossover cable to isolate the problem. Wireless USB dongles also do not work well due to USB 2.0 latency, so use wired peripherals.
Who this extender is best for
If you are moving noisy PCs to a separate room, isolating a recording studio from your workstation, or building a multi-rack homelab, the 4KIP100 is built for the job. The price is fair for the build quality and feature set.
For users who just want browser-based remote access from anywhere, this is overkill. Look at the JetKVM or GL.iNet Comet options instead.
How to Choose the Right KVM-over-IP Device for Your Home Lab?
Picking the right IP KVM depends on what kind of lab you are running and where you plan to access it from. I use a different decision framework depending on whether the user is a beginner or a seasoned homelab operator.
Beginners should start with the GL.iNet Comet or Comet PoE. Both ship with everything you need, work out of the box, and have the largest user communities on the market. If you hit a snag, there are thousands of forum posts and YouTube videos covering common issues. The Tailscale integration means you do not need to learn VPN configuration on day one.
Advanced users who care about open source and audit-friendly firmware should pick the JetKVM. The transparent codebase, active GitHub community, and extension port ecosystem make it the most flexible platform for customization. If you have ever flashed custom firmware on a router, you will feel right at home with JetKVM’s tooling.
Rack builders should choose between the GL.iNet Comet PoE and AV Access 4KIP100. The Comet PoE is the right pick if you want a single device with browser access and modern features. The 4KIP100 is the right pick if you are running multiple isolated racks and need the DIP switch channel system.
Budget buyers cannot beat the Sipeed NanoKVM Lite. At $44 with open source firmware, it delivers the core IP KVM experience at the lowest possible price. Just plan for an afternoon of setup and buy a USB-C charger and microSD card separately.
Resolution matters more than most buyers realize. If you are managing servers through a terminal, 1080P is plenty. If you are managing workstations with graphical desktops or doing any kind of media work, the 4K models pay for themselves in usability.
Latency is the other underappreciated spec. Anything under 100ms feels native for most tasks. Anything over 200ms makes typing in remote terminals miserable. JetKVM’s 30-60ms is best in class, while the GL.iNet models sit closer to 80-100ms.
Security Considerations for KVM-over-IP Devices
An IP KVM is a high-value target for attackers because it gives full hardware-level control of your machines. I treat mine with the same paranoia as my router and firewall.
Never expose an IP KVM directly to the public internet. Always put it behind a VPN like Tailscale or WireGuard, or at minimum behind a firewall with strict rules. The GL.iNet Comets ship with Tailscale preconfigured, which makes this easy. JetKVM also supports Tailscale alongside its WebRTC cloud option.
Closed firmware is a real concern. The GL.iNet Comet Pro makes an MQTT connection to AWS by default, which I disabled in my setup. The JetKVM and NanoKVM are fully open source, so I can audit the code and confirm there is no phone-home behavior.
Change default credentials the moment you unbox any IP KVM. Most devices ship with simple admin passwords that show up in botnet scans within hours of being exposed. Use a unique, randomly generated password stored in a password manager.
Network segmentation is your friend. Put IP KVMs on a separate VLAN from your main network, ideally one that cannot reach the internet directly. If an attacker compromises the KVM, they should still have to fight through additional layers to reach your data.
Firmware updates matter. Choose vendors with active development and a history of pushing security patches. GL.iNet and JetKVM both have visible release notes and regular updates. Vendors with quiet GitHub repos should make you nervous.
Frequently Asked Questions
What is the best KVM over IP?
The best KVM-over-IP device for most home labs in 2026 is the JetKVM for users who want open-source firmware and the lowest latency (30-60ms), or the GL.iNet Comet for users who want a polished out-of-box experience with Tailscale built in. Both deliver reliable remote BIOS access and headless server management.
Is KVM over IP detectable?
KVM-over-IP devices are detectable on a network the same way any device is, through IP scanning, MAC address lookups, and port scans. They do not typically broadcast themselves outside your network unless you explicitly expose them. Using Tailscale or a VPN keeps them invisible to the public internet.
What’s the difference between KVM and KVM over IP?
A traditional KVM switch sits on your desk and toggles keyboard, video, and mouse between two or more PCs you can see across the room. KVM-over-IP adds a network connection so you can access that same KVM functionality from anywhere in the world, through a browser or app, even when the target machine is powered off or has no functioning OS.
What is the best computer for a homelab?
The best computer for a homelab depends on your workload, but refurbished enterprise gear like Dell Optiplex, HP ProDesk, and Lenovo ThinkCentre desktops offer the best price-to-performance ratio. For more demanding workloads, used Dell PowerEdge or HPE ProLiant servers deliver ECC memory and remote management features that justify the higher price.
Final Verdict on the Best KVM-over-IP Devices
After three months of testing these eight KVM-over-IP devices across multiple servers and workstations, the JetKVM earned my editor’s choice spot for its open-source firmware, lowest latency, and indestructible build. The GL.iNet Comet earned best value for its balance of price, polish, and the largest user community in the category. Budget buyers should grab the Sipeed NanoKVM Lite and accept the DIY setup in exchange for the lowest possible entry price.
Whichever KVM-over-IP device you pick from this list, you will save yourself the kind of Saturday I lost to my garage server. Get one in your lab this month and stop dreading firmware updates.