
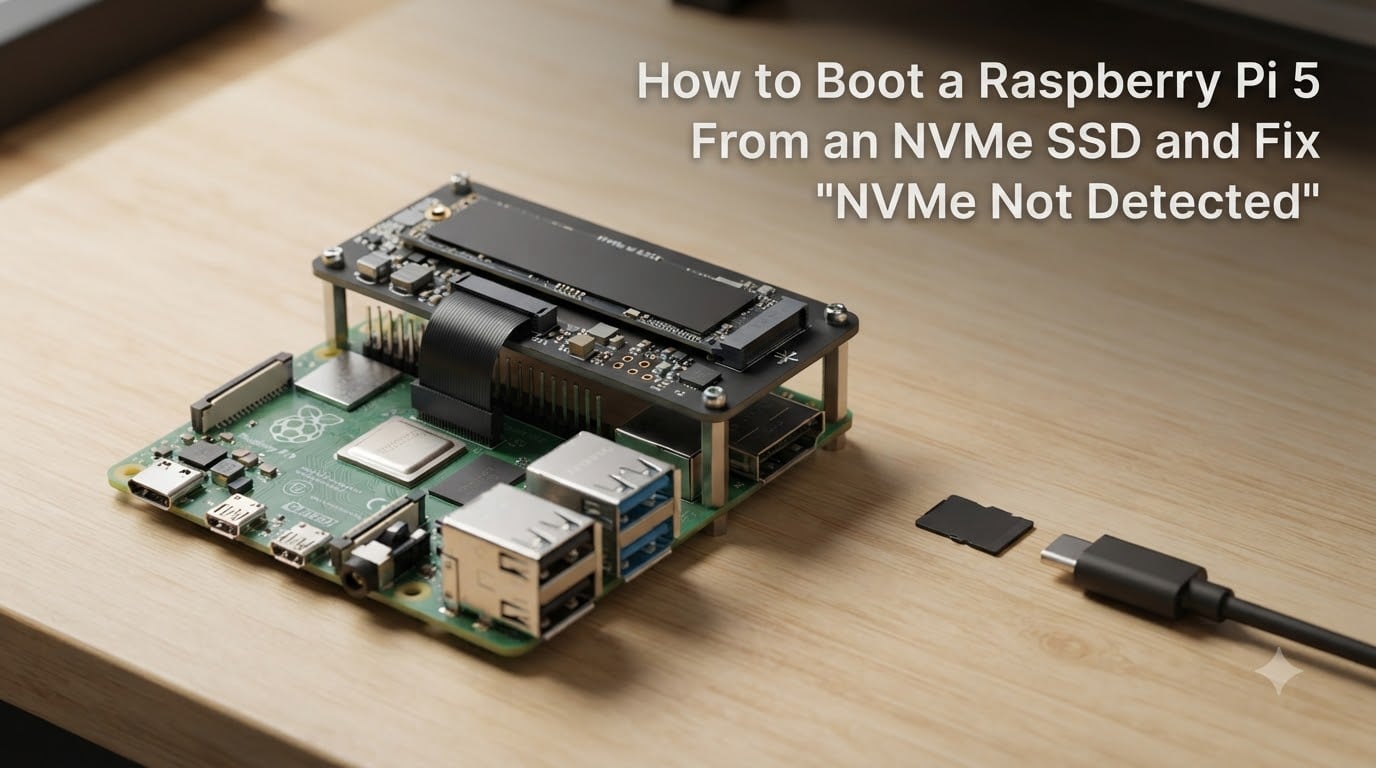
Wondering how to boot a Raspberry Pi 5 from an NVMe SSD and fix the dreaded “NVMe not detected” error? You are in the right place. I have walked through this exact process on more than a dozen Pi 5 boards, and I put together this guide so you can skip the trial-and-error I went through.
By the end of this tutorial, you will have a Raspberry Pi 5 booting straight from a fast NVMe SSD, with a complete troubleshooting plan for the most common failure modes. We will cover the EEPROM update, enabling PCIe, configuring BOOT_ORDER, flashing the OS, and step-by-step fixes for when the drive refuses to show up.
Table of Contents
What You’ll Need?
Before we begin, gather the right hardware. The Pi 5 does not have a native M.2 slot, so you need an adapter to expose the PCIe lane.
Raspberry Pi 5 (any RAM configuration, 4 GB or 8 GB)
NVMe M.2 SSD (2230 or 2242 size fits the official HAT+)
M.2 HAT+ or compatible NVMe base/breakout board
FFC (flat flex cable) matched to your board (16-pin for official HAT+)
Official 27 W USB-C power supply (the 5 V / 3 A supply matters for NVMe stability)
microSD card with the latest Raspberry Pi OS (only needed for initial flashing and EEPROM config)
One thing I learned the hard way: power supply quality directly affects NVMe detection. Bargain 5 V / 3 A supplies can cause intermittent detection after reboot. Stick with the official 27 W PSU or a trusted third-party equivalent.
Step 1: Update the EEPROM Bootloader
The first step to boot a Raspberry Pi 5 from an NVMe SSD is making sure your bootloader firmware is recent. Older EEPROM versions do not fully support NVMe booting. The good news is this is quick.
Boot your Pi 5 from a microSD card running the latest Raspberry Pi OS, then open a terminal and run:
sudo apt update && sudo apt full-upgrade -y
sudo rpi-eeprom-update -a
Reboot once to apply the update. After reboot, verify your bootloader date is recent (March 2024 or later supports full NVMe boot order). You can check with:
sudo rpi-eeprom-config
Look at the top of the output for the current boot ROM and bootloader release dates. If you see a bootloader from 2023, the update did not install correctly and you should rerun the commands above.
Step 2: Enable the PCIe NVMe Port in config.txt
By default, the external PCIe port on the Raspberry Pi 5 is disabled. You need to enable the NVMe interface in config.txt before the operating system can see your drive at all.
Open the boot config file:
sudo nano /boot/firmware/config.txt
Add this line at the bottom of the file:
dtparam=pciex1
dtparam=nvme
Save with Ctrl+O, Enter, then exit with Ctrl+X. Reboot the Pi 5:
sudo reboot
After reboot, check whether the NVMe drive is recognized as a block device:
lsblk
You should see /dev/nvme0n1 listed. If you do not see it, that is the “NVMe not detected” issue we will fix in detail later. First, let us finish the rest of the setup so the drive is ready to boot from.
PCIe Speed Tip
By default, the Pi 5 uses PCIe Gen 2 x1 for the external port. Most NVMe drives work fine at Gen 2. If your drive is unstable, you can force Gen 2 explicitly by adding this line:
dtparam=pciex1_gen=2
Some Gen 3 drives exhibit link training issues on the Pi 5. Forcing Gen 2 is a reliable workaround.
Step 3: Flash Raspberry Pi OS to the NVMe SSD
You have two main options for flashing the OS to the NVMe drive. Pick whichever fits your workflow.
Option A: Flash Directly From Another Computer
Remove the NVMe drive from your Pi 5, place it in a USB NVMe enclosure, and flash it using Raspberry Pi Imager on your regular computer. This is the cleanest method because nothing else is connected when you write the image.
Open Raspberry Pi Imager on your PC
Pick “Raspberry Pi OS” (64-bit, full or lite)
Select your NVMe drive in the storage picker
Click the gear icon to set hostname, SSH, Wi-Fi, and username/password before flashing
Write the image
Reinstall the NVMe drive into the Pi 5’s M.2 HAT+
Option B: Flash From the Pi 5 While Booted From microSD
You can also flash the NVMe from the Pi 5 itself while running from the microSD card. Use Raspberry Pi Imager’s “Other general purpose OS” or use the command line with dd or rpi-clone.
Note: imager cannot directly target /dev/nvme0n1 from the running Pi. The cleanest path is using another computer with a USB NVMe adapter, then moving the drive back.
Step 4: Set BOOT_ORDER to Boot From NVMe
With the OS flashed, you need to tell the bootloader to look at the NVMe drive first. This is the part that catches most new users off guard. The Pi 5 bootloader uses a hex code called BOOT_ORDER.
Open the EEPROM config tool:
sudo rpi-eeprom-config --edit
Find the BOOT_ORDER line and set it to:
BOOT_ORDER=0xf416
Here is what that hex code means: 0xf416 = try NVMe first, then repeatable SD, then USB, then RESTART. This way, if your NVMe ever fails to boot, the Pi falls back to the microSD card instead of getting stuck on a black screen.
Save and exit. Apply the new bootloader config:
sudo rpi-eeprom-config --apply
sudo reboot
After reboot, confirm the BOOT_ORDER is active by running sudo rpi-eeprom-config and checking the value is now 0xf416.
Step 5: Boot and Verify NVMe Detection
Shut down the Pi 5, remove the microSD card, then power it back on. The diagnostic screen should show the Pi 5 attempting to boot from NVMe (the bootloader will list it as a candidate device).
Once booted, verify everything is working by running:
lsblk
df -h
Your root partition should be mounted on /dev/nvme0n1p2 (or similar). If you see /dev/mmcblk0 instead, the NVMe took priority but the microSD was still inserted. Pull the microSD card and reboot again.
You now have a Raspberry Pi 5 booting from an NVMe SSD. If you hit any failure along the way, the next section is the most important part of this guide.
How to Fix “NVMe Not Detected” on Raspberry Pi 5
The “NVMe not detected” error is by far the most common problem when trying to boot Raspberry Pi 5 from NVMe SSD. After helping readers and debugging my own setups, I have narrowed down the actual causes to a systematic list. Work through these in order, and you will solve the issue nine times out of ten.
1. The FFC Cable Is Loose or Upside Down
This is the number one cause. The FFC (flat flex cable) connecting the Pi 5 to the M.2 HAT+ is tiny and easy to misalign. The contacts on the cable must face the contacts on the connector, and the cable must be fully seated.
Power off the Pi 5 and unplug it
Open both ends of the FFC cable and inspect the cable for kinks or twists
Reinsert the cable with the contacts facing the right direction (the blue reinforcement on most cables faces up when properly seated)
Press the cable retention bars firmly closed on both ends
First-generation NVMe breakout boards are especially prone to loose connections. I have seen NVMe drives work fine for an hour, then disappear after reboot because the cable shifted slightly. A properly seated cable should not move at all when gently tugged.
2. The PCIe Port Is Not Enabled in config.txt
If you skipped Step 2, the NVMe drive will not appear. Confirm by running:
sudo raspi-config
Navigate to Advanced Options > PCIe Speed and make sure PCIe is enabled. Alternatively, check /boot/firmware/config.txt for the dtparam=pciex1 line.
3. The Bootloader Is Too Old
Bootloaders from early 2023 do not support NVMe boot at all. Some 2023 bootloaders support NVMe only as a fallback. Run sudo rpi-eeprom-update and update to the latest stable release.
4. The NVMe Drive Is Incompatible
Some NVMe controllers have known compatibility issues with the Pi 5. A few problematic models include certain ADATA Legend 800 variants and some SanDisk Ultra drives. If lspci or lsblk shows nothing at all, the drive may not be electrically compatible.
Check the official Raspberry Pi NVMe compatibility list or community-maintained lists on the Raspberry Pi forums. Switching to a different SSD model often resolves detection issues immediately.
5. Power Supply Is Underpowered
NVMe drives draw more peak current than microSD cards. If your supply sags under load, the drive may enumerate on cold boot but disappear under I/O load, or fail to enumerate at all on subsequent reboots.
Use the official 27 W USB-C power supply. If you must use a third-party supply, ensure it is rated at 5 V / 5 A (27 W) and uses a proper USB-C cable. Cheap cables with thin gauge wire cause voltage drops that confuse the NVMe controller.
6. The BOOT_ORDER Does Not Include NVMe
Run sudo rpi-eeprom-config and verify BOOT_ORDER includes 6 (which represents NVMe). The recommended value 0xf416 includes NVMe as the first boot attempt. If you see a value like 0xf41 or 0x1, NVMe is not in the boot priority list.
7. PCIe Link Down After Reboot
Some users report the NVMe works on first boot, then fails after reboot. This is frequently a thermal or power ramp issue. To fix it, you can add:
PCIE_PROBE=1
to /boot/firmware/config.txt. This forces the kernel to re-probe the PCIe bus on every boot, which often resolves intermittent detection issues.
8. Drive Is Behind a PCIe Switch That Does Not Support Boot
Some M.2 HAT+ boards use a PCIe switch chip to allow multiple drives. These switches are not supported for boot in the Pi 5 firmware. The drive behind a switch will appear in lspci but cannot be used as a boot device. Use a direct M.2 HAT+ without a switch, or use a USB NVMe adapter for boot.
Quick Diagnostic Checklist
FFC cable: fully seated, contacts facing the right way
config.txt: has both
dtparam=pciex1anddtparam=nvmeBootloader: dated 2024 or later
Power supply: official 27 W USB-C
Drive model: known compatible with Pi 5
BOOT_ORDER: contains 6 (for NVMe)
Re-seat cable: even if it looks fine
Running through this checklist takes about five minutes and resolves the vast majority of “NVMe not detected” issues.
Frequently Asked Questions
How to get Raspberry Pi 5 to boot from NVMe?
Enable the PCIe port by adding dtparam=pciex1 and dtparam=nvme to /boot/firmware/config.txt, update the bootloader to the latest version, set BOOT_ORDER=0xf416 in the EEPROM, then flash Raspberry Pi OS to the NVMe drive using Raspberry Pi Imager. After flashing, remove the microSD card and reboot.
How to fix SSD NVMe not detected?
Start by re-seating the FFC cable on both ends with the contacts facing the right direction. Then verify config.txt contains dtparam=pciex1 and dtparam=nvme, update the bootloader to a 2024 or later release, and confirm the NVMe drive is on the official compatibility list. Power supply problems and loose cables cause most detection failures.
How do I enable SSD boot on my Raspberry Pi 5?
Add dtparam=pciex1 and dtparam=nvme to /boot/firmware/config.txt, then set BOOT_ORDER=0xf416 in the EEPROM configuration with sudo rpi-eeprom-config u002du002dedit. Reboot and the Pi 5 will attempt NVMe boot first, with microSD as a fallback.
Does the Raspberry Pi 5 support NVMe SSD?
Yes. The Raspberry Pi 5 supports NVMe SSDs through the external PCIe 2.0 x1 interface on the BCM2712 SoC. You need an M.2 HAT+ or compatible breakout board, an FFC cable, and a compatible NVMe drive. With the official 27 W power supply, you can boot and run workloads directly from NVMe.
Why can’t I boot from NVMe?
The most common reasons are a loose or inverted FFC cable, an outdated bootloader, missing dtparam=pciex1 in config.txt, BOOT_ORDER not including NVMe, and incompatible NVMe drive models. Work through the diagnostic checklist to identify the exact cause.
Can I boot Raspberry Pi 5 from NVMe without an SD card?
Yes. Once the EEPROM has BOOT_ORDER=0xf416 configured and the NVMe is flashed, you can remove the microSD card entirely and the Pi 5 will boot straight from NVMe. This is the standard configuration for headless server deployments.
Conclusion
Booting a Raspberry Pi 5 from an NVMe SSD is one of the best upgrades you can make to the platform. The performance jump over microSD is dramatic, and reliability for server workloads is much better. The full process is straightforward once you see it laid out: enable PCIe, set BOOT_ORDER to 0xf416, flash the OS, and verify with lsblk.
If your NVMe is not detected, walk through the troubleshooting checklist in order. A loose FFC cable is the culprit most of the time, and re-seating it takes 30 seconds. After that, check the bootloader date, config.txt entries, and power supply.
You now have a complete workflow to boot a Raspberry Pi 5 from NVMe SSD and to recover from the “NVMe not detected” error if it shows up. I would love to hear how your setup goes, and if you hit a failure mode not covered here, the open Raspberry Pi community forums are an excellent place to dig deeper.