
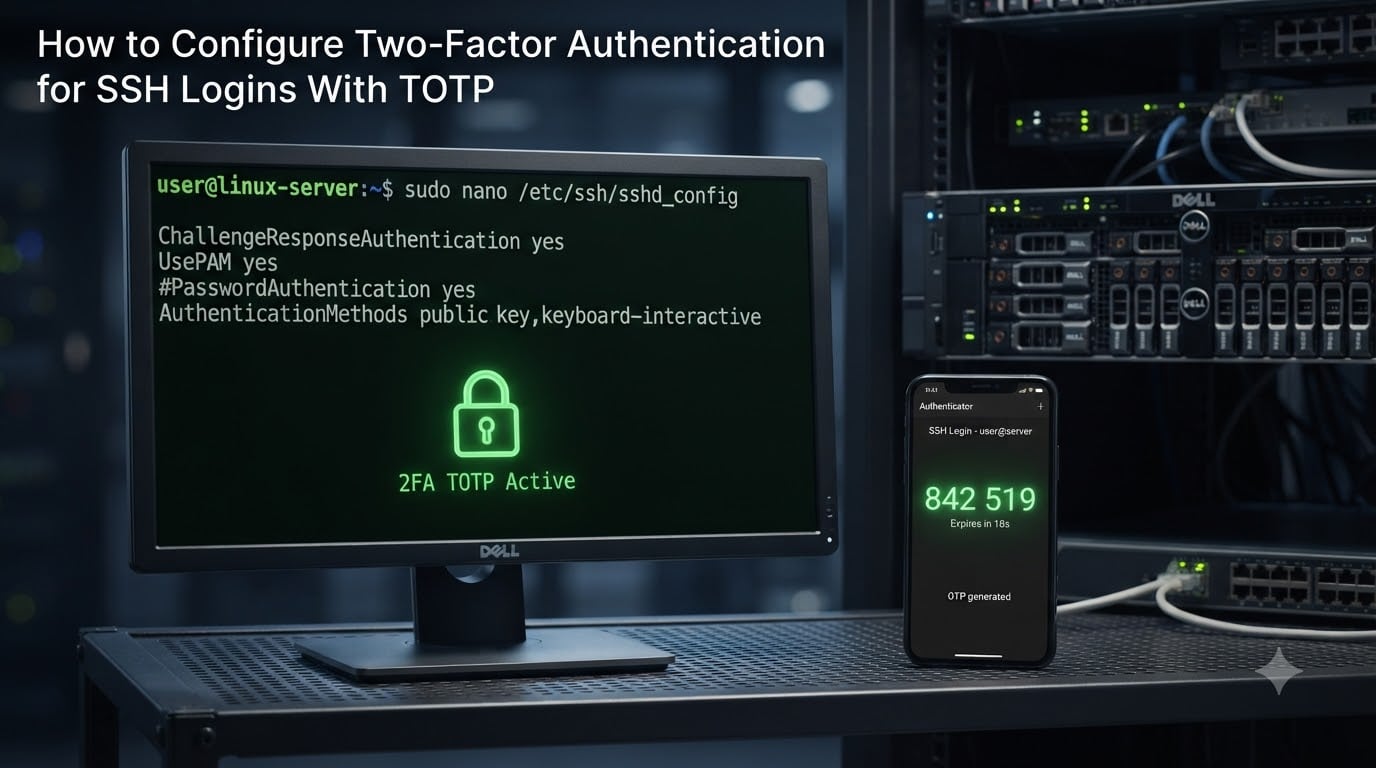
SSH is the front door to your servers, and a stolen password is all it takes for an attacker to walk right in. Adding a second factor turns that door into a vault. In this guide, I will walk you through exactly how to configure two-factor authentication for SSH logins with TOTP, step by step, so you can lock down remote access without locking yourself out.
SSH two-factor authentication using TOTP (Time-based One-Time Password) is one of the most effective ways to protect remote server access. A TOTP generates a unique 6-digit code every 30 seconds using an authenticator app on your phone. Even if someone steals your password, they still cannot log in without that rotating code.
I have set this up on dozens of servers across Ubuntu, Debian, and RHEL environments, and I have also locked myself out more than once learning the hard way. This guide covers the full process, including the transition period, service account exemptions, and recovery procedures that most tutorials skip.
By the end, you will have SSH 2FA configured and tested, with a clear rollback plan if anything goes wrong. Let us get started.
Table of Contents
Prerequisites for SSH 2FA Setup
Before you begin, make sure you have the following in place. Skipping any of these can leave you without access to your own server.
You need root or sudo access on the target server. Every configuration file we will edit, including /etc/pam.d/sshd and /etc/ssh/sshd_config, requires elevated privileges.
You need an authenticator app installed on your phone. Google Authenticator, Microsoft Authenticator, Authy, or any TOTP-compatible app will work. They all use the same TOTP algorithm, so the choice is yours.
You need an active SSH session or physical access to the server console. This is critical for recovery if something goes wrong with the SSH configuration.
Important: Always keep your current SSH session open while configuring 2FA. Open a second session to test. Never close your working session until you have confirmed the new configuration works.
The Google Authenticator PAM module is available in the default repositories for most Linux distributions. On Ubuntu and Debian it is called libpam-google-authenticator. On RHEL and CentOS you may need the EPEL repository first.
Choosing Your SSH 2FA Method
There are three common ways to combine authentication factors for SSH. Understanding the differences before you start configuring will save you from rework later.
The first method is password plus TOTP. The user enters their SSH password, then is prompted for a 6-digit code from their authenticator app. This is the simplest to set up but relies on password strength as the first factor.
The second method is SSH key plus TOTP. The user authenticates with their SSH key pair, then provides a TOTP code. This is the strongest option because it combines something you have (the private key) with something else you have (the authenticator app). Forum users on r/sysadmin consistently recommend this approach for production servers.
The third method is SSH key plus password. The user needs both their private key and the account password. This avoids TOTP entirely but still adds a second factor. Some teams prefer this when managing authenticator apps across many administrators is impractical.
My recommendation for most environments is SSH key plus TOTP. It provides the strongest security and eliminates password-based attack vectors entirely. I will cover the password plus TOTP method as the primary walkthrough, then show you how to switch to SSH key plus TOTP afterward.
Installing the Google Authenticator PAM Module
The PAM (Pluggable Authentication Modules) system is what Linux uses to manage authentication. The Google Authenticator PAM module, called pam_google_authenticator.so, adds TOTP verification to this stack.
Installing it takes one command, but the command differs by distribution.
For Ubuntu and Debian:
sudo apt update && sudo apt install libpam-google-authenticator -y
For RHEL, CentOS, and AlmaLinux:
First, enable the EPEL repository if it is not already active:
sudo dnf install epel-release -y
Then install the module:
sudo dnf install google-authenticator -y
For Fedora:
sudo dnf install google-authenticator -y
After installation, verify the module file exists:
ls -la /lib/security/pam_google_authenticator.so
On 64-bit systems, the path may be /usr/lib64/security/pam_google_authenticator.so. Either location works as long as PAM can find it.
Tip: If the package is not found on RHEL-based systems, the EPEL repository is the most common cause. Run sudo dnf repolist to confirm EPEL is enabled before installing.
Configuring PAM for SSH 2FA
Now you need to tell the SSH service to use the Google Authenticator module. This is done by editing the PAM configuration file for SSH.
Open the SSH PAM configuration file:
sudo nano /etc/pam.d/sshd
Add the following line at the top of the file, right after the initial comments:
auth required pam_google_authenticator.so
This single line tells PAM to require a TOTP code during SSH authentication. Placing it at the top means it runs early in the authentication chain.
During your initial rollout, use the nullok flag instead. This allows users who have not yet set up TOTP to log in without a code:
auth required pam_google_authenticator.so nullok
The nullok flag is what prevents mass lockouts when you enable 2FA for the first time. Users without a TOTP secret file in their home directory are simply not prompted for a code. Once every user has completed setup, remove nullok to enforce 2FA for all accounts.
Warning: Do not remove nullok until every user on the server has run the google-authenticator setup command. Removing it prematurely locks out any user without a TOTP secret.
Save and close the file. The PAM configuration is now ready, but SSH itself still needs to be told to use challenge-response authentication.
Configuring SSH Daemon for 2FA
The SSH daemon needs to know it should request the TOTP code. This requires editing two key settings in the SSH configuration file.
Open the SSH config:
sudo nano /etc/ssh/sshd_config
Find the line for ChallengeResponseAuthentication and set it to yes:
ChallengeResponseAuthentication yes
On newer OpenSSH versions (8.7 and above, common on RHEL 9 and Fedora), the directive was renamed. Use this instead:
KbdInteractiveAuthentication yes
Both directives do the same thing. They enable keyboard-interactive authentication, which is the mechanism PAM uses to prompt for the TOTP code. If you see both in your config, set both to yes to be safe.
If you want SSH key plus TOTP (the recommended method), also configure the AuthenticationMethods directive:
AuthenticationMethods publickey,keyboard-interactive
The comma means both methods are required. SSH will first verify the public key, then prompt for the TOTP code. Without this directive, SSH treats the key and the TOTP as alternatives rather than requirements.
For password plus TOTP, use:
AuthenticationMethods password,keyboard-interactive
Save the file, but do not restart SSH yet. You still need to set up the TOTP secret for your user account.
Running google-authenticator for User Setup
Each user needs to generate their own TOTP secret. This creates a QR code to scan with an authenticator app and a secret file stored in the user’s home directory.
Switch to the user account you want to configure. Do not run this as root unless you are setting up TOTP for the root account itself:
su - username
Run the setup command:
google-authenticator
The command will ask a series of questions. Here is how to answer each one:
Question 1: “Do you want authentication tokens to be time-based?” Answer yes. This enables TOTP, which is what we want.
A QR code will appear in your terminal. Open your authenticator app, scan this code, and a new entry will appear generating 6-digit codes.
If your terminal cannot display the QR code, the command also outputs a secret key as a string of characters. You can manually add this to your app by typing the key instead of scanning.
Question 2: “Do you want to update your .google_authenticator file?” Answer yes. This saves your secret key and settings to ~/.google_authenticator.
Question 3: “Do you want to disallow multiple uses of the same token?” Answer yes. This prevents replay attacks where someone reuses a code they captured.
Question 4: “By default, a new token is generated every 30 seconds…” Answer yes. This adds a time window that extends tolerance for clock skew, allowing codes from up to 2 minutes prior to still work. This reduces login failures caused by minor time differences.
Question 5: “Do you want to enable rate limiting?” Answer yes. This limits brute-force attempts to 3 logins per 30 seconds per IP address.
The command outputs five emergency scratch codes. These are one-time use backup codes for when you lose access to your phone. Store them somewhere secure, like a password manager or a physical safe.
Tip: Take a screenshot or write down the scratch codes before continuing. If you lose your phone and do not have these codes, you will be locked out of your server with no easy recovery path.
SSH Key Plus TOTP Configuration
If you chose the SSH key plus TOTP method, there are a few additional steps. This is the configuration that forum users on r/linuxadmin recommend for production environments.
First, ensure SSH key authentication is enabled in sshd_config:
PubkeyAuthentication yes
Then set the authentication methods to require both factors:
AuthenticationMethods publickey,keyboard-interactive
You also need to adjust the PAM configuration slightly. Since the password check is handled by the SSH key, you only want PAM to handle the TOTP portion. In /etc/pam.d/sshd, make sure the @include common-auth line is present for the key verification but the pam_google_authenticator.so line handles the TOTP prompt.
On Debian and Ubuntu systems, comment out the @include common-auth line if you want to skip password verification entirely and rely only on the SSH key for the first factor:
#@include common-auth
This prevents PAM from asking for a password, since the SSH key already proved identity. The only PAM prompt will be the TOTP code.
On RHEL and CentOS, the equivalent line to comment out is:
auth substack password-auth
After making changes, restart SSH and test with a new session.
One thing I learned the hard way: the order in AuthenticationMethods matters. SSH processes them left to right. If you write keyboard-interactive,publickey, it asks for the TOTP first and the key second. The standard convention is key first, then TOTP.
Exempting Service Accounts from 2FA
This is the section most tutorials skip, and it is the number one complaint from automation users. If you run Ansible, Jenkins, cron jobs, or deployment scripts over SSH, those automated connections cannot provide a TOTP code.
The solution is to exempt specific service accounts from the 2FA requirement while keeping it enforced for human users.
There are two common approaches. The first uses the PAM configuration to skip TOTP for specific users. Create a file listing exempt users:
sudo nano /etc/security/2fa_exemptions
Add one username per line:
ansible
jenkins
deploy
Then modify your PAM configuration in /etc/pam.d/sshd to check this file:
auth [success=done default=ignore] pam_succeed_if.so user ingroup serviceaccounts
auth required pam_google_authenticator.so nullok
Alternatively, use the Linux group approach. Create a group for service accounts:
sudo groupadd no-2fa
sudo usermod -aG no-2fa ansible
Then in PAM:
auth [success=done default=ignore] pam_succeed_if.so user ingroup no-2fa
The success=done directive tells PAM that if the user is in the exempt group, authentication succeeds immediately without checking TOTP. For all other users, the pam_google_authenticator.so line runs as normal.
I recommend testing this thoroughly with a non-critical service account before deploying to production automation. A misconfigured exemption can silently break your deployment pipeline.
Handling the Transition Period
Rolling out 2FA across a team or organization is not instant. The transition period, where some users have TOTP set up and others do not, is where lockouts happen most frequently.
The key tool for a safe transition is the nullok flag in the PAM configuration. With nullok, users who have not yet run google-authenticator are allowed to log in without a TOTP code. This gives you a window to onboard users one at a time.
Here is the rollout plan I recommend:
Step 1: Install the PAM module and configure SSH with nullok in place. All users can still log in normally.
Step 2: Notify users that 2FA is coming. Give a deadline and instructions for running the google-authenticator command.
Step 3: Track which users have completed setup. You can check for the presence of ~/.google_authenticator in each home directory:
for user in $(cut -d: -f1 /etc/passwd); do [ -f /home/$user/.google_authenticator ] && echo "$user: DONE"; done
Step 4: Once all users have completed setup, remove nullok from the PAM configuration.
Step 5: Restart SSH and verify that TOTP is now mandatory.
For large teams, a phased approach works well. Start with nullok, onboard users over a week, then enforce. For small teams, you can often set everyone up in a single session and skip the transition period entirely.
Testing Your SSH 2FA Configuration
Testing is where mistakes become lockouts. Follow this procedure carefully to verify your configuration without risking access.
Restart the SSH service to apply your changes:
sudo systemctl restart sshd
On Ubuntu and Debian, the service may be called ssh instead of sshd:
sudo systemctl restart ssh
Do not close your current session. Open a new terminal window and attempt to SSH in:
ssh username@your-server-ip
You should be prompted for your password first (if using password plus TOTP), then asked for a verification code. Open your authenticator app, read the current 6-digit code, and type it in.
If login succeeds, your configuration is working. If it fails, return to your original session (which should still be open) and review the configuration files.
To test SSH key plus TOTP:
ssh -i ~/.ssh/id_rsa username@your-server-ip
SSH should accept your key, then prompt for the TOTP code. If you are prompted for a password after the key, check your AuthenticationMethods and PAM configuration.
Warning: If your test session fails and you cannot get back in, use your still-open original session to revert the changes. Comment out the PAM line, restart SSH, and try again. Never close your working session until the test login succeeds.
Troubleshooting Common SSH 2FA Issues
Even with careful setup, things can go wrong. Here are the most common problems and how to fix them.
Problem: Time skew causing rejected codes. TOTP depends on the server and authenticator app having synchronized clocks. If your server time drifts by more than 30 seconds, codes will be rejected. Fix this by installing and running a time synchronization service:
sudo systemctl enable --now chronyd
Or on Ubuntu:
sudo systemctl enable --now systemd-timesyncd
Problem: Lockout after removing nullok. If you removed nullok before all users set up TOTP, affected users cannot log in. Fix this by logging in as a user who still has access (or via console), re-adding nullok temporarily, and having the locked-out user run google-authenticator.
Problem: Automation scripts failing. Ansible, cron jobs, and CI/CD pipelines cannot provide TOTP codes. This is expected behavior. Configure service account exemptions as described earlier, or use SSH key-only authentication for automated connections.
Problem: User lost their phone. The user should use one of their five emergency scratch codes to log in, then re-run google-authenticator to generate a new secret. If scratch codes are also lost, an admin with console access can delete the user’s ~/.google_authenticator file and have them start fresh.
Problem: TOTP prompt does not appear. Check that ChallengeResponseAuthentication yes (or KbdInteractiveAuthentication yes) is set in sshd_config. Also verify the PAM line is correctly placed in /etc/pam.d/sshd. Run sudo systemctl restart sshd after any change.
Problem: SSH key works without TOTP prompt. Your AuthenticationMethods directive is likely missing or incorrect. It must read publickey,keyboard-interactive with a comma to require both factors. A space instead of a comma makes them alternatives, not requirements.
Problem: PAM module not found error. Verify the module exists at /lib/security/pam_google_authenticator.so or /usr/lib64/security/pam_google_authenticator.so. If missing, reinstall the package with sudo apt install --reinstall libpam-google-authenticator or sudo dnf reinstall google-authenticator.
Frequently Asked Questions
How do I enable two-factor authentication for SSH?
Install the libpam-google-authenticator package, add ‘auth required pam_google_authenticator.so’ to /etc/pam.d/sshd, set ChallengeResponseAuthentication yes in /etc/ssh/sshd_config, run the google-authenticator command for each user, and restart the SSH service.
Is TOTP MFA or 2FA?
TOTP is a technology used in both 2FA and MFA. Two-factor authentication specifically means exactly two factors, while multi-factor authentication means two or more. TOTP itself is the second factor (something you have), paired with a password or SSH key as the first factor.
How do I set up a TOTP authenticator?
Run the google-authenticator command on your server. It generates a QR code and secret key. Scan the QR code with an app like Google Authenticator, Microsoft Authenticator, or Authy. The app will start generating 6-digit codes that refresh every 30 seconds.
How do I configure key-based authentication for SSH?
Generate a key pair with ssh-keygen, copy the public key to the server with ssh-copy-id, set PubkeyAuthentication yes in sshd_config, and optionally disable password authentication with PasswordAuthentication no. To combine with TOTP, set AuthenticationMethods to publickey,keyboard-interactive.
Can I use TOTP with SSH keys only?
Yes. Set AuthenticationMethods to publickey,keyboard-interactive in sshd_config. SSH will verify the key first, then prompt for the TOTP code. This is the most secure configuration because it eliminates password-based attacks entirely.
How do I recover from an SSH 2FA lockout?
Use one of your five emergency scratch codes generated during setup. If those are lost, access the server via physical console or cloud provider console, delete the user’s ~/.google_authenticator file, and have them run google-authenticator again to create a new secret.
Wrapping Up
You now know how to configure two-factor authentication for SSH logins with TOTP from start to finish. The core process is straightforward: install the PAM module, configure PAM and SSH, generate user secrets, and test carefully.
The details that separate a safe rollout from a disaster are in the transition period, service account exemptions, and recovery planning. Using nullok during rollout prevents mass lockouts. Exempting automation accounts keeps your deployment pipelines running. Storing scratch codes securely gives you a recovery path when phones are lost.
My final recommendation is to start with SSH key plus TOTP on all production servers. It provides the strongest protection and, once configured, is invisible to users beyond the quick TOTP code entry. Pair it with time synchronization to prevent code rejection from clock drift.
If you found this guide helpful, keep your emergency scratch codes safe and document your service account exemptions for your team. A well-documented 2FA setup is one that survives staff turnover and infrastructure changes without becoming a liability.