
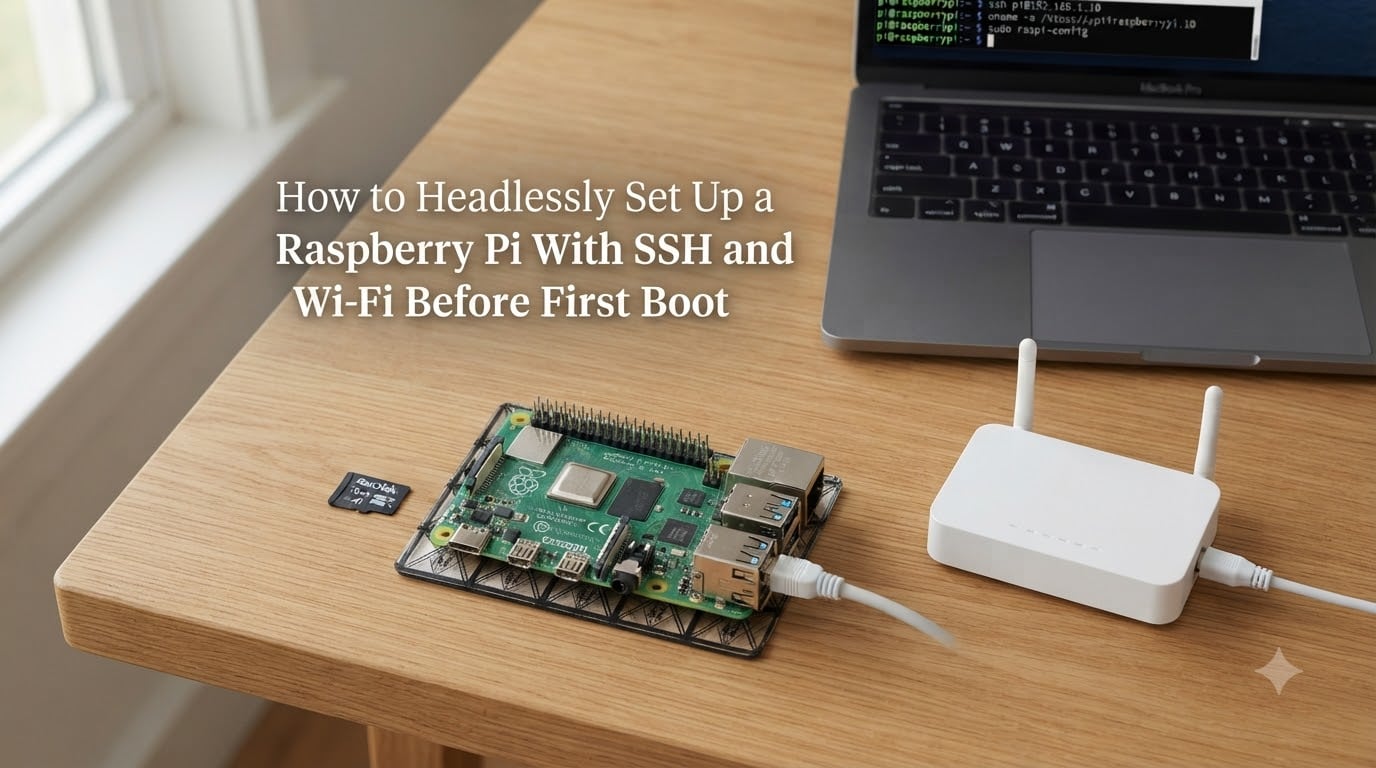
Setting up a Raspberry Pi used to mean dragging out a spare monitor, keyboard, and a tangle of HDMI cables. That changed when the community figured out how to headlessly set up a Raspberry Pi with SSH and Wi-Fi before first boot, so the board boots, joins your network, and exposes a remote shell without any display attached at all. In this guide I’ll walk you through both the easy method using Raspberry Pi Imager and the manual method using configuration files, and I’ll cover the newer Bookworm OS workflow that a lot of older tutorials still get wrong.
Table of Contents
What Is a Headless Raspberry Pi Setup and Why Use It?
A headless Raspberry Pi setup is one where the board boots, joins your wireless network, and accepts remote SSH connections without ever connecting a monitor, keyboard, or mouse. Everything you would normally do at the desktop happens over the network from your laptop or another computer.
This matters because most Pi projects don’t need a display. Pi-hole DNS sinks, retro game servers, Home Assistant hubs, OctoPrint 3D printer controllers, and Pi-hole-style network appliances all run silently in a corner. Pulling a TV across the room just to type a few commands is wasted effort.
Beyond convenience, headless setup lets you deploy a Pi somewhere awkward. A closet, a garage, or behind furniture becomes a valid spot once you don’t need physical access for configuration. I’ve shipped Pis to friends this way: I prepped the SD card here, mailed it, and they just plugged in power.
What You Need Before You Start
Before you headlessly set up a Raspberry Pi with SSH and Wi-Fi before first boot, gather a few basics. Most of these you’ll already have.
A Raspberry Pi board (any model with Wi-Fi: Pi 3, Pi 4, Pi 5, Pi Zero W, or Pi Zero 2 W)
A microSD card of at least 8GB, Class 10 or better
A microSD card reader for your computer
A computer with SD card access (Windows, macOS, or Linux)
Your Wi-Fi SSID and password, exactly as your router broadcasts them
Access to your router admin page or a network scanning tool (for finding the IP later)
One important warning up front: the original Raspberry Pi Zero (no W) has no Wi-Fi chip. If you want wireless headless setup, make sure your board says “Zero W” or “Zero 2 W” on it.
Method 1: Using Raspberry Pi Imager (Easiest Way in 2026)
Raspberry Pi Imager is the official flashing tool, and as of 2026 it’s the method the Raspberry Pi team actively recommends. The “advanced options” menu lets you preconfigure Wi-Fi credentials, enable SSH, set a hostname, and create a user account before the SD card ever touches the Pi.
Download Raspberry Pi Imager from rpi.org/imager and install it on your computer.
Insert your microSD card into your computer’s card reader.
Open Imager and click Choose OS. Pick “Raspberry Pi OS (64-bit)” unless you have a specific reason to use 32-bit.
Click Choose Storage and select your SD card. Double-check the drive letter, because Imager will erase it.
Click Next. You’ll be asked if you want to apply OS customisation settings. Click Edit Settings (don’t skip this).
In the General tab, set a hostname like
pi-serverorpihole01.Set a username and password. Do not leave this blank, because newer Pi OS images refuse to allow the default
piuser over SSH for security.Check Configure Wi-Fi and enter your SSID and password. Set the correct country code (US, GB, DE, IN, etc.).
Switch to the Services tab and check Enable SSH. Choose “Use password authentication” for your first connection.
Click Save, then Yes to apply customisation, and let Imager write the card.
When Imager finishes, eject the SD card, plug it into your Pi, and power it on. Give it 60 to 90 seconds for the first boot. It will connect to Wi-Fi and start the SSH daemon automatically. You can skip straight to “Finding Your Raspberry Pi IP Address” below.
Method 2: Manual Headless Setup With wpa_supplicant.conf and ssh File
If you’d rather avoid the Imager app, or you’re flashing a card from a Linux machine where Imager feels heavy, you can configure Wi-Fi and SSH manually by dropping two files onto the boot partition after flashing. This is the classic technique and it still works on Raspberry Pi OS Legacy (Buster and Bullseye) images.
Step 1: Flash Raspberry Pi OS to the SD Card
Use Imager in its simplest mode (no customisation), or use balenaEtcher if you prefer. The goal is just to get a bootable Pi OS image on the card.
Step 2: Locate the Boot Partition
When the flash completes, your computer will see two partitions on the SD card: a small bootfs (FAT32) and a larger rootfs (ext4). On Windows and macOS, only the boot partition shows up as a readable drive. On Linux, you may need to mount it manually. We only need the boot partition.
Step 3: Create wpa_supplicant.conf
In the root of the boot partition, create a file named wpa_supplicant.conf. It must contain the following template, with your real credentials filled in:
country=US
ctrl_interface=DIR=/var/run/wpa_supplicant GROUP=netdev
update_config=1

network={
    ssid="YourWiFiName"
    psk="YourWiFiPassword"
    key_mgmt=WPA-PSK
}
The country code must match where your router is, because 5GHz channel availability depends on it. The SSID and password are case-sensitive, so copy them straight from your router’s sticker or admin page.
Step 4: Create the ssh File
In the same boot partition, create an empty file named exactly ssh. No extension, no contents. On Windows, open Notepad, save as “ssh” with the file type set to “All Files” (not .txt). On macOS or Linux, touch /Volumes/boot/ssh or touch /media/$USER/boot/ssh does the job.
The Pi looks for this file on first boot, enables the SSH server, and then deletes the file. That’s your signal that everything worked.
Eject the SD card safely, insert it into your Pi, and power it on.
Bookworm OS: Using custom.toml Instead of wpa_supplicant.conf
If you’re flashing the current Bookworm image and don’t want to use Imager’s customisation menu, the manual method has changed. The wpa_supplicant.conf trick no longer works because the OS uses NetworkManager, which ignores that file at boot.
Instead, you create a file called custom.toml in the boot partition’s system-boot folder (or directly on the boot partition for older Bookworm releases). The contents look like this:
[connection]
id=preconfigured
uuid=00000000-0000-0000-0000-000000000000
type=wifi

[wifi]
mode=infrastructure
ssid=YourWiFiName

[wifi-security]
key-mgmt=wpa-psk
psk=YourWiFiPassword

[ipv4]
method=auto

[ipv6]
method=disabled
Pair it with the same empty ssh file in the boot partition. The Pi will pick up both on first boot and configure NetworkManager accordingly.
If you’ve followed older tutorials and created wpa_supplicant.conf on Bookworm, the file will sit there ignored, and you’ll spend an hour wondering why your Pi never joins Wi-Fi. This is the single biggest pain point I see in forum threads, so it was worth calling out separately.
Finding Your Raspberry Pi IP Address on the Network
After the Pi boots, you need its IP address to SSH in. The hostname you set (or the default raspberrypi) gives you a head start.
From the command line: try ping raspberrypi.local (or ping yourhostname.local). On modern Pi OS with mDNS, this often resolves immediately. If your computer doesn’t have mDNS (older Windows), install Bonjour Print Services from Apple.
From your router: log into 192.168.1.1 or 192.168.0.1 and look at the connected devices list. The Pi usually shows up as “raspberrypi” or whatever hostname you set.
Using a scanner: nmap -sn 192.168.1.0/24 (Linux/macOS with nmap installed) or the free “Advanced IP Scanner” on Windows will list everything on your subnet.
Fing on a phone works too. It’s the fastest option if you’re near the router with your phone anyway.
Connecting to Your Pi Over SSH From Windows, macOS, and Linux
Once you know the IP, open a terminal and connect.
macOS and Linux: open Terminal and run ssh [email protected] (replacing the username and IP). Accept the host key fingerprint prompt, then enter the password you set.
Windows 10 and 11: open PowerShell or Command Prompt and use the same ssh command. OpenSSH ships with Windows by default now. If ssh isn’t recognized, enable it in Settings, Apps, Optional Features.
Windows with PuTTY: if you prefer the classic GUI client, download PuTTY, enter the Pi’s IP in the Host Name field, leave port 22, and click Open. Accept the security alert the first time.
The first login always warns you about host authenticity. Type yes to trust the fingerprint, then enter your password. You’re in. From here, sudo raspi-config opens the configuration tool, and sudo apt update && sudo apt upgrade gets the system current.
Troubleshooting Common Headless Setup Problems
Headless setup is straightforward when it works, and infuriating when it doesn’t. Here are the issues I see most often.
SSH connection refused: the Pi hasn’t finished booting yet, or the ssh file wasn’t created. Wait two minutes, then retry. If it still fails, unplug the Pi, take the SD card back to your computer, and verify the file exists in the boot partition. Remember, the Pi deletes the file after first boot, so a missing file is normal on second boot.
Pi joins Wi-Fi but you can’t ping it: check that your SSID and password were entered exactly. Hidden SSIDs, special characters, and trailing spaces are common culprits. Also confirm the country= line matches your location. Pi Zero W boards only support 2.4GHz networks, so a 5GHz-only SSID will fail silently.
Wrong password on first login: Pi OS forces a password change if the one you set is too weak. Imager usually rejects weak passwords at the customisation step, so this mostly happens with manual setup.
Can’t resolve raspberrypi.local: install Bonjour on Windows, or use the IP address directly. Linux systems without Avahi installed will also fail here.
Bookworm: Wi-Fi never connects and wpa_supplicant.conf is sitting on the card: this is the new-method problem. Delete wpa_supplicant.conf, create custom.toml instead, and re-flash.
Security Best Practices After First Headless Boot
The moment your Pi accepts its first SSH connection, treat it like any other internet-facing server. A few minutes here saves headaches later.
Run
sudo apt update && sudo apt upgrade -yto patch everything.Change the default password with
passwd, even if Imager made you set one. Make it long.Generate an SSH key pair on your laptop with
ssh-keygenand copy the public key to the Pi usingssh-copy-id [email protected].Disable password authentication entirely by editing
/etc/ssh/sshd_config, settingPasswordAuthentication no, and runningsudo systemctl restart ssh.Enable the firewall with
sudo apt install ufwandsudo ufw allow OpenSSH.
If you never plan to expose the Pi to the internet (and most home projects don’t need to), these steps are still worth doing. Compromised IoT devices have a way of becoming botnet recruits, and a Pi makes a tempting target if it stays unpatched.
Frequently Asked Questions
How do I set up SSH on my Raspberry Pi for headless setup?
Use Raspberry Pi Imager and enable SSH in the OS customisation menu, or manually create an empty file named ssh (no extension) in the boot partition of the SD card before first boot. The Pi detects this file on boot, enables the SSH server, and deletes the file automatically.
How to connect Raspberry Pi to Wi-Fi headless?
In Raspberry Pi Imager, enable Configure Wi-Fi in the customisation menu and enter your SSID, password, and country code. For manual setup on Legacy OS, create wpa_supplicant.conf on the boot partition. For Bookworm OS, create custom.toml instead because wpa_supplicant.conf is no longer read on first boot.
Why is my headless Raspberry Pi not connecting to Wi-Fi?
The most common causes are an incorrect SSID or password, a wrong country code, or attempting to join a 5GHz network on a Pi Zero W that only supports 2.4GHz. On Bookworm, another frequent cause is using wpa_supplicant.conf instead of the new custom.toml file. Verify the file contents, confirm the country code matches your router’s region, and ensure the Pi is within range of the access point.
How do I find my Raspberry Pi’s IP address without a monitor?
Try pinging raspberrypi.local or the hostname you set. If mDNS doesn’t resolve, log into your router at 192.168.1.1 or 192.168.0.1 and check the connected devices list. Network scanning tools like nmap, Advanced IP Scanner, or the Fing mobile app will also list the Pi on your subnet.
Can I SSH into Raspberry Pi without internet?
Yes, as long as both your computer and the Pi are on the same local network. SSH works over your router’s LAN even when the WAN connection is down. You just need the Pi’s local IP address, which you can find using the router’s admin page or a network scanner.
Wrapping Up Your Headless Raspberry Pi Setup
You now have two reliable paths to headlessly set up a Raspberry Pi with SSH and Wi-Fi before first boot. Raspberry Pi Imager is the right starting point for most people in 2026, because the OS customisation menu handles the SSH file, the Wi-Fi credentials, and the user account in a single step. The manual wpa_supplicant.conf and ssh file method still has a place for Legacy OS images, scripted deployments, and Linux users who prefer a terminal workflow. Whichever path you took, finish with key-based SSH and an updated system, and your Pi will run quietly on your network for years.