
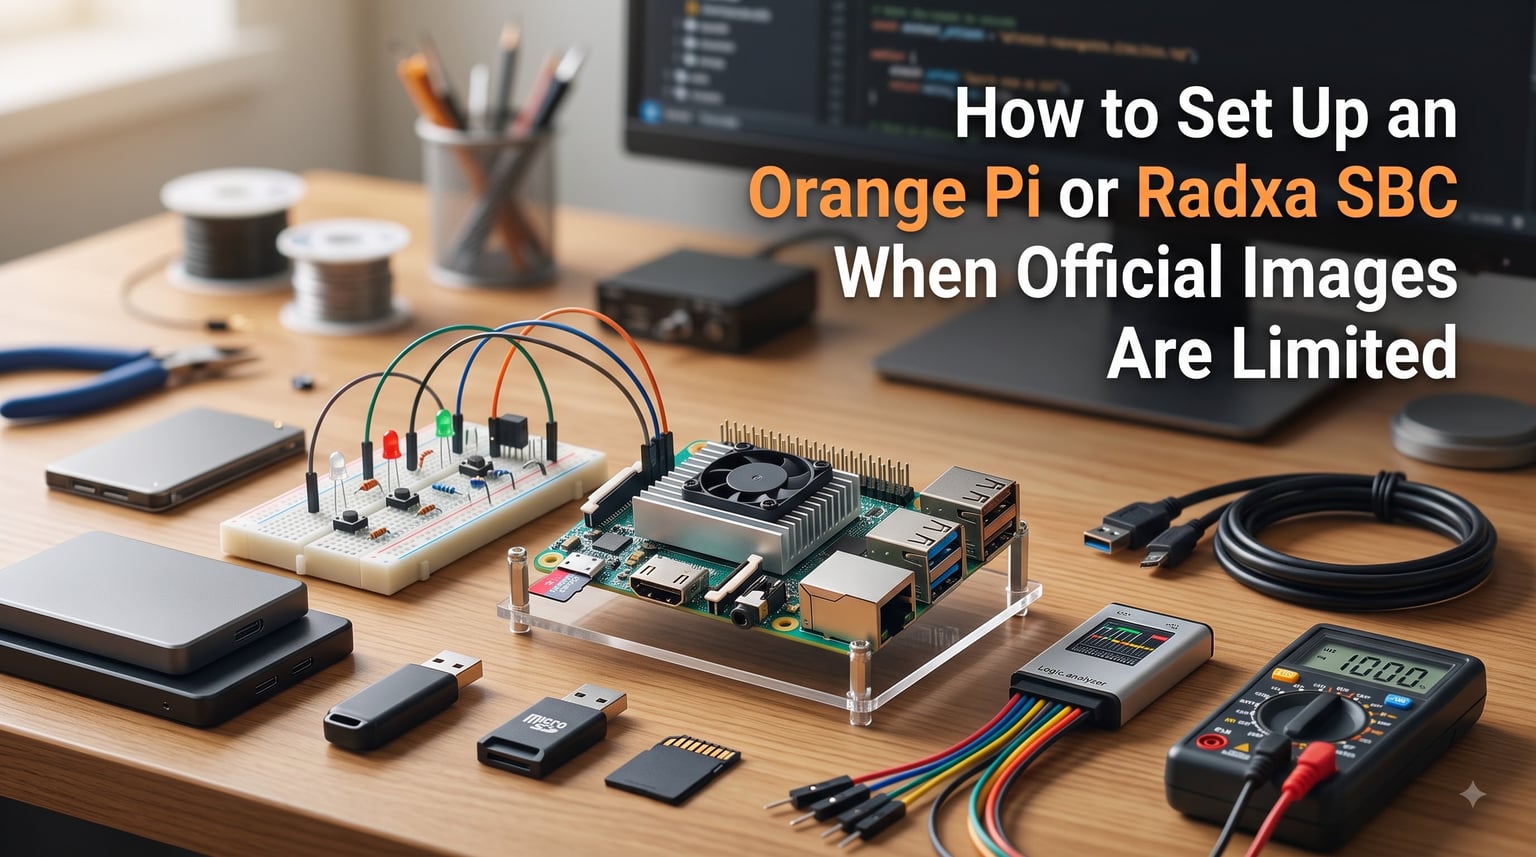
I have spent the better part of three years running Orange Pi and Radxa boards for home servers, mini NAS setups, and random weekend projects. Along the way I have learned that the hardest part is rarely the hardware. The real headache is software. When official OS images are outdated, abandoned, or simply never existed for your board revision, you need a fallback plan. This guide walks through exactly how to set up an Orange Pi or Radxa SBC when official images are limited, covering everything from choosing a community OS to flashing, first-boot configuration, and long-term reliability.
Orange Pi and Radxa boards pack RK3588 processors, PCIe 3.0 lanes, M.2 NVMe slots, and full ARM64 architecture into small footprints. On paper they outclass the Raspberry Pi 5 on raw specs. But the Raspberry Pi has something these boards often lack: a mature, well-maintained first-party OS ecosystem. That gap is exactly why this guide exists.
Whether you just unboxed an Orange Pi 5 Plus or a Radxa Rock 5B and found no reliable image on the vendor site, the steps below will get you booting, stable, and ready for 24/7 workloads without guessing.
Table of Contents
Why Official Orange Pi and Radxa Images Are Limited?
Official images for Orange Pi and Radxa boards are often limited because these vendors prioritize hardware releases over long-term software support. Orange Pi is a Chinese company based in Shenzhen, and their typical pattern is shipping a board with a quick OS image, then moving on to the next product launch. Radxa follows a similar model, though their wiki is somewhat more thorough.
Several specific factors contribute to the problem:
First, vendor images frequently lag behind kernel versions by a year or more. You might buy a board in 2026 and find the official image shipped with a 2022-era kernel that lacks proper device tree support for newer hardware revisions.
Second, images sometimes stop handling reboots correctly. Multiple users on the r/OrangePI subreddit report that images boot fine initially but corrupt the SD card or NVMe after a few power cycles. This is a known pain point that forum threads repeat constantly.
Third, board revisions change silently. A v1.1 and v1.4 of the same Orange Pi model can have different WiFi modules, different PMIC chips, or adjusted GPIO layouts. An official image built for the original revision may simply refuse to boot or fail to detect peripherals on newer hardware.
The result is that most serious Orange Pi and Radxa users end up turning to community builds rather than vendor-provided software.
Picking the Right Alternative OS for Orange Pi and Radxa Boards
When official images fall short, three categories of alternative operating systems can fill the gap. I have tested all of these across Orange Pi 5, Orange Pi 5 Plus, Radxa Rock 5B, and Orange Pi Zero 2W boards.
Armbian: The Community Standard
Armbian is the most trusted community Linux distribution for ARM single board computers. It provides Debian and Ubuntu-based builds maintained by a dedicated community, with support for a wide range of Rockchip-based boards including Orange Pi and Radxa hardware. Armbian uses a mainline-focused kernel approach, which means better long-term compatibility and more frequent security updates than vendor images.
In my testing, Armbian has been the most reliable option for the Radxa Rock series. Forum users on both Reddit and the Armbian community forums consistently recommend Armbian builds as their go-to for production use. The Armbian build system also generates community-supported images for boards that lack official vendor support, which is exactly the scenario this guide addresses.
DietPi: Lightweight and Headless
DietPi is a minimal, optimized Debian-based distribution designed for headless server use. It strips out unnecessary packages and includes a configuration tool that simplifies software installation. DietPi can work well for home automation and mini NAS setups.
However, some users report that DietPi images complete setup but then hang on apt-get update due to mirror or repository configuration issues. If you choose DietPi, verify that package sources resolve correctly before committing to it for a long-term project.
Vendor Community Builds and Forks
Beyond Armbian and DietPi, you may find board-specific community forks on GitHub. These include custom Ubuntu Jammy builds, Manjaro ARM images, and Debian ports created by individual developers. The reliability of these varies wildly. Some are excellent and well-maintained. Others are experimental and may not survive repeated reboots.
My rule of thumb: if a community build has fewer than 50 stars on GitHub and no recent commits in the last six months, treat it as experimental. Always check the issue tracker for unresolved boot or corruption problems before flashing.
Which OS Should You Pick?
For most people setting up an Orange Pi or Radxa SBC with limited official images, Armbian is the safest starting point. It has the largest community, the most frequent updates, and the best documented installation process. If you need an ultra-lightweight server OS, DietPi is a reasonable second choice. Reserve community forks for cases where neither Armbian nor DietPi supports your specific board revision.
How to Set Up an Orange Pi or Radxa SBC Step by Step?
This is the core process I follow every time I set up a new board with an alternative OS. It works for Armbian, DietPi, and most community builds. Follow each step in order.
Step 1: Gather Your Hardware
You will need the SBC itself, a quality power supply rated for the board (Orange Pi 5 boards typically need a 5V 4A or USB-PD supply; Radxa Rock 5B boards benefit from USB-PD at 5V 5A or higher), a microSD card of at least 32 GB (or an NVMe SSD if your board has an M.2 slot), and a card reader for your computer. A USB TTL adapter for UART debugging is strongly recommended for boards with limited official support.
Do not skimp on the power supply. Undervoltage is one of the most common causes of boot failures and SD card corruption on Orange Pi and Radxa boards.
Step 2: Download Your Chosen OS Image
For Armbian, visit the official Armbian download page and search for your board model. If your board is listed under Supported boards, download the stable Debian or Ubuntu server image. If your board falls under Community Supported status, the image is still usable but may receive less testing.
For DietPi, download the image specific to your board from the DietPi website. For community forks, download from the project repository and verify any checksums provided.
Always download the image file, which typically arrives as a compressed .img.xz or .img.gz archive. Do not decompress it manually unless your flashing tool requires it.
Step 3: Flash the Image to Your Storage Medium
The two best tools for flashing are Balena Etcher and Raspberry Pi Imager. Both are free and cross-platform. I personally use Balena Etcher for its reliability with compressed images.
Open your flashing tool, select the downloaded image file, select your microSD card or NVMe SSD as the target, and click Flash. Wait for the write and verification process to complete. This typically takes 5 to 15 minutes depending on your card speed and image size.
If you are booting from NVMe, you will need to connect the drive to your computer via a USB NVMe enclosure or an M.2 to USB adapter before flashing. After flashing, install the NVMe into the board before powering on.
Step 4: Insert Storage and Connect Peripherals
Insert the flashed microSD card into the board slot. If you flashed an NVMe drive, install it into the M.2 slot. Connect HDMI output to a monitor if you have one available. Connect a USB keyboard for first-boot configuration. Plug in your Ethernet cable if you plan to use wired networking.
Step 5: Connect Power and Boot
Plug in the power supply. The board should begin booting within a few seconds. On first boot with Armbian, the system expands the filesystem to fill your storage medium, generates SSH keys, and initializes configuration. This process can take 2 to 5 minutes on a slow SD card.
If nothing appears on your HDMI display or the board shows no signs of life after 30 seconds, disconnect power and move to the troubleshooting section below.
Step 6: First Boot Configuration
Armbian first boot prompts you to set a root password, create a user account, and choose a default shell. Follow the on-screen prompts. For DietPi, the system uses a default password on first boot, which you should change immediately.
Once you reach the command prompt, update all packages immediately:
Run sudo apt update and then sudo apt full-upgrade. Reboot after the update completes to ensure any kernel updates take effect cleanly.
Step 7: Configure Networking and SSH
If you are running headless without a monitor, Armbian and DietPi enable SSH by default. Use a network scanner or check your router DHCP table to find the IP address assigned to the board. SSH into the board using the default credentials, then change passwords and set up SSH key authentication.
For Wi-Fi configuration, use the nmtui or nmcli command on Armbian, or the DietPi config tool. Wired Ethernet is always more reliable for 24/7 server use.
Step 8: Verify Hardware Support
After first boot, verify that critical hardware components are detected. Run lsblk to confirm storage devices are visible. Run ip addr to confirm networking. Check dmesg for any error messages related to the WiFi module, GPU, or M.2 interface. If you plan to use GPIO pins, verify they are accessible through the appropriate kernel modules.
This is also the time to install any heatsink or fan if you have not already. Thermal management matters more than most people expect, as I explain in the next section.
Storage Options: microSD, eMMC, NVMe, and SATA
The storage medium you boot from directly affects reliability. Many of the image corruption problems reported on Reddit trace back to poor storage choices rather than software bugs.
microSD cards are the easiest option but also the most failure-prone. They wear out quickly under write-heavy Linux workloads, especially cheap cards. If you must use a microSD card, choose a high-endurance card from a reputable brand. Even so, expect eventual corruption under 24/7 use.
eMMC modules are more durable than microSD cards. Some Orange Pi and Radxa boards support eMMC directly. eMMC handles more write cycles and is less prone to sudden corruption during power loss.
NVMe SSDs connected via the M.2 slot are the most reliable and fastest option. Boards like the Orange Pi 5 Plus and Radxa Rock 5B have PCIe 3.0 or even PCIe 4.0 capable M.2 slots. Booting from NVMe eliminates the SD card failure problem entirely and dramatically improves I/O performance for database or container workloads.
SATA is available on some boards via add-on HATs or PCIe-to-SATA adapters. This is a good choice for mini NAS builds where you need large storage capacity but can tolerate SATA speeds.
My recommendation for maximum reliability: boot from NVMe whenever your board supports it, and use a microSD card only as a fallback or for initial testing.
Power, Thermal, and Reliability Considerations
Two factors kill more Orange Pi and Radxa boards than anything else: bad power supplies and poor thermal management. Forum experiences back this up repeatedly.
Power Supply Requirements
Orange Pi 5 and 5 Plus boards draw significant current under load, especially with NVMe and peripherals connected. A 5V 4A supply is the minimum I recommend. For Radxa Rock 5B boards with RK3588 CPUs, USB-PD power delivery at higher wattage is the better choice.
Using an underrated power supply causes brownouts under load. These brownouts do not just crash the board. They can corrupt storage, especially SD cards mid-write. One user on the Armbian forum traced months of mysterious boot failures to a power supply that dipped to 4.6V under load. Replacing the PSU solved everything.
Thermal Management
The RK3588 processor generates substantial heat under sustained load. Without a heatsink, Orange Pi 5 boards thermal throttle within minutes of heavy CPU usage. Thermal throttling causes performance drops and, in server scenarios, can lead to MQTT message lag or network timeouts.
I always install at minimum a passive aluminum heatsink. For any 24/7 workload, add a small fan. Active cooling keeps the CPU well below throttling temperature and extends component lifespan.
Real-world reports confirm this pattern. One user documented their Orange Pi booting fine initially but failing under continuous workload due to heat. After adding a fan, the same board ran stable for weeks without interruption.
Long-Term Reliability Tips
For 24/7 operation, combine NVMe storage, a properly rated power supply, and active cooling. Monitor temperatures using the sensors command or by reading the thermal zone files in /sys/class/thermal/. Set up logging so you can catch gradual thermal degradation before it causes problems.
Community-verified working images get the most upvotes on Reddit for a reason. Long-term stability reports measured in weeks or months of uptime are the gold standard for trust. If you find a community image with documented multi-month uptime from a credible user, that is a strong signal of reliability.
Troubleshooting Common Boot Failures and Image Issues
If your board does not boot after flashing, work through this checklist before giving up. Most boot failures have identifiable causes.
Problem: No HDMI output, no LED activity. Likely cause: insufficient power or a faulty USB cable. Try a different power supply rated at or above the board requirement. Some USB cables cause voltage drop even with a good supply.
Problem: LED lights up but nothing on screen. Likely cause: the image did not flash correctly, or the board revision is incompatible. Reflash the image using a different tool or card. If using a community build, check whether it supports your specific board revision.
Problem: Boot loop or kernel panic. Likely cause: kernel or device tree mismatch. Try a different Armbian build version. If using a forked image, switch to the official Armbian community build for your board.
Problem: apt-get update hangs after setup. Likely cause: repository mirror issues, as reported with some DietPi setups. Check your network connection, verify DNS resolution, and manually edit your apt sources list to use a different mirror if needed.
Using UART Debug Console
UART debugging is the most powerful tool for diagnosing boot failures on Orange Pi and Radxa boards. A USB TTL adapter connected to the board UART pins gives you boot console output even when HDMI shows nothing.
Connect the TX, RX, and GND pins from the UART header to your USB TTL adapter. Open a serial terminal at 1500000 baud for RK3588 boards. Power on the board and read the boot log. The UART output shows you exactly where the boot process fails, whether in the bootloader, kernel, or init stages.
Most boot problems that look mysterious through HDMI become obvious through UART. If you plan to work with alternative images regularly, invest in a USB TTL adapter. It costs under $10 and saves hours of guesswork.
Community Resources and Where to Get Help
Because official support is limited, community resources are your primary lifeline. These are the sources I rely on.
The Armbian forum at forum.armbian.com is the single best resource for board-specific help. Search before posting, as most common issues have already been discussed. When you do post, include your board model, image version, and UART output if available.
Reddit communities r/OrangePI and r/SBCs are active and filled with real user experiences. Users there value detailed troubleshooting posts with terminal output, and community-verified working images tend to get significant upvotes.
The Radxa wiki and Orange Pi download pages remain useful for hardware reference, even when the OS images themselves are outdated. Check them for pinout diagrams, power specifications, and board revision details.
Discord channels for Armbian and various SBC communities offer real-time help for quick questions. For deeper technical issues, the forums provide better searchable archives.
Frequently Asked Questions
What operating system does Orange Pi use?
Orange Pi boards can run several Linux distributions. The vendor provides official Ubuntu and Debian images, but most experienced users run Armbian for better long-term support and stability. Other options include DietPi for lightweight server use and community-built images for specific use cases.
How to configure Orange Pi when official images are limited?
Download an Armbian community image for your board model, flash it to a microSD card or NVMe SSD using Balena Etcher, insert the storage into the board, and power on. On first boot, Armbian walks you through setting a root password, creating a user account, and expanding the filesystem. Run sudo apt update and sudo apt full-upgrade immediately after setup.
Is Orange Pi better than Raspberry Pi?
Orange Pi offers better raw specs for the price, including faster processors like the RK3588, more RAM options, and NVMe support. However, Raspberry Pi has superior software support, more reliable official images, and a larger ecosystem of accessories. Orange Pi is better for users comfortable with community OS images; Raspberry Pi is better for those who want a turnkey experience.
Which board is better, the Radxa or the Raspberry Pi?
Radxa boards like the Rock 5B offer powerful RK3588 processors and PCIe support that outperform Raspberry Pi on benchmarks. Raspberry Pi wins on software maturity, community size, and ease of setup. Choose Radxa if you need maximum performance and are comfortable with community OS images; choose Raspberry Pi for reliability and simplicity.
What are the disadvantages of Orange Pi?
The main disadvantages of Orange Pi are limited and sometimes abandoned official OS images, weaker community documentation compared to Raspberry Pi, thermal throttling without active cooling, power supply sensitivity that can cause SD card corruption, and inconsistent support across board revisions. These require more technical knowledge to work around.
How to flash Armbian on a Radxa board?
Download the Armbian image for your Radxa board model from the official Armbian site. Open Balena Etcher or Raspberry Pi Imager, select the image file, choose your microSD card or NVMe SSD as the target, and click Flash. Once complete, insert the storage into the Radxa board, connect power, and follow the first-boot prompts to configure your system.
Final Thoughts on Unofficial SBC Images
Setting up an Orange Pi or Radxa SBC when official images are limited takes patience, but the process is entirely manageable once you know the path. Start with Armbian, flash to NVMe if possible, use a properly rated power supply, and add active cooling for any sustained workload. Keep a USB TTL adapter on hand for UART debugging, and rely on the Armbian forum and Reddit communities when you hit a wall.
The hardware in these boards is impressive for the price. With the right community OS and a bit of preparation, your Orange Pi or Radxa board can run as reliably as any Raspberry Pi in a home server, mini NAS, or home automation setup. The key is treating software setup as a deliberate project rather than a five-minute afterthought.