
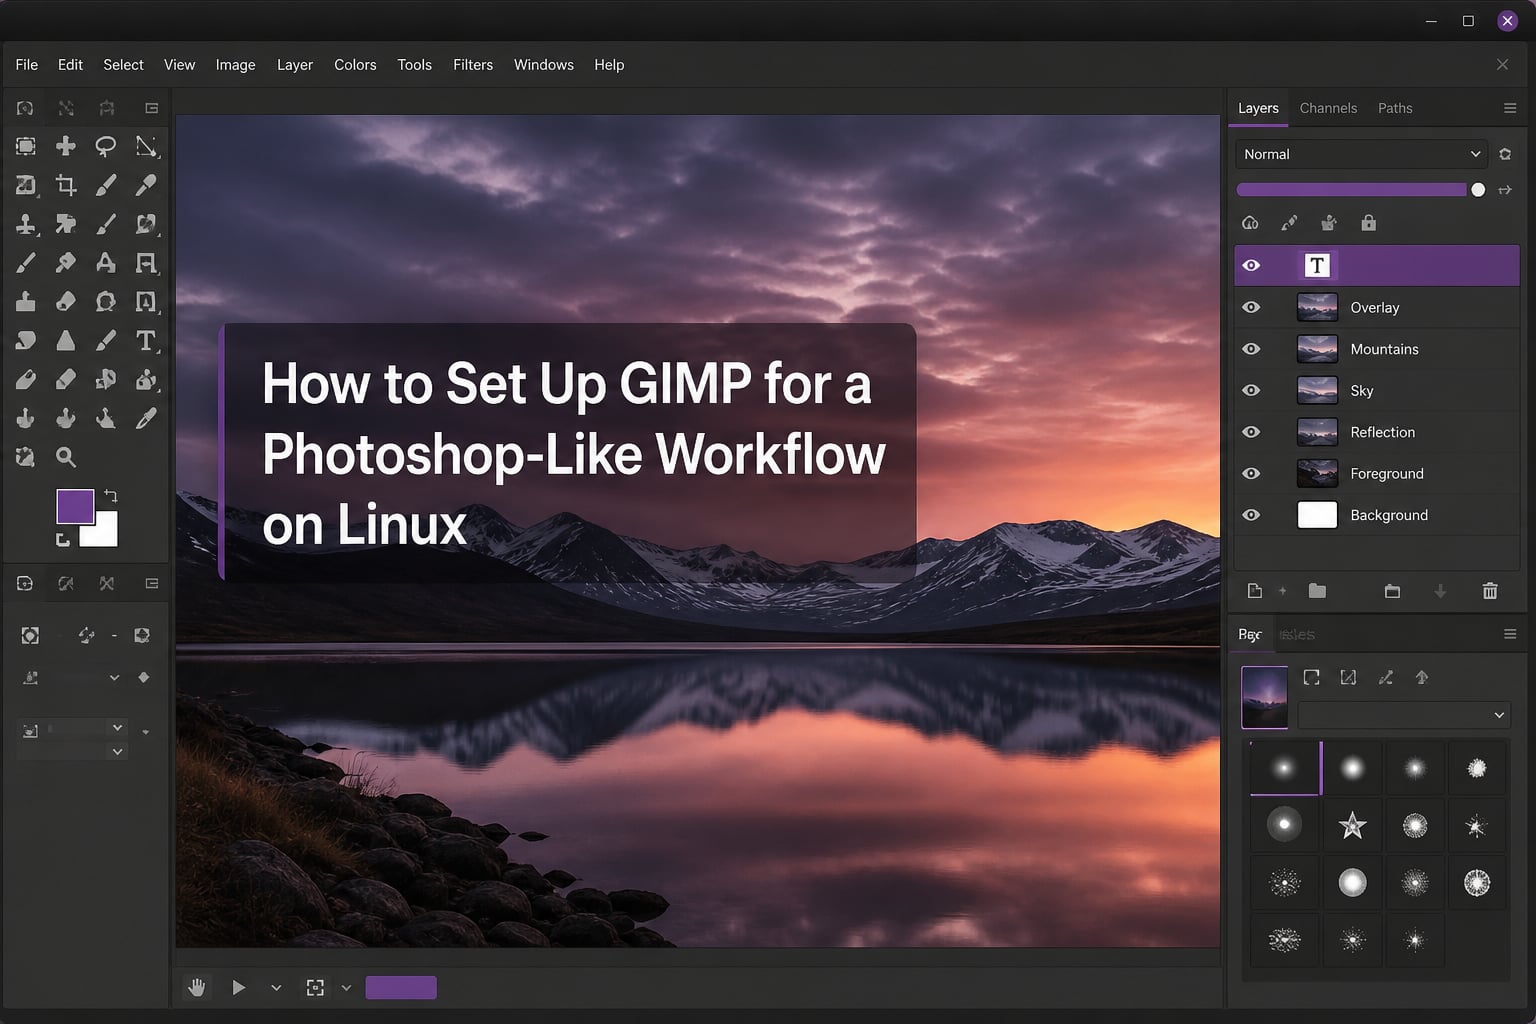
Switching from Adobe Photoshop to GIMP on Linux can feel jarring. The keyboard shortcuts are different, the tools live in unfamiliar places, and your decade of muscle memory suddenly works against you. I know the feeling because I went through it myself after moving to Linux full-time.
The good news is that you do not have to learn everything from scratch. A community-driven patch called PhotoGIMP transforms GIMP into something that looks and feels remarkably close to Photoshop. In this guide, I will walk you through every step of setting up GIMP for a Photoshop-like workflow on Linux, from installation through configuration to troubleshooting.
By the end, you will have a fully configured GIMP environment with Photoshop-style keyboard shortcuts, a familiar tool layout, single-window mode, and batch processing capabilities. Whether you are a professional designer or a casual photo editor, this setup will make your transition to open-source image editing significantly smoother.
Table of Contents
What is PhotoGIMP and Why You Need It?
PhotoGIMP is a free, community-driven patch that transforms GIMP into a layout familiar to Adobe Photoshop users. It modifies GIMP’s configuration files to replicate Photoshop’s keyboard shortcuts, tool organization, and overall interface feel without changing GIMP’s underlying engine.
When I first switched to Linux, I spent weeks fighting GIMP’s default layout. Simple tasks like switching tools felt wrong because the shortcuts were completely different. PhotoGIMP solved this problem in minutes by remapping everything to match what I already knew from Photoshop.
The patch accomplishes several things at once. It remaps over 100 keyboard shortcuts to their Photoshop equivalents, reorganizes the toolbox to mirror Photoshop’s layout, enables single-window mode by default, adds a new splash screen, and applies a refined icon theme. You get all of this without installing any proprietary software.
PhotoGIMP is not a separate application. It works by replacing GIMP’s configuration files in your home directory. This means you still get all of GIMP’s native features and performance, just presented in a way that feels natural to Photoshop users. The patch is maintained by the Diolinux community and updated regularly for new GIMP releases.
Prerequisites: Installing GIMP 3.0+ on Linux
Before you install PhotoGIMP, you need GIMP itself running on your system. PhotoGIMP supports GIMP 3.0 and later, so make sure you have the right version. Older guides reference GIMP 2.10, but the current PhotoGIMP branch targets the 3.0+ series with its improved GTK4 interface.
You have three main installation options, and the one you choose matters because it affects where your configuration files live.
Flatpak Installation (Recommended)
I strongly recommend installing GIMP through Flatpak. This method provides the most consistent experience across different Linux distributions and is the primary installation method that PhotoGIMP’s documentation supports. Flatpak also ensures you get the latest GIMP version without waiting for your distribution’s package manager to catch up.
To install GIMP via Flatpak, open your terminal and run:
flatpak install flathub org.gimp.GIMP
Launch GIMP at least once after installation. This step is critical because GIMP creates its configuration directory on first run. PhotoGIMP needs to overwrite files in this directory, so if it does not exist yet, the patch will fail silently.
APT Installation (Debian and Ubuntu-based distributions)
If you prefer traditional package management, you can install GIMP through apt. The version available depends on your distribution release cycle. Ubuntu LTS releases may lag behind the latest GIMP version.
To install via apt, run:
sudo apt update && sudo apt install gimp
Again, launch GIMP once before proceeding to PhotoGIMP installation.
Snap Installation
Snap is another option, primarily for Ubuntu users. The snap package tends to be more current than the apt version on stable Ubuntu releases.
sudo snap install gimp
One important note about snap: its sandboxed nature means configuration file paths differ from Flatpak and apt installations. If you use snap, you will need to locate the correct configuration directory before applying PhotoGIMP.
How to Set Up GIMP for a Photoshop-Like Workflow on Linux: Step-by-Step Installation?
Now for the core process. Setting up GIMP for a Photoshop-like workflow on Linux requires PhotoGIMP, which replaces your GIMP configuration files with Photoshop-inspired defaults. Here is the complete step-by-step process that I follow every time I set up a new machine.
Step 1: Back Up Your Existing GIMP Configuration
Before making any changes, create a backup of your current GIMP configuration. This step is non-negotiable if you have already customized anything in GIMP. Even if you just installed GIMP fresh, backing up gives you a rollback point.
For Flatpak installations, your configuration lives at:
~/.var/app/org.gimp.GIMP/config/GIMP/3.0/
For apt and snap installations, the path is typically:
~/.config/GIMP/3.0/
Create a backup copy by running this command in your terminal, adjusting the path to match your installation method:
cp -r ~/.config/GIMP/3.0/ ~/.config/GIMP/3.0-backup/
If anything goes wrong during the PhotoGIMP installation, you can restore your original configuration by copying the backup directory back.
Step 2: Download PhotoGIMP
PhotoGIMP is hosted on GitHub at the Diolinux repository. You can download the latest release from the releases page. The download comes as a compressed archive containing all the configuration files needed to transform GIMP’s interface.
Download the archive to your Downloads folder or any convenient location. The file is typically named something like PhotoGIMP.Version.Linux.zip or similar, depending on the release.
Step 3: Extract and Install the Patch
Extract the downloaded archive. Inside, you will find a folder structure that mirrors GIMP’s configuration directory. The key files include:
shortcutsrc – Remapped keyboard shortcuts matching Photoshoptoolrc – Reorganized toolbox layoutsessionrc – Window and panel arrangementdockrc – Dockable dialog configurationgimprc – General preferences including single-window modecontextrc – Tool options and context settings
Copy these files into your GIMP configuration directory, replacing the existing files. For Flatpak installations:
cp -r PhotoGIMP/3.0/* ~/.var/app/org.gimp.GIMP/config/GIMP/3.0/
For apt and snap installations:
cp -r PhotoGIMP/3.0/* ~/.config/GIMP/3.0/
If you already have custom brushes, fonts, or scripts, do not worry. The PhotoGIMP patch only replaces configuration files, not your creative resources. I cover preserving custom resources in detail later in this guide.
Step 4: Set Up the Desktop Entry (Non-Flatpak Only)
If you installed GIMP through Flatpak, PhotoGIMP’s custom icon and desktop entry apply automatically. For apt and snap installations, you need to manually copy the desktop file so your application launcher displays the Photoshop-style icon.
Copy the PhotoGIMP desktop file to your local applications directory:
cp PhotoGIMP/desktop/photogimp.desktop ~/.local/share/applications/
Update your desktop database so the changes take effect:
update-desktop-database ~/.local/share/applications/
You may also want to copy the PhotoGIMP icon to your icon theme directory so it displays correctly in your application menu.
Step 5: Verify the Installation
Launch GIMP and look for the signs that PhotoGIMP is working. You should see a new splash screen on startup instead of the default GIMP splash. The toolbox should be reorganized with tools in different positions. Try pressing Ctrl+N to create a new image. If the patch applied correctly, this shortcut will work as expected, matching Photoshop’s behavior.
Try a few other shortcuts to confirm. Press B for the brush tool, V for the move tool, and Ctrl+Z for undo. If these all work like Photoshop, the installation was successful.
Setting Up Single-Window Mode for Photoshop-Like Experience
One of the biggest complaints from Photoshop users switching to GIMP is the multi-window interface. Photoshop uses a single-window model where everything is docked inside one application frame. GIMP’s default multi-window mode scatters tool palettes across your desktop as separate floating windows.
PhotoGIMP enables single-window mode automatically, but understanding how to configure it manually is important. If you ever need to reconfigure your window layout, here is how to do it.
Enabling Single-Window Mode
Open GIMP and go to the Windows menu at the top of the screen. Select “Single-Window Mode” from the dropdown. All your floating palettes and tool dialogs immediately snap into the main window as docked panels.
If PhotoGIMP was installed correctly, this option should already be enabled. The toggle in the Windows menu will have a checkmark next to it.
Arranging Docks and Panels
Now arrange your panels to match your Photoshop workflow. In Photoshop, you typically have the toolbox on the left, tool options along the top, and panels like Layers, Channels, and Paths on the right. GIMP’s docking system lets you replicate this layout.
Drag the Layers dialog to the right side of your screen until you see a blue highlight indicating a dock area. Release it to dock the panel. Repeat for any other dialogs you want on the right side, such as Histogram, Gradients, or Brushes.
On the left side, keep the toolbox and tool options. You can stack dialogs vertically by dragging one below another within the same dock column. This arrangement closely matches Photoshop’s default interface.
Saving Your Window Configuration
Once you have everything positioned, save your layout so it persists across sessions. GIMP saves window configuration automatically in the sessionrc file when you close the application normally. Do not force-close GIMP after rearranging panels, as this can prevent the session file from updating.
If you find that your layout resets every time you launch GIMP, check that your sessionrc file is writable. A permissions issue on the configuration directory is the most common cause of this problem.
Keyboard Shortcuts Mapping: Photoshop vs GIMP vs PhotoGIMP
The keyboard shortcut difference is the single biggest frustration for Photoshop users transitioning to GIMP. When I first switched, I kept hitting the wrong keys for simple tasks. V for move tool, B for brush, E for eraser. These are burned into muscle memory after years of Photoshop use, and GIMP’s defaults are completely different.
PhotoGIMP solves this by remapping GIMP’s shortcuts to match Photoshop. Here is a comparison of the most commonly used shortcuts across the three configurations.
Tool Selection Shortcuts
Move tool: Photoshop uses V, GIMP default uses M, PhotoGIMP remaps to V.
Brush tool: Photoshop uses B, GIMP default uses P, PhotoGIMP remaps to B.
Eraser tool: Photoshop uses E, GIMP default uses Shift+E, PhotoGIMP remaps to E.
Gradient tool: Photoshop uses G, GIMP default uses L, PhotoGIMP remaps to G.
Pen tool: Photoshop uses P, GIMP default uses B, PhotoGIMP remaps to P.
Text tool: Photoshop uses T, GIMP default uses X, PhotoGIMP remaps to T.
Crop tool: Photoshop uses C, GIMP default uses Shift+C, PhotoGIMP remaps to C.
Zoom tool: Photoshop uses Z, GIMP default uses Shift+Z, PhotoGIMP remaps to Z.
Edit Shortcuts
Undo: Photoshop uses Ctrl+Z, GIMP default uses Ctrl+Z (consistent).
Step Backward: Photoshop uses Ctrl+Alt+Z, GIMP default uses Ctrl+Y, PhotoGIMP remaps to Ctrl+Alt+Z.
Free Transform: Photoshop uses Ctrl+T, GIMP default uses Shift+T, PhotoGIMP remaps to Ctrl+T.
Deselect: Photoshop uses Ctrl+D, GIMP default uses Ctrl+Shift+A, PhotoGIMP remaps to Ctrl+D.
Invert Selection: Photoshop uses Ctrl+Shift+I, GIMP default uses Ctrl+I, PhotoGIMP remaps to Ctrl+Shift+I.
File and Layer Shortcuts
New Layer: Photoshop uses Ctrl+Shift+N, GIMP default uses Ctrl+Shift+N (consistent).
Duplicate Layer: Photoshop uses Ctrl+J, GIMP default uses Ctrl+Shift+D, PhotoGIMP remaps to Ctrl+J.
Merge Layers: Photoshop uses Ctrl+E, GIMP default uses Ctrl+M, PhotoGIMP remaps to Ctrl+E.
Flatten Image: Photoshop uses no shortcut, GIMP default uses no shortcut (accessible through menu only).
Customizing Shortcuts Further
PhotoGIMP covers the vast majority of Photoshop shortcuts, but you may find a few that still feel wrong. GIMP allows manual shortcut customization through the Configure Keyboard Shortcuts dialog, accessible from the Edit menu.
Open Edit, then Keyboard Shortcuts. Search for the command you want to reassign, click on the current shortcut, and press the new key combination. GIMP warns you if the new shortcut conflicts with an existing assignment, which helps you avoid accidentally breaking other tools.
Custom shortcuts are stored in the shortcutsrc file. If you reinstall PhotoGIMP later, your manual customizations will be overwritten unless you back up the shortcutsrc file separately.
Understanding UI Layout Changes
PhotoGIMP does not just remap shortcuts. It makes several visual changes that bring GIMP’s appearance closer to Photoshop’s interface.
Tool Organization
The toolbox gets reorganized to match Photoshop’s grouping. Tools are arranged so that similar functions sit next to each other, matching the spatial arrangement you expect from Photoshop. Selection tools cluster at the top of the toolbox, followed by painting tools, then transform tools. This layout means your eye goes to the right spot when reaching for a tool.
Splash Screen and Icon Theme
PhotoGIMP replaces GIMP’s default splash screen with a custom one. The application icon also changes in your system launcher and taskbar. These are cosmetic changes, but they help create a psychological sense of familiarity that makes the transition less jarring.
Maximized Canvas
By default, PhotoGIMP configures GIMP to open images maximized within the application window. This matches Photoshop’s behavior where the image fills the available canvas space. If you prefer to see image tabs instead of maximized windows, you can toggle this in Edit, Preferences, Image Windows.
Default Grid and Guides
PhotoGIMP adjusts some default preferences to better match Photoshop conventions. Grid spacing, guide color, and ruler units are all set to values that Photoshop users expect. These are small details, but they reduce the number of configuration steps needed after a fresh install.
Preserving Custom Brushes and Fonts After PhotoGIMP Installation
A common concern I hear from advanced users is whether installing PhotoGIMP will wipe their custom brushes, fonts, or scripts. The short answer is no, but you need to understand the distinction between configuration files and resource files.
PhotoGIMP only replaces configuration files like shortcutsrc, toolrc, and sessionrc. Your creative resources, including brushes, patterns, gradients, fonts, and scripts, live in separate directories that the patch does not touch.
For Flatpak installations, custom resources typically live in:
~/.var/app/org.gimp.GIMP/config/GIMP/3.0/brushes/~/.var/app/org.gimp.GIMP/config/GIMP/3.0/fonts/~/.var/app/org.gimp.GIMP/config/GIMP/3.0/scripts/
For apt and snap installations, the paths are:
~/.config/GIMP/3.0/brushes/~/.config/GIMP/3.0/fonts/~/.config/GIMP/3.0/scripts/
If you want to be extra cautious, back up these directories before applying the patch. I recommend keeping copies of your custom brushes and fonts in a separate location entirely, such as a dedicated folder in your home directory. This way, even if something goes wrong with GIMP’s configuration, your creative assets remain safe.
After installing PhotoGIMP, verify that your custom resources are still accessible by opening GIMP and checking your brushes and fonts panels. If anything is missing, copy it back from your backup into the appropriate resource directory.
BIMP Plugin for Batch Processing
One feature that Photoshop users frequently miss in GIMP is batch processing. Photoshop’s Image Processor and Actions panel let you apply the same operations across dozens of files. GIMP does not include this functionality out of the box, but a plugin called BIMP fills this gap completely.
What is BIMP
BIMP stands for Batch Image Manipulation Plugin. It provides a graphical interface for applying common operations, such as resizing, format conversion, watermarking, color correction, and cropping, across multiple images simultaneously. For anyone coming from Photoshop where batch processing was built in, BIMP is essential.
Installing BIMP on Linux
Installing BIMP requires compiling the plugin from source, but the process is straightforward. First, install the build dependencies:
sudo apt install libgimp3.0-dev libgtk-3-dev build-essential
Download the BIMP source from its GitHub repository, extract it, and compile:
make && make install
The compiled plugin installs to your GIMP plug-ins directory. For Flatpak installations, you may need to specify the target directory manually during installation.
After installation, launch GIMP and look for BIMP in the File menu. It appears as “Batch Image Manipulation” or similar depending on your GIMP version.
Using BIMP for Common Tasks
BIMP’s interface is clean and intuitive. You add source images, define a sequence of operations, set an output directory, and click apply. Common operations include resize, crop, flip and rotate, color adjustment, sharpen or blur, add watermark, change format, rename, and quality settings.
I use BIMP regularly for resizing client photos for web delivery. What used to be a tedious manual process is now a single batch operation that handles hundreds of images in minutes. Combined with PhotoGIMP’s Photoshop-like interface, BIMP makes GIMP a genuinely complete replacement for Photoshop on Linux.
Troubleshooting Common Issues
Even with careful installation, you may encounter issues. Here are the most common problems and their solutions based on my experience and reports from the community.
PhotoGIMP Changes Not Appearing
If you launch GIMP after installing PhotoGIMP and see the old interface, the most likely cause is wrong file placement. Double-check that the configuration files were copied to the correct directory for your installation method. Flatpak installations use a different path than apt or snap installations.
Another common issue is that GIMP was not run before applying the patch, so the configuration directory was never created. If this happened, launch GIMP once, close it, then reapply the PhotoGIMP files.
Restoring Original GIMP Configuration
If PhotoGIMP is not for you and you want to revert, restoring your original configuration is simple if you followed the backup step. Delete or rename the current configuration directory, then copy your backup back:
rm -rf ~/.config/GIMP/3.0/
cp -r ~/.config/GIMP/3.0-backup/ ~/.config/GIMP/3.0/
If you did not create a backup, you can delete the configuration directory entirely. GIMP recreates it with default settings on the next launch, giving you a clean slate.
Performance and RAM Usage Concerns
Forum users frequently ask whether GIMP uses a lot of RAM. GIMP’s memory usage depends on your image size and the number of layers. For typical photo editing of 20-megapixel images, GIMP uses between 500MB and 1.5GB of RAM. Large multi-layer projects with 4K resolution images can push usage to 4GB or more.
To optimize performance, go to Edit, Preferences, System Resources. Increase the tile cache size if you have ample RAM, typically 70 to 80 percent of your total system memory. This setting determines how much data GIMP keeps in RAM versus swapping to disk.
You can also adjust the number of processor cores GIMP uses for operations in the same preferences section. On a multi-core system, allowing GIMP to use all available cores significantly speeds up filters and effects.
Version Compatibility Issues
PhotoGIMP branches target specific GIMP versions. If you are running GIMP 2.10 but downloaded the PhotoGIMP 3.0 release, the configuration file formats may not be compatible. Always match the PhotoGIMP version to your installed GIMP version.
Check your GIMP version by going to Help, About in the GIMP menu. The version number appears prominently in the about dialog. Compare this to the version listed on the PhotoGIMP GitHub releases page before downloading.
Frequently Asked Questions
Is there a way to make GIMP look like Photoshop?
Yes. PhotoGIMP is a free, community-driven patch that transforms GIMP into a layout familiar to Adobe Photoshop users. It remaps over 100 keyboard shortcuts, reorganizes the toolbox, enables single-window mode, and applies a new icon theme and splash screen. You install it by downloading the patch from the PhotoGIMP GitHub repository and replacing GIMP’s configuration files in your home directory.
Is GIMP still good in 2026?
Yes, GIMP remains a capable image editor in 2026. With the release of GIMP 3.0, the application gained significant improvements including GTK4 support, non-destructive editing foundations, better color management, and improved performance. For photo retouching, graphic design, and digital painting, GIMP handles most tasks that Photoshop can, though some advanced features like content-aware fill are not natively available.
Is GIMP better on Linux or Windows?
GIMP runs natively on Linux and performs equally well on both platforms in terms of features. However, Linux offers advantages through Flatpak packaging, which provides the latest versions consistently across distributions. Linux also avoids some font rendering and performance quirks that occasionally affect the Windows build. For most users, the platform difference is negligible, but Linux is the natural home for GIMP since it is an open-source project.
Does GIMP work on Linux?
Yes, GIMP works natively on Linux and is one of the most popular open-source image editors available on the platform. It can be installed through Flatpak, apt, snap, or directly from source. Flatpak is the recommended installation method for the most up-to-date version and best compatibility with patches like PhotoGIMP.
Does GIMP use a lot of RAM?
GIMP’s RAM usage depends on your image size and project complexity. Typical photo editing of 20-megapixel images uses between 500MB and 1.5GB of RAM. Large multi-layer projects with high-resolution images can require 4GB or more. You can optimize memory usage by adjusting the tile cache size in Edit, Preferences, System Resources to allocate more RAM for image processing.
Conclusion
Setting up GIMP for a Photoshop-like workflow on Linux is straightforward once you know the steps. Install GIMP 3.0+, apply the PhotoGIMP patch to remap your shortcuts and interface, enable single-window mode, and add BIMP for batch processing. Your Photoshop muscle memory will carry over, and you will have a fully open-source image editing environment that handles professional work without compromise.