
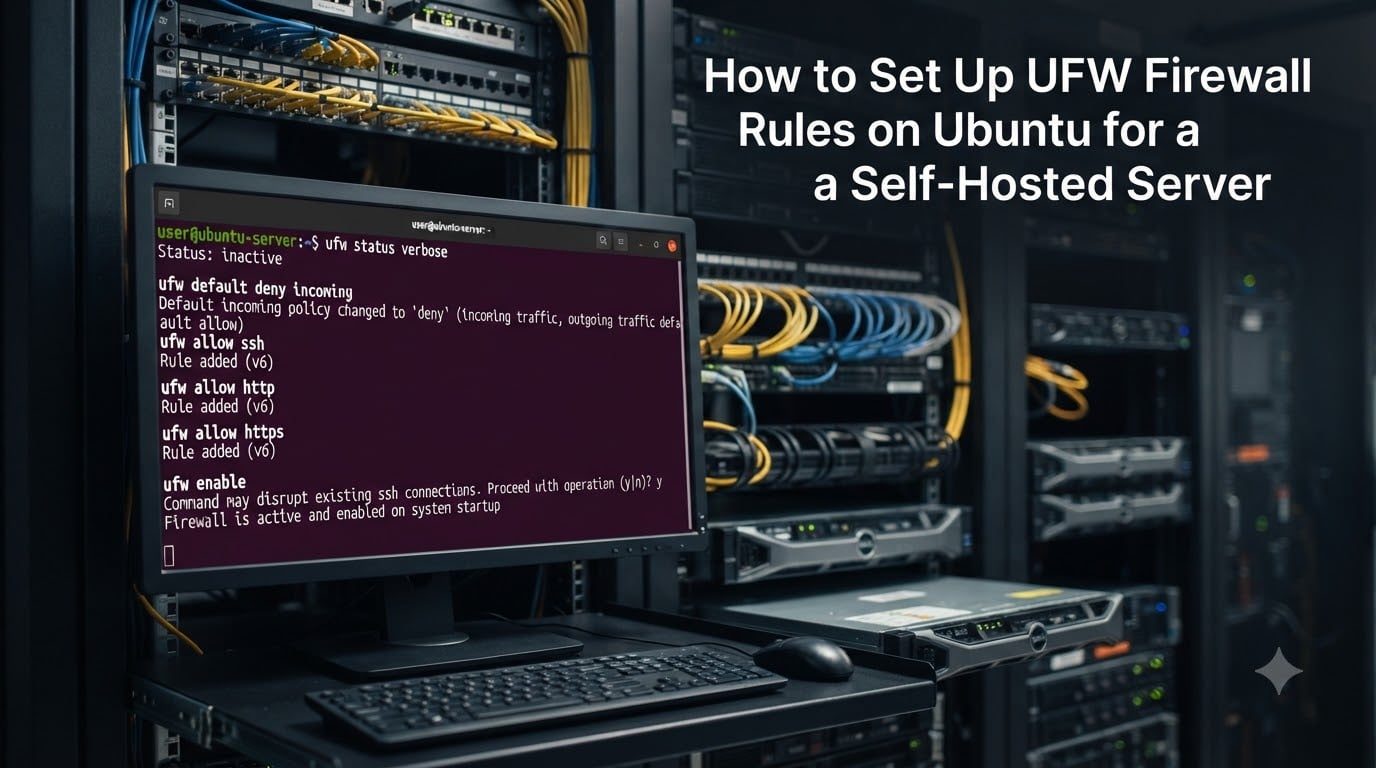
Setting up UFW firewall rules on Ubuntu is the single most important security task for any self-hosted server. I run a half-dozen services from a home lab and a small VPS, and every one of them got UFW configured before I exposed a single port. UFW (Uncomplicated Firewall) gives you a clean command-line front-end to iptables, so you can lock down your server in minutes without learning raw netfilter syntax.
In this guide, I will walk you through the exact steps I use on every fresh Ubuntu install. We will cover SSH lockout prevention, default deny policies, opening service ports, restricting SSH to specific IPs, the Docker trap that catches most people, IPv6 exposure, and a troubleshooting checklist for when something breaks. By the end, you will have a hardened self-hosted server that only accepts the traffic you actually want.
Table of Contents
What Is UFW and Why Self-Hosted Servers Need It?
UFW (Uncomplicated Firewall) is a user-friendly command-line interface for managing iptables firewall rules on Ubuntu Linux. It is not a separate firewall, it is a frontend that translates simple commands like ufw allow 22 into iptables rules that the kernel’s netfilter subsystem uses to filter packets. Think of netfilter as the engine, iptables as the control panel, and UFW as the dashboard designed for humans.
Self-hosted servers need a host-level firewall even if your router already has one. Your router protects your home network from the internet, but once you forward a port or run a VPS, that traffic is hitting your server directly. Without a host firewall, every open service on your box is reachable by the entire internet. I learned this the hard way when a fresh Nextcloud install on a VPS saw 4,000 failed login attempts in the first 24 hours. UFW cut that to almost zero by exposing only the ports I needed.
UFW is enabled by default on Ubuntu Desktop but not on Ubuntu Server. Most self-hosters run the server edition, which means your machine is wide open until you set up UFW firewall rules yourself.
UFW vs firewalld vs raw iptables
UFW is the right choice for most self-hosted Ubuntu workloads because it ships with the OS, has a tiny learning curve, and produces predictable iptables rules. firewalld is the default on RHEL and Fedora and uses a zone-based model that is overkill for a single server. Raw iptables gives you total control but is famously unforgiving, one typo and you can lock yourself out. Stick with UFW unless you have a specific reason not to.
Prerequisites Before You Change UFW Rules
Before you touch any UFW firewall rules on Ubuntu, check what ports are actually listening on your server. You do not want to enable a firewall only to discover that a service you depend on is running on a port you did not remember to allow. Use ss or netstat to get a full inventory.
Run this first to list every listening TCP and UDP port:
sudo ss -tulnp
You will see output like LISTEN 0 128 0.0.0.0:22 users:(("sshd",pid=812,...), which tells you SSH is on port 22. Repeat the scan after every service you install so your port list stays accurate.
Next, confirm you have an out-of-band recovery path. If you are on a VPS, make sure your cloud provider’s console access works, this is the KVM or serial console that lets you log in even if the network is dead. If you are on a home server, plug in a monitor and keyboard or keep an IPMI/BMC session ready. I keep a second SSH session open in another terminal while I make changes, so if I lock myself out I can still see what went wrong in the logs.
Installing UFW on Ubuntu
UFW is in the Ubuntu repositories and is usually preinstalled. Verify and install it in one step:
sudo apt update && sudo apt install ufw -y
Check that it installed and is not yet active:
ufw version
sudo ufw status verbose
You should see Status: inactive. Do not enable it yet, that is the next section, and the order matters.
Prevent SSH Lockout Before Enabling UFW
Allowing SSH before enabling UFW is the single rule that prevents the most common disaster. I cannot count how many forum posts I have seen titled “I just locked myself out of my server.” The fix is always the same: enable a rule for SSH before flipping UFW on, then verify it works.
Run one of these depending on your setup. The most common is just allowing port 22:
sudo ufw allow 22/tcp
If your SSH daemon listens on a custom port (you should consider this for security through obscurity), substitute that port. If you changed the port in /etc/ssh/sshd_config, restart SSH first with sudo systemctl restart ssh and confirm you can still log in.
For a stronger setup, allow SSH only from a specific IP or subnet. Replace 203.0.113.10 with your actual home or office static IP:
sudo ufw allow from 203.0.113.10 to any port 22 proto tcp
Now, and only now, enable UFW:
sudo ufw enable
You will get a warning that enabling the firewall may disrupt existing SSH connections. Type y and press Enter. Test in a new terminal window before you close your current session. If the new connection works, you are safe.
Setting UFW Default Policies
Default policies are the foundation of every safe UFW firewall rules setup on Ubuntu. They tell UFW what to do with traffic that does not match an explicit rule. The two settings you want are deny incoming and allow outgoing.
Set them in either order:
sudo ufw default deny incoming
sudo ufw default allow outgoing
Deny incoming means anything trying to reach your server is dropped unless you have an explicit allow rule. Allow outgoing lets your server reach the internet, which is required for package updates, monitoring agents, and most application traffic. If you want to lock down outbound traffic too, see the troubleshooting section later in this guide.
You can confirm your defaults with sudo ufw status verbose, which prints both the default policies and the active rules.
Opening Ports for Common Services
With defaults set, you now add allow rules for each service you actually expose. Here are the ports I open on a typical self-hosted server, with the exact commands.
Web server (HTTP and HTTPS)
If you run a reverse proxy like Nginx or Caddy, or a direct Apache install, open both 80 and 443:
sudo ufw allow 80/tcp
sudo ufw allow 443/tcp
You can also use the named profile that ships with UFW:
sudo ufw allow "Nginx Full"
List available profiles anytime with sudo ufw app list. The "Nginx Full" profile opens both 80 and 443, while "Nginx HTTPS" opens only 443.
Database servers
Databases should almost never be exposed to the internet. Bind them to localhost or a private interface. If you must allow remote database access, restrict it to a specific subnet:
sudo ufw allow from 10.0.0.0/8 to any port 3306 proto tcp
This allows MySQL only from the 10.0.0.0/8 private range. Never open 3306 or 5432 to any on a server that faces the public internet.
Application-specific ports
Many self-hosted apps use non-standard ports. Here are a few common ones:
sudo ufw allow 51820/udpfor WireGuard VPNsudo ufw allow 8123/tcpfor Home Assistantsudo ufw allow 9090/tcpfor Prometheussudo ufw allow 32400/tcpfor Plex
Replace the port and protocol with whatever your service documents. Always check the actual listening port with sudo ss -tulnp before opening it in UFW.
Allowing SSH From a Specific IP Only
If you have a static IP (or a WireGuard VPN you connect to first), restricting SSH to that source is one of the best hardening moves you can make. Brute-force login attempts will hit your allow rule, get rejected, and never see your real SSH daemon.
First, remove the broad SSH rule you added earlier:
sudo ufw delete allow 22/tcp
Then add the IP-restricted rule:
sudo ufw allow from 203.0.113.10 to any port 22 proto tcp
If your IP changes, you will need to update the rule, but you can leave a fallback in place for emergencies. I keep one rule that allows SSH from a Tailscale IP range (a virtual private network I am always connected to) and another from my home IP. If both fail, I use the cloud console to fix things.
You can also allow a subnet if multiple admins need access:
sudo ufw allow from 203.0.113.0/24 to any port 22 proto tcp
Managing UFW Rules: Numbered, Insert, and Delete
As your UFW firewall rules on Ubuntu grow, you will need to view them in order, insert a rule in a specific position, and delete rules you no longer need. UFW numbers each rule automatically, and you can act on those numbers.
View numbered rules:
sudo ufw status numbered
Output looks like this:
Status: activeTo Action From[ 1] 22/tcp ALLOW IN Anywhere[ 2] 80/tcp ALLOW IN Anywhere[ 3] 443/tcp ALLOW IN Anywhere
UFW applies rules top to bottom, but because most of your rules are allow and your default is deny incoming, order rarely matters for simple setups. The exceptions are when you have overlapping rules, like an allow from anywhere followed by a deny from specific-IP, where the order is critical.
Insert a rule at a specific position with insert:
sudo ufw insert 1 deny from 198.51.100.0/24
This puts a block rule at the top, so it is evaluated before any allow rules.
Delete by number:
sudo ufw delete 2
Or delete by exact specification:
sudo ufw delete allow 80/tcp
To reset everything and start over (use with care):
sudo ufw reset
This deletes all rules and disables UFW. Run it from the console, not over SSH.
Why Your Container Ports May Be Open Even When UFW Blocks Them
This is the single biggest “UFW is not working” trap for self-hosters running Docker. When you publish a port with docker run -p 8080:80 or a compose file using ports:, Docker adds its own iptables rules that bypass UFW entirely. The packet never reaches the UFW INPUT chain because Docker inserts a rule in the FORWARD chain that accepts it first.
You can verify this on any system with Docker installed. Run sudo iptables -L -n -t nat and look for entries with DOCKER in the comment. Those are Docker’s port forwarding rules, and they take precedence over UFW.
You have three options to fix this. The simplest is to bind the published port to a specific IP instead of all interfaces. In docker-compose, replace "8080:80" with "127.0.0.1:8080:80". This stops Docker from accepting traffic on the host’s public IP, so the UFW rules apply normally.
The second option is to use Docker’s userland-proxy setting. Set "userland-proxy": false in /etc/docker/daemon.json and restart Docker. This disables Docker’s userspace proxy and forces all traffic through iptables, where UFW can manage it.
The third option is to leave Docker alone and put a reverse proxy (Traefik, Caddy, or Nginx) in front of all your container ports. Bind the reverse proxy to ports 80 and 443 only, and let UFW control those. Your services stay accessible and your firewall stays effective.
IPv6 Considerations and Cloud Security Groups
If your server has IPv6 enabled, UFW firewall rules on Ubuntu apply to both IPv4 and IPv6 by default. That sounds great, but it also means a misconfigured IPv6 rule will leave you just as exposed as a misconfigured IPv4 one. Check whether IPv6 is active on your interface with ip -6 addr. If it is, confirm your /etc/ufw/ufw.conf contains IPV6=yes (the default).
To disable IPv6 in UFW entirely, set IPV6=no in /etc/ufw/ufw.conf and reload with sudo ufw reload. I only recommend this if you are sure you do not need IPv6 connectivity.
Now the layer confusion that catches cloud users. If your server is on AWS, Google Cloud, Azure, DigitalOcean, Linode, or any similar provider, the platform’s security group or firewall runs outside your VM. UFW lives inside the OS. They do not see each other. A closed security group with an open UFW is still closed, the packet is dropped before it reaches your instance. An open security group with a closed UFW is open, UFW never sees the traffic.
Best practice is to use the cloud security group as a coarse outer layer (open only 22, 80, 443 from the internet) and UFW as a fine inner layer (allow SSH from your IP only, allow database ports from your private subnet only). Both layers together give you defense in depth.
UFW Logging, Troubleshooting, and Rate Limiting
Logging is off by default. Turn it on with sudo ufw logging on. Low gives you basic connection logs, medium adds logging of packets that match rules, and high is verbose and only useful for short debugging sessions:
sudo ufw logging medium
Logs land in /var/log/ufw.log. Grep for dropped packets when troubleshooting:
sudo grep 'UFW BLOCK' /var/log/ufw.log | tail -20
Common UFW troubleshooting scenarios and fixes:
I cannot reach a service I just opened. Confirm the service is actually listening with
sudo ss -tulnp. If it listens on 127.0.0.1 only, you need to bind it to 0.0.0.0 or your public IP.SSH worked yesterday and not today. Your IP changed and your IP-restricted rule no longer matches. Update the rule or fall back to a broader allow.
Docker container is reachable despite UFW rules. See the Docker section above, this is the FORWARD chain bypass.
Nothing works after a ufw reset. Defaults get wiped on reset. Re-run
sudo ufw default deny incomingandsudo ufw default allow outgoing, then re-add your allows.Logs are spammy. You probably set logging to high. Switch back to low or medium.
For brute-force protection on SSH, UFW has a built-in rate limit:
sudo ufw limit 22/tcp
This denies connections from any IP that has attempted to connect six or more times in the last 30 seconds. It is a light layer of protection. For serious hardening, pair it with fail2ban or sshguard, which can ban offending IPs for hours or days.
If you want to lock down outbound traffic, UFW supports that too. First change the default to deny outgoing, then allow only what you need:
sudo ufw default deny outgoing
sudo ufw allow out to any port 53
sudo ufw allow out to any port 80
sudo ufw allow out to any port 443
This stops a compromised service from phoning home on arbitrary ports. It is more restrictive, so expect to add rules as you find broken things.
Finally, audit your rules periodically. A clean rule set is small enough to read in one screen. If yours has grown past 50 rules, something has probably crept in that you can remove.
Frequently Asked Questions
How do I set up a UFW firewall on Ubuntu?
Install UFW with sudo apt install ufw, allow SSH first with sudo ufw allow 22/tcp, then enable it with sudo ufw enable. Set default policies with sudo ufw default deny incoming and sudo ufw default allow outgoing, then add allow rules for each service port you need to expose.
Is UFW a real firewall?
Yes. UFW is a frontend that generates iptables rules, which are loaded into the kernel’s netfilter subsystem. Netfilter is the actual packet filter. UFW makes managing those rules simple and predictable without losing any of the underlying power.
Which is better, firewalld or UFW?
For Ubuntu, UFW is the better fit because it ships with the OS, has a smaller learning curve, and is well documented for Ubuntu workflows. firewalld is the default on RHEL and Fedora and uses a zone-based model that works well there but adds complexity on a single Ubuntu server.
Why are my Docker ports open even though UFW blocks them?
Docker publishes container ports by adding iptables rules in the FORWARD chain, which UFW does not manage. The packet is accepted before it ever reaches the UFW INPUT chain. Bind published ports to 127.0.0.1, set userland-proxy to false in daemon.json, or put a reverse proxy in front of your containers.
Can I use an Ubuntu server as a firewall?
Yes. Ubuntu can act as a router or firewall using iptables, nftables, or UFW combined with IP forwarding and NAT. For most home labs, running UFW on each server and letting a dedicated router handle the WAN edge is simpler, but a dedicated Ubuntu firewall box is a valid setup for advanced users.
Conclusion
Setting up UFW firewall rules on Ubuntu for a self-hosted server comes down to a clear sequence: install UFW, allow SSH before enabling it, set deny incoming and allow outgoing defaults, then add explicit allow rules for each service you expose. That order keeps you out of lockout trouble and gives you a clean rule set you can audit in seconds.
Once your basics work, layer in IP-restricted SSH, rate limiting, the Docker fix if you run containers, and logging so you can see what is hitting your box. For 2026, the self-hosted community has settled on UFW as the default host firewall, and pairing it with your cloud security group gives you real defense in depth. Start with the commands in this guide, run them on your own server, and you will have a hardened self-hosted setup in under an hour.