
If you’ve ever mounted a directory into an unprivileged Proxmox LXC and seen every file owned by nobody (UID 65534), you’ve hit the single most confusing thing about container permissions on Proxmox. The container thinks it’s running as root, but the host has no idea who that root actually is.
This guide walks through setting up LXC containers on Proxmox with correct unprivileged permissions from scratch. I’ll cover what user namespaces actually do, how UID/GID mapping translates identities between host and container, and how to fix the issues that forum threads are full of. By the end, you’ll know why files appear with weird ownership, how to map a single user cleanly, and how to handle bind mounts without giving up security.
Table of Contents
What Are Unprivileged LXC Containers and Why They Matter?
Unprivileged LXC containers use a Linux kernel feature called user namespaces to map the user IDs and group IDs inside the container onto a different range of IDs on the host. The container’s root user (UID 0) gets mapped to a high-numbered user on the host (typically UID 100000), so it only has power over its own little mapped world.
Proxmox creates unprivileged containers by default since version 5.0, and that’s the right call for almost everyone. A privileged container runs with real host privileges from the kernel’s perspective. If something inside the container escapes its boundaries, it lands at the host’s UID 0, which is full root. With an unprivileged container, that escape lands as UID 100000, which is a nobody-style account with no special rights on the host.
The trade-off is exactly what you’d expect. You get stronger isolation, but you also get a permission mismatch whenever the container needs to read or write files owned by a real host user. That’s where lxc.idmap, /etc/subuid, and /etc/subgid come in. The whole rest of this article is about teaching the host and the container how to agree on who is who.
I’ve run unprivileged containers exclusively on my own Proxmox boxes for years, and the only real annoyance is the initial setup. Once you’ve mapped a handful of UIDs correctly, the day-to-day experience is identical to running privileged containers, and your security posture is meaningfully better.
Understanding UID/GID Mapping: The Core Concept
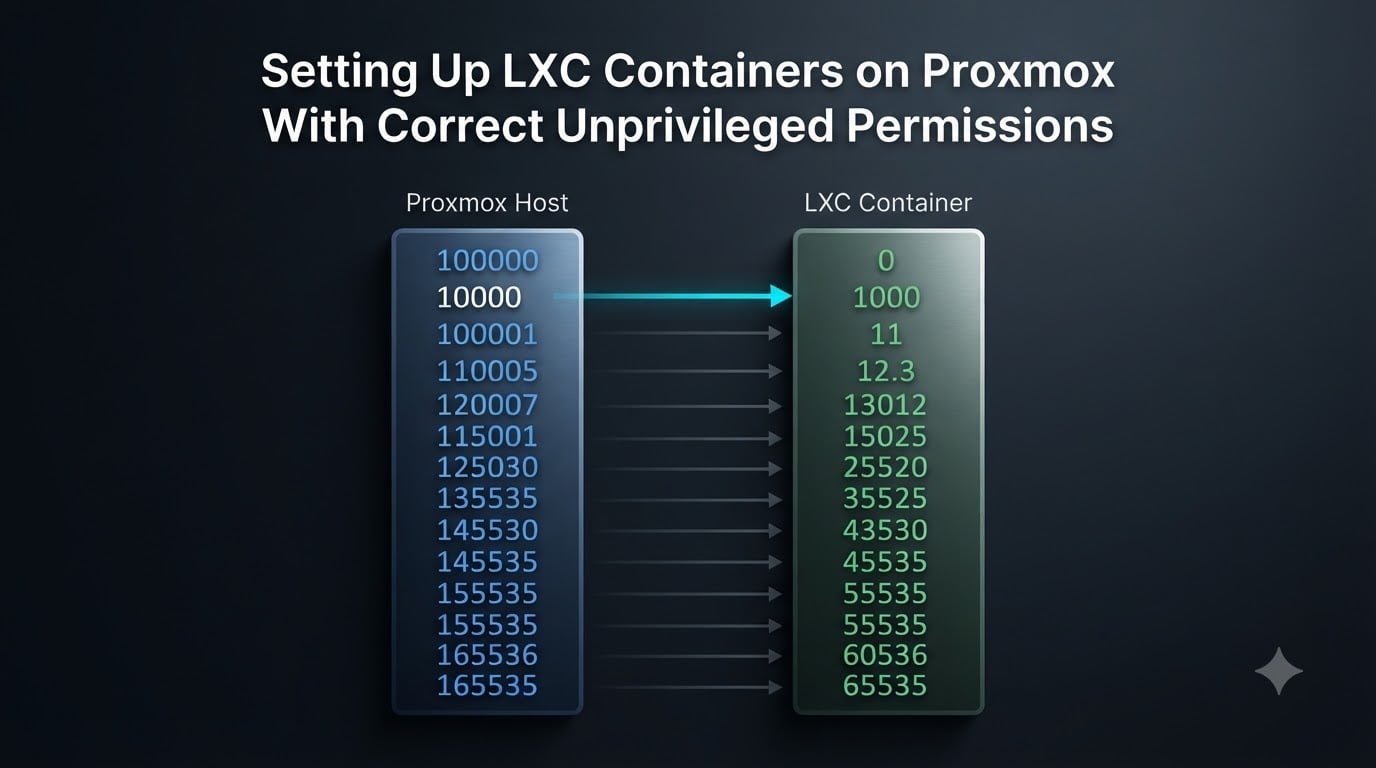
UID/GID mapping is a translation layer that sits between the container and the host. Every user inside the container has a number. Every user on the host has a number. The mapping tells the kernel “when the container asks about UID 1000, that’s actually UID 101000 on the host.”
Here’s the mental model that finally made this click for me. Imagine your container is a hotel, and each guest gets a room number. The hotel’s front desk (the host kernel) keeps a translation table that says room 1001 maps to suite 101001. The guest has no idea they’re in suite 101001. They think they’re in 1001. Anyone looking from outside just sees the suite number, not the room.
When Proxmox creates an unprivileged container, it sets up a default mapping called the root:100000:65536 range. That single line says root inside the container owns the range of UIDs from 0 through 65535, and those UIDs map to 100000 through 165535 on the host. So the container’s root (UID 0) becomes UID 100000 on the host. UID 1000 inside becomes UID 101000 on the host. Everything shifts by exactly 100000.
This is why a freshly created container with a default mapping can’t write to /mnt/data on the host. The container’s root is UID 100000 on the host. If your host file system has /mnt/data owned by root:root (UID 0), the kernel refuses access. The container’s “root” is a different identity from the host’s “root.”
You have two ways to fix this mismatch. You change who owns the host directory (quick, sometimes messy). Or you change the mapping so the container’s root actually maps to UID 0 on the host for that single range. The second approach is cleaner for multi-user setups and is what we’re going to do.
How lxc.idmap Configuration Works
The lxc.idmap configuration block defines which UID ranges inside the container map to which UID ranges on the host. The format is straightforward once you’ve seen it a few times.
The default mapping in /etc/pve/lxc/<CTID>.conf looks like this.
lxc.idmap: u 0 100000 65536lxc.idmap: g 0 100000 65536
Reading that line by line: type u (user), first UID inside the container (0 = root), first UID on the host that maps here (100000), and the length of the range (65536 IDs). The g line does the same thing for groups. Together, this creates the standard 100000 offset that everyone new to Proxmox LXCs encounters.
To map just one user so it actually matches the host, you write something like this.
lxc.idmap: u 0 100000 1000lxc.idmap: u 1000 1000 1lxc.idmap: u 1001 101001 64535lxc.idmap: g 0 100000 1000lxc.idmap: g 1000 1000 1lxc.idmap: g 1001 101001 64535
That looks like more, but it just splits the default mapping into three ranges. Lines one and four say UIDs 0 through 999 inside the container map to UIDs 100000 through 100999 on the host. Lines two and five expose the gap UID 1000 directly, so the host UID 1000 maps to itself. Lines three and six pick up the rest of the range starting at the offset. This is the pattern that lets a Jellyfin or Plex container write to host directories owned by a specific user.
The host also needs to know about the mapping in /etc/subuid and /etc/subgid. These are subordinate ID files that say “this user is allowed to use these extra UIDs in a user namespace.” For our single-user mapping, the relevant entries look like this.
root:100000:65536
That’s in both /etc/subuid and /etc/subgid. The format is user:start:count. Here, root on the host is allowed to use UIDs 100000 through 165535 for namespace mappings, which matches exactly what lxc.idmap needs. If you wanted to map more than one specific user through the gap, you’d add additional entries here with different ranges.
Most of the permission-denied errors you’ll hit come from either lxc.idmap and /etc/subuid disagreeing, or from one of them being miswritten. I keep both files open in adjacent terminal panes whenever I’m setting up a new container, since it’s so easy to typo a number.
Step-by-Step: Setting Up LXC Containers on Proxmox With Correct Unprivileged Permissions
This is the workflow I follow for every unprivileged container that needs bind-mount access to host files. It works whether you’re hosting Jellyfin, Plex, Nextcloud, or just a generic Debian container with shared data.
Step 1: Create the Container Unprivileged
In the Proxmox web UI, click Create CT. Under the General tab, make sure Privileged container is unchecked. Modern Proxmox unchecks this by default, but if you’re using a template that forces privileged, double-check. Unprivileged is the right answer unless you have a very specific reason (like needing loop devices or kernel modules you can’t get otherwise).
Choose your template, set a hostname, set a root password, and finish the wizard. I’ll customize the mapping right after, before I start the container for the first time.
Step 2: Verify /etc/subuid and /etc/subgid Entries
SSH into your Proxmox host and run these commands.
cat /etc/subuidcat /etc/subgid
By default on a fresh Proxmox install, both files have a single line: root:100000:65536. That’s your starting point. If those lines aren’t there, add them now.
echo "root:100000:65536" >> /etc/subuidecho "root:100000:65536" >> /etc/subgid
Without these entries, your idmap rules won’t be honored and the container may either refuse to start or quietly use a different mapping.
Step 3: Configure lxc.idmap for the Container
Stop the container if it’s running. Then edit /etc/pve/lxc/<CTID>.conf and replace any existing lxc.idmap lines with the mapping you need. For a single-user pattern (UID 1000 on host appearing as UID 1000 in the container), use this.
lxc.idmap: u 0 100000 1000lxc.idmap: u 1000 1000 1lxc.idmap: u 1001 101001 64535lxc.idmap: g 0 100000 1000lxc.idmap: g 1000 1000 1lxc.idmap: g 1001 101001 64535
If you want a custom host user (for example UID 1005 with GID 1005), swap 1000 1000 1 for 1005 1005 1 on both the u and g lines, and adjust the host owner of the bind-mount target.
Step 4: Start the Container and Verify the Mapping
Start the container from the UI or with pct start <CTID>. Once it’s up, open the console and run.
idls -ln / | head
You should see your container root user (UID 0) and standard files. Now run touch /tmp/testfile from inside the container, then on the host check ls -l /var/lib/lxc/<CTID>/rootfs/tmp/testfile. The file should be owned by UID 100000 on the host, since the default offset kicks in for files created by root. That confirms the basic mapping is working.
If you bind a directory in step 5, files created by UID 1000 inside the container should show up as UID 1000 on the host, which is what you want.
Bind Mount Setup for Sharing Directories
Bind mounts are how you give a container access to host paths. For unprivileged containers, they require a little extra care because the default UID offset will make every file in that mount appear owned by UID 100000 on the host rather than the actual host user.
To add a bind mount, edit the container config and add a line like this.
mp0: /mnt/media,mp=/mnt/media
That’s the simplest form. It bind-mounts /mnt/media on the host to /mnt/media in the container, with no extra options. For most media-server use cases this is enough. If you want to ensure the container has write access, prepend ro to make it read-only, or use the default rw (read-write).
For use cases like Docker-in-LXC or storage workloads where you need direct device access, add features.
mp0: /mnt/media,mp=/mnt/media,shared=1
After you save the config, restart the container. Once it’s back, hop into the console and confirm the mount shows up.
ls -ln /mnt/media
Files should now be visible inside the container with their actual host UIDs, because we’ve mapped UID 1000 through. If you see everything owned by UID 65534 (nfsnobody or nobody), the mapping isn’t applied to that mount yet, or the directory was created with the wrong owner. Run chown 1000:1000 /mnt/media -R on the host first, then start the container.
The cleanest pattern I use for media servers goes like this. Create a host group called media with GID 1100. Add my media user to that group. Chown my media library to mediauser:media. Then map GID 1100 inside the container to GID 1100 on the host with the same three-range pattern. Now Jellyfin (which runs as UID 1100 inside its container) can read, write, and transcode anything in the library without weird permission errors.
Converting Privileged to Unprivileged Containers
If you already have a privileged container running and want to convert it for security reasons, the process is more involved than just toggling a checkbox, but it’s doable.
Warning: Before you do anything, back up the container. Run vzdump <CTID> from the host or use the Proxmox backup UI. The conversion can leave your container unbootable if anything goes wrong, and rebuilding it from a clean template is often faster than untangling a half-converted system.
Follow these steps to convert.
Stop the container fully.
Edit
/etc/pve/lxc/<CTID>.confand addunprivileged: 1.Add the lxc.idmap lines you need (start with the default
u 0 100000 65536if you’re not ready for custom mapping yet).On the host, run
chown -R 100000:100000 /var/lib/lxc/<CTID>/rootfs/to reclaim ownership under the new mapping.Start the container and watch the console or
journalctl -ffor errors.
If the container fails to start with permission errors, double-check that any bind-mount paths exist on the host and that their UIDs make sense under the new mapping. Common gotchas are mount points owned by your host user (UID 1000) which won’t be writable until you add the UID 1000 mapping pattern.
Troubleshooting Common Permission Errors
Most permission errors fall into one of a handful of buckets. Here’s how I triage them in order of likelihood.
“Files show as nobody (UID 65534)”
This is the classic unprivileged LXC symptom. It means the container’s root tried to read a host-owned file and the kernel mapped the container root to UID 100000, which doesn’t have permission. The fix is one of two things.
Either chown the host directory so UID 100000 owns it (chown -R 100000:100000 /mnt/your-path on the host), or add the UID mapping pattern so the host user maps through. I almost always do the mapping pattern, because it lets multiple users share files without weird ownership fights.
“Permission denied when writing to bind mount”
This is the inverse problem. The container can see the path but can’t write to it. The bind-mount target on the host is owned by UID 1000, your idmap exposes UID 1000 as itself, but the container process isn’t running as UID 1000. Check who the process runs as with ps aux inside the container. If it’s running as root, drop privileges or change file ownership to match the container’s running user.
“Container fails to start after idmap changes”
Almost always a syntax error in lxc.idmap. Run pct start <CTID> --debug for verbose output. Look for a line mentioning “subordinate id ranges” or “uid mapping.” The most common mistake is overlapping ranges, which Proxmox and LXC both reject outright.
“Jellyfin/Plex can’t scan library”
For Jellyfin and Plex, the issue is usually the running user inside the container (UID 1100 by default) not being able to traverse subdirectories because of restrictive permissions at one level. Run namei -lo /mnt/media/some-path inside the container to see every directory and its mode. Look for anything that’s 750 owned by a UID the container can’t access. Fix the host side once and you’ll stop fighting the container side forever.
“/etc/subuid or /etc/subgid not present”
If those files don’t exist on a fresh Proxmox host, that’s a real problem because LXC will refuse to launch any unprivileged container. They should be auto-created during package install, but if they aren’t, add the line manually and rebuild the container config. Older hosts and minimal Proxmox installs sometimes skip this.
Media folder works for some files but not others
This is the giveaway for inconsistent permissions in your media library. New files dropped by Sonarr or Radarr may have different owner/group combos than your existing files. Standardize with chown -R mediauser:media /mnt/media and re-run the library scan. Sonarr/Radarr can also be configured to set a specific chmod mask on new files, which keeps things consistent going forward.
FAQ
Is LXC container privileged or unprivileged?
By default, Proxmox creates all LXC containers as unprivileged. Unprivileged containers use user namespaces to map container UIDs onto higher numbers on the host, so the container’s root (UID 0) appears as a non-root user (UID 100000+) on the host. Privileged containers are a deliberate override that runs the container with real host privileges and is only recommended when you need features that user namespaces don’t allow.
How do I change an LXC container from unprivileged to privileged in Proxmox?
Edit /etc/pve/lxc/u0026lt;CTIDu0026gt;.conf and change the line that reads unprivileged: 1 to unprivileged: 0, then restart the container. To convert the other direction (privileged to unprivileged), set unprivileged: 1, add the lxc.idmap lines you need, and chown the container’s rootfs to UID 100000 on the host so the new mapping matches existing files.
How to make an LXC privileged?
Open the container configuration in /etc/pve/lxc/u0026lt;CTIDu0026gt;.conf and add or uncomment the line unprivileged: 0, then restart the container. Note that going privileged is not the default and weakens isolation; only do it if a specific workload requires features that user namespaces don’t expose.
How to set up LXC container Proxmox?
In the Proxmox web UI click Create CT, pick your template, set a hostname and password, and finish the wizard. After creation, SSH into the Proxmox host, verify /etc/subuid and /etc/subgid have a root:100000:65536 entry, then add the lxc.idmap lines and bind-mount entries to /etc/pve/lxc/u0026lt;CTIDu0026gt;.conf before starting the container.
Why are my files owned by nobody in LXC?
Files appear as nobody (UID 65534) when the host file system has ACLs or NFS-style nobody mapping, or when the container’s UID doesn’t map through to a real host UID. The fix is to chown the host directory to match your container’s running user, or to add an lxc.idmap entry that exposes that exact UID range through the mapping.
What is lxc.idmap?
lxc.idmap is the configuration directive that defines UID and GID ranges for an LXC container’s user namespace. Each line has the form lxc.idmap: type container_uid host_uid count, telling the kernel how to translate identities between the container and the host. Multiple lines can be combined to expose specific UIDs (like a media server user) while shifting the rest by the default 100000 offset.
Conclusion
Setting up LXC containers on Proxmox with correct unprivileged permissions comes down to one core idea: the kernel translates every UID and GID between container and host, and you tell it how with lxc.idmap plus /etc/subuid and /etc/subgid. Once you’ve internalized that mapping, the rest is just configuration.
Quick recap before you head off to set this up. Proxmox defaults to unprivileged now, which is the right starting point. Add a root:100000:65536 entry to /etc/subuid and /etc/subgid if it isn’t already there. Define your lxc.idmap ranges before the container starts for the first time. Test with a simple file create from inside the container before adding bind mounts.
For most homelab and small-business workloads, the single-user mapping pattern (UID 1000 mapped to itself through the 100000 offset) is all you’ll ever need. It cleanly handles media servers, file shares, and most containerized apps without the security cost of running privileged containers. Save this guide for the next time you hit a “permission denied” error and you’ll unblock yourself in minutes.