
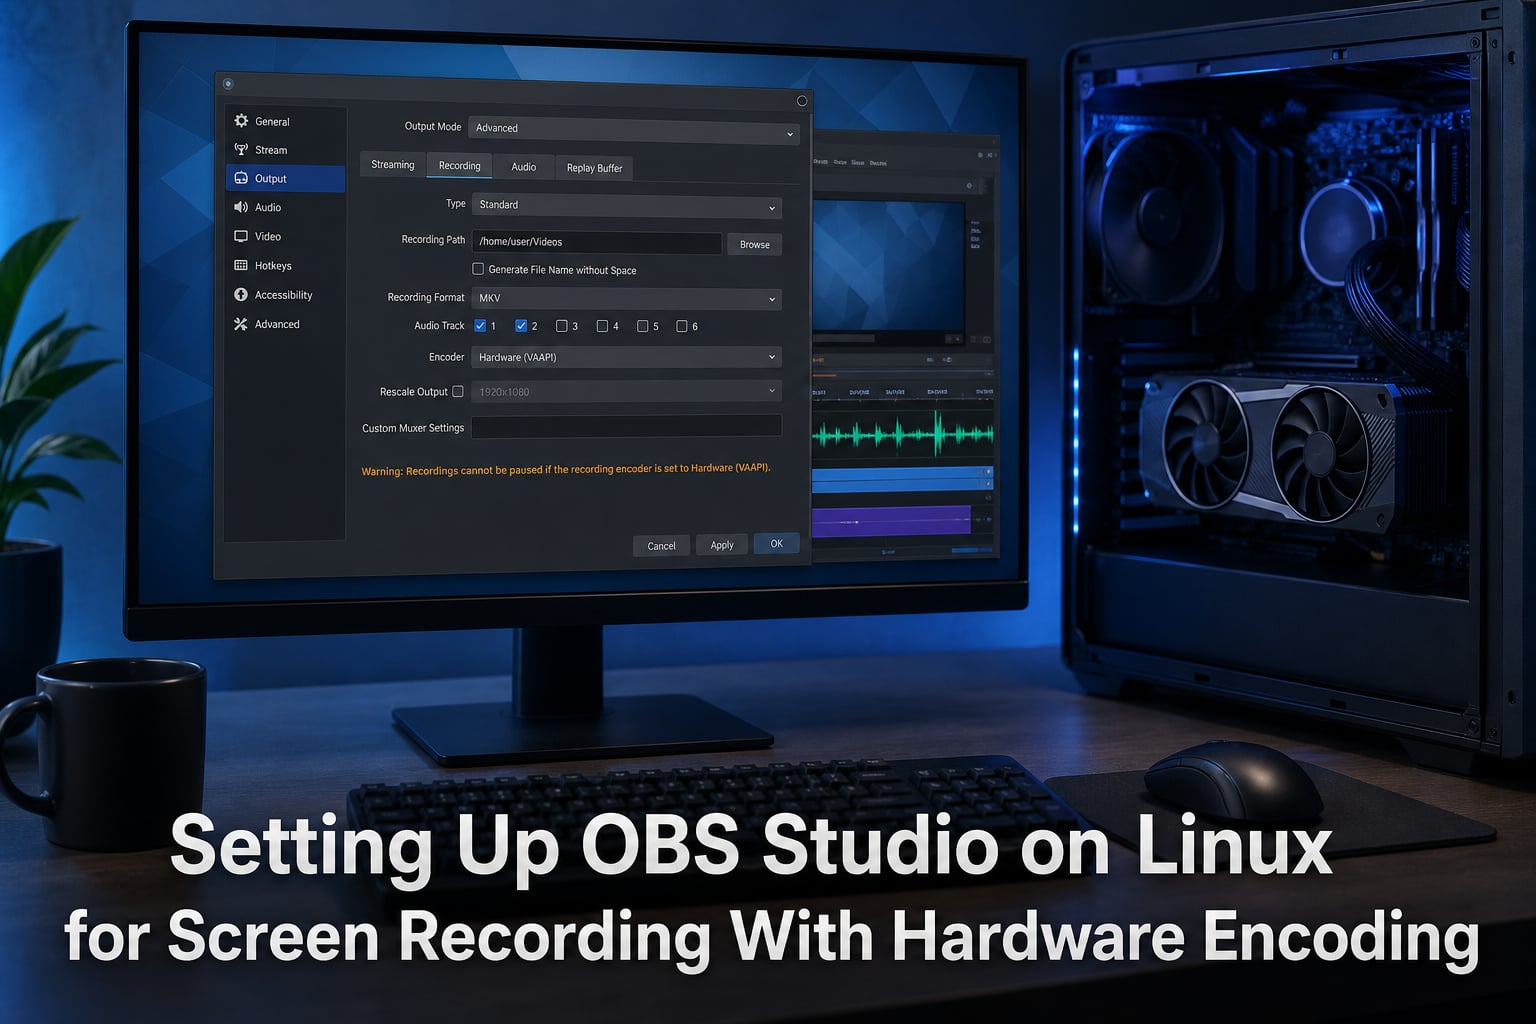
Recording your screen on Linux does not have to mean maxing out your CPU and watching your system stutter. OBS Studio Linux hardware encoding shifts the heavy lifting from your processor to your GPU, and the difference is night and day. Users who make the switch consistently report CPU usage dropping from 40 to 60 percent all the way down to 5 to 8 percent. That freed-up processing power translates into smoother recordings, better framerates in whatever you are capturing, and a system that stays responsive even under load.
OBS Studio runs exceptionally well on Linux in 2026. The open-source community has poured years of work into the Linux build, and it now supports all three major GPU vendors for hardware encoding: NVIDIA (NVENC), AMD (VAAPI), and Intel (Quick Sync Video). Whether you are recording gameplay, creating video tutorials, or live streaming to Twitch or YouTube, hardware-accelerated encoding lets you push 1080p at 60fps without breaking a sweat.
In this guide, I will walk you through every step of the process. We will cover installation across all major package managers, encoder setup for each GPU brand, recommended output settings, Wayland versus X11 considerations, and troubleshooting the most common problems. By the end, you will have a fully configured OBS Studio setup that uses your GPU efficiently.
Table of Contents
Hardware Encoding vs Software Encoding: What Is the Difference?
Software encoding, also called CPU encoding, uses the x264 codec to compress video frames using your processor. It produces excellent quality and offers fine-grained control over bitrate and presets. The tradeoff is that it is CPU-intensive. Recording at 1080p 60fps with x264 on a mid-range processor can easily eat 40 percent or more of your CPU budget.
Hardware encoding offloads that compression work to dedicated circuits on your GPU. NVIDIA cards use NVENC, AMD cards use VAAPI (Video Acceleration API), and Intel integrated graphics use Quick Sync Video (QSV). These encoders are purpose-built for real-time video compression, which means they handle the workload far more efficiently than a general-purpose CPU.
Here is the key tradeoff: hardware encoders typically produce slightly lower quality than x264 at the same bitrate. However, the CPU savings are so significant that most users never notice the quality difference. If you are recording gameplay, streaming, or capturing anything while running other applications, hardware encoding is almost always the right choice.
There are scenarios where software encoding still wins. If you are recording static content like presentations or tutorials where CPU load does not matter and you want the smallest possible file at maximum quality, x264 at a slow preset will deliver better results. For most other use cases, hardware encoding is the clear winner.
Hardware Encoder Comparison: NVENC vs VAAPI vs QSV
Choosing the right encoder depends entirely on which GPU you have. OBS Studio detects available encoders automatically based on your drivers, so you will not see options for hardware you do not own. Here is how the three major Linux hardware encoders compare.
The table below breaks down compatibility, quality, and driver requirements for each option:
| Encoder | GPU Brand | Driver Required | Quality | CPU Savings | Key Notes |
|---|---|---|---|---|---|
| NVENC (H.264/HEVC) | NVIDIA | Proprietary NVIDIA driver (520+) | Excellent (Turing+ cards match x264 medium) | Very High | Best overall hardware encoder. Maxwell 2nd gen and newer supported. Multiple concurrent stream limits on consumer cards. |
| VAAPI (H.264/HEVC) | AMD / Intel | Mesa + libva-mesa-driver or intel-media-driver | Good (varies by GPU generation) | High | Mid-range AMD cards (RX580, RX570) limited to approximately 30fps at 1080p. RDNA cards perform better. |
| QSV (H.264/HEVC) | Intel iGPU | intel-media-va-driver (non-free) or intel-media-va-driver-non-free | Good | High | Works with Intel integrated graphics. Great for laptops and systems without a discrete GPU. |
| x264 (Software) | CPU only | None (built into OBS) | Excellent (slow presets) | None | Best quality per bitrate but high CPU usage. Use when you have spare CPU cycles. |
NVIDIA NVENC is widely regarded as the best hardware encoder available on Linux. Cards from the GTX 10-series (Pascal) and newer offer dedicated encoding hardware separate from the 3D rendering pipeline, meaning your recording has zero impact on gaming performance. Turing architecture cards (RTX 20-series) and newer match x264 medium quality at comparable bitrates.
AMD VAAPI works well on modern RDNA-based cards but has documented limitations on older mid-range hardware. Intel QSV is a solid option for systems relying on integrated graphics, especially for users who want to record without a discrete GPU.
How to Install OBS Studio on Linux
OBS Studio is available through multiple installation methods on Linux. The version you get and the hardware encoders available to you can vary depending on which method you choose. Let me walk through each option.
Installing OBS Studio via PPA (Ubuntu and Linux Mint)
The PPA method is the most common installation path for Ubuntu-based distributions. It provides native packages that have full access to system libraries and drivers.
Open your terminal and run the following commands in order:
Step 1: Add the official OBS Studio PPA repository.
sudo add-apt-repository ppa:obsproject/obs-studio
Step 2: Update your package list to pull the new repository information.
sudo apt update
Step 3: Install OBS Studio along with FFmpeg, which is required for encoding support.
sudo apt install obs-studio ffmpeg
Step 4: Verify the installation by launching OBS from your application menu or by typing obs in the terminal.
The PPA build detects your system drivers natively, so NVENC, VAAPI, and QSV will appear automatically if the correct drivers are installed.
Installing OBS Studio via Flatpak
Flatpak is the recommended installation method if you want the latest OBS Studio version across any Linux distribution. It works on Fedora, Arch, Ubuntu, and virtually every modern distro.
Step 1: Ensure Flatpak is installed on your system.
sudo apt install flatpak (Ubuntu/Mint) or sudo dnf install flatpak (Fedora)
Step 2: Add the Flathub repository if it is not already configured.
flatpak remote-add --if-not-exists flathub https://flathub.org/repo/flathub.flatpakrepo
Step 3: Install OBS Studio from Flathub.
flatpak install flathub com.obsproject.Studio
Step 4: Launch OBS Studio.
flatpak run com.obsproject.Studio
One important note: Flatpak runs applications in a sandboxed environment. This means OBS needs permission to access your GPU drivers and screen capture interfaces. In most cases Flatpak handles this automatically, but if hardware encoders do not appear, install the Flatpak version of the required drivers or check permissions with flatpak permission-list.
Installing OBS Studio via Snap
Snap is another universal package format that works across distributions. It is pre-installed on Ubuntu and available on other distros.
Step 1: Install OBS Studio via Snap with a single command.
sudo snap install obs-studio
Step 2: Connect the necessary interfaces for camera, audio, and hardware access.
sudo snap connect obs-studio:camera core:camera
sudo snap connect obs-studio:audio-record core:audio-record
Snap packages can sometimes have permission issues with proprietary NVIDIA drivers. If NVENC does not appear after installing via Snap, consider switching to the PPA or Flatpak method.
Installing OBS on Fedora and Arch Linux
On Fedora, enable the RPM Fusion repository first, then install OBS.
sudo dnf install https://mirrors.rpmfusion.org/free/fedora/rpmfusion-free-release-$(rpm -E %fedora).noarch.rpm
sudo dnf install obs-studio
On Arch Linux and derivatives, OBS Studio is available in the official repositories.
sudo pacman -S obs-studio
For Arch users wanting VAAPI support, also install the Mesa VAAPI driver.
sudo pacman -S libva-mesa-driver
Which Installation Method Should You Choose?
The PPA or native package method is the best choice if you want maximum hardware encoder compatibility and minimal permission issues. Flatpak is ideal if you want the latest updates quickly across any distribution. Snap works but has the most frequent reports of GPU driver integration problems.
If hardware encoders are missing after installation, the issue is almost always driver-related rather than OBS-related. We will cover that in the troubleshooting section.
Setting Up NVIDIA NVENC for Hardware Encoding on Linux
NVIDIA NVENC is the most straightforward hardware encoder to set up on Linux, provided you have the correct driver. NVENC gives you excellent quality and the lowest CPU usage of any encoding option.
Before configuring OBS, you need the proprietary NVIDIA driver installed. The open-source Nouveau driver does not support NVENC encoding.
Step 1: Install the proprietary NVIDIA driver. On Ubuntu, you can use the driver manager tool or run the following command.
sudo ubuntu-drivers autoinstall
Step 2: Reboot your system after the driver installation completes.
Step 3: Verify the driver is loaded by checking the output of nvidia-smi. You should see your GPU name, driver version, and CUDA version displayed.
Step 4: Open OBS Studio and navigate to Settings, then Output.
Step 5: Change the Output Mode dropdown from Simple to Advanced. This gives you access to detailed encoder settings.
Step 6: Under the Recording tab, set the Video Encoder to NVIDIA NVENC H.264 (or HEVC if your card supports it and you want smaller files).
Step 7: Configure the NVENC-specific settings. For rate control, CQP (Constant Quantization Parameter) is recommended for recording because it maintains consistent quality regardless of motion. Set CQ level to 20 for a good quality-to-file-size balance. Lower values mean higher quality and larger files.
Step 8: Set the preset to P4 (balanced) or P5 (slow, better quality). The P1 through P7 presets control how much the encoder works on each frame. P4 is the sweet spot for most users.
Step 9: Set the tuning option to High Quality for general recording or Low Latency if you are streaming and want minimal delay.
Step 10: Set the multipass mode to Single Pass if you want lower GPU usage or Two Passes (Quarter Resolution) for better quality at the cost of slightly more GPU load.
Step 11: Click Apply and then OK to save your settings.
One limitation to be aware of: consumer NVIDIA cards limit the number of concurrent NVENC encoding sessions. Cards from the RTX 20-series and newer removed the session limit entirely, so you can run multiple streams without issues. Older cards (GTX 10-series and earlier) typically allow only 2 to 3 simultaneous NVENC sessions.
Setting Up AMD VAAPI for Hardware Encoding on Linux
AMD hardware encoding on Linux uses VAAPI (Video Acceleration API), which is an open-source standard supported by the Mesa driver stack. Setting it up requires the right combination of Mesa and libva packages.
Step 1: Install the Mesa VAAPI driver for your AMD GPU. On Ubuntu and Debian-based systems, run the following.
sudo apt install mesa-va-drivers libva-mesa-driver vainfo
Step 2: Verify that VAAPI is working by running the vainfo command. You should see a list of supported encoding and decoding profiles. If you see error messages or no output, your driver is not loading correctly.
Step 3: Open OBS Studio and go to Settings, then Output. Set Output Mode to Advanced.
Step 4: Under the Recording tab, set the Video Encoder to FFmpeg VAAPI H.264.
Step 5: For rate control, use CBR (Constant Bitrate) with a target bitrate appropriate for your resolution. For 1080p at 30fps, 8,000 to 10,000 Kbps works well. For 1080p at 60fps, use 12,000 to 15,000 Kbps.
Step 6: Set the Keyframe Interval to 2 seconds for smooth playback and easier editing.
Step 7: Click Apply and OK to save.
Here is the critical limitation many AMD users discover the hard way: mid-range AMD cards from the Polaris generation (RX 580, RX 570, RX 590) are limited to approximately 30fps at 1080p when using VAAPI encoding. This is a hardware limitation of the video encode engine on those cards, not a software bug. You cannot fix it with settings changes.
If you own one of these cards and need 60fps recording, your options are to record at a lower resolution (720p), switch to software encoding (x264) if your CPU can handle it, or upgrade to a newer RDNA-based card (RX 5500 XT or newer) which removes this limitation entirely.
For users with RDNA or RDNA2 cards (RX 5000 and RX 6000 series), VAAPI performs significantly better and can handle 1080p 60fps and even 1440p recording without issues. HEVC encoding is also supported on these newer architectures.
If VAAPI does not appear as an encoder option in OBS, check that your user account has permission to access the GPU render device. On some systems, you need to add your user to the video or render group.
sudo usermod -aG video $USER
sudo usermod -aG render $USER
Log out and log back in for the group changes to take effect.
Setting Up Intel Quick Sync Video (QSV) on Linux
Intel Quick Sync Video uses the integrated graphics processor found on most Intel CPUs to handle hardware encoding. This is an excellent option for laptops and desktop systems without a discrete GPU, or for users who want to offload encoding from their CPU without installing a dedicated graphics card.
Step 1: Install the Intel media driver for VAAPI. The driver package name varies by distribution.
On Ubuntu: sudo apt install intel-media-va-driver-non-free vainfo
On Fedora: sudo dnf install intel-media-driver
On Arch: sudo pacman -S intel-media-driver
The non-free variant provides full encoding support including HEVC. If your distribution only offers the free version, you may have limited feature support.
Step 2: Verify the driver with vainfo. You should see entries for H.264 and HEVC encode profiles.
Step 3: Open OBS Studio, go to Settings, then Output, and set Output Mode to Advanced.
Step 4: Set the Video Encoder to FFmpeg VAAPI H.264 (Intel QSV uses the same VAAPI interface as AMD on Linux).
Step 5: Use CBR rate control with appropriate bitrate settings. Intel QSV handles 1080p 30fps easily. For 1080p 60fps, you may need to test whether your specific Intel generation can keep up.
Step 6: Set Keyframe Interval to 2 and apply your settings.
One advantage of Intel QSV is that it runs on the integrated GPU, meaning your discrete GPU (if present) remains fully available for gaming or rendering. This makes it a popular choice for systems with an NVIDIA or AMD card dedicated to display output where the user wants to separate rendering and encoding workloads.
Note that if you have both a discrete GPU and Intel integrated graphics, you may need to ensure OBS uses the correct VAAPI render device. You can specify this with the environment variable LIBVA_DRIVER_NAME if needed.
OBS Output Settings for High-Quality Screen Recording
Getting your encoder configured is only half the battle. The output settings you choose determine the final quality and file size of your recordings. Let me break down the settings that matter most.
Recording Format: MKV vs MP4
Always record to MKV format, not MP4. If OBS crashes or your system loses power mid-recording, an MKV file remains playable. An MP4 file recorded under the same circumstances will be corrupted and unrecoverable because the metadata is only written when recording stops cleanly. You can remux MKV to MP4 after recording using OBS’s built-in File menu option or with FFmpeg.
Bitrate Recommendations by Resolution
Choosing the right bitrate depends on your resolution, framerate, and encoder. Here are proven starting points:
| Resolution | Framerate | H.264 Bitrate (CBR) | HEVC Bitrate (CBR) | CQP/CRF Equivalent |
|---|---|---|---|---|
| 720p | 30 fps | 3,500 Kbps | 2,500 Kbps | CQ 22-24 |
| 720p | 60 fps | 5,500 Kbps | 4,000 Kbps | CQ 22-24 |
| 1080p | 30 fps | 8,000 Kbps | 5,000 Kbps | CQ 20-22 |
| 1080p | 60 fps | 12,000 Kbps | 8,000 Kbps | CQ 20-22 |
| 1440p | 60 fps | 20,000 Kbps | 14,000 Kbps | CQ 18-20 |
| 4K (2160p) | 60 fps | 40,000 Kbps | 25,000 Kbps | CQ 18-20 |
HEVC (H.265) achieves roughly 30 to 40 percent better compression than H.264 at the same quality level. Use HEVC if your encoder supports it and you do not need maximum compatibility with older playback devices.
Rate Control: CBR vs CQP vs CRF
CBR (Constant Bitrate) maintains a fixed bitrate throughout the recording. It is predictable and works well for streaming, where the platform expects a consistent data rate. The downside is that simple scenes (static desktop) waste bitrate while complex scenes (fast motion) may not get enough.
CQP (Constant Quantization Parameter, used by NVENC) or CRF (Constant Rate Factor, used by x264) maintain consistent perceived quality instead. The encoder uses more bitrate for complex scenes and less for simple ones. This is the better choice for local recording because it adapts to content and produces more natural-looking results.
For recording, I recommend CQP or CRF. For streaming, use CBR to match platform requirements.
Audio Settings
Set your audio sample rate to 48kHz. This matches the standard used by most video platforms and avoids resampling artifacts. Use the AAC codec at 160 to 192 Kbps for stereo audio. If you are recording commentary separately, keep it on a separate audio track for easier post-production editing.
Video Settings
Set your Base (Canvas) Resolution to match your monitor’s native resolution. Set the Output (Scaled) Resolution to the same value unless you want to downscale. If you do downscale, use the Lanczos filter for the sharpest result, though it uses more CPU. Bilinear is the fastest option but produces softer output.
Set your FPS to 30 for tutorial content or 60 for gameplay. Match the FPS to the content you are capturing. Recording a 30fps source at 60fps wastes file space without improving quality.
Wayland vs X11: Screen Capture Considerations
The display server you use affects how OBS captures your screen. Most Linux distributions have moved to Wayland by default in recent years, but X11 is still available and relevant.
X11 Screen Capture
On X11, OBS uses Xcomposite or XSHM (X Shared Memory) for screen capture. These methods are mature, reliable, and have been tested over many years. Window capture and screen capture work predictably, and there are no permission dialogs to deal with.
If you need the most stable recording experience on Linux in 2026, logging into an X11 session remains the safest choice. All hardware encoders work identically on X11 and Wayland; the difference is purely in how screen content is captured.
Wayland Screen Capture
Wayland uses PipeWire for screen capture, which requires portal integration. OBS Studio added PipeWire screen capture support through the XDG Desktop Portal system. When you add a Screen Capture source on Wayland, a dialog appears asking you to select which monitor or window to share.
This works well on GNOME and KDE Plasma with recent versions of OBS. However, some compositors have limitations. For example, window capture on Wayland may capture the entire screen instead of a single window, depending on the compositor and portal implementation.
To use PipeWire capture in OBS on Wayland, ensure the xdg-desktop-portal package and its backend for your desktop environment are installed. On GNOME, you need xdg-desktop-portal-gnome. On KDE Plasma, you need xdg-desktop-portal-kde.
If screen capture is not working on Wayland, verify your OBS version is 29.0 or newer, which includes improved PipeWire support. Also check that PipeWire is running with systemctl --user status pipewire.
Troubleshooting Common OBS Hardware Encoding Issues
Even with correct setup, you may encounter issues. Here are the most common problems Linux users face with OBS hardware encoding and how to fix them.
Hardware Encoder Not Showing Up in OBS
If you only see the x264 (software) encoder and no hardware options, the problem is almost always driver-related. For NVIDIA, verify nvidia-smi works and reports the correct driver version. For AMD and Intel, run vainfo and confirm encoding profiles are listed.
On Flatpak installations, run flatpak permission-list and verify OBS has GPU access. Sometimes you need to reinstall the Flatpak or clear its permissions cache.
If you recently installed drivers, fully reboot your system. A simple logout and login may not be enough to load kernel modules correctly.
Fixing NVENC Errors
NVENC errors typically show up as messages like “NVENC Error: Encoding failed” or “NVENC is not available.” Here is how to address them.
First, confirm your NVIDIA driver version. NVENC requires driver version 520 or newer for full functionality. Check with nvidia-smi and update if you are running an older version.
Second, check for session limits. If you have other applications using NVENC (Discord screen share, Steam Game Broadcasting, another OBS instance), you may have hit the concurrent session limit. Close those applications and restart OBS.
Third, if you are using a Flatpak or Snap installation, the sandbox may be blocking NVENC access. Try the PPA version as a test to confirm whether the issue is OBS-specific or sandbox-related.
Frame Drops and Encoding Lag
Frame drops occur when OBS cannot encode frames fast enough to maintain your target framerate. The OBS Statistics panel (View, then Stats) shows encoding lag separately from rendering lag, which helps you diagnose the root cause.
If encoding lag is high, your encoder cannot keep up. Try lowering your resolution, reducing your framerate, or switching to a faster encoder preset. For NVENC, move from P5 to P4 or P3. For x264, change from medium to fast or veryfast.
If rendering lag is high (the frames being captured arrive late), the issue is with capture performance, not encoding. On X11, try switching between Xcomposite and XSHM capture methods. On Wayland, ensure PipeWire is functioning correctly.
Reducing the capture resolution or framerate can help if your GPU is simultaneously handling gaming and encoding. On multi-GPU systems, check that OBS is using the correct GPU with the DRI_PRIME=1 environment variable or the NVIDIA PRIME settings.
OBS Auto-Config Wizard Not Detecting Hardware Encoders
The auto-config wizard in OBS (Tools menu, then Auto-Configuration Wizard) should detect and recommend your hardware encoder. If it only offers x264, your drivers are not properly installed or the OBS build lacks hardware encoder support.
Run the wizard after confirming your drivers are loaded with vainfo or nvidia-smi. If the wizard still does not detect hardware encoders, manually configure the encoder in Settings, Output as described in the sections above.
Flatpak-Specific Issues
Flatpak builds of OBS sometimes need additional driver packages installed as Flatpak runtime extensions. For NVIDIA, the Flatpak NVIDIA driver extension should install automatically when you install OBS. If it does not, run the following.
flatpak install flathub org.freedesktop.Platform.Vulkan.nvidia-$(nvidia-smi --query-gpu=driver_version --format=csv,noheader | cut -d. -f1)
For AMD and Intel, Flatpak should pick up the host system’s Mesa drivers through the Flatpak runtime. If VAAPI is not available in the Flatpak build, test the PPA version to isolate the issue.
Frequently Asked Questions
Should I enable hardware encoding on OBS?
Yes, in most cases you should enable hardware encoding on OBS. It reduces CPU usage by 30 to 50 percent compared to software encoding, which means your system stays responsive during recording and gameplay. The only scenario where you might prefer software encoding is when you have spare CPU capacity and want the absolute best quality at a given bitrate.
Which hardware encoder should I use on OBS?
Use the encoder that matches your GPU: NVIDIA NVENC for NVIDIA cards, VAAPI for AMD cards, and QSV (also through VAAPI) for Intel integrated graphics. NVIDIA NVENC offers the best quality and lowest CPU usage on Linux. If you have multiple GPUs, NVENC is generally preferred.
Does OBS run well on Linux?
Yes, OBS Studio runs very well on Linux in 2026. The Linux build is actively maintained, supports all major GPU vendors for hardware encoding, and includes PipeWire integration for Wayland screen capture. Performance is comparable to the Windows version when drivers are correctly configured.
Does OBS Studio use CPU or GPU encoding?
OBS Studio can use both. The default encoder is x264, which uses your CPU. You can switch to a hardware encoder (NVENC for NVIDIA, VAAPI for AMD, QSV for Intel) which uses your GPU. Hardware encoding offloads the work from the CPU, reducing processor usage from 40 to 60 percent down to 5 to 8 percent.
How to fix OBS NVENC error?
To fix OBS NVENC errors, first update your NVIDIA driver to version 520 or newer. Run nvidia-smi to verify the driver is loaded. Close other applications that use NVENC to avoid hitting session limits. If you installed OBS via Flatpak or Snap, test the PPA version to rule out sandbox permission issues. Finally, reboot your system to ensure kernel modules load correctly.
Why is NVENC not showing up in OBS?
NVENC may not show up because the proprietary NVIDIA driver is not installed, the open-source Nouveau driver is active instead, or you are using a Flatpak or Snap build without GPU permissions. Install the proprietary NVIDIA driver, verify it loads with nvidia-smi, and reboot. If using Flatpak, ensure the NVIDIA Flatpak driver extension is installed.
Which Nvidia encoder should I use in OBS?
Use NVIDIA NVENC H.264 for maximum compatibility. Choose NVENC HEVC (H.265) if your card supports it and you want smaller file sizes, as HEVC achieves 30 to 40 percent better compression at equivalent quality. Set rate control to CQP with a value of 20 for recording, or CBR for streaming. Use the P4 preset for a good balance of quality and performance.
Getting the Most Out of OBS Studio on Linux
Setting up OBS Studio Linux hardware encoding transforms your recording experience. By shifting encoding work to your GPU, you cut CPU usage dramatically and get smoother, higher-quality recordings. Whether you are using NVIDIA NVENC, AMD VAAPI, or Intel QSV, the key steps remain the same: install the right drivers, select the correct encoder in OBS, and tune your output settings for your use case.
Remember to record in MKV, use CQP for local recording quality, and monitor the Statistics panel to catch encoding or rendering lag early. If you run into issues, work through the troubleshooting steps methodically. Most problems trace back to driver configuration or sandbox permissions, not OBS itself.
Take time to test different bitrates and presets with your specific hardware. Every system is a little different, and the settings that work perfectly on one machine may need minor adjustments on another. Start with the recommended values in this guide and fine-tune from there.