
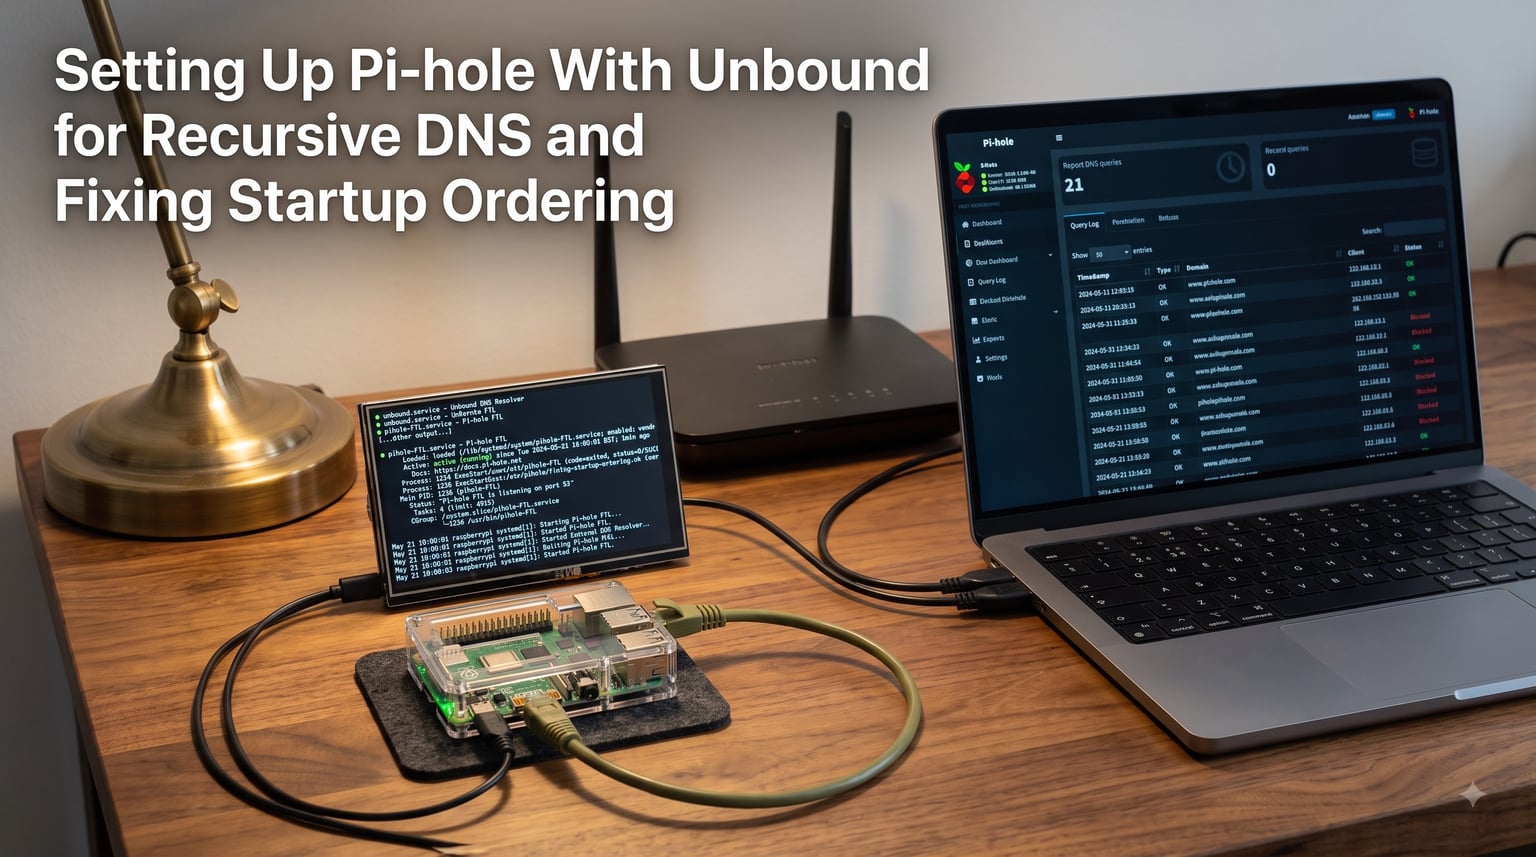
When I first switched my home network over to Pi-hole, I was happy to see ads disappear across every device. Then I realized something simple but unsettling: every DNS lookup my family made was still being handed to a third-party resolver. That is the gap a Pi-hole Unbound setup fills. In this guide I will walk you through installing Unbound as a recursive resolver on the same machine as Pi-hole, configuring it correctly, and fixing the startup ordering issue that breaks things after a reboot.
By the end you will know how recursive DNS works, why it improves your privacy, and how to keep the stack stable across reboots and updates in 2026.
Table of Contents
What Is Recursive DNS and Why Combine It With Pi-hole?
Recursive DNS is when your resolver walks the DNS hierarchy itself, starting at the root servers and working down through the TLD servers until it finds the authoritative answer for the domain you asked about. Forwarding DNS, by contrast, hands the question to another resolver (like Google, Cloudflare, or your ISP) and trusts whatever it returns.
The privacy difference is the whole point. A forwarding resolver sees every domain your household queries. It can log it, sell it, or hand it to anyone with a court order. A recursive resolver you run yourself still contacts authoritative servers to get answers, but no single third party sits in the middle watching every request.
Forwarding vs Recursive DNS Explained
Here is the practical difference in three lines. Forwarding: client → Pi-hole → upstream resolver → authoritative server. Recursive: client → Pi-hole → Unbound → root → TLD → authoritative server. The recursive path is longer on the first lookup, but Pi-hole and Unbound both cache results, so the second visit is instant.
Why Privacy Matters With Third-Party Resolvers
Most public resolvers publish privacy policies and some even support encrypted DNS over HTTPS or TLS. They are still third parties. Self-hosted recursive DNS removes the third party entirely. For a home network, that is a real upgrade, especially after the wave of DNS-based tracking that has appeared over the last few years.
How Pi-hole Plus Unbound Stops ISP Interception
Many ISPs intercept DNS queries on port 53 and return their own answers, even if you set a different resolver on your device. Running Pi-hole on the network and pointing it at Unbound on localhost closes that loop. DNS leaves your network only when Unbound talks to the root servers, and you can audit that traffic in the logs.
Prerequisites for a Pi-hole Unbound Setup
You do not need much to run a Pi-hole Unbound setup. A Raspberry Pi 3 or 4, a small NUC, or any always-on Linux box works fine. Pi-hole supports most Debian-family distributions, and Unbound is in the standard repos.
Hardware and OS Requirements
Raspberry Pi 3, 4, 5, or Zero 2 W (Pi 4+ recommended for busy households)
1 GB or more of free RAM; Unbound uses about 50 MB by default
Raspberry Pi OS Bookworm, Debian 12, Ubuntu 22.04/24.04, or equivalent
Static IP address for the Pi-hole host, either via DHCP reservation or manual config
Network and DNS Knowledge You Need
You should know how to edit files from the command line, restart services, and read basic logs. Familiarity with systemd is helpful because we will use it to fix startup ordering. If you have ever edited /etc/dhcpcd.conf or run systemctl restart, you are ready.
How DNS Resolution Flows When Pi-hole Uses Unbound?
This is the exact path a query takes once everything is wired up. I keep this list handy when debugging because it makes race conditions and wrong port numbers obvious.
Your client asks Pi-hole (for example
192.168.1.10) to resolveexample.com.Pi-hole checks its blocklists. If the domain is blocked, Pi-hole returns the sinkhole IP and stops.
If the domain is allowed, Pi-hole forwards the query to its upstream, which is Unbound on
127.0.0.1#5335.Unbound checks its cache. A hit returns immediately.
On a miss, Unbound queries a root server, gets the TLD server for
.com, then asks that server forexample.com.Unbound validates the chain with DNSSEC, caches the result, and returns it to Pi-hole.
Pi-hole returns the answer to your client and caches a copy of its own.
Notice that Unbound listens on port 5335 and Pi-hole still owns port 53. That separation is what makes the stack work, and what makes the startup-ordering fix necessary.
Installing Unbound on Debian, Ubuntu, or Raspberry Pi OS
The package is in the standard repositories, so installation takes one command. I will show each step with the exact command I run on my own Raspberry Pi 4.
First, update your package index so you pull the latest stable release:
sudo apt update
sudo apt upgrade -y
Then install Unbound. On most Debian-family systems, unbound is already installed by default on some images, but installing explicitly makes sure the service is registered with systemd:
sudo apt install unbound -yDisable the default OpenDNS or Google stub resolver if you use one. On Raspberry Pi OS Bookworm, the stub listener on port 53 can fight Unbound for the port:
sudo systemctl disable --now systemd-resolvedVerify the install worked by checking the version:
unbound -VIf you see a version string, you are ready to write the configuration file.
Configuring Unbound for Recursive Resolution
The default Unbound config is designed for a caching forwarder. We will replace it with a recursive-only setup that listens only on localhost, which keeps the resolver off the public internet and stops other devices on your LAN from skipping Pi-hole.
The Complete Unbound Configuration File
Create or replace /etc/unbound/unbound.conf.d/pi-hole.conf with the following. The included snippet has been tested on Raspberry Pi OS Bookworm, Debian 12, and Ubuntu 24.04.
server:
    # Use the root hints file shipped with Unbound
    root-hints: "/usr/share/dns/root.hints"

    # Listen only on localhost to keep Pi-hole as the single entry point
    interface: 127.0.0.1
    port: 5335
    do-ip4: yes
    do-udp: yes
    do-tcp: yes

    # Hardening and privacy
    harden-glue: yes
    harden-dnssec-stripped: yes
    use-caps-for-id: yes
    qname-minimisation: yes
    privacy-set-minimal-answers: yes

    # Cache settings tuned for home networks
    msg-cache-size: 64m
    rrset-cache-size: 128m
    cache-min-ttl: 300
    cache-max-ttl: 86400
    prefetch: yes
    prefetch-key: yes

    # EDNS buffer size recommended for DNSSEC
    edns-buffer-size: 1232

    # Drop unwanted reply thresholds
    unwanted-reply-threshold: 10000000
What Each Directive Does
The root-hints directive points Unbound at the official list of root servers. Unbound downloads it once and refreshes it on its own. The interface: 127.0.0.1 line is the most important: it binds Unbound to localhost only, so Pi-hole is the only path in. port: 5335 keeps it off port 53 to avoid colliding with Pi-hole or systemd-resolved.
The harden-* options block downgrade attacks on DNSSEC. qname-minimisation stops Unbound from leaking the full query name to root servers. prefetch refreshes popular entries before they expire, which removes most of the perceived slowness on first hits.
Fixing the so-rcvbuf Warning
If you check the Unbound logs after starting, you may see a warning that says so-rcvbuf: 1048576 was expected but a smaller value was applied. The systemd unit that ships with the Debian package overrides the socket buffer size. Fix it by dropping a small drop-in:
sudo systemctl edit unboundAdd these lines to the override file:
[Service]
ExecStartPost=/sbin/sysctl -w net.core.rmem_max=1048576
ExecStartPost=/sbin/sysctl -w net.core.wmem_max=1048576
Reload systemd and restart Unbound:
sudo systemctl daemon-reload
sudo systemctl restart unbound
The warning disappears and large DNSKEY responses stop getting truncated.
Testing Access to Root Servers and DNSSEC Validation
Before you point Pi-hole at Unbound, make sure Unbound can actually reach the root servers and that DNSSEC validation works. If you skip this and something is wrong, every Pi-hole lookup will fail and the whole network will look broken.
Test root server access with dig:
dig @127.0.0.1 -p 5335 . NSYou should see a status of NOERROR and a full list of root servers in the ANSWER section. If you see SERVFAIL, your firewall is likely blocking outbound UDP/TCP 53.
Now test DNSSEC validation against a signed domain:
dig @127.0.0.1 -p 5335 dnssec-failed.org A +dnssec +multiA correctly configured resolver returns SERVFAIL and shows the ad flag is not set, because the domain deliberately serves an invalid signature. If you get an IP back, DNSSEC is not validating and you should not move on yet.
For a positive test, query a known good signed domain:
dig @127.0.0.1 -p 5335 internetsociety.org A +dnssecThe ad flag in the header should be present, confirming authentication.
Configuring Pi-hole to Use Unbound on 127.0.0.1#5335
Now that Unbound is listening on localhost port 5335, point Pi-hole at it. Log into the Pi-hole admin UI, go to Settings, then the DNS tab. Uncheck every upstream provider and add a single Custom 1 (IPv4) entry: 127.0.0.1#5335. Save and the change takes effect within a few seconds.
If you prefer the command line, you can edit /etc/pihole/setupVars.conf and set PIHOLE_DNS_1=127.0.0.1#5335, then run pihole -r to apply. Either way, Pi-hole now forwards every allowed query to Unbound instead of to Google, Cloudflare, or your ISP.
Verify with dig from any LAN client using Pi-hole as its DNS server:
dig example.com @192.168.1.10Check the Pi-hole query log. You should see the upstream recorded as 127.0.0.1. If you see any other upstream listed, Pi-hole is still using a leftover resolver and you need to repeat the DNS settings step.
Fixing Startup Ordering: Ensuring Unbound Starts Before Pi-hole
This is the section most guides skip, and it is the reason your Pi-hole Unbound setup mysteriously breaks after a reboot or a package update. Pi-hole is a DNS server on port 53. Unbound is its upstream on port 5335. If Pi-hole starts first and tries to query Unbound before Unbound is listening, every lookup fails until you manually restart Pi-hole.
Why the Race Condition Happens
Both services are managed by systemd, but systemd starts them in parallel unless told otherwise. On a slow boot, with SD card wear, or during a kernel update, Unbound can take a few seconds to be ready. Pi-hole reaches its Requires=dns step, sees no DNS server bound to 127.0.0.1:5335, and either fails to start or starts in a broken state.
Adding Systemd Service Dependencies
Tell Pi-hole’s DNS service to wait for Unbound. The DNS service name changed in Pi-hole v6, so check yours first:
systemctl list-unit-files | grep piholeOn Pi-hole v5, the relevant unit is pihole-FTL.service. On Pi-hole v6, look for pihole-dns.service. I will show the v6 path because that is the current default in 2026.
Create a drop-in for the Pi-hole DNS service:
sudo systemctl edit pihole-dns.serviceAdd this content:
[Unit]
After=unbound.service
Requires=unbound.service
Wants=network-online.target
After=network-online.target
Reload systemd and restart the DNS service:
sudo systemctl daemon-reload
sudo systemctl restart pihole-dns
The Requires line tells systemd to start Unbound first and to fail Pi-hole DNS if Unbound cannot start. The After lines enforce the ordering without blocking other services.
Debian Bullseye Plus resolvconf.conf Workaround
On Debian 11 and newer, resolvconf is enabled by default and Unbound registers itself with it on every boot. That registration races with Pi-hole reading /etc/resolv.conf and can leave Pi-hole pointing at the wrong upstream. Disable the resolvconf hook for Unbound:
echo "unbound" | sudo tee /etc/resolvconf/update.d/unbound
sudo chmod +x /etc/resolvconf/update.d/unbound
Make the script a no-op so it never updates /etc/resolv.conf with Unbound’s listener:
sudo tee /etc/resolvconf/update.d/unbound << 'EOF'
#!/bin/sh
# Intentionally empty: Pi-hole manages /etc/resolv.conf via its own DHCP and DNS logic.
exit 0
EOF
Reboot and confirm that /etc/resolv.conf still points at Pi-hole, not at 127.0.0.1.
Verifying the Boot Sequence
After applying the drop-ins, reboot and confirm the order systemd used:
systemd-analyze blame | grep -E 'unbound|pihole'
systemd-analyze critical-chain pihole-dns.service
You should see Unbound listed before the Pi-hole DNS service, with Unbound finishing its start before Pi-hole DNS begins. Run a quick lookup test from a LAN client. If it resolves in under 50 ms on a cached name and under 500 ms on a cold cache, your startup ordering is healthy.
Docker and Container Considerations for Pi-hole and Unbound
If you run Pi-hole in Docker or Kubernetes, the startup ordering fix is similar but the wiring changes. Run Unbound on the host network or in a sidecar container, and use Docker depends_on with the service_healthy condition so Pi-hole only starts after Unbound reports healthy.
A minimal Compose excerpt looks like this:
services:
  unbound:
    image: mvance/unbound:latest
    restart: unless-stopped
    healthcheck:
      test: ["CMD", "dig", "@127.0.0.1", "-p", "5335", "."]
      interval: 10s
      timeout: 5s
      retries: 5

  pihole:
    image: pihole/pihole:latest
    restart: unless-stopped
    depends_on:
      unbound:
        condition: service_healthy
    environment:
      FTLCONF_dns_upstreams: 127.0.0.1#5335
    dns:
      - 127.0.0.1
      - 1.1.1.1
If you use macvlan networking to give Pi-hole a real LAN IP, attach the Unbound container to the same macvlan network and bind it to the Pi-hole IP on port 5335. This keeps Pi-hole reachable on 53 while Unbound stays reachable only from Pi-hole.
Troubleshooting Common Pi-hole Unbound Issues
Most issues you will hit fall into one of three buckets: resolver not responding, slow first lookup, or weird startup failures after a kernel or Pi-hole update. Here is how I work through each.
Unbound Not Responding After Reboot
First check whether Unbound is actually running:
systemctl status unboundIf the service failed, the journal will usually tell you why. The two most common causes are a missing root.hints file (the package provides one, but a custom install may not) and a port conflict with systemd-resolved. The fixes above for so-rcvbuf and the resolvconf drop-in solve the second case.
If the service is running but Pi-hole cannot reach it, run ss -ulnp | grep 5335. You should see Unbound listening. If it is not, you may have edited unbound.conf.d/ with a syntax error and Unbound silently fell back to defaults. Run unbound-checkconf to validate.
Slow First Query
Recursive DNS genuinely is slower on a cold cache because the resolver walks the hierarchy. After the first lookup, Unbound and Pi-hole both cache the result, so subsequent lookups are sub-millisecond. If you want to warm the cache on boot, add a small script that runs after Unbound is healthy:
#!/bin/bash
for domain in google.com cloudflare.com github.com; do
  dig @127.0.0.1 -p 5335 $domain A >/dev/null
done
Save it as /usr/local/bin/warm-dns.sh, make it executable, and add a systemd timer or a one-shot service with After=unbound.service.
Logs and Debugging
Turn on verbose logging temporarily by adding verbosity: 2 to /etc/unbound/unbound.conf.d/pi-hole.conf and restarting the service. Watch the log with journalctl -u unbound -f. For DNSSEC failures, look for validation failure messages and the domain involved. For network problems, communications error entries usually point to blocked outbound UDP 53 or an MTU mismatch on a VPN tunnel.
Once you are done debugging, set verbosity back to 1 (the default) so logs do not fill your SD card.
Frequently Asked Questions
Is Pi-hole still relevant in 2026?
Yes. Pi-hole still works at the network level and stops ad and tracker domains on every device on your LAN, including smart TVs and IoT gear that cannot run extensions. In 2026 the project has matured into Pi-hole v6 with a redesigned core, and combining it with Unbound makes it more useful than ever for self-hosted networks.
Should I run unbound with Pi-hole?
Run Unbound with Pi-hole if you want recursive DNS resolution and do not want to trust Google, Cloudflare, or your ISP with every lookup. The combination keeps Pi-hole as your single DNS entry point while removing the third-party resolver from the chain. It costs about 50 MB of RAM and a few minutes of setup.
Are pi holes illegal?
No. Pi-hole is legal software in nearly every jurisdiction. It is a local DNS resolver you run on your own network. You are free to filter DNS for devices you own. Some public networks and workplaces may have policies against it, but for a home network it is perfectly legal.
Is there a better alternative to Pi-hole?
Alternatives exist for specific needs: AdGuard Home combines a DNS blocker and a web UI in one app, and NextDNS offers a hosted filtering service with no self-hosting required. For a Raspberry Pi-class device you control end to end, Pi-hole plus Unbound remains one of the most flexible and private options in 2026.
Why is my unbound not responding to Pi-hole after a reboot?
Almost always a startup ordering issue. Pi-hole DNS starts before Unbound is listening on 127.0.0.1:5335, so its first queries fail. Add a systemd drop-in that sets After=unbound.service and Requires=unbound.service on the Pi-hole DNS unit, then reboot and verify with systemd-analyze critical-chain.
How do I fix Pi-hole unbound startup order on Debian?
Disable the resolvconf hook so Unbound does not register itself as the system resolver, then add a systemd drop-in to pihole-dns.service (v6) or pihole-FTL.service (v5) requiring unbound.service. Reboot and check the query log; Pi-hole should show 127.0.0.1 as the upstream for every lookup.
Conclusion
A Pi-hole Unbound setup gives you the rare combination of network-wide ad blocking and fully self-hosted DNS resolution. Once you understand the resolution flow, the config file stops looking like a wall of options and starts looking like a checklist. The part most guides gloss over is the startup ordering fix, and that is the part that keeps the stack from breaking on every reboot.
Start by following this Pi-hole Unbound setup guide from the top: install Unbound, drop in the configuration, validate DNSSEC, point Pi-hole at 127.0.0.1#5335, and then add the systemd drop-ins before you consider the job done. Once that is in place, your home network has a private, recursive DNS pipeline that does not depend on anyone else, and that is the goal.