
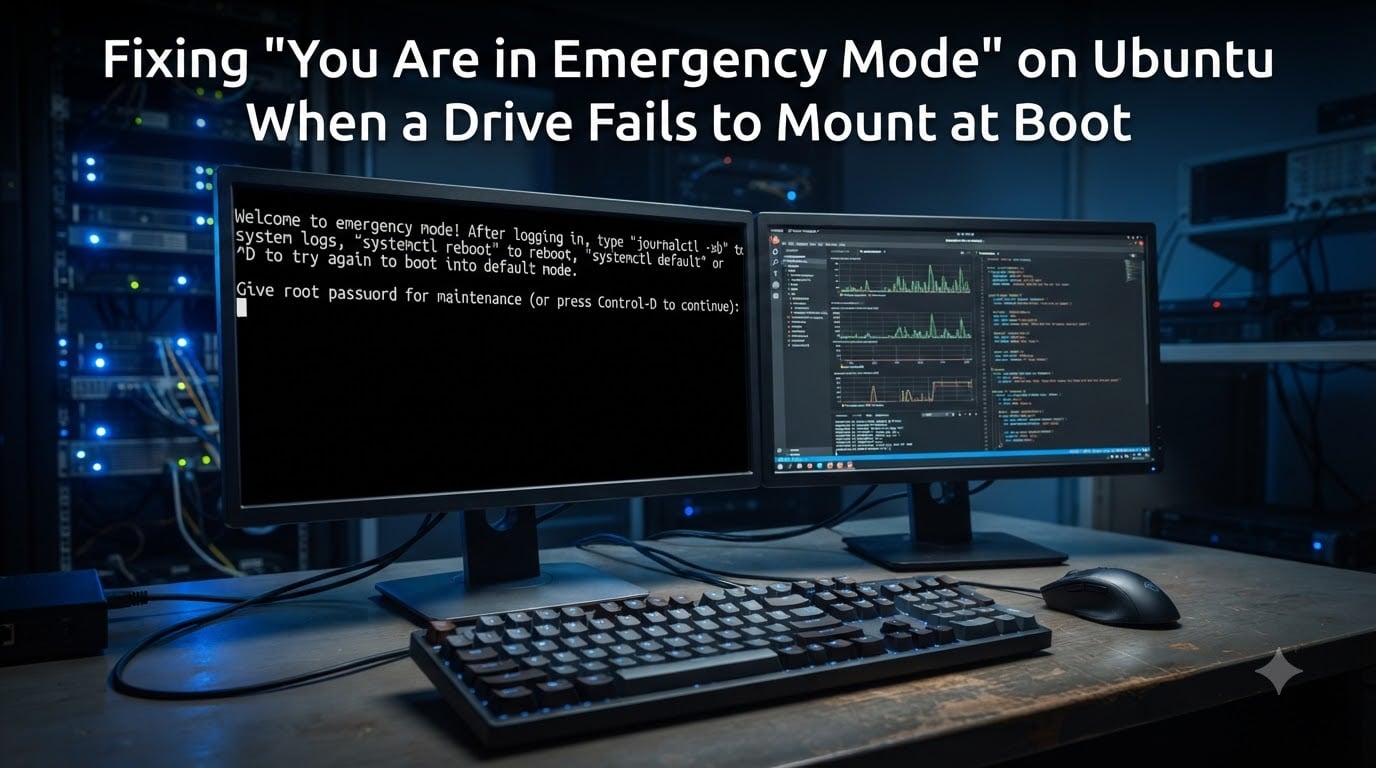
You boot up your Ubuntu server or desktop and instead of the familiar login screen, you see a frightening message: “You are in emergency mode.” Maybe it mentions a failed mount, references /etc/fstab, or tells you to run journalctl -xb to find out what went wrong. If you are staring at that prompt right now, take a breath. Your system is not destroyed, and your data is almost certainly safe.
Ubuntu emergency mode drive mount failed fix scenarios are one of the most common boot problems Linux users encounter, especially on systems with multiple drives, external storage, or recently modified configurations. I have dealt with this exact issue on homelab servers, production machines, and laptops alike, and the good news is that the recovery process is straightforward once you understand what is happening under the hood.
This guide walks through every step of diagnosing and fixing the emergency mode error. We cover why Ubuntu drops into this state, how to identify the specific mount failure, how to repair your /etc/fstab file, when to run fsck, and how to recover if you are locked out entirely. By the end, you will not only have your system booting again but also know how to prevent this from recurring.
Table of Contents
Why Ubuntu Enters Emergency Mode?
Ubuntu emergency mode is a minimal systemd target called emergency.target that activates when the system cannot complete a normal boot sequence. When systemd encounters a critical failure, such as a filesystem that cannot be mounted, it halts the boot process and drops you into a limited root shell instead of continuing with broken or missing storage.
The most common trigger is a mount failure. Ubuntu reads /etc/fstab during boot and attempts to mount every listed filesystem. If a drive referenced in that file is missing, has a changed UUID, has a corrupted filesystem, or contains a syntax error in its entry, systemd cannot proceed. Rather than leaving the system in a broken half-booted state, it falls back to emergency mode where you can investigate and repair the problem.
According to forum discussions on Reddit and AskUbuntu, the most frequent causes include adding a second hard drive without updating fstab, a power outage that corrupts a filesystem, replacing a failed disk without updating the UUID reference, and copy-paste errors when editing the fstab file. One user on r/homelab reported that their server entered emergency mode every reboot after a drive swap because the old UUID in fstab no longer matched any device.
It is worth noting that emergency mode mounts the root filesystem as read-only by default. This is a protective measure to prevent further damage, but it means you cannot edit any files until you explicitly remount root as read-write, which we cover in the fstab repair section below.
Quick Exit Methods for Emergency Mode
If your system entered emergency mode due to a transient error rather than a persistent configuration problem, you might be able to exit and continue booting normally. Try these quick exit methods before diving into deeper troubleshooting.
The fastest method is to press CTRL+D, which tells systemd to attempt resuming the normal boot sequence. This works when the failure was temporary, such as a slow-to-spin-up hard drive that simply needed a few extra seconds during the initial boot attempt.
You can also manually switch back to the default boot target by typing systemctl default at the emergency mode prompt. This command tells systemd to try again reaching the graphical or multi-user target. If the underlying problem is still present, you will land right back in emergency mode.
If neither of those works, use systemctl reboot to cleanly restart the system. Sometimes a fresh boot attempt resolves issues caused by race conditions or devices that were not ready during the first boot. Do not just power off the machine, since a hard shutdown can cause additional filesystem corruption.
When quick exit methods fail, you have a confirmed persistent problem. Move on to the diagnostic and repair steps below.
Diagnosing the Root Cause with journalctl
The emergency mode prompt itself tells you exactly what to do: run journalctl -xb to view the boot log. This command displays all systemd journal entries from the current boot attempt, and it is your primary tool for identifying what went wrong.
Type journalctl -xb and press Enter. You will see a scrollable log. Look for entries containing the words failed, mount, dependency, or error. The error message “Dependency failed for local-fs.target” is a strong indicator that one or more filesystem mounts listed in fstab could not be completed.
To filter the log for just the relevant errors, use journalctl -xb | grep -i "fail" or journalctl -xb | grep -i "mount". This narrows hundreds of log lines down to the handful that actually matter. Note the device path or mount point mentioned in the error, since that tells you which fstab entry needs fixing.
Common error patterns include “mount point does not exist,” “special device UUID=xxx does not exist,” and “wrong fs type, bad option, bad superblock.” Each of these points to a different root cause, from a missing directory to a changed UUID to filesystem corruption. Write down or photograph the exact error message before proceeding, since you will need it to choose the right repair path.
Fixing /etc/fstab Misconfiguration
Fstab misconfiguration is the single most common cause of emergency mode boots. The /etc/fstab file tells Ubuntu which filesystems to mount at boot, and even a small error in this file can prevent the entire system from starting. Fixing it requires remounting root as writable, identifying the broken entry, and correcting or disabling it.
First, remount the root filesystem as read-write so you can edit files. Type mount -o remount,rw / at the emergency mode prompt. If this succeeds, your root partition is now writable. If it fails, you may need to use a live USB, covered in a later section.
Next, open the fstab file with nano /etc/fstab. Look for the entry corresponding to the device or mount point that the journalctl error identified. A typical fstab entry looks like UUID=1234abcd-5678 /mnt/data ext4 defaults 0 2. Compare the UUID in the file against the actual device UUIDs.
To check the real UUIDs of all connected drives, run blkid. This command lists every block device along with its current UUID and filesystem type. If the UUID in fstab does not match any device returned by blkid, you have found your problem. This happens frequently after replacing a drive, since every new disk gets a unique UUID that will never match the old one.
Once you identify the broken entry, you have two options. If the drive is present but the UUID changed, update the fstab entry with the correct UUID from blkid. If the drive is missing entirely and you want the system to boot without it, comment out the line by adding a # at the beginning. Save the file with Ctrl+O, exit nano with Ctrl+X, then run systemctl reboot to test.
A Reddit user on r/homelab described fixing this exact scenario by simply commenting out the bad fstab line and rebooting. Their server came back immediately, and they re-added the corrected entry later once the replacement drive was installed. This is the safest approach when you need the system back up quickly.
Running fsck to Repair Filesystem Corruption
Sometimes the fstab configuration is perfectly fine and the real problem is filesystem corruption on the disk itself. Power outages, hard resets, and failing storage hardware can all leave a filesystem in an inconsistent state that prevents mounting. The fsck command checks and repairs these filesystem errors.
Before running fsck, identify the device that failed to mount using the error messages from journalctl. You need the raw device path, such as /dev/sda1 or /dev/nvme0n1p2. Use lsblk to see all devices and their partitions if you are unsure which one corresponds to the failed mount.
Unmount the target filesystem if it happens to be mounted in any state, then run fsck /dev/sdXN, replacing the device path with your actual partition. Fsck will report any errors it finds and ask whether you want to repair each one. If you are confident the filesystem is the problem, you can use fsck -y /dev/sdXN to automatically answer yes to all repair prompts.
Never run fsck on a mounted filesystem. Doing so can cause serious data corruption. If the filesystem is part of your root partition and you cannot unmount it from within emergency mode, you must boot from a live USB and run fsck from there. On Unix StackExchange, multiple users confirmed that fsck resolved their emergency mode boots after power failures corrupted their root or data partitions.
After fsck completes and reports a clean filesystem, run systemctl reboot. If corruption was the only issue, the system should boot normally on the next attempt.
Recovering with a Live USB When You Are Locked Out
Emergency mode requires the root password. If you never set one, forgot it, or if the root filesystem is too damaged to remount, you need a different approach. A live USB gives you a complete Ubuntu environment from which you can access and repair the broken system without needing any credentials from the installed system.
First, create a bootable Ubuntu USB on another computer. Boot the broken machine from the USB, selecting the “Try Ubuntu” option rather than installing. Once the live desktop loads, open a terminal.
Run lsblk to identify your root partition, typically something like /dev/sda2 or /dev/nvme0n1p3. Mount it with sudo mount /dev/sdXN /mnt, then you can edit the fstab file directly at /mnt/etc/fstab using your preferred text editor.
If you also need to repair the filesystem, unmount it first, then run sudo fsck /dev/sdXN. The live USB environment handles this cleanly since the target filesystem is not in use. After making your repairs, unmount with sudo umount /mnt, shut down the live session, remove the USB, and boot normally.
For more complex repairs, such as reinstalling GRUB or regenerating initramfs, you can chroot into the installed system. Mount the root partition and any necessary virtual filesystems, then run sudo chroot /mnt. From within the chroot, you have full access to the installed system as root and can run commands like update-initramfs -u or grub-install exactly as if you had booted it normally.
Emergency Mode vs Rescue Mode vs Recovery Mode
Ubuntu has three related but distinct recovery environments, and understanding the difference helps you choose the right tool for each situation.
Emergency mode (emergency.target) is the most minimal. It mounts only the root filesystem as read-only and provides a single root shell with no networking, no other filesystems, and no services. It activates automatically when critical boot failures occur, particularly fstab mount failures.
Rescue mode (rescue.target) is slightly more capable. It mounts the root filesystem, brings up basic services, and may include networking depending on configuration. You can manually enter rescue mode by appending systemd.unit=rescue.target to the kernel parameters in GRUB. Rescue mode is useful when you need more tools available than emergency mode offers but still want a minimal environment.
Recovery mode is a GRUB feature, not a systemd target. When you see the GRUB boot menu, choose “Advanced options for Ubuntu” and then select a kernel version marked with “(recovery mode).” This boots into a menu-driven environment with options to drop to a root shell, run fsck, resume normal boot, and more. Recovery mode is often the easiest path for users who are uncomfortable with raw command-line emergency mode prompts.
Preventing Future Emergency Mode Boots
Once you have your system running again, take a few minutes to prevent the same problem from recurring. A single fstab option can make the difference between a clean boot and another emergency mode session.
For any non-critical filesystem, such as secondary data drives, external storage, or network mounts, add the nofail option to the fstab entry. With nofail, Ubuntu continues booting normally even if that specific drive is missing or fails to mount. Change defaults to defaults,nofail in the options column. This single change would have prevented most of the emergency mode cases reported in forum discussions.
For drives that take time to become available, such as network-attached storage or large spinning disks, add a mount timeout. The x-systemd.mount-timeout=30 option tells systemd to wait 30 seconds before giving up on a mount rather than failing immediately.
After any disk replacement or partition change, always update fstab UUIDs before rebooting. Run blkid to get the new UUID and update the fstab entry to match. Also run sudo update-initramfs -u to rebuild the initial RAM filesystem, since stale initramfs images can reference old device configurations and cause persistent boot failures.
Finally, keep your filesystems healthy. Run sudo touch /forcefsck before a reboot to schedule a filesystem check on the next boot, or configure periodic fsck runs through /etc/fstab by setting the sixth field to a non-zero pass number. Healthy filesystems rarely trigger emergency mode.
Frequently Asked Questions
How to fix you are in emergency mode in Ubuntu?
Type your root password, run journalctl -xb to identify the failed mount, then remount root as writable with mount -o remount,rw /. Edit /etc/fstab with nano, comment out or fix the broken entry, and reboot with systemctl reboot.
How to get out of emergency mode in Linux?
Press CTRL+D to attempt resuming normal boot, or type systemctl default to switch to the default boot target. If the underlying problem persists, you will return to emergency mode and need to fix the root cause in fstab or run fsck.
How to reboot Ubuntu in emergency mode?
Append systemd.unit=emergency.target to the kernel boot parameters in the GRUB menu. Press e at the GRUB screen, add the parameter to the linux line, then press Ctrl+X to boot into emergency mode manually.
How do I get out of emergency mode without a root password?
If you never set a root password or forgot it, boot from an Ubuntu live USB, mount your root partition, edit /etc/fstab to fix or comment out the broken entry, then reboot without the USB.
What causes dependency failed for local-fs.target?
This error means one or more filesystems listed in /etc/fstab could not be mounted during boot. Common causes include a changed UUID after disk replacement, a missing or disconnected drive, filesystem corruption, or a syntax error in the fstab file.
Conclusion
Fixing the “You are in emergency mode” error on Ubuntu comes down to a simple process: identify the failed mount with journalctl, fix the underlying cause in fstab or with fsck, and reboot. The vast majority of cases are fstab UUID mismatches or missing drives, both of which take under five minutes to repair once you know what to look for.
Remember that emergency mode is a safety feature, not a death sentence for your system. It exists to protect your data when something goes wrong at boot, giving you a controlled environment to fix the problem rather than letting the system continue in a broken state.
Going forward, add the nofail option to any non-critical mount entries in fstab. This one change prevents emergency mode boots when secondary drives fail or are temporarily disconnected, and it is the single most effective preventive measure you can take. With the steps in this guide, you now have everything needed to recover from and prevent the Ubuntu emergency mode drive mount failed fix scenario.