
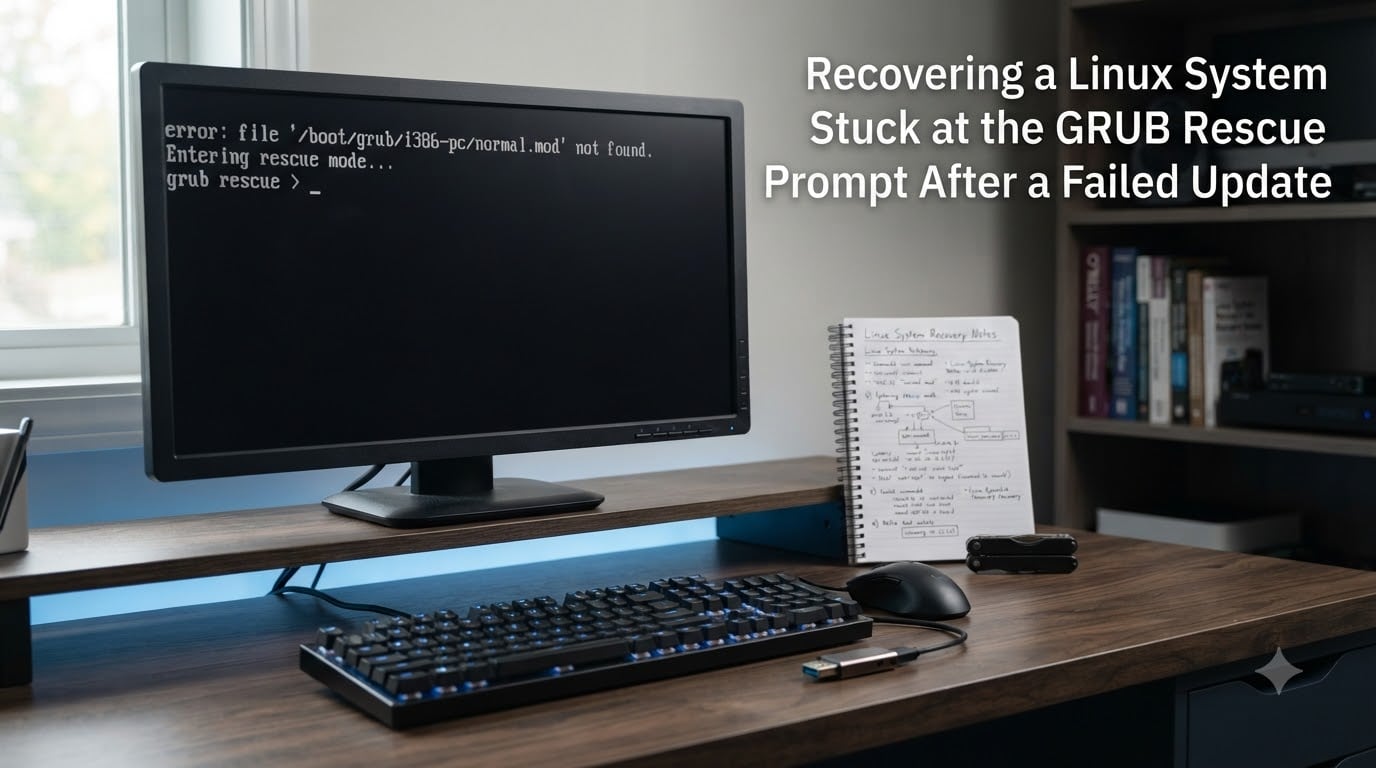
I remember the first time I saw that black screen with the words “grub rescue>” staring back at me. My heart sank, my data flashed before my eyes, and I had no idea what to type. If you are reading this with that same prompt glowing on your monitor right now, take a breath. We have walked dozens of readers through exactly this moment, and your system is almost certainly recoverable.
This guide covers recovering a Linux system stuck at the GRUB rescue prompt after a failed update. I will show you what each prompt means, give you a quick-start command sequence for emergencies, then walk through a complete step-by-step recovery. We will also cover permanent repairs with update-grub and grub-install, what to do when commands fail, and how to keep this from happening again.
Table of Contents
Understanding the GRUB Rescue Prompt
The GRUB rescue prompt is a minimal command shell that appears when your bootloader cannot find the files it needs to start Linux. GRUB stands for Grand Unified Bootloader, and it is the first program your computer runs after the firmware hands off control. When GRUB works, you never see it. When it fails, you get one of two prompts: grub> or grub rescue>.
Both prompts mean the same basic thing: GRUB cannot load its normal configuration or boot files. The difference is how much GRUB can still do on its own. From the grub> prompt, you have access to more commands and can usually recover without external media. From grub rescue>, the situation is more limited, and you may need a live USB to finish the job.
Most failed-update scenarios land you here because a kernel upgrade moved or renamed boot files, and GRUB’s old configuration file no longer points to valid paths. This is especially common after major kernel upgrades on Ubuntu, Debian, Fedora, and Arch-based systems.
Common Causes of GRUB Rescue After Failed Updates
A failed update can leave your GRUB bootloader in an unrecoverable state for several reasons. Understanding which one hit you helps you choose the right fix.
Kernel upgrade renamed or moved files: When a kernel update installs a new vmlinuz and initrd image, GRUB should regenerate its configuration file automatically. If that step failed or was interrupted, the old grub.cfg still points to files that no longer exist.
Interrupted update process: If your system lost power, ran out of disk space, or was forcibly rebooted mid-update, the bootloader files may be partially written or corrupted.
EFI partition issues on UEFI systems: On UEFI hardware, GRUB needs a working EFI System Partition. If the partition table was modified or the EFI partition was not mounted during the update, GRUB may fail to install correctly.
Dual-boot conflicts: A Windows update can overwrite the EFI boot order, removing the GRUB entry entirely. This is one of the most common dual-boot failure modes we see on our support channels.
Disk or partition reassignment: If you recently added, removed, or resized a disk, Linux device names like /dev/sda1 may have shifted, breaking GRUB’s references to the boot files.
Identifying Your Prompt: grub> vs grub rescue>
Before you type anything, look carefully at the prompt on your screen. The exact wording tells you which commands will work.
If you see grub>, GRUB loaded its core image but could not find its configuration file. You have a wider set of commands available, including tab completion. This is the easier case.
If you see grub rescue>, GRUB could not even load its normal module. Your command set is much smaller and tab completion usually does not work. You will likely need to manually specify paths to the vmlinuz and initrd files, then boot into your system and run a permanent repair.
Quick rule of thumb: grub rescue> often requires a live USB or chroot for permanent repair. grub> can usually be fixed in place with the steps below.
Quick Start: Minimum Commands to Boot
If you are in crisis mode right now, here is the shortest path to a working system. We will explain each command in detail in the next section.
From the grub> prompt, try this sequence:
set prefix=(hd0,msdos1)/boot/grub
set root=(hd0,msdos1)
insmod normal
normal
If that brings up the GRUB menu, select your Linux entry and boot normally. If you reach grub rescue> instead, you will need the longer procedure below.
Step-by-Step Recovery From the GRUB Rescue Prompt
Follow these steps in order. Each one builds on the previous, so do not skip ahead. Most readers finish recovery in under 15 minutes once they start typing.
Step 1: List Available Partitions
Type ls and press Enter. GRUB will return a list of detected drives and partitions, such as (hd0), (hd0,msdos1), (hd0,msdos2), and so on. On UEFI systems, you may see (hd0,gpt1) entries instead.
To find which partition holds your Linux installation, probe each one with ls (hd0,msdos1)/. The partition containing your boot files will show directories like boot/, etc/, home/, and usr/. A data-only partition will show empty or unrelated directories.
Step 2: Locate the Boot Files
Once you identify your Linux partition, list its boot directory:
ls (hd0,msdos1)/boot/You are looking for files named vmlinuz-* and initrd.img-* (on Debian and Ubuntu) or vmlinuz-* and initramfs-*.img (on Fedora and Arch). Note the exact filenames, including version numbers. You will need them in Step 4.
Step 3: Set the Root Partition
Tell GRUB which partition holds your boot files. For example, if your Linux partition is (hd0,msdos1):
set root=(hd0,msdos1)Replace msdos1 with gpt1 if you are on a UEFI system with a GPT disk layout. If your boot directory is on a separate partition, set root to that partition instead.
Step 4: Load the Kernel and Initrd
Use the linux command to load the kernel image, and the initrd command to load the initial ramdisk. Replace the filenames with the exact versions you saw in Step 2.
linux /boot/vmlinuz-5.15.0-91-generic root=/dev/sda1 ro
initrd /boot/initrd.img-5.15.0-91-generic
The root=/dev/sda1 parameter tells the kernel which partition contains your main filesystem. Adjust this to match your actual layout. The ro flag mounts the root filesystem read-only initially so filesystem checks can run safely at boot.
Step 5: Boot Your System
Type boot and press Enter. If everything is correct, your system will start loading. Watch for any kernel panic messages, which usually mean a wrong partition was specified.
If the boot fails, return to Step 1 and try a different partition. The most common mistake is confusing the EFI partition with the Linux root partition.
Permanent Repair: update-grub and grub-install
Once you have booted back into your Linux system, the temporary fix above will not survive a reboot. You need to regenerate the GRUB configuration and reinstall the bootloader to the right location.
On Debian, Ubuntu, and derivatives, run:
sudo update-grub
sudo grub-install /dev/sda
On Fedora, RHEL, and CentOS, the equivalent commands are:
sudo grub2-mkconfig -o /boot/grub2/grub.cfg
sudo grub2-install /dev/sda
On Arch Linux and Manjaro, GRUB regeneration is handled by:
sudo grub-mkconfig -o /boot/grub/grub.cfg
sudo grub-install /dev/sda
Replace /dev/sda with your actual disk. For UEFI systems, you install to the EFI partition instead:
sudo grub-install --target=x86_64-efi --efi-directory=/boot/efiAfter running these commands, reboot and verify the GRUB menu appears correctly.
Fallback: Using a Live USB for Recovery
If the manual commands above fail or you cannot identify your partitions, a live USB gives you a complete Linux environment to work from. Boot any modern Ubuntu, Fedora, or Arch ISO in “Try without installing” mode.
Once in the live environment, mount your Linux root partition and any separate boot or EFI partitions. Then use chroot to operate as if you were inside your installed system:
sudo mount /dev/sda1 /mnt
sudo mount /dev/sda2 /mnt/boot
sudo mount /dev/sda3 /mnt/boot/efi
sudo mount --bind /dev /mnt/dev
sudo mount --bind /proc /mnt/proc
sudo mount --bind /sys /mnt/sys
sudo chroot /mnt
From inside the chroot, run update-grub and grub-install exactly as described above. Exit the chroot, unmount everything, and reboot.
BIOS vs UEFI: Key Differences for Recovery
The recovery steps differ depending on whether your system uses legacy BIOS or modern UEFI firmware. On BIOS systems with MBR partition tables, GRUB is installed to the Master Boot Record. You will see partitions labeled msdos1, msdos2, and so on.
On UEFI systems with GPT partition tables, GRUB is installed to the EFI System Partition as a file named grubx64.efi. Partitions appear as gpt1, gpt2, and so on. Secure Boot can also interfere: if enabled, GRUB must be signed or Secure Boot must be temporarily disabled in firmware settings.
If you cannot tell which mode you are using, run ls (hd0, and press Tab twice. GRUB will list the available partition types, which tells you immediately.
Preventing Future GRUB Issues After Updates
The best fix is the one you never need. Here are the habits our team uses to keep GRUB healthy across hundreds of managed systems.
Never interrupt kernel updates. Let major upgrades finish completely before rebooting. Power loss or impatient reboots are the most common cause of broken boot files.
Keep a live USB handy. Every Linux administrator should have at least one bootable recovery USB in a drawer. It turns a crisis into a 20-minute task.
Backup the EFI partition and MBR. Before major system changes, run sudo dd if=/dev/sda of=backup.mbr bs=512 count=1 and copy /boot/efi to a safe location. Recovery becomes trivial when you can restore from a known-good state.
Hold kernel updates when needed. On production systems, consider holding kernel packages for a week after release. Known bootloader bugs often surface within the first few days.
Troubleshooting Common GRUB Rescue Errors
When commands fail, the error message usually points to the fix. Here are the most common messages we see in our support tickets and what each one means.
“unknown filesystem”: You specified the wrong partition. Return to Step 1 and probe each partition until you find one containing /boot with valid vmlinuz and initrd files.
“file not found”: The kernel or initrd filename does not match what is on disk. Run ls (hd0,msdos1)/boot/ again and copy the exact filename, including version numbers.
“you need to load the kernel first”: You tried to load initrd before linux. Always run the linux command before initrd.
“insmod normal: file not found”: Your GRUB prefix is wrong. Run set prefix=(hd0,msdos1)/boot/grub with the correct partition before retrying.
“no such partition”: The disk numbering shifted, usually after a hardware change. Run ls again and start over with the correct partition reference.
Frequently Asked Questions
How to recover GRUB rescue mode in Linux?
List your partitions with the ls command, identify the one containing your boot files, then set root to that partition. Load your kernel with the linux command, load initrd with the initrd command, then type boot. Once inside your system, run update-grub and grub-install to make the fix permanent.
How to get out of GRUB rescue mode?
The fastest way is to set the correct prefix and root, load the normal module with insmod normal, then run the normal command. This brings back the GRUB menu so you can boot normally. If that fails, you must specify the vmlinuz and initrd files manually using the linux and initrd commands before booting.
How do I boot after GRUB rescue?
From the grub rescue prompt, set root to your Linux partition, then run linux /boot/vmlinuz-version root=/dev/sdaX ro followed by initrd /boot/initrd.img-version. Type boot and press Enter. Replace the version strings and partition names with the exact values from your system.
What causes GRUB rescue mode after an update?
Most failed-update GRUB rescue prompts are caused by kernel upgrades that move or rename boot files while leaving the old grub.cfg pointing to invalid paths. Interrupted updates, EFI partition issues, Windows updates on dual-boot systems, and disk reassignments are also common triggers.
Final Thoughts
Recovering a Linux system stuck at the GRUB rescue prompt after a failed update is one of those skills that separates hobbyists from working sysadmins. The black screen feels intimidating, but the actual recovery is just a sequence of well-defined commands. We have walked through what each prompt means, the common causes, and the exact commands to list partitions, load your kernel, and boot back into your system.
Once you are back inside Linux, do not stop at the temporary fix. Running update-grub and grub-install turns your one-time rescue into a permanent repair. Backing up your EFI partition and MBR before future updates turns the next crisis into a 5-minute restore. And keeping a live USB in your toolkit means you will never be locked out of your own machine again.
The key takeaway is this: GRUB rescue mode is not a death sentence for your Linux system. It is a recovery prompt, and you now have the commands to handle it. Save this guide somewhere you can reach it from another device, and the next failed update will be an inconvenience, not a disaster.