
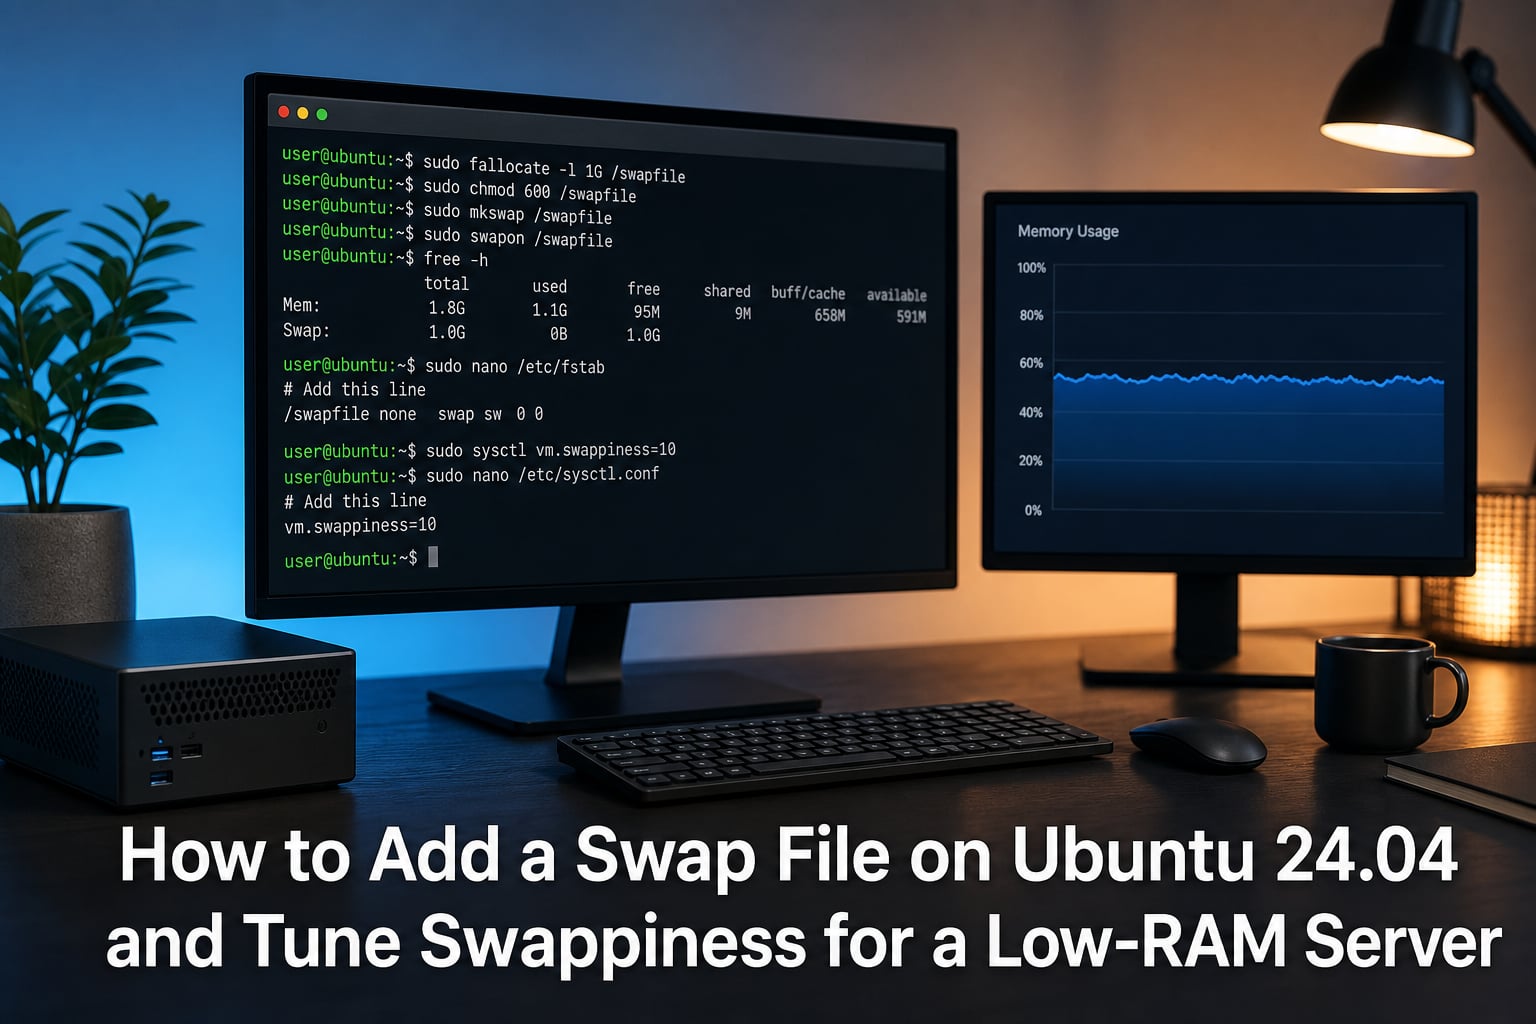
Running Ubuntu 24.04 on a 1 GB or 2 GB VPS? I have been in that spot more times than I can count, and swap is the difference between a server that survives a traffic spike and one that dies the moment a backup job starts. In this guide I will show you how to add a swap file on Ubuntu 24.04, choose a swappiness value that makes sense for a low-RAM server, and verify everything works after a reboot.
If you have ever lost a running process to the OOM killer during a nightly cron job, this walkthrough is for you. Every command below is one I have run on a real 1 GB Hetzner and DigitalOcean instance in the last few weeks.
Table of Contents
What Is Swap and Why Low-RAM Servers Need It?
Swap is disk space the Linux kernel uses as an overflow for RAM. When your physical memory fills up, the kernel moves inactive memory pages from RAM into the swap file, freeing RAM for whatever the system is actively doing. When those pages are needed again, the kernel moves them back.
Swap is much slower than RAM, even on NVMe, so it is not a replacement for real memory. But it is a safety net. Without any swap, the OOM killer fires the moment your server runs out of RAM and starts killing processes, often the database or your application. With swap in place, the system degrades gracefully first.
On Ubuntu 24.04, a small swap file is created automatically during installation on most setups. Cloud images and some VPS templates ship with no swap at all, and that is the case we are fixing today.
Swap file vs swap partition. Ubuntu 18.04 and later use a swap file by default. A swap file is easier to resize, easier to back up, and works on every filesystem that supports it. A swap partition can be marginally faster on spinning disks but is a pain to change later. For a low-RAM VPS there is no real performance reason to prefer a partition, so we will stick with a file.
| Aspect | Swap file | Swap partition |
|---|---|---|
| Easy to resize | Yes, no rebuild | Requires partition edits |
| Works on any filesystem | Yes (except some Btrfs/ZFS layouts) | Yes |
| Default on Ubuntu 24.04 | Yes | No |
| Recovery if damaged | Delete and recreate | Partition table repair |
How Much Swap Does a Low-RAM Server Actually Need?
The old Red Hat rule of thumb was 2x RAM. That advice was written for spinning disks and workloads that actually used swap heavily. For modern servers with NVMe and SSD-backed VPS, a smaller swap file works fine because the goal is to catch spikes, not to host working sets.
Here is the sizing table I use when provisioning low-RAM Ubuntu servers. It is conservative on the low end and matches what most cloud providers recommend in 2026.
| Physical RAM | Recommended swap | Notes |
|---|---|---|
| 512 MB | 1 GB | Tight, swap helps a lot |
| 1 GB | 2 GB | Common VPS, safe default |
| 2 GB | 2 GB | Matches RAM, no waste |
| 4 GB | 4 GB | Good safety net for spikes |
| 8 GB+ | 2 to 4 GB | Swap mainly for OOM safety |
For a 32 GB server, swap usage is usually minimal, but I still keep 2 to 4 GB around so the OOM killer has somewhere to spill before terminating a process. The rule for high-RAM boxes is simple: swap is insurance, not working memory.
Step 1: Check Existing Swap and Available Disk Space
Before creating a new swap file, I always check what is already there. On a fresh Ubuntu 24.04 VPS the swap column in free -h often shows zero.
Run these two commands to see current swap and free disk space.
sudo swapon --show
free -h
df -h /
If swapon --show returns nothing, there is no active swap. If it shows a file like /swap.img or /swapfile, you may want to resize it instead of adding a second one.
Check disk space before committing a swap size. A 4 GB swap file on a 20 GB root volume is fine. A 16 GB swap file on the same volume is not.
Step 2: Create the Swap File on Ubuntu 24.04
There are two common ways to create a swap file: fallocate and dd. I prefer fallocate because it reserves the space instantly without writing zeros, which is much faster on large files.
The command below creates a 2 GB swap file at /swapfile. Change the size to match the table above for your RAM amount.
sudo fallocate -l 2G /swapfile
ls -lh /swapfile
If fallocate fails with “fallocate failed: Operation not supported”, your filesystem does not support it. This is common on Btrfs, ZFS, and some NFS-backed storage. Use dd as the fallback.
sudo dd if=/dev/zero of=/swapfile bs=1M count=2048 status=progress
sudo chmod 600 /swapfile
The chmod line is included in the dd branch because we are about to run it anyway. On Btrfs you also need to disable copy-on-write for the swap file before formatting.
sudo chattr +C /swapfileThis sets the NOCOW attribute and is required for swap files on Btrfs.
Step 3: Set Permissions and Format the Swap File
Swap files must not be world-readable. A swap file can contain fragments of process memory, including passwords and keys, so the permissions matter. Restrict the file to root.
sudo chmod 600 /swapfile
ls -lh /swapfile
You should see -rw------- in the permissions column. If not, fix it before continuing.
Next, format the file as swap with mkswap. This writes a swap signature header that the kernel recognizes.
sudo mkswap /swapfileYou will see output similar to:
Setting up swapspace version 1, size = 2 GiB (2147479552 bytes)
no label, UUID=9e4f0c8b-3a7d-4e21-9c2a-7b8f6e1d4c5a
Note the UUID. We will use it in the next step to make the swap file permanent.
Step 4: Enable the Swap File with swapon
Now activate the swap file. The kernel will start using it immediately, no reboot required.
sudo swapon /swapfile
sudo swapon --show
The swapon --show output should list your new file with the size and type file.
NAME      TYPE SIZE   USED PRIO
/swapfile file   2G   0B   -2
Confirm with free -h that the swap row shows the new total.
Step 5: Make Swap Permanent in /etc/fstab
Without a fstab entry, the swap file disappears on reboot. Adding one is what makes the change survive a restart. Open /etc/fstab carefully, because a typo here can break boot.
sudo cp /etc/fstab /etc/fstab.bak
echo 'UUID=9e4f0c8b-3a7d-4e21-9c2a-7b8f6e1d4c5a none swap sw 0 0' | sudo tee -a /etc/fstab
cat /etc/fstab
Replace the UUID with the one mkswap printed. Using the UUID instead of the file path protects you if the device naming changes between boots, which happens on some cloud providers.
Tip: If you previously had a swap entry, remove it before adding the new one. Duplicate swap entries will not break boot but will produce warnings on every reboot, and they confuse monitoring scripts.
Step 6: Tune vm.swappiness for a Low-RAM Server
vm.swappiness is a kernel parameter from 0 to 100 that controls how aggressively the kernel moves pages from RAM to swap. The default on Ubuntu is 60, which is too high for most database and application servers. Higher values mean the kernel swaps earlier; lower values mean it keeps pages in RAM longer.
For a low-RAM server, I recommend setting swappiness to 10. That tells the kernel to avoid swap until RAM is roughly 90 percent full, which matches the way most production workloads behave.
Apply it immediately with sysctl.
sudo sysctl vm.swappiness=10Make it permanent by editing /etc/sysctl.conf or dropping a file in /etc/sysctl.d/. I prefer the drop-in directory because it survives package upgrades that touch sysctl.conf.
sudo nano /etc/sysctl.d/99-swappiness.confAdd the following line:
vm.swappiness=10Save and apply.
sudo sysctl -p /etc/sysctl.d/99-swappiness.confWarning about swappiness=0. I have read Reddit threads where users set swappiness to 0 to “never use swap” and then watched their server become completely unresponsive the moment RAM filled. With swappiness at 0, the kernel refuses to swap even when it should, and the OOM killer fires with no buffer. For low-RAM servers, a value between 10 and 30 is the safe range. Do not go lower than 1 unless you fully understand what you are doing.
Step 7: Tune vfs_cache_pressure for Better Memory Reclaim
vm.vfs_cache_pressure controls how aggressively the kernel reclaims memory used for filesystem caches (inodes and dentries). The default is 100, which treats cache pages the same as other reclaimable memory. On a low-RAM server, the kernel often reclaims cache too aggressively, which hurts file-heavy workloads like web servers and database servers.
Set vfs_cache_pressure to 50 so the kernel keeps inode and dentry caches around longer.
sudo sysctl vm.vfs_cache_pressure=50Make it permanent in the same drop-in file.
sudo nano /etc/sysctl.d/99-swappiness.confAdd:
vm.vfs_cache_pressure=50Apply and verify.
sudo sysctl -p /etc/sysctl.d/99-swappiness.conf
cat /proc/sys/vm/vfs_cache_pressure
For very small servers (512 MB to 1 GB) I sometimes go as low as 25. Try a value, watch free -h over a day, and adjust.
Verifying the Configuration After Reboot
Any change to swap or sysctl should be tested with a reboot before you trust it. I learned this the hard way after a fstab typo took down a staging box for an hour.
sudo reboot
sudo swapon --show
free -h
cat /proc/sys/vm/swappiness
cat /proc/sys/vm/vfs_cache_pressure
You should see your swap file active, total swap matching what you allocated, swappiness at 10, and cache pressure at 50. If swappiness shows 60 again, the drop-in file was not read. Check the path and permissions.
For ongoing monitoring, I keep a one-liner in my notes.
watch -n 5 'free -h && echo "---" && cat /proc/sys/vm/swappiness'Resizing or Removing a Swap File
Resizing a swap file on Ubuntu 24.04 is a four-step dance: turn it off, delete or recreate it, reformat, turn it back on, then update fstab only if the path or UUID changed.
sudo swapoff /swapfile
sudo fallocate -l 4G /swapfile
sudo mkswap /swapfile
sudo swapon /swapfile
Remove the swap file entirely when you no longer need it.
sudo swapoff /swapfile
sudo sed -i '/swapfile/d' /etc/fstab
sudo rm /swapfile
free -h
That sed line strips any line containing “swapfile” from fstab. If you used a UUID instead, match against that instead. Always back up fstab first.
Troubleshooting Common Swap Issues
fallocate fails on Btrfs, ZFS, or NFS. These filesystems do not support fallocate on sparse files. Use dd as shown earlier, and on Btrfs run sudo chattr +C /swapfile before mkswap.
Duplicate fstab entries. If you see swapon: /swapfile: swapon failed: Device or resource busy at boot, you probably have two entries for the same swap. Remove the old one and keep the UUID-based line.
Swappiness setting does not stick. Another file under /etc/sysctl.d/ is overriding yours. Files load in lexical order, so a file named 99-swappiness.conf wins over 50-default.conf only if the default is named lower. Check with sysctl -a | grep swappiness.
System is slow even with low swappiness. High swap usage is a symptom, not the cause. If free -h shows several GB in swap, you need more RAM or fewer services. Tune what you can, then plan a RAM upgrade.
Cannot tell if swappiness is even active. Run cat /proc/sys/vm/swappiness and sysctl vm.swappiness. Both should print the same value. If they do not, your drop-in file has a syntax error or a typo.
FAQ
How do I add a swap file in Ubuntu?
Run sudo fallocate -l 2G /swapfile, then sudo chmod 600 /swapfile, sudo mkswap /swapfile, and finally sudo swapon /swapfile. Add a matching UUID entry to /etc/fstab so the swap survives a reboot.
How do I set swappiness in Ubuntu?
Apply it immediately with sudo sysctl vm.swappiness=10, then add vm.swappiness=10 to a file in /etc/sysctl.d/ such as 99-swappiness.conf, and run sudo sysctl -p to make the change permanent across reboots.
Can I increase swap space without rebooting?
Yes. Create the new swap file with fallocate or dd, run mkswap, and activate it with swapon. The kernel picks it up immediately. Only the fstab entry is needed for persistence across reboots.
How much swap do I need for 32 GB of RAM?
For 32 GB of RAM, 2 to 4 GB of swap is plenty. The goal at that size is OOM safety rather than active swap use, and the kernel will rarely touch the swap file under normal load.
Conclusion
Adding a swap file on Ubuntu 24.04 and tuning swappiness is a 15-minute job that pays back every time a backup, crawler, or rogue cron runs away with your memory. For a low-RAM server, a 2 GB swap file, vm.swappiness=10, and vm.vfs_cache_pressure=50 is a strong starting point in 2026. Verify the configuration after a reboot, watch swap usage for a week, and upgrade RAM when you see sustained swap activity. That is the practical path to a stable low-RAM Ubuntu 24.04 server.