
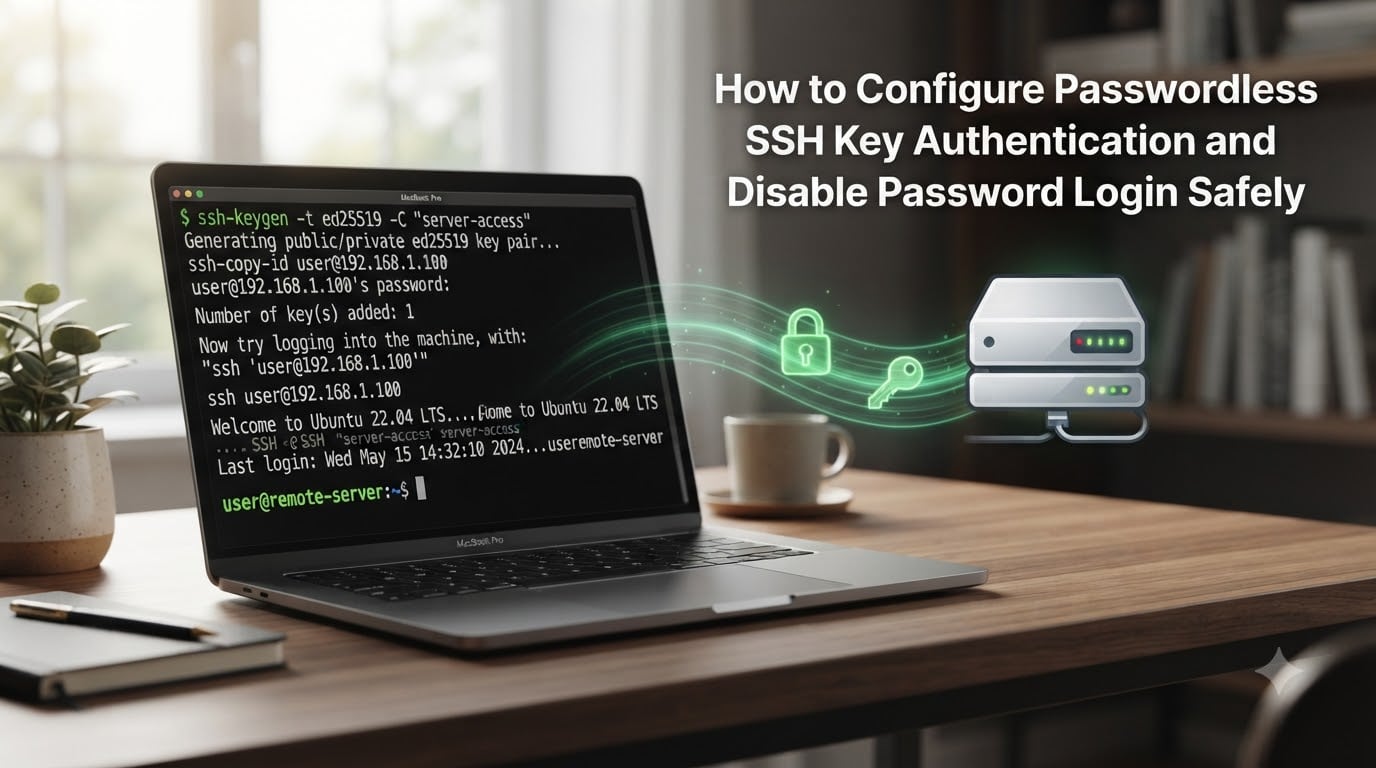
Typing a password every time you SSH into a server gets old fast. I used to log into 12 different Linux boxes a day, and by the end of the week my fingers hurt. That is exactly why I switched to passwordless SSH key authentication on every machine I manage. This guide walks you through the same setup I use, from generating your first key pair to locking down the SSH server so password logins are disabled safely.
You will learn how to generate an ED25519 key, copy it to a remote server, verify the passwordless login works, and then disable password authentication in sshd_config without locking yourself out. This is the right way to set up key-based authentication in 2026, and it works on Ubuntu, Debian, CentOS, RHEL, Rocky, AlmaLinux, and macOS.
Table of Contents
How SSH Key-Based Authentication Actually Works?
Passwordless SSH key authentication relies on asymmetric cryptography. You generate a pair of keys: a private key that lives on your local machine and a public key that you place on the server.
When you connect, the server asks your client to prove it owns the private key matching one of the entries in your ~/.ssh/authorized_keys file. Your client signs a challenge with the private key, the server verifies it using the public key, and you get in without typing a password.
The math is one-way, meaning the public key cannot be used to derive the private key. That is why this is more secure than passwords. A leaked password is reusable, but a leaked public key is useless to an attacker.
What Each File Does
The private key (id_ed25519) never leaves your laptop. The public key (id_ed25519.pub) goes into ~/.ssh/authorized_keys on the server. Whoever controls the private key controls that account, so file permissions matter as much as the cryptography itself.
ED25519 vs RSA: Which Key Type Should You Use
For new servers in 2026, I always recommend ED25519. It is faster, produces shorter signatures, and has been supported in OpenSSH since version 6.5 (released in 2014).
RSA is still fine for legacy systems. If you need backward compatibility with very old SSH clients, use a 4096-bit RSA key. Otherwise, pick ED25519.
Here is a quick comparison of the two options you will see most often:
ED25519 — 256-bit equivalent security, tiny key size, fastest signing. This is the modern default.
RSA 4096 — Widely supported, larger key file, slower. Use only when ED25519 is unavailable.
RSA 2048 — Still acceptable but aging out. Avoid for new deployments.
How to Configure Passwordless SSH Key Authentication: Step-by-Step
Run these steps from your local machine (the one you connect from), not the server. The commands below assume your server username is youruser and the server hostname is server.example.com — replace those with your real values.
Step 1: Generate an ED25519 Key Pair
Open a terminal and run the following command to generate a new ED25519 key:
ssh-keygen -t ed25519 -C "[email protected]"
When prompted for a file location, press Enter to accept the default (~/.ssh/id_ed25519). When asked for a passphrase, set one. Yes, even though we are configuring passwordless SSH login, the passphrase protects your private key if your laptop is stolen. The ssh-agent we set up later handles typing it for you.
If you skip the passphrase, anyone who copies your private key file gets instant access. If you set the passphrase, a thief still needs that secret to use the key.
Step 2: Copy the Public Key to the Server
The fastest way is ssh-copy-id, which appends your public key to the server’s authorized_keys file and fixes the permissions:
ssh-copy-id -i ~/.ssh/id_ed25519.pub [email protected]
You will be asked for your password one last time. After this, the server knows your public key.
Manual Method (If ssh-copy-id Is Not Available)
On minimal containers or some BSD systems, ssh-copy-id is missing. Use this three-command fallback instead:
cat ~/.ssh/id_ed25519.pub | ssh [email protected] "mkdir -p ~/.ssh && chmod 700 ~/.ssh && cat >> ~/.ssh/authorized_keys && chmod 600 ~/.ssh/authorized_keys"
This pipes the public key into the server and appends it to authorized_keys in one shot. Run it once, then move on.
Step 3: Test the Passwordless Login
Before disabling password login, prove that key authentication works. Open a new terminal and run:
If you set a passphrase, you will be prompted for it once per session (or not at all if ssh-agent is running). If you did not set a passphrase, you should land on the server shell with zero prompts. If you still get a password prompt, your key was not copied correctly — check the troubleshooting section below.
Step 4: Set Up ssh-agent for Passphrase Caching
This is what makes passwordless SSH key authentication truly passwordless even with a passphrase. Start the agent and add your key:
eval "$(ssh-agent -s)"ssh-add ~/.ssh/id_ed25519
Type the passphrase once. From now on, every SSH connection in that shell session uses the cached key. On macOS, you can store the passphrase in the Keychain by editing ~/.ssh/config and adding UseKeychain yes to the host entry.
How to Disable Password Login in SSH Safely?
Disabling password authentication is the part where most people get burned. Make sure you have tested the key-based login in a separate terminal session first. If you close your only working session and disable passwords, you are locked out.
On the server, edit the SSH daemon config file:
sudo nano /etc/ssh/sshd_config
Find or add these lines. If a line is commented out with #, uncomment it and change the value:
PasswordAuthentication noKbdInteractiveAuthentication noPermitRootLogin prohibit-passwordPubkeyAuthentication yes
The prohibit-password value for PermitRootLogin allows root login via key only — never via password. If you want to forbid root login entirely, use no.
Save the file and validate the configuration before restarting:
sudo sshd -t
If that returns no output, the config is valid. Then reload the SSH daemon (do not stop it yet, in case something is wrong):
sudo systemctl reload sshd
Open a brand new terminal and confirm you can still log in with your key. Only after that second successful login should you consider the change permanent.
File Permission Requirements
SSH refuses to use keys with loose permissions. If your login fails despite a correct setup, this is almost always why. The required permissions are:
~/.ssh→chmod 700~/.ssh/authorized_keys→chmod 600~/.ssh/id_ed25519(private key) →chmod 600~/.ssh/id_ed25519.pub(public key) →chmod 644
Quick fix on the server if permissions are wrong:
chmod 700 ~/.ssh && chmod 600 ~/.ssh/authorized_keys
Troubleshooting Common SSH Key Authentication Errors
When passwordless SSH login fails, run the connection with verbose output to see exactly what your client and server are negotiating:
ssh -vvv [email protected]
The -vvv flag prints every step. Most issues show up here.
Permission Denied (publickey)
This is the classic error. Nine times out of ten, it is one of three things: the public key was not actually copied to the server, the file permissions on the server are too loose, or PubkeyAuthentication is disabled in sshd_config. Check the authorized_keys file on the server first with cat ~/.ssh/authorized_keys — your key should be there.
ssh-copy-id Does Not Work
If ssh-copy-id fails with a non-zero exit code, fall back to the manual cat-and-pipe command shown in Step 2. That works on every POSIX system.
Server Still Asks for a Password
You likely restarted the wrong service. On modern systemd servers, the service is usually sshd, not ssh. Run sudo systemctl status sshd to confirm the correct unit name on your distribution.
Too Many Authentication Failures
Your client is offering too many keys. Limit it in ~/.ssh/config:
Host server.example.com
  IdentitiesOnly yes
  IdentityFile ~/.ssh/id_ed25519
How to Set Up Passwordless SSH from Windows?
Windows 10 and Windows 11 ship with OpenSSH built in. Open PowerShell and run the same ssh-keygen command:
ssh-keygen -t ed25519
Your keys will live in C:UsersYourName.ssh. Then copy the public key to the server:
type $env:USERPROFILE.sshid_ed25519.pub | ssh [email protected] "umask 077; mkdir -p ~/.ssh && cat >> ~/.ssh/authorized_keys"
To start the Windows ssh-agent service so your passphrase is cached, run in an elevated PowerShell:
Set-Service ssh-agent -StartupType Automatic
Start-Service ssh-agent
ssh-add $env:USERPROFILE.sshid_ed25519
From here, the workflow is identical to macOS and Linux.
SSH Security Checklist
Before you call the job done, walk through this list:
Generated an ED25519 key with a strong passphrase.
Confirmed passwordless login works from a second terminal.
Set
PasswordAuthentication noinsshd_config.Set
PermitRootLogin prohibit-passwordorno.Reloaded (not restarted) sshd and verified the second login.
Verified file permissions on
~/.sshandauthorized_keys.Added a backup key for a second device, in case your laptop dies.
Backed up your private key to an encrypted password manager.
Frequently Asked Questions
How do I set up SSH so I don’t have to type my password?
Generate an ED25519 key with ssh-keygen, copy the public key to the server using ssh-copy-id, then log in via ssh. After that, ssh-agent caches your passphrase so you never type it again during the session.
How can I set up password-less SSH login?
Run ssh-keygen -t ed25519 on your local machine, then use ssh-copy-id to install the public key on the server. Once verified, edit /etc/ssh/sshd_config on the server and set PasswordAuthentication no, then reload sshd.
How does SSH passwordless login work?
It uses asymmetric cryptography. Your client proves it owns the private key that matches a public key stored in the server’s ~/.ssh/authorized_keys file. No password ever crosses the network.
Why is ssh-copy-id not working?
Usually because the server is missing the ssh-copy-id script, or your password authentication is already disabled. Use the manual cat-and-pipe fallback command shown in Step 2 of this guide.
What is the difference between RSA and ED25519?
ED25519 is faster, produces shorter keys, and is the modern default. RSA 4096 is the fallback for older systems that do not support ED25519. Both are secure when generated with proper key sizes.
Wrapping Up
Configuring passwordless SSH key authentication is one of the highest-leverage security upgrades you can make on a Linux server. It kills brute-force risk, removes the weakest link in your remote access stack, and makes your daily workflow measurably faster.
Generate an ED25519 key, verify the passwordless login works, then disable password login in sshd_config. Keep at least one backup key in a safe place, and you will never have to type a server password again.