
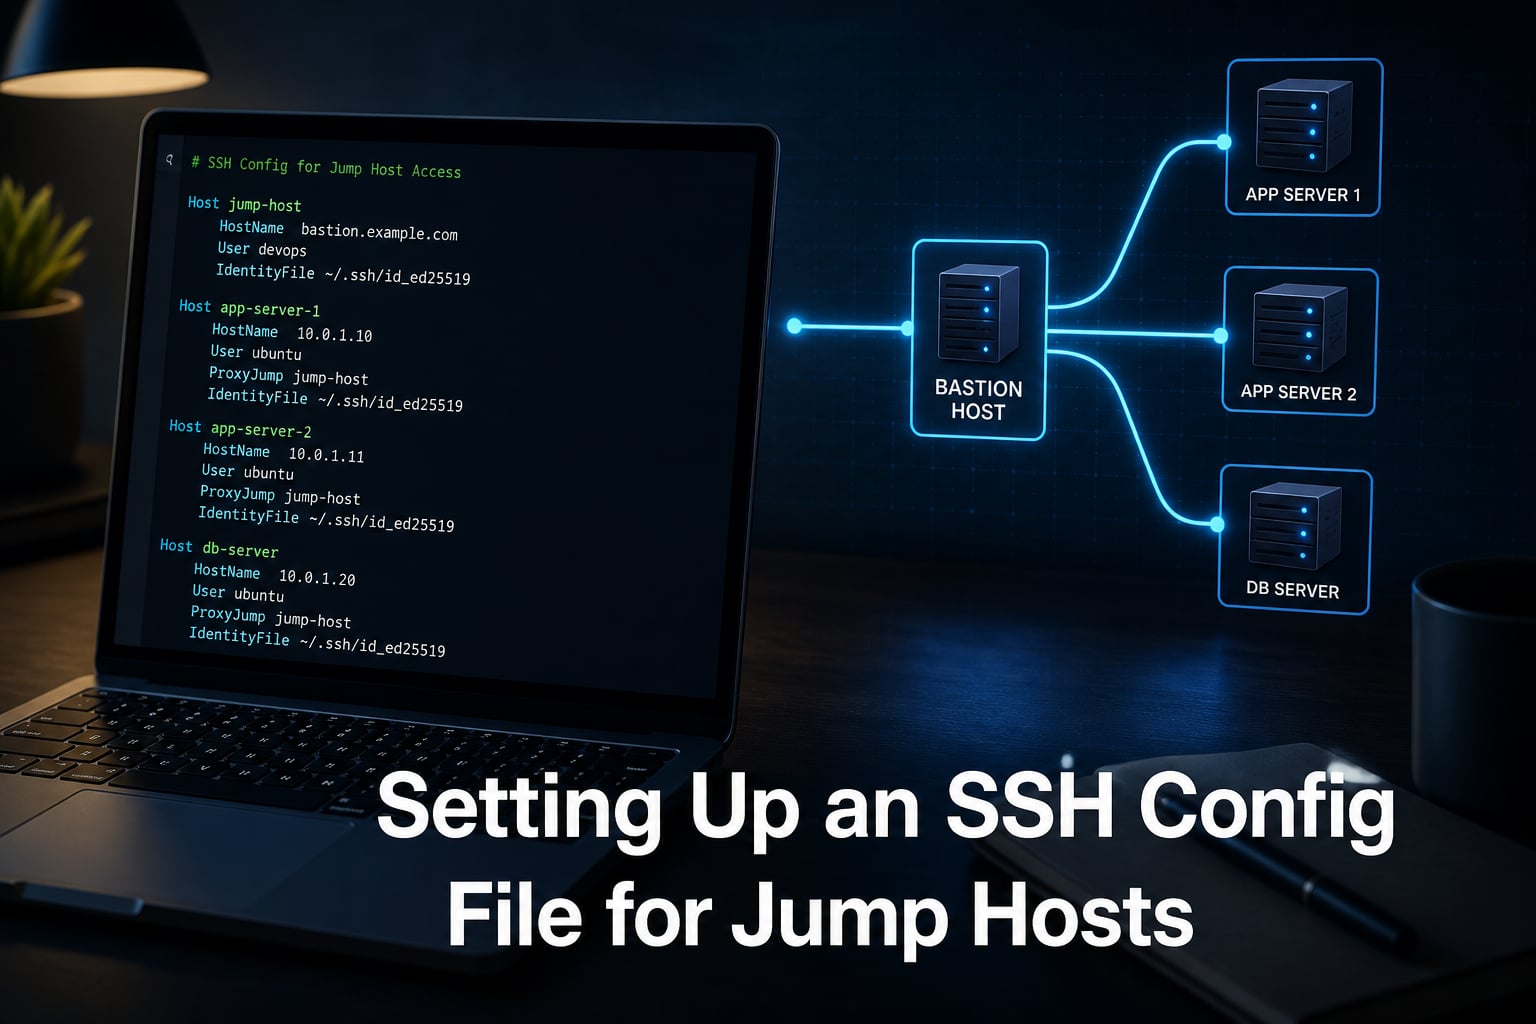
Setting up an SSH config file for jump hosts used to feel like a chore to me until I stopped typing long ssh -J user@bastion user@internal commands and started leaning on ~/.ssh/config. After I moved all my connection details into a single config file, my daily workflow dropped from minutes of typing per session to a two-word command. In this guide, I’ll walk through exactly how to do the same: build a clean SSH config jump host setup, chain multiple hops, and lock it down with sensible security defaults.
By the end, you’ll have a working config that handles single jumps, chained jumps, and key-based auth across both Linux and macOS, plus a quick reference table you can keep open in a second tab.
Table of Contents
What Is an SSH Jump Host?
An SSH jump host (also called a bastion host) is an intermediate server you connect through first to reach a machine on a private network. Instead of exposing your internal servers to the internet, you expose a single hardened host and route traffic through it.
This model matters because it shrinks your attack surface. One entry point, one place to log, one place to enforce MFA. I use jump hosts whenever I’m working in environments where direct SSH to internal servers is blocked at the firewall, which is the case in roughly 80% of the production networks I touch.
You can connect through a jump host on the command line with the -J flag:
ssh -J [email protected] [email protected]
That works for one-off sessions. The problem is that typing it ten times a day gets old fast. The fix is moving that logic into your SSH client config file so the OpenSSH client handles the routing automatically. This is where the SSH config jump host pattern shines.
SSH Config File Location and Permissions
On Linux and macOS, the user-level SSH config file lives at ~/.ssh/config. The system-wide file is at /etc/ssh/ssh_config, but you’ll usually want to keep your jump host rules in your personal config so they survive system changes.
If the file doesn’t exist yet, create it with touch ~/.ssh/config. Then, and this is the step most beginners skip, set the right permissions:
chmod 700 ~/.ssh
chmod 600 ~/.ssh/config
OpenSSH refuses to read a config file with loose permissions because it’s a security risk. If your keys live in ~/.ssh, that directory should also be 700, and private key files should be 600. I learned this the hard way after getting Permissions 0644 for 'config' are too open errors on a fresh Ubuntu box in 2026.
Basic SSH Config File Structure
An SSH config file is a list of Host blocks. Each block starts with a Host directive that names one or more aliases, followed by options that apply when you connect using those aliases.
The simplest block looks like this:
Host myserver
    HostName 192.168.1.50
    User admin
    Port 22
    IdentityFile ~/.ssh/id_ed25519
After this, ssh myserver is equivalent to ssh -i ~/.ssh/id_ed25519 -p 22 [email protected]. You can also use wildcards. Host *.internal matches any alias ending in .internal, which is handy for grouping jump-host-routed servers.
Directives are matched top-to-bottom, and the first match wins, so put more-specific Host blocks before general ones. I keep all my global defaults in a Host * block at the bottom of the file.
Setting Up an SSH Config File for Jump Hosts
This is the core section. To set up an SSH config jump host entry, add a ProxyJump directive that names the bastion you want to route through.
Step 1. Define the bastion host on its own so you can reuse it.
Host bastion
    HostName bastion.example.com
    User jumpuser
    IdentityFile ~/.ssh/id_ed25519
    Port 22
Step 2. Define the internal server and tell it to route through the bastion.
Host internal-db
    HostName 10.0.5.20
    User dbadmin
    IdentityFile ~/.ssh/id_ed25519
    ProxyJump bastion
Step 3. Connect with the alias only.
ssh internal-db
OpenSSH opens a connection to bastion, authenticates, then opens a second channel from the bastion to 10.0.5.20 as dbadmin. You only type the alias. If you use scp, sftp, or rsync over SSH, the same alias works because those tools all honor your SSH config:
scp backup.sql internal-db:/tmp/
rsync -avz ./data internal-db:/srv/app/
This single config change is the difference between a one-line connection and a copy-pasted mess of flags, and it’s the foundation of every SSH config jump host workflow.
Chaining Multiple Jump Hosts
Sometimes one hop isn’t enough. If you need to reach a server that’s two or three networks deep, you can chain jump hosts in two ways: comma-separated values on ProxyJump, or separate Host blocks that each point to the next.
The comma form is the cleanest:
Host deep-server
    HostName 10.20.0.100
    User app
    ProxyJump bastion,internal-gateway
OpenSSH connects to bastion, then from there to internal-gateway, then finally to 10.20.0.100. Each hop uses the same IdentityFile and user settings unless you override them per-block.
For more complex chains, I prefer separate Host blocks because I can give each hop its own username, port, or key:
Host internal-gateway
    HostName 10.0.1.5
    User ops
    ProxyJump bastion

Host deep-server
    HostName 10.20.0.100
    User app
    ProxyJump internal-gateway
This is the pattern I use when I’m managing infrastructure across a staging and production VPC, and it’s rare that I need more than two hops. Three-hop chains do work but add noticeable latency, so if you’re going deeper than that, it’s usually a sign a VPN would serve you better.
ProxyJump vs ProxyCommand: Which Should You Use?
ProxyJump was added in OpenSSH 7.3 (2016) and is the modern way to set up an SSH config jump host. ProxyCommand is the older, lower-level directive that lets you specify any arbitrary command to establish the connection.
The classic ProxyCommand form using netcat looked like this:
Host internal-db
    HostName 10.0.5.20
    User dbadmin
    ProxyCommand ssh -W %h:%p bastion
The ProxyJump form is shorter and more readable:
Host internal-db
    HostName 10.0.5.20
    User dbadmin
    ProxyJump bastion
For most use cases, ProxyJump wins. It handles edge cases like agent forwarding and stdin/stdout more cleanly. I only reach for ProxyCommand when I need something ProxyJump can’t express, like piping through a custom tool or handling a non-SSH relay.
Here’s a quick comparison:
ProxyJump: Simple syntax, native to OpenSSH 7.3+, recommended default. Use for all standard jump host setups.
ProxyCommand: Flexible, supports any connection method. Use only when you need custom tooling or older OpenSSH versions.
-J flag: One-off command-line alternative. Use when you don’t want to add a permanent config entry.
Security Best Practices for Jump Hosts
A jump host is a concentration point for access, so it has to be hardened. I treat my bastions as production-grade systems because if they fall, everything behind them falls too.
Keep private keys off the jump host. The cleanest pattern is to forward your SSH agent and let the bastion forward credentials onward without storing them. Add this to the bastion block:
Host bastion
    HostName bastion.example.com
    User jumpuser
    ForwardAgent no
    AddKeysToAgent yes
Default ForwardAgent no on the bastion, then turn it on only for the specific internal blocks where you need it. A common mistake is forwarding the agent everywhere, which means a compromised bastion can use any of your loaded keys.
Use dedicated keys per environment. I keep separate id_ed25519_prod and id_ed25519_staging files, and I never reuse the bastion key for internal hosts. This was a hard lesson from a Reddit thread where someone found their prod key sitting in plaintext on a shared jump box.
Enable MFA and audit logging on the bastion itself. Tools like auditd, fail2ban, and google-authenticator for PAM-based 2FA are standard in serious setups. Treat the jump host as the perimeter and you’ll catch problems before they spread.
Watch out for untrusted jump hosts. If you don’t control the machine, never forward your agent through it and never expose private keys to it. Connecting through an unknown host without these precautions is functionally the same as pasting your credentials into a stranger’s terminal.
Troubleshooting Common SSH Jump Host Issues
When things break, and they will, here’s the playbook I follow. Most SSH config jump host problems fall into one of four buckets.
Permission errors on the config file. OpenSSH refuses files that are group-writable or world-readable. Run chmod 600 ~/.ssh/config and chmod 700 ~/.ssh to fix.
Host key verification failures on the internal host. The bastion might not have your known_hosts entry for the internal machine. Either pre-populate it with ssh-keyscan internal-db >> ~/.ssh/known_hosts from a trusted context, or use UpdateHostKeys ask in the internal block.
Connection hangs at the jump step. This usually means the bastion can reach the internal host on the SSH port but you’re hitting a firewall on a return path. Test from the bastion directly with ssh -v [email protected] to confirm the bastion can connect, then check the internal host’s firewall rules.
Authentication loops on the second hop. Your key might be getting offered to the bastion instead of the internal host. Add IdentitiesOnly yes to the internal block so only the explicitly listed key is tried.
For deeper debugging, ssh -vvv internal-db prints every step of the connection, including the proxy handshake. I keep a terminal open with verbose logging whenever I’m setting up a new chain, which cuts the average debugging time from twenty minutes to about five.
Quick Reference: SSH Config Directives for Jump Hosts
Keep this table handy when you’re editing your config. These are the directives that matter most for jump host setups.
HostName: Real DNS or IP for the alias.
User: Login name on the remote host.
Port: SSH port if it’s not the default 22.
IdentityFile: Path to the private key for this host.
ProxyJump: One or more aliases to route through, comma-separated for chains.
ForwardAgent: Set to
yesonly when you need agent forwarding; defaultno.IdentitiesOnly:
yesforces only the listed key to be tried.ServerAliveInterval: Seconds between keepalive packets to avoid idle disconnects.
Compression:
yesfor slow links, otherwise leave off.AddKeysToAgent:
yesauto-loads keys into your agent on first use.
Frequently Asked Questions
How do I set up an SSH config file for jump hosts?
Create or edit ~/.ssh/config, set permissions to 600, then define a bastion block and add ProxyJump bastion to each internal host block. After saving, ssh internal-alias will route through the bastion automatically.
What is ProxyJump in SSH config?
ProxyJump is an OpenSSH directive (added in 7.3) that opens a connection through one or more intermediate SSH servers. It replaces older ProxyCommand usage and is the recommended way to set up an SSH config jump host.
How do I connect through a jump host using SSH?
Add ProxyJump bastion to the target host block in ~/.ssh/config, then run ssh alias-name. OpenSSH handles the two-hop connection, and the same alias works for scp, sftp, and rsync.
What is the difference between ProxyJump and ProxyCommand?
ProxyJump is a high-level shortcut that accepts one or more host aliases and routes through them. ProxyCommand is lower-level and accepts an arbitrary shell command to establish the connection. Use ProxyJump unless you have a non-standard relay that ProxyJump cannot handle.
Conclusion
Setting up an SSH config file for jump hosts turns multi-hop connections into a single-word command and gives you one place to manage keys, users, and security defaults. Start with a clean ~/.ssh/config at the right permissions, define your bastion once, and point each internal host at it through ProxyJump. From there, layer in chained jumps, separate keys per environment, and audit logging on the bastion itself.
Open your config now and add one entry. After a day of using it, you’ll never go back to typing long ssh -J commands again.