
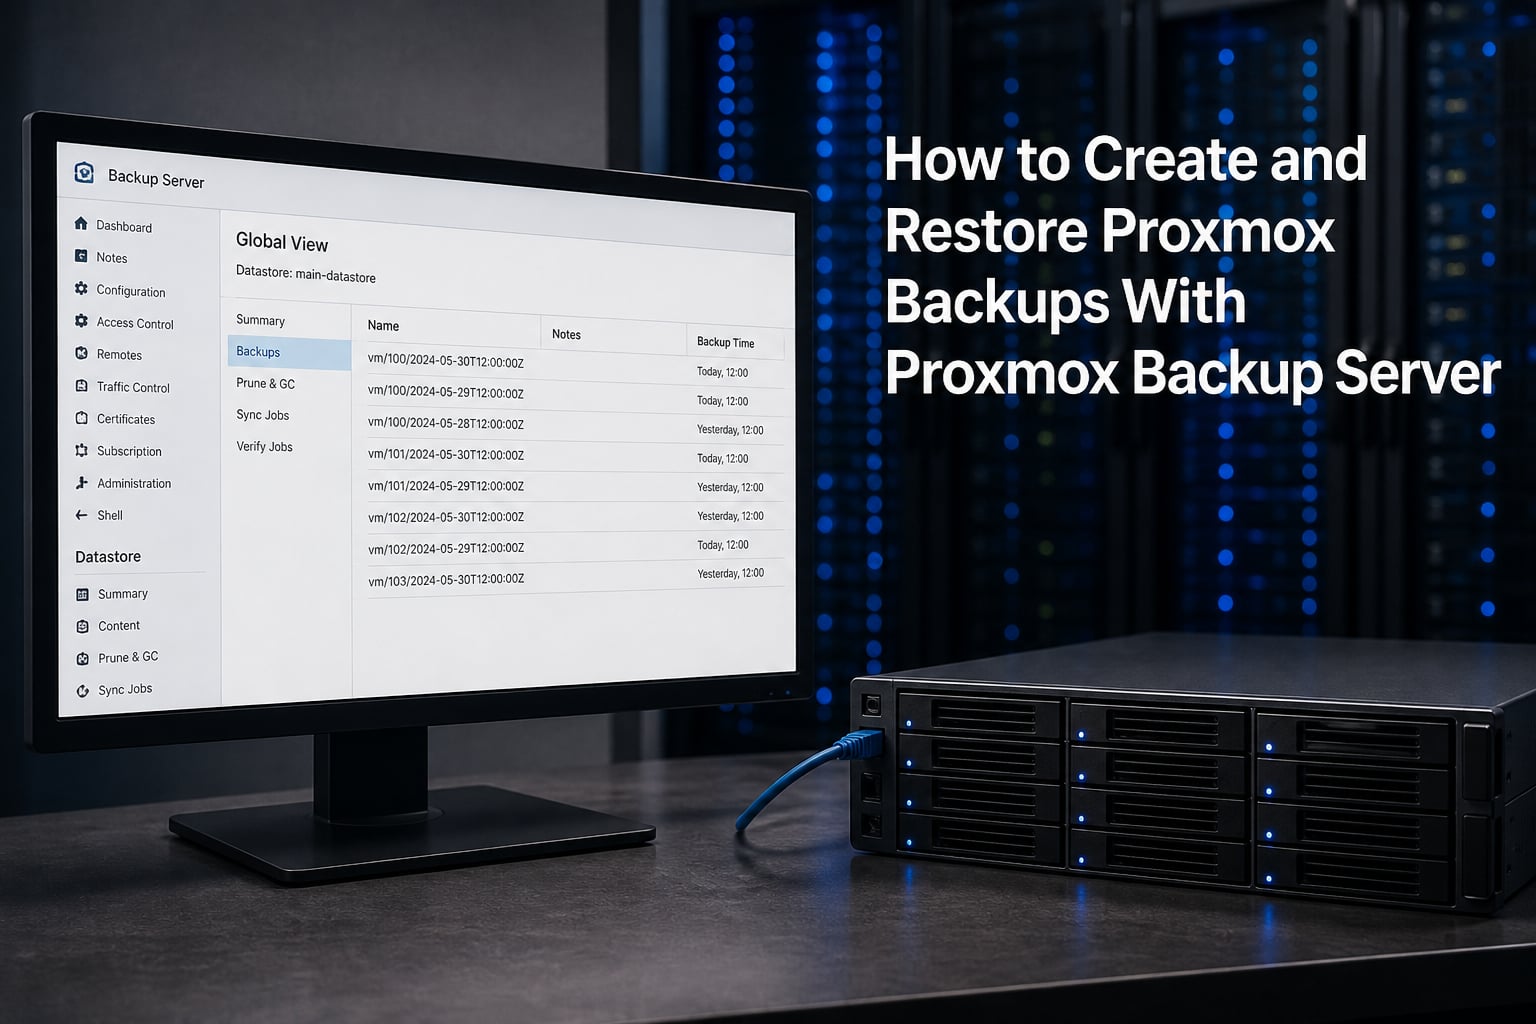
Proxmox Backup Server (PBS) is a deduplicating backup solution that stores compressed, encrypted snapshots of your VMs and containers so you can restore them to any node in minutes. In this guide, our team walks through every step of creating backups, scheduling them, restoring individual files or entire machines, and backing up your Proxmox host configuration — something many guides skip entirely.
Whether you run a home lab with three containers or a production cluster with hundreds of VMs, the workflow is the same. We cover both the web GUI and the command line, because some operations are simply faster from a terminal. By the end, you will know exactly how to create and restore Proxmox backups with Proxmox Backup Server.
Table of Contents
What Is Proxmox Backup Server and Why It Matters?
Proxmox Backup Server is a standalone Debian-based appliance that receives backup streams from one or more Proxmox VE nodes. It uses client-side deduplication, meaning each backup only transfers data blocks that have changed since the last run. This cuts storage usage dramatically compared to traditional full-image backups.
Backups flow from PVE to PBS over an authenticated TLS connection using an API token or user credentials. PBS stores everything in a datastore, which is simply a directory on a mounted filesystem (ZFS, ext4, Btrfs — your choice). Each datastore holds backup groups, and each group contains snapshots indexed by timestamp.
The key advantage over the built-in vzdump-to-local-storage approach is deduplication. If you back up 50 similar Ubuntu VMs, PBS stores the identical blocks once. Our team has seen environments where 20 TB of raw VM data fits into under 2 TB on the PBS server.
PBS also handles encryption at rest, incremental sync to a remote PBS instance for offsite copies, and verification jobs that check backup integrity automatically. These features make it suitable for both home labs and enterprise environments.
Prerequisites: Setting Up Proxmox Backup Server
Before you can create or restore anything, PBS needs to be installed and connected to your Proxmox VE node. Here is what you need in place.
Step 1: Install PBS
Download the PBS ISO from the official Proxmox website and install it on a dedicated machine or VM. The installer is nearly identical to the Proxmox VE installer. After reboot, the console displays the management URL (typically https://pbs-ip:8007).
Step 2: Create a Datastore
Log into the PBS web interface, navigate to Datastore → Add, and point it at a mounted directory. Give it a backing path like /mnt/backups/datastore1 and a name. PBS creates the required subdirectory structure automatically.
If you are using ZFS, create a dedicated dataset first: zfs create tank/backups, then mount it and use that mount point as your datastore backing path.
Step 3: Generate an API Token in PBS
Go to Configuration → Access Control → API Token, add a token for your PVE node, and uncheck “Privilege Separation” if you want the token to inherit the user’s permissions. Copy the token ID and secret immediately — the secret is shown only once.
Step 4: Register PBS as a Storage Backend in PVE
In the PVE web GUI, go to Datacenter → Storage → Add → Proxmox Backup Server. Enter the PBS server ID, the datastore name, and paste the fingerprint shown on the PBS dashboard. Use the API token you just created as the credentials.
Once connected, the PBS datastore appears in your PVE storage list and you can select it as a backup target for any VM or container.
Understanding the Three Backup Modes
Proxmox VE uses vzdump as its backup engine, and vzdump supports three modes. Each mode trades consistency for downtime differently. Picking the right one for each workload is the single biggest decision in your backup strategy.
Snapshot Mode (default)
Snapshot mode uses QEMU’s live snapshot or LVM/thin-provisioning snapshots to capture the disk state without stopping the VM. The guest keeps running the entire time. This is the recommended mode for most workloads because it requires zero downtime.
The trade-off is that in-flight application data may be in an inconsistent state, similar to pulling the power cord. For databases, you should either use an agent-level backup tool alongside PBS or switch to stop mode for critical systems.
Stop Mode
Stop mode shuts down the VM completely, takes the backup, then starts it again. This guarantees a clean, consistent disk state because no processes are running during the snapshot. Use this for databases and applications that cannot tolerate crash-consistent backups.
The obvious downside is downtime. A large VM can take several minutes to back up plus boot time. Schedule stop-mode backups during maintenance windows.
Suspend Mode
Suspend mode pauses the VM with QEMU’s savevm mechanism, creates the backup from the suspended state, then resumes the VM. It is a middle ground: the guest is briefly unavailable but does not need a full reboot cycle.
Suspend mode is useful for VMs where snapshot mode fails (for example, when a passthrough device prevents live snapshots) but you want to avoid the full boot cycle of stop mode.
Quick Comparison
Snapshot: No downtime, crash-consistent. Best for web servers, app servers, file servers.
Stop: Full shutdown, application-consistent. Best for databases, mail servers, Active Directory.
Suspend: Brief pause, good consistency. Best when snapshot fails but you want to avoid reboot time.
How to Create Backups via the Proxmox GUI
The web GUI is the simplest way to trigger an ad-hoc backup or configure a recurring job. Here is the step-by-step process.
Step 1: Select the VM or Container
In the PVE web interface, click on the VM or CT in the left sidebar. Then navigate to the Backup tab in the main panel. You will see a list of existing backup snapshots (if any) and a Backup now button.
Step 2: Configure Backup Options
Click Backup now. A dialog appears with these fields:
Storage: Select your PBS datastore from the dropdown.
Mode: Choose snapshot, stop, or suspend based on the guidance above.
Compression: Zstd is the default and recommended for PBS. Gzip and LZO are available but slower or less efficient.
Notes: Add a descriptive note. This shows up in the PBS backup list.
Encryption: If you set up a backup encryption key in PVE for this storage, backups are encrypted client-side before transmission.
Step 3: Run the Backup
Click Backup. The GUI displays a live log output showing the vzdump progress, data transfer rate, and any errors. For a first backup, expect it to take longer since every block is new to PBS. Subsequent backups are incremental and much faster.
Step 4: Verify in PBS
Switch to the PBS web interface and navigate to your datastore’s Content tab. You should see the new backup group with its timestamp, size, and verification status. If the backup shows as “OK” here, the data made it to PBS successfully.
Creating Backups From the Command Line With vzdump
The vzdump command gives you full control over backup parameters and is essential for scripting. The GUI calls vzdump under the hood — anything you can do in the GUI, you can do from the shell.
Basic vzdump Syntax for VMs
To back up VM 101 to your PBS storage named pbs-datastore1 in snapshot mode:
vzdump 101 --storage pbs-datastore1 --mode snapshot --compress zstd
This command starts immediately and streams output to the terminal. Add --quiet to suppress verbose output if you are running it from a script.
Backing Up Multiple VMs
You can pass multiple VM IDs separated by spaces: vzdump 101 102 103 --storage pbs-datastore1 --mode snapshot. Backups run sequentially by default. Use --bwlimit to throttle bandwidth so backups do not saturate your network.
To back up all VMs: vzdump --all --storage pbs-datastore1 --mode snapshot --compress zstd
Container Backups
Containers use the same vzdump command. PBS handles them identically — the backup group type is ct instead of vm: vzdump 200 --storage pbs-datastore1 --mode snapshot
Useful vzdump Flags
--mode stop: Force stop mode for application-consistent backups.--dumpdir: Specify a temporary directory for the dump (defaults to/tmp).--bwlimit 50000: Limit transfer to 50 MB/s to PBS.--notes "Pre-migration backup": Add a note visible in PBS.--remove 0: Keep local copies if also backing up to local storage (PBS does not need this).--mailroot: Send a backup completion email to root.--prune-backups keep-last=7,keep-daily=7,keep-weekly=4: Apply retention inline.
Output Interpretation
When vzdump finishes, it prints the backup file or snapshot ID. If you see INFO: Finished_backup with no error lines above it, the backup succeeded. If you see ERROR: prefixed lines, check whether PBS was reachable, whether the datastore had space, and whether your API token still had valid permissions.
Scheduling Recurring Backup Jobs
Manual backups are fine for testing, but production environments need automation. Proxmox VE includes a built-in job scheduler at the Datacenter level.
Step 1: Open the Backup Job Editor
In PVE, go to Datacenter → Backup and click Add. This opens the job configuration dialog.
Step 2: Configure the Schedule
Key fields to fill:
Node: Which PVE node runs this job (or select all nodes for cluster-wide).
Storage: Your PBS datastore.
Schedule: Use cron-style syntax. For nightly at 2 AM:
02:00. For every Sunday at 1 AM:Sun 01:00.Selection: Choose “All” or specify individual VM/CT IDs. You can also filter by tags.
Mode: Snapshot, stop, or suspend per the guidance above.
Compression: Zstd for PBS.
Step 3: Set Retention
In the Retention section of the same dialog, configure how many backups to keep. A common starting policy:
Keep Last: 3 (last three backups regardless of type)
Keep Daily: 7 (one per day for a week)
Keep Weekly: 4 (one per week for a month)
Keep Monthly: 3 (one per month for a quarter)
PBS evaluates these rules during pruning and removes only the snapshots that fall outside every rule. This gives you granular, time-aware retention without manual cleanup.
Step 4: Save and Monitor
Click Create. The job appears in the Backup list. You can trigger it immediately by selecting it and clicking Run now, or wait for the scheduled time. Check the Tasks log under Datacenter to see job results.
Backup Retention, Pruning, and Compression Options
Retention and pruning are related but distinct concepts in PBS. Understanding the difference prevents accidental data loss.
Retention vs Pruning
Retention tells PBS how many snapshots of each type to keep. You set this in the backup job or per-storage in PVE. When a backup completes, PVE sends retention rules to PBS along with the backup data.
Pruning is the act of actually deleting snapshots that exceed retention. PBS prunes automatically when new backups arrive if retention is configured. You can also trigger a manual prune from the PBS GUI or CLI with proxmox-backup-manager prune datastore1.
A common mistake is setting aggressive retention (like keep-last=1) and then discovering you only ever have one backup to restore from. Always keep at least keep-last=3 and keep-daily=7 as a baseline.
Compression: zstd vs gzip vs LZO
PBS supports three compression algorithms for vzdump backups:
Zstd (recommended): Fast compression, good ratio. Default for PBS. Balances speed and storage savings.
Gzip: Slower compression, slightly better ratio for text-heavy data. Use
--compress gzipwith vzdump.LZO: Fastest compression, worst ratio. Useful only on very slow CPUs where compression overhead matters.
Our team defaults to zstd across all environments. The performance difference is negligible on modern hardware, and the storage savings from gzip rarely justify the extra CPU time.
Encryption
PBS supports client-side encryption using a master key stored on the PVE node. To enable it, go to Datacenter → Storage → [your PBS storage] → Encryption and upload or generate a key. Once enabled, all backups to that storage are encrypted before they leave the PVE node.
Store the encryption key offline. If you lose it, your backups are unrecoverable — PBS cannot decrypt them without it.
How to Restore Proxmox Backups Through the GUI
Restoring a backup should be a tested, rehearsed process — not something you figure out during a crisis. Here is the GUI workflow.
Restoring a VM or Container
Step 1: In PVE, select the PBS storage in the left sidebar.
Step 2: Click the Backups tab. You will see every backup snapshot stored on PBS.
Step 3: Select the snapshot you want to restore and click Restore.
Step 4: A dialog asks whether to restore to the original VM ID or a new one. To restore over the existing VM, it must be stopped first. To restore to a new ID, just enter a number that is not in use.
Step 5: Click Restore. The process streams data from PBS back to the PVE node. A progress bar shows the transfer rate and estimated time. Large VMs take longer to restore than to back up because there is no deduplication benefit on the read side.
Live-Restore (Partial Restore)
Live-restore is a PBS feature that starts the VM immediately while the disk data streams in the background. The VM boots from the first few gigabytes and PBS serves remaining blocks on demand as the guest accesses them.
To use live-restore, check the Live Restore box in the restore dialog. This is invaluable for large VMs where waiting for a full restore would mean extended downtime. The background sync completes over the following minutes or hours.
One caveat: if the PBS server goes offline during a live-restore, the VM loses access to blocks it has not yet received. Treat live-restore as a way to reduce downtime, not as a replacement for a complete restore.
Restoring Backups From the Command Line
CLI restore is faster for experienced operators and essential when the GUI is unavailable (for example, restoring to a fresh PVE node that has no existing VMs to browse).
qmrestore: Restoring a VM
The qmrestore command restores a VM backup to a new or existing VM ID. First, find the backup volume ID by listing PBS storage contents:
pvesm list pbs-datastore1 --content backup
This outputs lines like backup/vm/101/2026-08-11T02:00:00Z. Use that volume ID with qmrestore:
qmrestore pbs-datastore1:backup/vm/101/2026-08-11T02:00:00Z 101 --storage local-lvm
This restores VM 101’s backup to storage local-lvm. Change the target ID to restore to a different VM number. Add --unique to generate a new MAC address if you are cloning.
pct restore: Restoring a Container
Containers use pct restore with similar syntax:
pct restore pbs-datastore1:backup/vm/200/2026-08-11T02:00:00Z 200 --storage local-lvm --rootfs local-lvm:20
The --rootfs flag specifies the target storage and size for the container root filesystem. Adjust the size to fit your needs — it can be larger than the original.
Restoring to a Different PVE Node
If your original node is dead and you are restoring to a new one, the process is the same. Connect PBS storage on the new node first, then run the restore command. PBS does not care which node reads the backup — it just authenticates the token and serves the data.
One thing to watch: network bridge names and VLAN tags may differ on the new node. After restoring, edit the VM’s network settings to match the new environment before starting it.
proxmox-backup-client for Host Restores
If you backed up host configuration (covered in the next section), restore it with proxmox-backup-client. First, list available snapshots:
proxmox-backup-client snapshot list --repository backup@pbs@pbs-ip:datastore1
Then restore a specific backup:
proxmox-backup-client restore host/pve-node1/2026-08-11T02:00:00Z root.pxar /tmp/restore-output/
This extracts the host backup archive to /tmp/restore-output/. You then selectively copy the files you need (like /etc/network/interfaces) to their final locations.
Single File Restore and Live-Restore
Sometimes you do not need an entire VM — you need one file. PBS supports granular restore through the pxar archive format and the proxmox-backup-client mount command.
Mounting a Backup for File-Level Access
The pxar format lets you mount a backup snapshot as a filesystem and browse it like a regular directory. This works for both container and host configuration backups.
On a machine with proxmox-backup-client installed, create a mount point and mount the backup:
mkdir /mnt/backup-mount
proxmox-backup-client mount host/pve-node1/2026-08-11T02:00:00Z root.pxar /mnt/backup-mount --repository backup@pbs@pbs-ip:datastore1
The backup contents now appear under /mnt/backup-mount. Navigate to the file you need, copy it out, and unmount with fusermount -u /mnt/backup-mount when done.
GUI File Restore for Containers
For container (CT) backups, the PVE GUI offers a built-in file browser. Select the PBS storage, go to the Backups tab, choose a CT snapshot, and click Files. A tree view opens showing the entire container filesystem.
Select any file or directory and click Download to pull it to your local machine. This is the easiest way to recover a single config file or document without touching the command line.
When to Use Single File Restore
Single file restore shines when a user accidentally deletes a file or you need to audit an older version of a configuration. Instead of restoring the entire VM to a temporary instance, you pull just what you need in seconds.
For VMs (as opposed to containers), file-level access requires mounting the disk image. PBS handles this for container backups natively, but for VM disk images you typically restore the full VM or use the QEMU guest agent with the vma extractor for more advanced workflows.
Backing Up Proxmox Host Configuration to PBS
This is the section many guides skip — and it is the one forum users ask about most. PBS backs up VMs and containers, but it does not automatically back up the Proxmox VE host itself. Your network config, storage definitions, cluster settings, and custom scripts live on the host and are lost if the host dies.
Forum users on r/Proxmox repeatedly describe this scenario: the host hardware fails, they restore all their VMs from PBS to a new node, but then spend hours recreating network bridges, storage backends, and cluster membership by hand. Backing up the host configuration prevents this.
What to Back Up From the Host
The critical directories to capture:
/etc/pve/— Cluster configuration, VM/CT definitions, storage config (this is actually a virtual filesystem backed bypmxcfs)./etc/network/— Network interface and bridge configuration./etc/systemd/system/— Custom systemd services and timers./etc/cron.d/and/etc/crontab— Scheduled tasks./root/— Scripts and keys (review for secrets before backing up)./etc/hosts,/etc/resolv.conf,/etc/hostname— Name resolution and identity.
Using proxmox-backup-client on the Host
Install the client on each PVE node (it is included in the Proxmox VE package set by default in recent versions). Then create a backup script:
export PBS_REPOSITORY=backup@pbs@pbs-ip:datastore1
export PBS_PASSWORD=your-api-token-secret
export PBS_FINGERPRINT=ab:cd:ef:...your-pbs-fingerprint
proxmox-backup-client backup root.pxar:/ --include-dev /etc/pve --include-dev /etc/network --include-dev /etc/systemd --backup-id pve-node1
This creates a backup group called host/pve-node1 in your PBS datastore containing the specified directories as a pxar archive.
Bare-Metal vs Configuration-Level Backup
There are two philosophies for host backup:
Configuration-level backup (what we described above) saves just the config files. On restore, you reinstall Proxmox VE from the ISO on new hardware, then overlay your saved configuration. This takes 15-20 minutes for the reinstall plus a few minutes to copy configs.
Bare-metal backup images the entire boot drive (including the OS installation) using tools like Clonezilla or dd. Restore is faster because you skip the reinstall, but the image is tied to the original hardware and may not boot cleanly on different gear.
Our team prefers configuration-level backup for most scenarios. The reinstall step ensures a clean OS that matches the current Proxmox version, and config files are hardware-agnostic. Bare-metal imaging makes sense for environments where reinstall time is unacceptable and hardware is identical across nodes.
Automation Scripts and Disaster Recovery Checklist
Once you have your host backup script working, automate it with a cron job or systemd timer so it runs on schedule without intervention.
Cron Automation Example
Create /etc/cron.d/pbs-host-backup with this content:
0 2 * * * root /usr/local/bin/pbs-host-backup.sh >> /var/log/pbs-host-backup.log 2>&1
The script (/usr/local/bin/pbs-host-backup.sh) contains the proxmox-backup-client command from the previous section plus your environment variables. This runs the host backup nightly at 2 AM, separate from your VM backup schedule.
Make the script executable: chmod +x /usr/local/bin/pbs-host-backup.sh. Test it manually once before relying on cron.
Disaster Recovery Testing Checklist
Backups that have never been restored are unproven assumptions. Our team runs through this checklist quarterly:
Restore one VM from PBS to a test node and confirm it boots.
Restore one container and verify network connectivity.
Perform a single file restore from a container backup and confirm the file is intact.
Restore host configuration to a fresh Proxmox install (VM or spare hardware) and verify network and storage config match.
Check PBS verification jobs are running and passing — Datastore → Verify in the PBS GUI.
Confirm PBS itself has an offsite sync target or that the PBS boot drive is backed up separately (PBS does not back up itself).
Document the restore time for your largest VM so you have a realistic RTO estimate.
One forum user described a catch-22: their PBS boot drive failed while they were on vacation. The VM backups were on a separate data drive, but the PBS configuration (datastore definitions, user accounts, certificates) was on the failed boot drive. They had to rebuild PBS from scratch, re-import the datastore, and re-create the storage configuration. The lesson: back up your PBS server’s /etc/proxmox-backup/ directory to a separate location, and document the datastore paths and ZFS pool names so you can reconstruct them quickly.
Frequently Asked Questions
How do I restore from a backup in PBS?
In PVE, select your PBS storage, go to the Backups tab, choose a snapshot, and click Restore. You can restore to the original VM ID (the original must be stopped) or a new ID. From the CLI, use qmrestore for VMs (qmrestore storage:volume-id VMID u002du002dstorage target-storage) or pct restore for containers.
How do I backup Proxmox VMs to PBS?
Select the VM in PVE, go to the Backup tab, click Backup now, choose your PBS datastore as storage, select snapshot or stop mode, and click Backup. From the CLI, run vzdump VMID u002du002dstorage pbs-datastore-name u002du002dmode snapshot u002du002dcompress zstd. Schedule recurring backups under Datacenter u0026gt; Backup.
What is the command to restore a Proxmox backup?
For VMs, use qmrestore: qmrestore storage:backup-volume-id VMID u002du002dstorage target-storage. For containers, use pct restore: pct restore storage:backup-volume-id CTID u002du002dstorage target-storage u002du002drootfs storage:size. Find the volume ID with: pvesm list storage-name u002du002dcontent backup.
What backup mode should I use in Proxmox?
Use snapshot mode for most workloads — it requires no downtime and produces crash-consistent backups. Use stop mode for databases and applications that need application-consistent backups, accepting the downtime. Use suspend mode when snapshot fails (such as with device passthrough) but you want to avoid a full reboot cycle.
How do I restore VM backups to a new Proxmox server?
Connect the PBS storage to the new node first (Datacenter u0026gt; Storage u0026gt; Add u0026gt; Proxmox Backup Server with the same datastore and API token). Then browse the PBS storage Backups tab, select the snapshot, and click Restore to a new VM ID. From the CLI, use qmrestore with the PBS storage and volume ID. Adjust network bridge names after restoring.
Does Proxmox Backup Server back up the host itself?
No. PBS backs up VMs and containers automatically, but the Proxmox VE host configuration (network, storage, cluster settings) is not included. You must use proxmox-backup-client to manually back up directories like /etc/pve, /etc/network, and /etc/systemd to PBS as a pxar archive. Automate this with a cron job or systemd timer.
Final Thoughts on Proxmox Backup Server
Learning how to create and restore Proxmox backups with Proxmox Backup Server comes down to mastering a few core tools: vzdump for backups, qmrestore and pct restore for recoveries, and proxmox-backup-client for host configuration protection. The GUI handles everything for day-to-day operations, while the CLI gives you scripting power for automation.
The biggest gap we see in the Proxmox community is host configuration backup. PBS handles VMs and containers beautifully, but the host itself is silently ignored until hardware fails. Set up the proxmox-backup-client script we described, automate it with cron, and test the restore process before you need it for real.
Run the disaster recovery checklist quarterly. Backups you have never restored are hope, not a plan. A 30-minute test restore each quarter gives you confidence that when a real failure happens, you can recover quickly and calmly.
If you take one thing from this guide: back up your host config, schedule recurring VM backups with sensible retention, and test your restores. Everything else is optimization.