
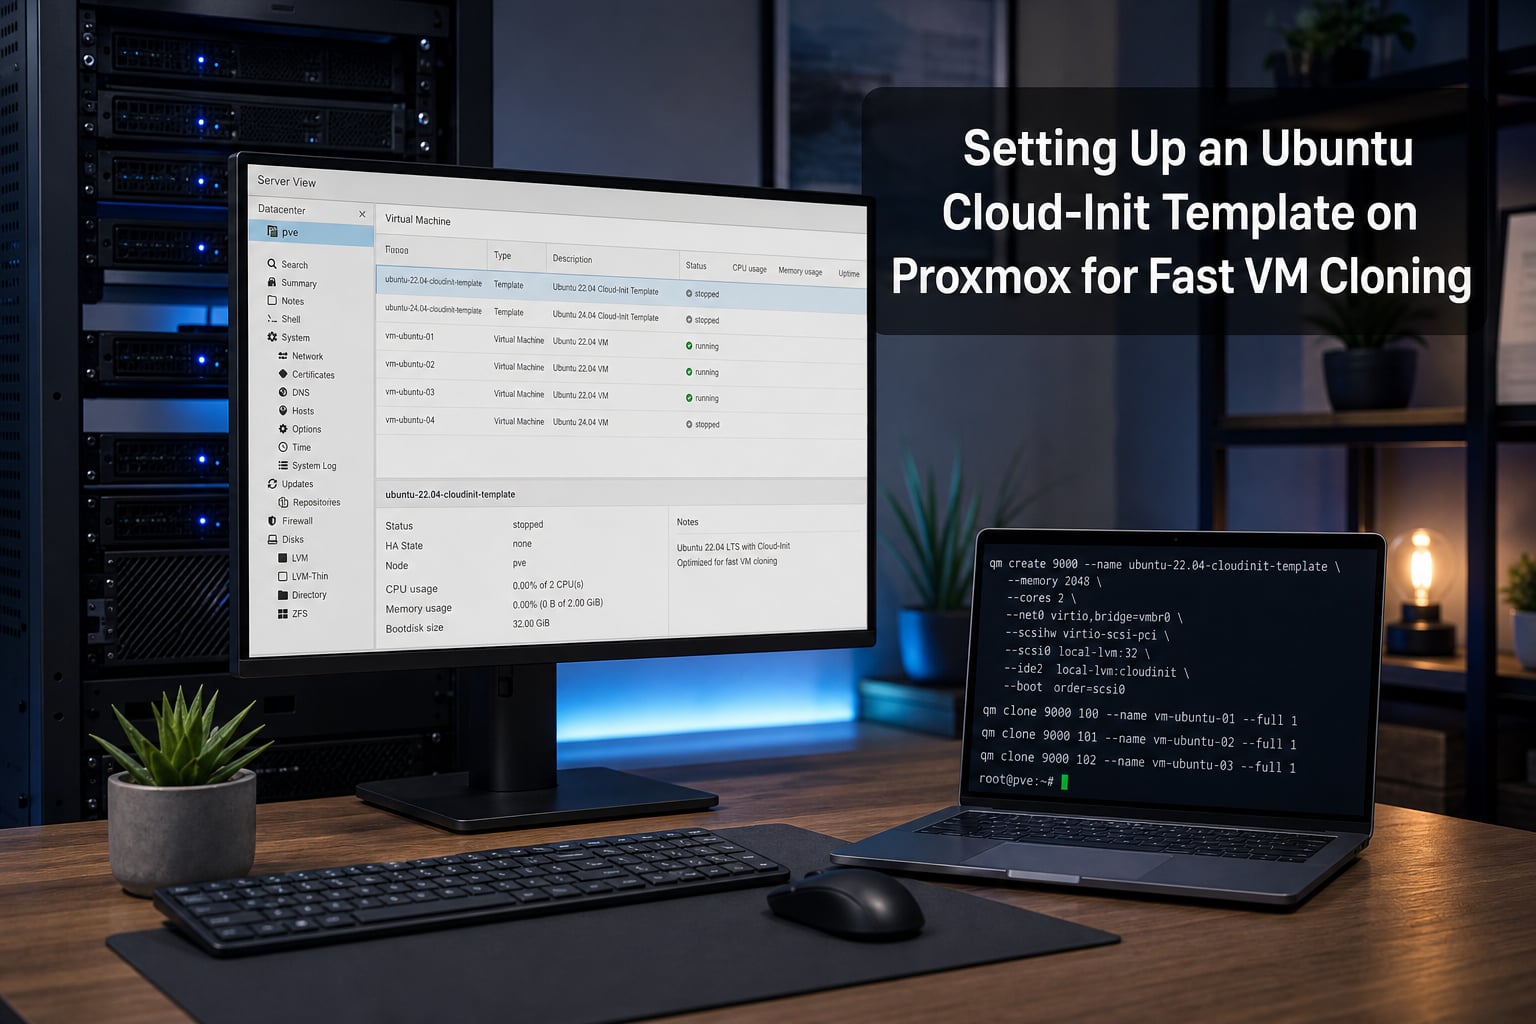
If you spin up more than a couple of Linux VMs a year, building each one by hand wastes hours. I learned this the hard way running a homelab where every Kubernetes node, every CI runner, and every test box started as a fresh Ubuntu install.
Setting up an Ubuntu cloud-init template on Proxmox is the single biggest time-saver I have added to my home lab. One template, a handful of qm commands, and I can deploy a fully configured VM in under two minutes, complete with my SSH key, the right IP, and a clean machine-id.
This guide walks through the exact workflow I use. You will download an Ubuntu cloud image, build a template, configure the cloud-init drive, install the qemu-guest-agent, and clone it into a working VM. I will also show you a shell script that automates the whole thing, plus fixes for the most common issues people hit on the forums.
Table of Contents
What Is a Cloud-Init Template on Proxmox and Why Use One?
A Proxmox template is a locked virtual machine that cannot be started directly but can be cloned into one or more working VMs. A cloud-init template goes a step further by attaching a small CD-ROM drive that Proxmox populates with configuration data each time a clone boots.
Cloud-init reads that drive during the first boot and applies settings like hostname, network configuration, SSH keys, and user accounts automatically. The end result is a fresh VM that is ready to SSH into within a minute or two of cloning.
How cloud-init works on Proxmox
Proxmox implements cloud-init by attaching an ide2 device formatted with the nocloud data source. When you set parameters like ipconfig0, sshkeys, or ciuser, Proxmox rewrites a small user-data and meta-data file on that drive just before the clone starts. The in-VM cloud-init service then reads the files and configures the OS.
The big advantage is that your template never changes. Every clone gets its own configuration baked in at boot. You do not need to log in, run cloud-init clean, or reboot. Proxmox handles the regeneration on its side.
Linked clones vs full clones
Proxmox supports two clone modes. A linked clone is a thin copy that shares the base disk with the template, so creating ten clones takes seconds and almost no extra disk space. A full clone copies the entire disk image, which takes longer but lets you move the VM to another node or cluster.
I default to linked clones for my homelab since the template is always there. I switch to full clones only when I need to migrate a VM off the original storage or hand it to someone else.
Prerequisites and Hardware Configuration Recommendations
Before you start, you need a Proxmox VE 7.x or 8.x host, root shell access, and an Ubuntu cloud image URL. I also recommend installing libguestfs-tools on the Proxmox host if you plan to use virt-customize to bake packages into the template.
Most online guides default to a basic i440fx machine with SeaBIOS. That works, but you can do better in 2026 by matching what modern Linux distributions expect to see on bare metal.
q35 vs i440fx machine type
The q35 chipset is newer and gives the VM a more PCIe-like topology. It is the default for Windows 11 and recommended for any modern Linux guest that uses virtio devices heavily. I use q35 for all my Ubuntu templates.
OVMF vs SeaBIOS
OVMF (UEFI) is required if you want secure boot or want to run Windows. For Ubuntu cloud-init templates, OVMF plus the efidisk0 device is the cleanest path. SeaBIOS still works fine for older setups and keeps the template simpler.
virtio-scsi single vs iothread
I always use virtio-scsi-single with iothread=1 on a separate SCSI controller. This lets the guest issue TRIM and discard commands cleanly and unlocks the discard=on option for sparse disk usage. Pair it with ssd=1 so Proxmox flushes writes correctly on SSD-backed storage.
How to Download the Ubuntu Cloud Image
The official cloud images live at cloud-images.ubuntu.com. They are built specifically for cloud use: no installer, cloud-init pre-installed, and a small default disk. Pick the LTS release you want to standardize on. In 2026, that means 24.04 or 26.04 for most users.
From the Proxmox shell, fetch the image with wget:
cd /var/lib/vz/template/iso/
wget https://cloud-images.ubuntu.com/noble/current/noble-server-cloudimg-amd64.img
Verify the file size matches what the index page reports. A truncated download is the number one cause of mysterious boot failures. I also keep a local copy of the SHA256 checksum on the host so I can verify it later.
Creating the Proxmox VM and Importing the Disk
Proxmox can create a VM with qm create and then attach the cloud image as a disk with qm importdisk. I run these on the host shell so the result is reproducible from a script.
Step 1: create the VM shell. This sets the basics like machine type, BIOS, and CPU. Note the VMID 9000 is reserved for templates in my homelab so they sort to the top.
qm create 9000
  --name ubuntu-cloud-template
  --memory 2048
  --cores 2
  --net0 virtio,bridge=vmbr0
  --scsihw virtio-scsi-single
  --machine q35
  --bios ovmf
Step 2: import the downloaded image as a SCSI disk. The --importdisk command converts the qcow2 into Proxmox storage format and attaches it as scsi0.
qm importdisk 9000 /var/lib/vz/template/iso/noble-server-cloudimg-amd64.img local-lvm
If you are on ZFS or Ceph storage, replace local-lvm with the matching storage name from pvesm status. The disk now shows up as unused0 on the VM and needs to be attached.
Step 3: attach the imported disk and enable SSD emulation so TRIM works correctly.
qm set 9000 --scsi0 local-lvm:vm-9000-disk-0,ssd=1,iothread=1,discard=on
Configuring the Cloud-Init Drive and Boot Order
The cloud-init drive is a tiny CD-ROM device that Proxmox rewrites on every clone. Attach it as ide2 because that is the convention the Proxmox web UI expects, then set the boot order so the VM boots from the imported disk.
qm set 9000 --ide2 local-lvm:cloudinit
qm set 9000 --boot order=scsi0
qm set 9000 --serial0 socket --vga serial0
The --serial0 socket line plus --vga serial0 redirects the display to the serial console. This matters because most cloud images are built without a graphical output and would otherwise show a black screen in the Proxmox console. With this setting you can watch cloud-init run live in the noVNC viewer.
If you chose OVMF earlier, you also need an EFI disk. Add it once:
qm set 9000 --efidisk0 local-lvm:1,efitype=4m,pre-enrolled-keys=1
Customizing the Image with qemu-guest-agent and virt-customize
Before converting to a template, you should bake the qemu-guest-agent into the image. Without it, Proxmox cannot see the VM’s IP address, hostname, or shutdown state from the host, which breaks a lot of automation.
The cleanest path is to install it into the cloud image directly with virt-customize from the libguestfs-tools package. Run this on the Proxmox host before importing the disk, or against the imported disk using its path.
apt install -y libguestfs-tools
virt-customize -a /var/lib/vz/template/iso/noble-server-cloudimg-amd64.img
  --install qemu-guest-agent
  --run-command "systemctl enable qemu-guest-agent"
Using vendor snippets for baseline packages
Vendor snippets let you ship a small YAML file that cloud-init merges into every clone user-data. I use one to install baseline packages like htop, vim, and curl on every new VM.
Create the snippet on the host under /var/lib/vz/snippets/vendor-data.yaml:
#cloud-config
package_update: true
package_upgrade: false
packages:
  - qemu-guest-agent
  - htop
  - vim
  - curl
  - unattended-upgrades
runcmd:
  - systemctl enable --now qemu-guest-agent
Then point Proxmox at it with cicustom:
qm set 9000 --cicustom "vendor=local:snippets/vendor-data.yaml"
Converting the VM to a Template with qm template
The final preparation step is to lock the VM into template mode. This strips any unique identifiers and prevents it from being started.
qm template 9000
You will see the VM icon in the Proxmox UI change to the template symbol. From this point on, the only operation you can perform on the VM directly is cloning. The template never runs, which is exactly what you want.
How to Clone and Deploy a VM from the Template
Cloning is where the time savings show up. A full clone of a 10 GB template takes under thirty seconds on local-lvm. A linked clone returns in a couple of seconds.
Basic full clone:
qm clone 9000 101 --name web-01 --full
Linked clone with custom resources:
qm clone 9000 102 --name db-01
qm set 102 --cores 4 --memory 8192 --net0 virtio,bridge=vmbr0
You can also do it from the Proxmox web UI: right-click the template, choose Clone, pick a target VMID, and choose Full or Linked. The CLI is faster once you script it.
Configuring Network, SSH Keys, and Disk Size After Cloning
The clone boots with cloud-init defaults from the template. To give it a real identity, set a few qm set parameters before the first boot. Cloud-init picks them up on the next reboot.
Static IP and gateway
Replace the ipconfig0 string with your network values. The format is ip=x.x.x.x/y,gw=x.x.x.x:
qm set 101 --ipconfig0 ip=10.0.10.21/24,gw=10.0.10.1
For DHCP, leave the default ipconfig0=ip=dhcp in place or set it explicitly.
SSH key injection
SSH keys are stored in the sshkeys field. Use the --sshkeys shortcut to read from a file:
qm set 101 --sshkeys ~/.ssh/id_ed25519.pub
You can also pass multiple keys by concatenating them into a single file. Cloud-init writes them to /home/ubuntu/.ssh/authorized_keys for the default ciuser account.
Resizing the disk
Cloud images ship with a small default disk, often around 2 to 8 GB. Resize the disk after cloning with qm resize:
qm resize 101 scsi0 +20G
The + adds 20 GB to the current size. Drop the + to set an absolute size. On the next boot, cloud-init runs growpart and resize2fs automatically so the guest filesystem picks up the new space.
Testing and Verifying the Cloned VM
Start the clone with qm start 101, then verify three things. First, the cloud-init service should report success:
qm guest exec 101 -- cloud-init status --wait --long
Second, the qemu-guest-agent should respond to a ping. This command fails until the agent is running inside the guest:
qm agent 101 ping
Third, confirm the IP address Proxmox sees matches what you set:
qm agent 101 network-get-interfaces
If all three return cleanly, your template is healthy and every future clone will behave the same way.
Automating Template Creation with a Shell Script
Once you have the workflow down, wrap it in a script. I keep mine in /root/scripts/build-template.sh and call it whenever a new Ubuntu LTS drops. The full script:
#!/usr/bin/env bash
set -euo pipefail

VMID=9000
NAME="ubuntu-cloud-template"
STORAGE="local-lvm"
BRIDGE="vmbr0"
IMAGE_URL="https://cloud-images.ubuntu.com/noble/current/noble-server-cloudimg-amd64.img"
IMAGE_PATH="/var/lib/vz/template/iso/noble-server-cloudimg-amd64.img"

# 1. Download if missing
if [[ ! -f "$IMAGE_PATH" ]]; then
  wget -O "$IMAGE_PATH" "$IMAGE_URL"
fi

# 2. Install qemu-guest-agent into the image
apt install -y libguestfs-tools >/dev/null
virt-customize -a "$IMAGE_PATH"
  --install qemu-guest-agent
  --run-command "systemctl enable qemu-guest-agent"

# 3. Create the VM
qm create "$VMID" --name "$NAME" --memory 2048 --cores 2
  --net0 "virtio,bridge=$BRIDGE" --scsihw virtio-scsi-single
  --machine q35 --bios ovmf

# 4. Import and attach the disk
qm importdisk "$VMID" "$IMAGE_PATH" "$STORAGE"
qm set "$VMID" --scsi0 "${STORAGE}:vm-${VMID}-disk-0,ssd=1,iothread=1,discard=on"
qm set "$VMID" --efidisk0 "${STORAGE}:1,efitype=4m,pre-enrolled-keys=1"

# 5. Cloud-init and console
qm set "$VMID" --ide2 "${STORAGE}:cloudinit"
qm set "$VMID" --boot order=scsi0
qm set "$VMID" --serial0 socket --vga serial0

# 6. Vendor snippet
qm set "$VMID" --cicustom "vendor=local:snippets/vendor-data.yaml"

# 7. Convert to template
qm template "$VMID"
Run it as root and you get a fresh, working template in about five minutes. The script is idempotent enough that re-running it after an Ubuntu point release is straightforward: destroy the old template first, then re-run.
Common Troubleshooting: machine-id, Disk Size, and SSH Keys
Three issues account for most of the forum threads I have seen about cloud-init templates. Here is how I deal with each.
Duplicate machine-id and DHCP conflicts
If every clone gets the same IP, the cause is usually a duplicate machine-id. The official Ubuntu cloud image resets this on first boot, but some images skip the step and DHCP ends up handing the same lease to every VM.
The fix is to reset the machine-id before converting to a template. Boot the VM once after import, run sudo rm /etc/machine-id /var/lib/dbus/machine-id, then shut it down cleanly. Alternatively, use virt-sysprep on the imported image:
virt-sysprep -a /var/lib/vz/template/iso/noble-server-cloudimg-amd64.img --operations machine-id,hostname
Disk too small after cloning
If the clone boots but runs out of space immediately, the cloud image default disk is the culprit. Use qm resize as shown earlier and reboot once so cloud-init grows the filesystem.
SSH keys not accepted
If the key injection fails, the most common cause is a missing newline at the end of the public key file. Cloud-init treats the entire sshkeys string as a single value. Run qm set VMID --sshkeys /tmp/key.pub where /tmp/key.pub ends with a newline. The Proxmox web UI also strips trailing whitespace, which can silently break the same setup.
Frequently Asked Questions
How do I create a cloud-init template in Proxmox?
Download an Ubuntu cloud image, run qm create to build a VM shell, run qm importdisk to attach the qcow2, configure the ide2 cloud-init drive, install the qemu-guest-agent with virt-customize, then convert with qm template. The template can then be cloned in seconds.
How do I clone a VM from a cloud-init template?
Use qm clone 9000 101 u002du002dname web-01 u002du002dfull for a full clone, or drop u002du002dfull for a linked clone. Then run qm set 101 u002du002dipconfig0 ip=10.0.10.21/24,gw=10.0.10.1 u002du002dsshkeys ~/.ssh/id_ed25519.pub to configure network and SSH access before the first boot.
How do I configure network settings with cloud-init?
Set the ipconfig0 field on the cloned VM with qm set VMID u002du002dipconfig0 ip=10.0.10.21/24,gw=10.0.10.1 for static addresses, or ipconfig0=ip=dhcp for DHCP. Cloud-init writes the configuration into the netplan file during the first boot.
What is the qm template command?
qm template VMID converts a stopped VM into a locked template that can only be cloned. The command removes the cloud-init drive contents, locks the VM, and changes its icon in the Proxmox UI to indicate template mode.
How do I use virt-customize to install packages in a cloud image?
Install libguestfs-tools on the Proxmox host, then run virt-customize -a /path/to/cloud.img u002du002dinstall package-name. The tool mounts the image, applies the change, and writes the result back. Always run this before qm importdisk.
How do I pass SSH keys to cloud-init VMs?
Store the public key in a file ending with a newline, then run qm set VMID u002du002dsshkeys /path/to/key.pub. Cloud-init writes the key to /home/CIUSER/.ssh/authorized_keys during the first boot of the clone.
What is the difference between linked clones and full clones?
A linked clone shares its base disk with the template, so it is created in seconds and uses almost no extra disk space. A full clone copies the entire disk, which takes longer but lets you migrate the VM to another node or storage. Linked clones require the template to remain available.
How do I resize a cloud-init VM disk after cloning?
Run qm resize VMID scsi0 +20G to add 20 GB to the disk. Reboot the VM once and cloud-init runs growpart and resize2fs automatically so the guest filesystem picks up the new space.
Conclusion
An Ubuntu cloud-init template on Proxmox turns VM deployment into a one-line job. Build the template once with qm create, qm importdisk, and qm template, then clone and configure each VM with a couple more qm set commands.
Once the workflow feels solid, the next step is to drive it with Terraform or OpenTofu so the host configuration lives in version control. Pair the template with Ansible for in-guest provisioning and you have a full Infrastructure as Code pipeline that started with a single Ubuntu cloud image.