
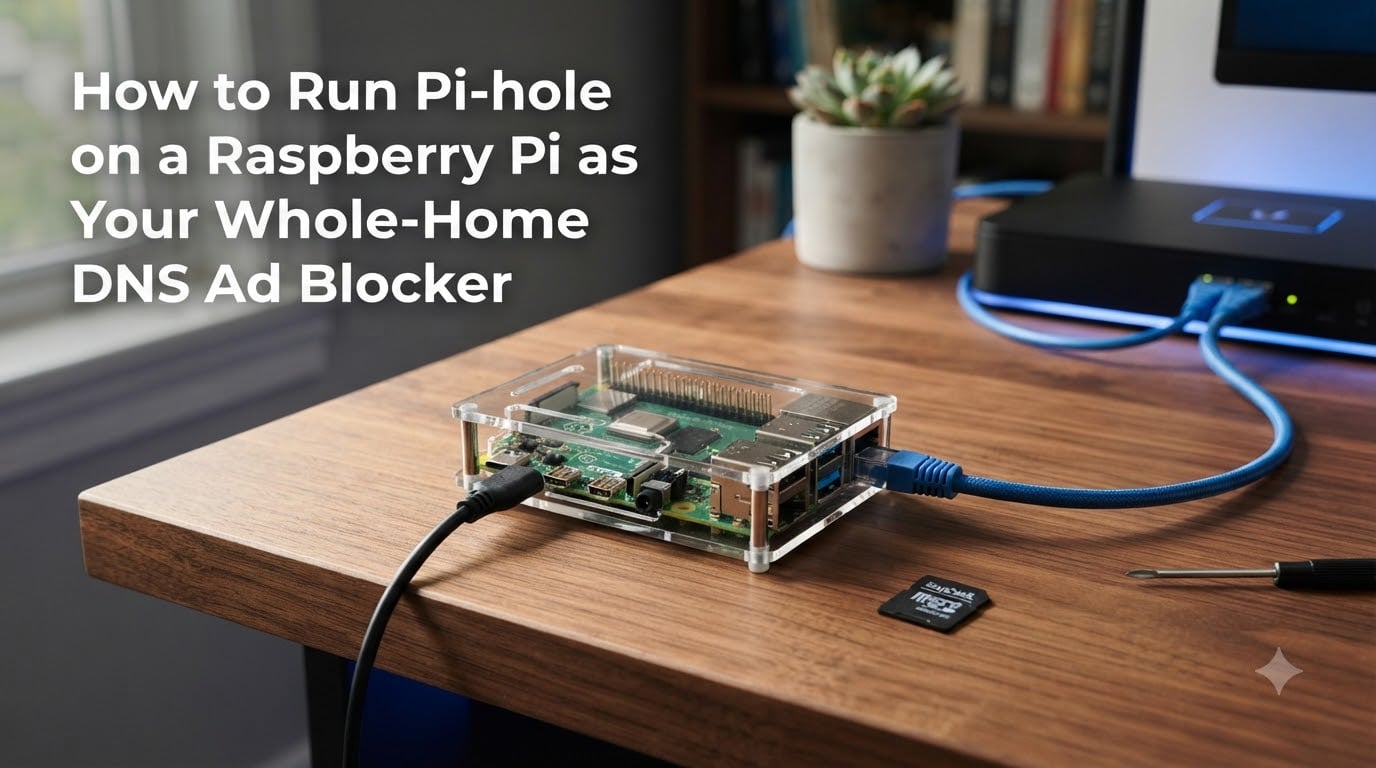
If you are tired of seeing ads on every device in your home — phones, smart TVs, tablets, game consoles — I have spent the last few months running a tiny Linux box that kills most of them before they ever load. Pi-hole on a Raspberry Pi is one of the cheapest, most reliable ways I know to turn your whole home into an ad-free zone, and in this guide I will show you exactly how to run Pi-hole on a Raspberry Pi as your whole-home DNS ad blocker from start to finish.
This is the same setup I run at home, refined across three Raspberry Pi devices and a lot of trial and error. I will walk you through what Pi-hole actually does, the hardware you need, every install and configuration step, and the gotchas that trip up most beginners (like why YouTube ads still slip through and what to do when your dashboard shows 0% blocked). Whether you are a first-time Raspberry Pi user or someone who just wants a clear walkthrough, this guide should save you the weekend I lost figuring it out.
Table of Contents
What Is Pi-hole and How Does It Work?
Pi-hole is a network-wide ad blocker that runs on a Raspberry Pi (or basically any small Linux computer). It works by sitting between your devices and the internet at the DNS level. Every time your phone, laptop, or smart TV asks “where is doubleclick.net?”, Pi-hole checks that domain against a blocklist and, if it is on the list, returns an empty reply so the ad never loads.
DNS is the phonebook of the internet. Normally your devices ask your ISP’s DNS server to translate a name like example.com into an IP address. Pi-hole inserts itself in that conversation — a technique called a DNS sinkhole. Instead of forwarding the lookup to upstream DNS, it says “no, that domain is on my blocklist” and sends the request into the void.
Because every device on your network uses DNS, every device benefits. Your smart TV, your kid’s tablet, your IoT doorbell — none of them can run a browser extension, but all of them rely on DNS. That is the magic. One Pi-hole protects your whole household, including the gadgets that ad blockers normally cannot touch.
Pi-hole itself is free, open source, and maintained by an active community. It runs on Raspberry Pi OS, Debian, Ubuntu, Fedora, and even in Docker. I have run it on a $15 Pi Zero 2 W and on a Pi 5, and both handle my home network of about 35 devices without breaking a sweat.
What You Need Before You Start?
The shopping list is short. You probably already own most of this.
A Raspberry Pi — any model from the Pi 3B+ onward will work. A Pi Zero 2 W is the cheapest option and is enough for most homes. A Pi 4 or Pi 5 is overkill but gives you room to run other services alongside Pi-hole.
A microSD card — at least 8 GB, Class 10. I use 16 GB cards because they cost about the same.
A USB power supply — official Raspberry Pi supplies are safest. Phones chargers often work too, but underpowered supplies cause boot failures and SD card corruption.
An Ethernet cable — strongly recommended. Wi-Fi works, but Ethernet gives you one less variable when troubleshooting.
A computer with an SD card reader — to flash the operating system.
Access to your router’s admin panel — you will need the username and password.
No monitor, keyboard, or mouse required. We will set the Pi up “headless” and control it over SSH from your laptop.
Step 1: Install Raspberry Pi OS
Download the Raspberry Pi Imager from the official site and install it on your computer. It runs on Windows, macOS, and Linux. Insert your SD card, open the Imager, and choose Raspberry Pi OS Lite (64-bit) as the operating system — the Lite version is enough for Pi-hole and leaves more resources free.
Before you click write, click the gear icon (or hit Ctrl+Shift+X) to preconfigure the image. This step saves you a lot of manual work later.
Set a hostname like
pihole.Enable SSH and set a password (or paste your public SSH key).
Configure your Wi-Fi SSID and password if you really cannot run Ethernet.
Set your locale and keyboard layout.
Click Write, wait for the Imager to finish, pop the card into your Raspberry Pi, and plug in the power. The first boot takes a minute or two while the filesystem resizes.
Step 2: Connect to Your Pi via SSH
Open a terminal on your computer and connect. From any Unix-like shell this is:
ssh pihole.local (or ssh username@your-pi-ip if mDNS does not work).
On Windows 10 or 11, open PowerShell and type the same command. If you used the Imager to enable SSH with a password, type it when prompted. If you uploaded an SSH key, the login happens without a password prompt.
Once you are in, run sudo apt update && sudo apt upgrade -y to make sure your Pi is fully patched. This step is boring but it saves debugging time later when packages seem to mismatch.
Step 3: Set a Static IP Address
Your Raspberry Pi needs an IP address that never changes, because devices on your network will be told to use Pi-hole’s IP for DNS. If that IP changes one day, your whole network loses DNS — which means no internet for anybody.
You can lock it down in two places, and I recommend doing both for redundancy.
Option A — Router DHCP reservation (easiest): Log into your router (usually 192.168.1.1 or 192.168.0.1). Find the DHCP or “Address Reservation” section, look up your Pi’s MAC address (you can see it by typing ip link show over SSH), and bind it to a permanent IP like 192.168.1.10.
Option B — Static config on the Pi: On the Pi itself, edit /etc/dhcpcd.conf and add:
interface eth0
static ip_address=192.168.1.10/24
static routers=192.168.1.1
static domain_name_servers=1.1.1.1 8.8.8.8
Pick an address outside your router’s DHCP range so nothing else grabs it. Reboot with sudo reboot and verify with ip a that the new address stuck.
Step 4: Install Pi-hole
This is the fun part. From your SSH session, run the official one-line installer:
curl -sSL https://install.pi-hole.net | bash
The installer takes about five minutes. It walks you through several screens.
Upstream DNS provider — pick whatever you trust. I use Cloudflare (
1.1.1.1) for speed and Quad9 (9.9.9.9) as a backup. The installer lets you pick two.Blocklists — leave the default Steven Black list on for a starting point. You will add more later.
Admin Web Interface — say yes. You will thank yourself later.
Lighttpd — the webserver for the dashboard, say yes.
Logging — leave on for now; you can turn it off later in settings if you want zero retention.
At the end, the installer prints a final screen with your admin password and the URL to the dashboard. Write that URL down — it is something like http://192.168.1.10/admin.
Step 5: Configure Your Router to Use Pi-hole
This is the step that makes the magic happen. You have two clean options, and the right pick depends on how comfortable you are poking around your router.
Method 1: Point your router’s DNS at Pi-hole (recommended for beginners). Log back into your router and find the LAN or DHCP settings. Where it asks for DNS server, enter Pi-hole’s static IP (for example, 192.168.1.10). Save. Now every device that gets its network config from the router automatically uses Pi-hole. Existing devices may need a reboot or a Wi-Fi reconnect to pick up the new DNS.
Method 2: Disable DHCP on the router and run Pi-hole’s built-in DHCP server. This is more powerful because it works even on stubborn devices that ignore router DNS (some smart TVs and Google Cast devices are notorious for hardcoding 8.8.8.8). Inside Pi-hole’s web interface, go to Settings → DHCP and turn the DHCP server on, then disable DHCP on your router. Pi-hole will hand out IP addresses and force DNS to itself.
If a single device still refuses to use Pi-hole (looking at you, Android TV), you can set its DNS manually in its Wi-Fi settings. That is a fallback, not a default, but it works.
Step 6: Test That Pi-hole Is Working
Time to see the dashboard in action. From any device on your network, open http://192.168.1.10/admin in a browser. You should see a colorful dashboard with three panels: total queries, queries blocked, and percent blocked.
Now do a quick sanity check. Visit https://ads-blocker.com/test/ads.html or any “ad test” page on a fresh device — you should see empty boxes where banners used to be. Then click around normal websites for ten minutes. The dashboard will start filling in real numbers. In my home, the percent blocked usually lands somewhere between 20% and 40% on a typical day, which is in line with what most Pi-hole users report.
If you want to confirm at the command line, from any computer on your network run dig doubleclick.net @192.168.1.10. If Pi-hole is configured correctly, the reply should come back with 0.0.0.0 as the address — that is the sinkhole at work.
Managing Blocklists, Whitelists, and Upstream DNS
Once Pi-hole is running, the real tuning begins. The web dashboard is where you will spend most of your time.
Adding blocklists. Go to Group Management → Adlists and paste in extra sources. The firebog.net “tick” lists are community-curated and a great starting point. After adding lists, run
pihole -gover SSH to update the gravity database.Whitelisting. When a site breaks — say a shopping cart or a news site that refuses to load — whitelist the offending domain under Query Log → whitelist. The next time it loads, it works.
Blacklisting specific domains. The same screen lets you manually block domains that snuck through the lists.
Upstream DNS. Change your upstream provider under Settings → DNS. Quad9 has malware filtering baked in. Cloudflare is fast. AdGuard DNS adds extra blocking upstream. You can even point Pi-hole at a local Unbound recursive resolver if you want full control and no third-party logging.
Privacy modes. Pi-hole can log nothing, log only anonymous stats, or log everything. Pick what fits your threat model.
I run Pi-hole with about 175,000 domains on the blocklists, two upstream DNS providers (Cloudflare + Quad9), and the query log turned on for 24 hours and then rotated. That balance works well for me, but every household is different.
Common Problems and How to Fix Them
After running Pi-hole for friends and family, these are the issues that come up again and again.
“My dashboard says 0% blocked.” Usually this means devices are not actually using Pi-hole for DNS. Check that the router DNS field really points at Pi-hole’s IP, then reboot one device and watch the query count tick up.
“Ads still show on YouTube.” You will see YouTube ads because YouTube serves ads from the same domains as the videos themselves. DNS-level blocking cannot tell which is which, so YouTube ads slip through. To block those, you need a separate browser-based blocker like uBlock Origin working alongside Pi-hole.
“Some devices bypass Pi-hole.”. Smart TVs, Chromecasts, and Android phones with “Private DNS” enabled may hardcode their own DNS (often 8.8.8.8). Either turn off Private DNS, set DNS manually on the device, or run Pi-hole as your DHCP server to push the right DNS to everything.
“Some sites broke.”. Whitelist the specific subdomain. Most modern websites survive a broken ad server, but a small handful of news sites embed crucial scripts inside ad domains. Whitelist those — Pi-hole will remember.
“DNS over HTTPS is making my stats look empty.”. Browsers like Firefox and Chrome can encrypt their DNS lookups and send them straight to Cloudflare or Google, skipping your local resolver entirely. Turn off DNS over HTTPS in the browser, or accept that those requests will not show in Pi-hole.
Tips for Long-Term Success
A few habits will keep your Pi-hole running smoothly for years.
Keep your SD card healthy with a small log2ram setup to avoid writing the OS to death.
Update Pi-hole monthly with
pihole -up.Back up your settings. The web interface has a Teleporter export that you can restore on a fresh install in minutes.
Run Pi-hole in a Docker container if you already have a home server — one less single-purpose device to maintain.
Use a UPS or a smart plug so the Pi reboots cleanly after short power blips instead of corrupting the SD card.
If you ever leave home and want ad blocking on the road, the community documents several ways to expose Pi-hole securely over a VPN like WireGuard or Tailscale, so your phone keeps getting ad-free DNS from your living room Pi no matter where you are.
Frequently Asked Questions
Can I use a Raspberry Pi as an ad blocker?
Yes. A Raspberry Pi running Pi-hole acts as a network-wide ad blocker. When every device on your network is told to use the Pi for DNS, requests to known ad and tracker domains are blocked before the ads even load. It works on phones, laptops, smart TVs, and IoT devices that cannot run a browser extension.
How do I use Pi-hole as a DNS server?
Install Pi-hole on your Raspberry Pi using its one-line installer, then log into your router and change the LAN DNS server field to the Pi’s static IP. Every device that pulls network settings from the router will start using Pi-hole for DNS automatically. You can also turn on Pi-hole’s built-in DHCP server for devices that ignore the router’s DNS.
Can Pi-hole block all ads?
Pi-hole blocks the majority of display, banner, and tracker ads network-wide. It cannot block ads that are served from the same domain as the content itself, which is most YouTube ads, many in-app ads on mobile, and ads delivered over DNS-over-HTTPS. Pairing Pi-hole with a browser-based blocker like uBlock Origin gives you the most complete coverage.
Is Pi-hole still relevant in 2026?
Absolutely. Ad networks keep shifting tactics, but DNS-level blocking still catches banner ads, tracker pixels, telemetry domains, and most in-app ads. Pi-hole is actively maintained, easy to set up, and now includes features like per-client grouping and long-term statistics. It is still one of the most cost-effective privacy upgrades you can make for a household.
Can Pi-hole block YouTube ads?
No, Pi-hole cannot reliably block YouTube ads. YouTube serves ads and videos from the same domain, so DNS-level blocking would also block the videos. YouTube ads need to be handled by a browser-based blocker like uBlock Origin running inside the YouTube player itself.
Why is my Pi-hole showing 0% queries blocked?
Almost always means devices are not actually routing their DNS through Pi-hole. Double-check that the router’s DNS field points at Pi-hole’s IP, reboot one device, and watch the query count rise. Other causes include browsers using DNS-over-HTTPS, smart TVs hardcoding their own DNS, or Pi-hole’s blocklists being empty.
Wrapping Up
Setting up Pi-hole on a Raspberry Pi as your whole-home DNS ad blocker is one of those projects that pays you back forever after a single afternoon of work. Once your network is using Pi-hole for DNS, every new device you buy — from a smart fridge to a kid’s tablet — gets ad blocking for free, and your monthly bandwidth use tends to drop too.
Start by installing Raspberry Pi OS Lite and Pi-hole itself, lock down a static IP, point your router’s DNS at the Pi, and verify in the dashboard that queries are flowing. From there, the real fun begins: tuning blocklists, pairing Pi-hole with a browser blocker for YouTube ads, and even exposing it over a VPN so your phone stays ad-free when you travel. If you have hit a snag that I did not cover here, drop into the Pi-hole community discourse or the r/pihole subreddit — the community is friendly and very good at debugging.
Happy ad-blocking. Your smart TV will thank you.