
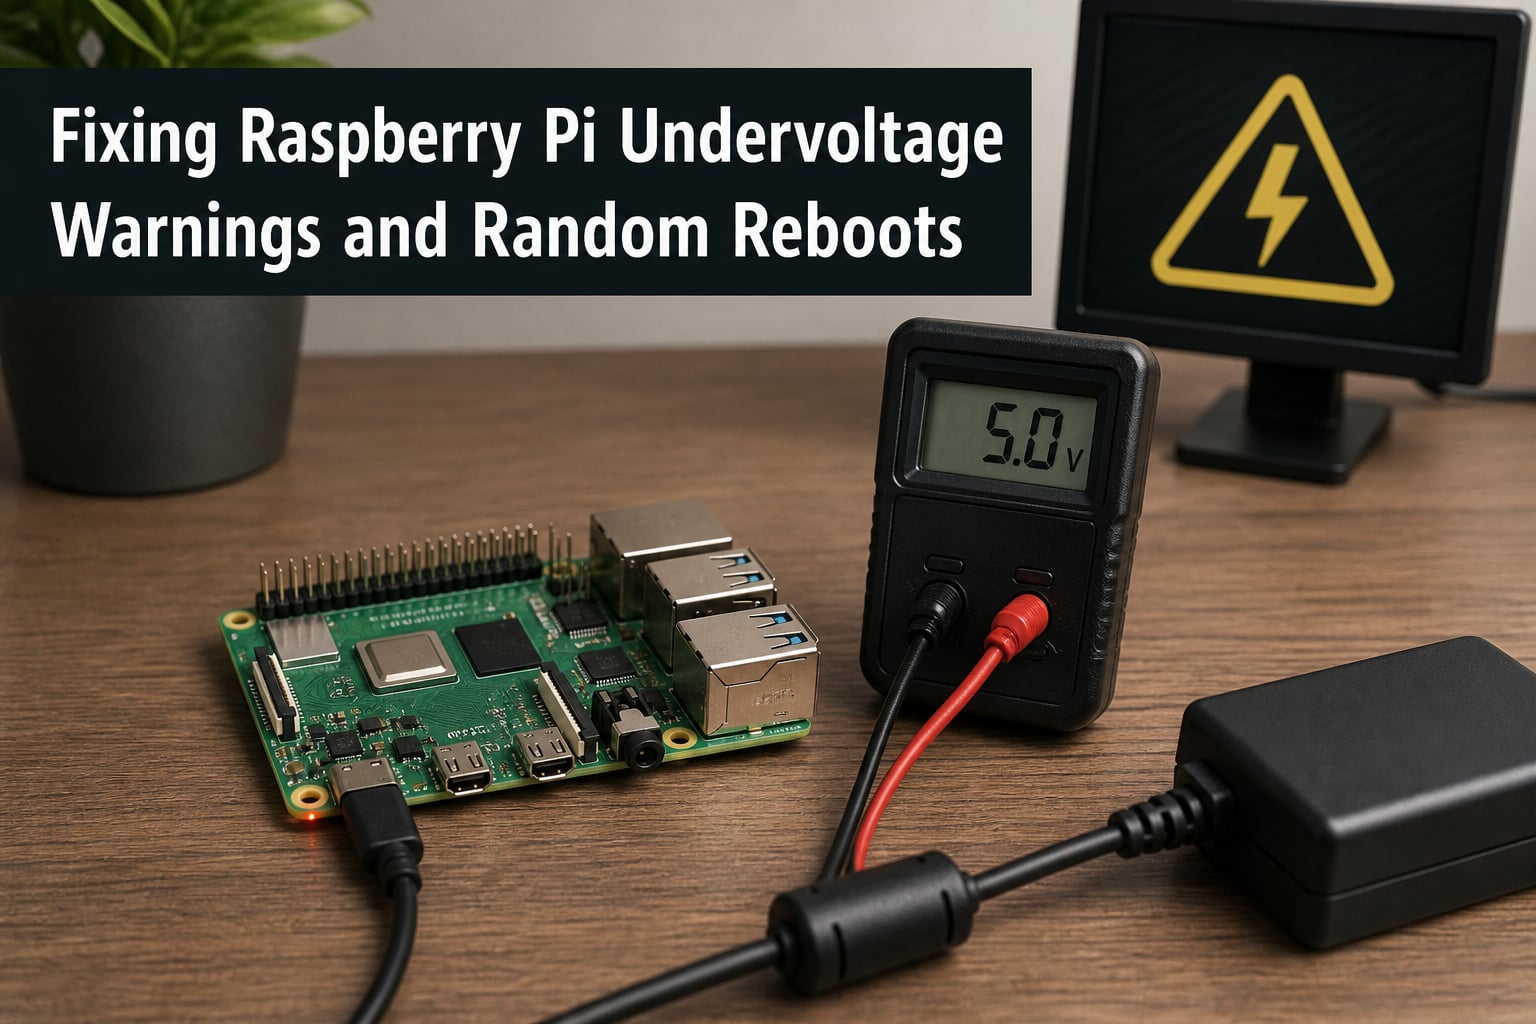
If your Raspberry Pi is showing a lightning bolt icon in the corner of the screen, throwing “under-voltage detected” messages, or rebooting itself at random, you are dealing with a power delivery problem. I have walked dozens of makers through this exact Raspberry Pi undervoltage warning fix, and the good news is that almost every case is solvable without buying new hardware you don’t actually need.
This guide covers how to identify the warning, how to read the diagnostic output that the Pi itself produces, and how to fix the underlying cause step by step. We will look at power supplies, USB cables, peripherals, and a few less obvious culprits like Bluetooth power drain that have caught even experienced Pi users off guard.
Table of Contents
What Causes Raspberry Pi Undervoltage Warnings?
Raspberry Pi undervoltage warnings appear when the voltage at the board drops below approximately 4.63V under load. The firmware watches the input rail continuously and triggers a warning the moment it sags past that threshold. In practice, four things cause this drop.
The first is a power supply that cannot deliver enough current. A 5V 2A phone charger looks fine on the label, but if it sags under load, the Pi will see brownouts. The second is the USB cable. Thin, long, or cheap cables introduce resistance that eats voltage before it reaches the board. The third is peripherals. Every USB device, external drive, and GPIO-powered screen draws current, and the Pi’s onboard regulator has limits.
The fourth cause is the one most people miss. A sudden power spike from a USB device starting up, or an OS update that re-enables Bluetooth, can briefly pull the rail low enough to trip the sensor. That is why your Pi might warn with no obvious change to your setup.
How to Detect Undervoltage on Your Raspberry Pi?
There are three reliable ways to confirm your Pi is suffering from undervoltage. Use all three when you are troubleshooting, because the warning can be intermittent.
Look for the lightning bolt overlay. When the Pi detects a voltage drop, it draws a yellow thunderbolt in the top-right corner of the desktop. On Raspberry Pi OS Bookworm and later, you may also see a new low-voltage warning style. The icon only appears during the actual drop, so if you boot up and see nothing, do not assume the problem is gone.
Use vcgencmd get_throttled in the terminal. Open a terminal and run:
vcgencmd get_throttled
If you see throttled=0x0, the Pi has never recorded an undervoltage event since boot. Anything else means the firmware has logged an issue. We will decode the hex value in the next section.
Check the kernel message buffer with dmesg. Run:
dmesg | grep -i "under-voltage"
If the Pi has recorded voltage drops, you will see lines like Under-voltage detected! (0x00050005). This is the same data the lightning bolt icon uses, but it persists in the log even after the event, which makes it the best tool for catching intermittent problems.
Understanding vcgencmd get_throttled Bit Values
The vcgencmd get_throttled command returns a 32-bit hex value. Each bit tells you what happened since the last boot. The most common value you will see is 0x00050005, and it is worth understanding exactly what that means.
Here is the breakdown of the meaningful bits.
Bit 0 (0x1): Undervoltage detected right now.
Bit 1 (0x2): ARM frequency capped right now due to voltage.
Bit 2 (0x4): Currently throttled.
Bit 3 (0x8): Soft temperature limit active right now.
Bit 16 (0x10000): Undervoltage has occurred since boot.
Bit 17 (0x20000): ARM frequency has been capped since boot.
Bit 18 (0x40000): Throttling has occurred since boot.
Bit 19 (0x80000): Soft temperature limit has occurred since boot.
So 0x00050005 breaks down as 0x00050000 (undervoltage occurred, ARM capped) plus 0x00000005 (undervoltage now, throttled now). In plain English: voltage dropped, the Pi slowed the CPU down, and it is still happening. If you only see 0x00050000, the warning fired earlier but conditions are fine right now. Either way, the root cause still needs fixing.
Power Supply Requirements by Raspberry Pi Model
Different Pi models draw different amounts of power. Using a power supply that is technically the right voltage but undersized for your model is one of the most common reasons undervoltage warnings appear.
Raspberry Pi 1, 2, and 3 (including 3B+): 5V, 2.5A recommended. A 5V 2A supply will often boot the board but can sag when peripherals are attached.
Raspberry Pi 4: 5.1V, 3.0A recommended via the USB-C connector. The slightly higher voltage compensates for the cable drop on the longer USB-C runs.
Raspberry Pi 5: 5V, 5.0A via USB-C when using the official 27W supply. The Pi 5 demands significantly more current, especially under SSD or heavy CPU loads, and 3A supplies will frequently warn.
The official Raspberry Pi power supply is the safest baseline because it is tuned for each model. Third-party supplies work, but only if they genuinely meet the rated current at the rated voltage under load, not just at the label.
Step-by-Step Solutions to Fix Undervoltage and Random Reboots
Work through these in order. Each step is cheaper than the last, and most undervoltage cases resolve within the first three.
Swap the USB cable first. This is the single most effective fix. A short, thick, shielded USB-C or micro-USB cable from a reputable brand will eliminate a surprising number of warnings, even on setups with the official power supply.
Confirm the power supply meets your model’s spec. Check the fine print on the brick. A 5V 3A label that says “max 3A” is not the same as a supply that delivers 3A continuously without sagging.
Reduce peripheral load. Unplug USB devices one at a time and watch the throttled value. If the warning stops when you unplug a specific drive or dongle, that device is the trigger.
Use a powered USB hub for external storage. Hard drives and SSDs draw substantial current. Plug them into a powered hub rather than directly into the Pi.
Update the firmware. Out-of-date firmware has been known to report false undervoltage events on otherwise healthy setups. Run
sudo rpi-updatecautiously, or usesudo apt update && sudo apt full-upgradeto stay on stable releases.Disable Bluetooth if you do not need it. A surprisingly common cause, especially after OS updates, is Bluetooth being re-enabled and quietly drawing current.
Move GPIO-powered accessories to their own 5V source. Touchscreens and LED matrices powered from the Pi’s 5V pin can drag the rail down. Use an external regulated 5V supply for them.
After each step, reboot and recheck vcgencmd get_throttled. If the value returns to 0x0, you have found your fix.
Why USB Cable Quality Matters More Than You Think?
A USB cable is not just a wire. Every cable has resistance, and that resistance scales with length and inversely with wire gauge. A long, thin cable can drop 0.3V or more between the power supply and the Pi, which is enough to trip the undervoltage sensor even when the supply itself is perfect.
For Raspberry Pi 4 and 5, look for USB-C cables marked as USB-IF certified and rated for 3A or 5A. For older Pis with micro-USB, thicker cables with 22 AWG power wires perform noticeably better than the thin cables bundled with many phone chargers. Keep cable runs under 1 meter where possible.
I have personally fixed “broken” Pis that were running on the official power supply but a third-party cable. The owners were about to order new hardware. A four-dollar cable swap ended the troubleshooting.
Common Culprits Beyond the Power Supply
If you have replaced the cable and confirmed your power supply is correctly rated, the issue is usually one of these.
Bluetooth power drain. An OS update can re-enable Bluetooth hardware that was previously disabled. The radio draws current even when no device is connected. If you do not use Bluetooth, disable it in raspi-config or by blacklisting the relevant kernel modules.
External storage. Spinning hard drives and even some SSDs draw 1A or more on spin-up. That brief spike is often enough to trip the warning. A powered hub solves this entirely.
GPIO-powered screens and HATs. The official 7-inch touchscreen, RGB LED matrices, and motor controller HATs all pull from the 5V rail. Power them separately whenever the project allows.
USB 3 devices on Pi 4. The USB 3 controller draws more power than USB 2, and a single USB 3 SSD can push the board over its limit if the power supply is marginal.
Advanced Fixes for Persistent Undervoltage
For setups where the standard fixes still leave a warning, there are a few more advanced options.
Adding bulk capacitance across the 5V rail on a breadboard or custom HAT can smooth out transient spikes from peripherals. A 1000uF or larger low-ESR capacitor close to the Pi’s 5V input will absorb short dips from USB devices starting up.
For automotive or battery-powered builds, a regulated buck converter rated for at least 5A is more reliable than the Pi’s onboard regulator. Mean Well and similar industrial supplies are commonly used for permanent installations.
Finally, if you have an oscilloscope or USB voltmeter, you can measure the actual voltage at the Pi’s 5V test pads. Anything below 4.75V under load confirms the warning is real, and anything above 5.10V at the supply with under 4.85V at the Pi confirms your cable is the problem.
Frequently Asked Questions
Why does my Raspberry Pi say undervoltage detected?
Your Raspberry Pi is reporting that the voltage at the board has dropped below approximately 4.63V. This usually means the power supply cannot deliver enough current, the USB cable has too much resistance, or a peripheral is drawing more power than expected. Check vcgencmd get_throttled and dmesg for confirmation.
Can undervoltage damage a Raspberry Pi?
Occasional undervoltage events will not physically damage the board, but they can cause SD card corruption, lost data, and random reboots. Repeated brownouts also reduce performance because the CPU throttles down to protect itself. The warning should always be addressed rather than ignored.
How to fix undervoltage on a Raspberry Pi?
Start by swapping the USB cable for a short, thick, certified one. Confirm your power supply meets the rated current for your Pi model. Reduce peripheral load, move external drives to a powered USB hub, and disable Bluetooth if you do not use it. Recheck vcgencmd get_throttled after each change.
How much voltage does a Raspberry Pi need?
Raspberry Pi boards are designed to run at 5V. The Raspberry Pi 4 official supply delivers 5.1V to compensate for cable drop. The Pi 5 uses a 5V 5A supply. Voltage at the board should stay above 4.75V under load, with the warning sensor triggering at approximately 4.63V.
Conclusion
The Raspberry Pi undervoltage warning fix almost always comes down to two things: a power supply that cannot deliver its rated current, and a USB cable with too much resistance. Start with the cable, because it is the cheapest and most overlooked variable. Then confirm the supply meets your model’s spec, trim peripheral load, and use vcgencmd get_throttled as your truth source.
Random reboots follow the same root cause as the lightning bolt icon, so the same diagnostic steps apply. Once you see throttled=0x0 after a real workload, your Raspberry Pi undervoltage warning fix is complete and your board will run stable again.