
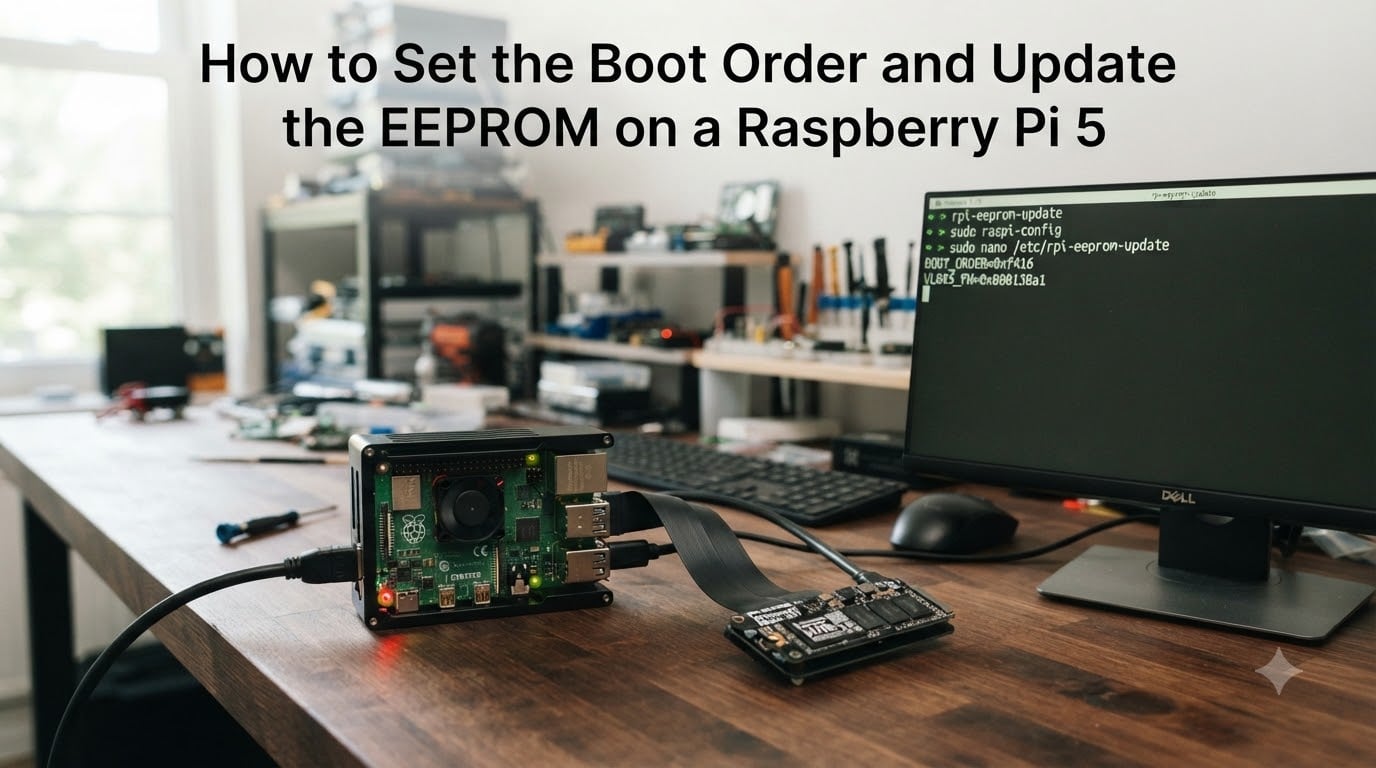
The Raspberry Pi 5 has a completely redesigned boot system compared to earlier models, and getting the boot order right makes the difference between a system that boots in seconds from an NVMe SSD and one that stares at you with a blank screen. Whether you are migrating away from a fragile SD card or recovering from a failed firmware update, you need two skills: setting the Raspberry Pi 5 boot order EEPROM configuration and updating the EEPROM firmware itself.
In this guide, I walk through both processes step by step. I cover the raspi-config menu method, the full command-line method using rpi-eeprom-config, the new interactive boot menu introduced in late 2024, and a plain-English breakdown of what those confusing hex codes like 0xf461 actually mean. I also include troubleshooting for the most common failures I have seen reported across the Raspberry Pi forums.
By the end, you will be able to change your boot device with confidence, update the bootloader firmware safely, and recover if something goes wrong. Let us start with the foundation: what the EEPROM actually does on a Pi 5.
Table of Contents
What Is the EEPROM and Why It Matters on the Raspberry Pi 5?
The EEPROM (Electrically Erasable Programmable Read-Only Memory) on a Raspberry Pi 5 is a small flash chip that stores the bootloader firmware. Think of it as the Pi’s equivalent of a PC BIOS or UEFI. When you power on the board, the EEPROM runs first, initializes the hardware, reads the BOOT_ORDER setting, and then loads the operating system from whichever device matches that order.
The Pi 5’s EEPROM is more advanced than the one on the Pi 4. It includes support for booting from NVMe drives connected through the PCIe interface, an interactive boot menu, and faster boot times. It also means a firmware bug or a bad configuration can leave the board unbootable until you reflash the chip.
Every Raspberry Pi 5 ships with a default BOOT_ORDER that tries the SD card first. If you want to boot from a USB drive or an NVMe SSD, you must change this value. That is why understanding both the boot order and the firmware update process is essential for anyone running a Pi 5 as a serious workstation or server.
How to Check Your Current Boot Order
Before changing anything, check what the bootloader is currently set to. The Raspberry Pi 5 stores the BOOT_ORDER value in the EEPROM configuration, and you can read it in two ways.
The quickest method is the rpi-eeprom-config tool. Open a terminal and run:
sudo rpi-eeprom-config
This prints the full EEPROM configuration, including the BOOT_ORDER line. You will see something like BOOT_ORDER=0xf41. That hex value encodes the entire boot sequence, and I break down exactly what each digit means later in this guide.
You can also query just the bootloader version and boot mode with:
vcgencmd bootloader_version
This does not show the boot order directly, but it tells you which firmware release is currently flashed. If you are troubleshooting a boot issue, knowing the firmware version is the first thing support forums will ask for.
Setting Boot Order via raspi-config
The raspi-config tool offers a guided, menu-driven way to change the boot order. It is the easiest method for most users, though it exposes only a limited set of options compared to the command line.
Here is how to use it:
Step 1: Open raspi-config by running sudo raspi-config in a terminal.
Step 2: Navigate to Advanced Options and press Enter.
Step 3: Select Boot Order and press Enter.
Step 4: You will see a choice between booting from NVMe first or SD card first. Use the arrow keys to select your preferred option and press Enter.
Step 5: raspi-config writes the new BOOT_ORDER value to the EEPROM. It will prompt you to reboot for the change to take effect. Select Yes.
One limitation worth noting: as many users on the Raspberry Pi forums have reported, raspi-config on the Pi 5 only presents two options. If you want to boot from USB, set a specific fallback chain, or include network boot, you need the command-line method below.
Setting Boot Order via Command Line (rpi-eeprom-config)
For full control over the Raspberry Pi 5 boot order EEPROM configuration, the command line is the way to go. The rpi-eeprom-config tool lets you set the exact BOOT_ORDER hex value, add other EEPROM settings, and even edit the entire configuration file in your preferred text editor.
To set a specific boot order directly, run:
sudo rpi-eeprom-config --boot-order 0xf461
This immediately writes the new value to the EEPROM. Reboot for it to take effect.
If you want to edit the full configuration with all settings visible, use the edit mode:
sudo rpi-eeprom-config --edit
This opens the EEPROM configuration file in the default text editor (usually nano). You can change BOOT_ORDER, add settings like BOOT_UART for serial diagnostics, or WAKE_ON_GPIO for power management. When you save and exit, the tool applies the changes to the EEPROM on the next reboot.
For a clean one-shot configuration change, you can also pipe a new value directly:
echo "BOOT_ORDER=0xf416" | sudo rpi-eeprom-config --apply -
This is useful if you are writing a setup script and want to automate the boot order configuration across multiple boards.
Boot Order Codes Explained (0xf41, 0xf461, 0xf416)
The hex codes in BOOT_ORDER are the single biggest source of confusion for Pi 5 users. Here is what they actually mean, in plain English.
The BOOT_ORDER value is read as a sequence of single-digit device codes, processed from right to left. The Pi tries the rightmost device first, then moves left. The leading 0xf is a retry prefix that tells the bootloader to loop back and try all devices again if none boot on the first pass.
Here are the individual device codes:
1 – SD card (card slot on the board)
2 – SD card (legacy, rarely used)
3 – SD card (legacy, rarely used)
4 – USB mass storage device
5 – USB mass storage device with a different enumeration method
6 – NVMe SSD (connected via PCIe HAT or internal connector)
7 – Network boot (PXE / DHCP)
e – Try again: restart the sequence from the beginning
f – Stop: give up and halt the boot process
Now let us decode the most common values you will see:
0xf41: The factory default. Try SD card first (the 1), then USB (the 4), and if neither works, the f stops the boot. The e is omitted here, so there is one retry loop built into the prefix.
0xf416: Boot from NVMe first (the 6), fall back to USB (the 1), then SD card (the 4). This is a popular setup for people who want NVMe as the primary boot device but keep an SD card as an emergency fallback.
0xf461: Boot from SD card first (the 1), fall back to USB (the 6 does not apply here; the 6 is NVMe), then NVMe. Actually, reading right to left: SD card first, then NVMe, then USB.
If you want to revert to the Pi 5 factory default at any time, set BOOT_ORDER back to 0xf41. This is the single most useful value to remember when troubleshooting.
Using the New Boot Menu (Spacebar Access)
In October 2024, Raspberry Pi released a new bootloader that adds an interactive boot menu. This feature lets you pick a boot device for a single boot session without permanently changing your EEPROM configuration. It is extremely useful for recovery scenarios.
To access the boot menu, power on your Pi 5 and watch the HDMI output. During the first few seconds, the bootloader displays a prompt. Press the Spacebar at this moment.
The menu appears with a list of boot options and corresponding number keys:
Press 1 for SD card
Press 4 for USB mass storage
Press 6 for NVMe SSD
Press 7 for network boot
Press # to rescan all devices (useful if you plugged in a drive after powering on)
The selection applies only to that boot. When you reboot, the Pi returns to whatever BOOT_ORDER is stored in the EEPROM. If the menu does not appear, your firmware may be too old. Update the EEPROM using the method in the next section to get the latest bootloader with the boot menu feature.
Updating the EEPROM Firmware
Keeping the EEPROM firmware current fixes bugs, improves device compatibility (especially with NVMe drives), and enables features like the boot menu. There are two ways to update: from within a running Raspberry Pi OS, or offline using the Raspberry Pi Imager.
Method 1: Updating from Raspberry Pi OS
This is the easiest method if your Pi is already booted into the OS. Open a terminal and update your package list first:
sudo apt update
Then run the EEPROM update tool:
sudo apt upgrade -y
sudo rpi-eeprom-update -a
The tool checks for a newer firmware package, and if one is available, it stages the update. You then reboot to apply it:
sudo reboot
During the reboot, the Pi reflashes the EEPROM with the new firmware. This takes about 30 seconds. Do not remove power during this process. After the reboot, verify the new version:
vcgencmd bootloader_version
You should see the updated release date and version number.
Method 2: Updating with Raspberry Pi Imager (Recovery)
If your Pi 5 will not boot at all, you cannot update from the OS. The recovery method uses the Raspberry Pi Imager on a separate computer to write a recovery image to an SD card.
Step 1: Download and install Raspberry Pi Imager on a PC or Mac.
Step 2: Insert an SD card and launch the Imager.
Step 3: Under Choose Device, select Raspberry Pi 5.
Step 4: Under Choose OS, navigate to Misc utility images and select Bootloader, then choose SPI Bootloader for the Pi 5.
Step 5: Write the image to the SD card.
Step 6: Insert the SD card into the powered-off Pi 5, connect HDMI, and apply power. The green activity LED blinks rapidly when the update is complete. This confirms the EEPROM was reflashed.
Step 7: Power off, remove the SD card, and your Pi should boot normally with the latest firmware.
By default, Raspberry Pi OS also runs automatic EEPROM updates through the rpi-eeprom-update service. If you prefer manual control, you can change the update policy in /etc/default/rpi-eeprom-update by setting FIRMWARE_RELEASE_STATUS to critical (only critical security fixes) instead of default.
Booting from NVMe SSD: Extra Configuration
Booting from an NVMe SSD requires more than just changing the boot order. The Pi 5 needs to know how to configure the PCIe bus for your specific HAT or connector.
If you are using an NVMe base or PCIe HAT, add the following line to your /boot/firmware/config.txt file:
dtparam=pciex1
For Gen 3 speeds (faster, but some drives are unstable at this rate), add:
dtparam=pciex1_gen=3
Start with Gen 2 (the default with just pciex1) to confirm the drive boots reliably, then experiment with Gen 3 if your specific NVMe drive supports it stably. After saving the file, set the boot order to include NVMe and reboot.
Resetting the EEPROM to Factory Defaults
If the bootloader is in a bad state, resetting to factory defaults is the cleanest fix. The Pi 5 has a built-in reset mechanism.
One method is the command line. Set the boot order back to the default and clear custom settings:
sudo rpi-eeprom-config --boot-order 0xf41
For a full factory reset, you can remove the configuration entirely:
sudo rpi-eeprom-config --apply - with an empty or default configuration piped in.
The hardware method uses the Raspberry Pi Imager recovery process described above, but instead of selecting the latest bootloader, you select the factory reset image. Flash it to an SD card, boot the Pi, and the EEPROM returns to its shipping state.
Troubleshooting Common EEPROM and Boot Order Issues
Pi 5 will not boot after changing boot order to NVMe: The most common cause is a typo in the hex value or a missing PCIe configuration line in config.txt. Double-check that BOOT_ORDER includes the digit 6 and that dtparam=pciex1 is present. If the Pi still will not boot, remove the NVMe drive and the Pi should fall back to the next device in the sequence.
EEPROM update failed mid-process: If the update was interrupted by a power loss, the Pi may appear dead. Do not panic. Use the Raspberry Pi Imager recovery method to reflash the EEPROM from an SD card. This works even when the board appears completely unresponsive.
raspi-config shows no USB boot option: This is a known limitation on the Pi 5. Raspi-config only exposes NVMe-first and SD-first. For USB boot, use sudo rpi-eeprom-config --boot-order 0xf415 or set the full value through the edit mode.
NVMe drive was booting fine, then stopped: This often happens after an OS update that changes kernel modules. Boot from SD card, verify the drive is detected with lsblk and sudo nvme list, and confirm config.txt still has the PCIe parameter. Some users report needing to reflash the NVMe with the OS after a major kernel update.
Boot menu does not appear when pressing Spacebar: Your firmware predates the October 2024 release. Update the EEPROM using the apt or Imager method above, and the boot menu will become available on the next boot.
Frequently Asked Questions
How do I update the EEPROM on my Raspberry Pi 5?
Run sudo apt update and sudo apt upgrade -y, then sudo rpi-eeprom-update -a to stage the update, and reboot to apply it. Verify with vcgencmd bootloader_version. If the Pi will not boot, use the Raspberry Pi Imager to flash a bootloader recovery image to an SD card and boot from it.
What does boot order 0xf461 mean on Raspberry Pi 5?
Reading the hex value right to left: the 1 means try the SD card first, the 6 means fall back to NVMe, and the 4 means try USB next. The 0xf prefix tells the bootloader to retry the sequence if no device boots. So 0xf461 means SD card first, then NVMe, then USB, with a retry loop.
Why won’t my Raspberry Pi 5 boot from NVMe after changing boot order?
The most common causes are a missing dtparam=pciex1 line in config.txt, an incorrect BOOT_ORDER value that does not include the digit 6 for NVMe, or an unstable Gen 3 setting. Try removing pciex1_gen=3 to run at Gen 2 speed, verify the drive appears with sudo nvme list, and set BOOT_ORDER to 0xf416 to make NVMe the primary boot device.
How do I access the Raspberry Pi 5 boot menu?
Power on the Pi 5 and press the Spacebar during the first few seconds while watching the HDMI output. The interactive boot menu appears, letting you choose a boot device for that session: press 1 for SD card, 4 for USB, 6 for NVMe, or 7 for network boot. You need firmware from October 2024 or later for this feature.
Conclusion
Setting the Raspberry Pi 5 boot order EEPROM configuration and keeping the firmware updated are the two most important maintenance tasks for anyone running this board as a serious system. Whether you use raspi-config for a quick switch, the command line for full control, or the new boot menu for one-time recovery, the process becomes straightforward once you understand how the hex codes work.
Always keep a recovery SD card with the bootloader image handy, back up your config.txt before making changes, and when in doubt, revert to BOOT_ORDER=0xf41 to get back to a known-good state.