
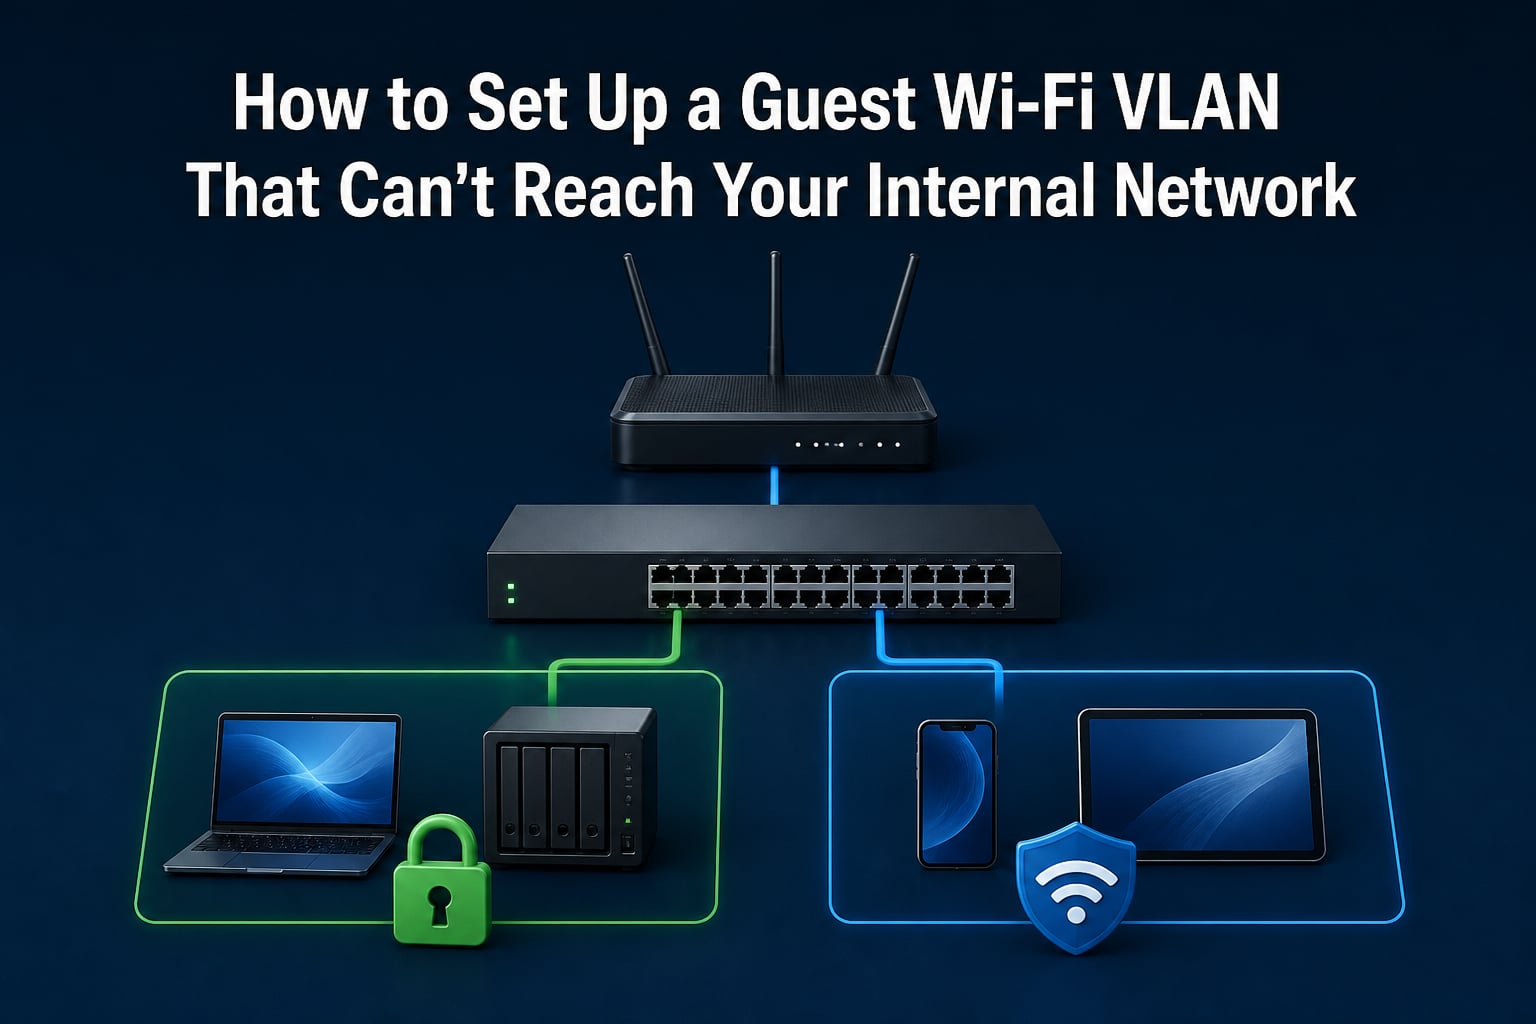
Handing your Wi-Fi password to a contractor, Airbnb guest, or that one relative who always needs the internet feels harmless. Then you remember they now have a direct line to your NAS, your security cameras, and every smart bulb on your home network. A properly configured guest Wi-Fi VLAN fixes that problem completely.
In this guide, I’ll walk you through how to set up a guest Wi-Fi VLAN that truly cannot reach your internal network. We’ll cover the concepts behind VLAN isolation, the exact steps to create a guest VLAN, firewall rules that actually block lateral traffic, and how to troubleshoot the most common issues. By the end, your guests will have fast internet, and your private devices will stay invisible to them.
Table of Contents
What Is a VLAN and Why You Need One for Guest Wi-Fi?
A VLAN, or Virtual Local Area Network, is a way to split a single physical network into multiple logical networks. Even though devices on different VLANs may share the same switch and cables, they act as if they are on separate networks. They cannot talk to each other without a router explicitly allowing it.
Wi-Fi works seamlessly with VLANs because most modern access points support 802.1Q tagging. Each SSID on your access point can be assigned to a specific VLAN, and traffic from that SSID is tagged accordingly as it moves through your network. This means your “Home” SSID can sit on VLAN 1, your “Guest” SSID on VLAN 20, and your IoT devices on VLAN 30, all sharing the same wiring and switches.
Why does this matter for guest Wi-Fi? Because a guest network without VLAN isolation often shares the same broadcast domain as your trusted devices. Many consumer routers create a “guest” SSID that simply blocks routing to your main subnet, but they do not always do this reliably, and they offer no control. A dedicated VLAN with proper firewall rules gives you complete, verifiable isolation.
If you run a small business, a homelab, or even just a busy smart home, guest VLAN isolation protects you from compromised guest devices, accidental access to file shares, and lateral movement if any device on your network gets infected. It is one of the most impactful security upgrades you can make in an afternoon.
What You’ll Need Before You Start
Before you configure anything, make sure you have hardware that supports VLANs. You will need three things.
A managed switch that supports 802.1Q VLAN tagging. Unmanaged switches will not work.
An access point that supports multiple SSIDs with VLAN assignment, such as Ubiquiti UniFi, TP-Link Omada, MikroTik, or Cisco Meraki.
A router or firewall with VLAN-aware interfaces, such as pfSense, OPNsense, MikroTik RouterOS, or the routing built into most prosumer switches.
You will also need a basic understanding of IP subnets. Pick a subnet for your guest network that does not overlap with your main network. For example, if your main LAN is 192.168.1.0/24, your guest VLAN could be 192.168.20.0/24. Pick a VLAN ID between 2 and 4094, and stick with common conventions like VLAN 10 for management, VLAN 20 for guests, and VLAN 30 for IoT.
Step-by-Step: Creating a Guest VLAN on Your Network
Follow these steps in order. The exact interface will vary depending on your hardware, but the underlying concepts are identical across vendors.
Step 1: Choose a VLAN ID and Subnet
Pick a VLAN ID and a subnet that does not overlap with anything else on your network. A common choice is VLAN 20 with subnet 192.168.20.0/24. Write these down. You will use them in every device you configure.
Step 2: Configure the Managed Switch Trunk Port
The port connecting your access point to the switch must be a trunk port that carries tagged traffic for multiple VLANs. On most managed switches, you set the port mode to “trunk” and specify which VLANs are allowed.
For example, on a Cisco-style switch the configuration looks like this:
interface GigabitEthernet0/1
switchport mode trunk
switchport trunk allowed vlan 1,20
switchport trunk native vlan 1
The native VLAN is the untagged VLAN. Most setups keep VLAN 1 as the native VLAN for management traffic. On Ubiquiti and MikroTik gear, you do this through the GUI by setting the port profile to “All” or by explicitly listing tagged VLANs.
Step 3: Create the VLAN on Your Router or Firewall
Log in to your router and create a new VLAN interface. On pfSense, go to Interfaces > Assignments > VLANs and add a new VLAN with tag 20. Then assign it to a physical interface and enable it. Give it a static IP in your chosen subnet, such as 192.168.20.1/24.
On MikroTik RouterOS, you would create a VLAN interface on the ether port, assign an IP address, and add a DHCP server. On UniFi gateways, you create a new network with VLAN ID 20 under Settings > Networks.
Step 4: Tag the Trunk Port on the Router Side
Make sure the physical port connecting your router to the switch is also a trunk port that allows your guest VLAN. If this is missed, traffic will simply never arrive at the router. This is one of the most common causes of “guest VLAN not working” and we will cover it in the troubleshooting section.
Configuring Your Access Point for the Guest SSID
Now that your network infrastructure understands VLAN 20, configure your access point to broadcast a guest SSID on that VLAN. In your AP controller, create a new wireless network named something like “Guest-WiFi” and assign it to VLAN 20.
Use WPA3 if your hardware supports it, otherwise WPA2 with a long, unique password. Disable WPS. Set the SSID to broadcast normally so guests can find it easily, and consider enabling client isolation within the SSID so guests cannot see each other on the network either.
If your access point supports it, enable a captive portal or a simple splash page. Many offices use a QR code taped to the wall so guests can scan and connect without typing a long password. If you run a small business, this is one of the easiest quality-of-life upgrades you can make.
Setting Up Firewall Rules to Block Guest Access to Internal Network
Creating the VLAN is only half the job. Without firewall rules, your guest network can still route to your internal network. This is where most home setups fail.
Always use interface-based firewall rules instead of IP-based rules wherever possible. Forum users and networking professionals consistently report that interface-based rules are safer because they survive IP changes and do not leave gaps if you renumber your subnets. On pfSense, this means creating rules on the VLAN 20 interface tab rather than rules that reference specific IP addresses.
The rule logic is simple. You need exactly two rules on the guest VLAN interface:
Block all traffic from the guest network to any RFC1918 private subnet (10.0.0.0/8, 172.16.0.0/12, 192.168.0.0/16). This prevents guests from reaching your internal network entirely.
Allow all traffic from the guest network to the internet. This gives guests the connectivity they actually need.
Optionally, add an explicit block rule to prevent guest-to-guest traffic if your access point does not already enforce client isolation. This stops guests from probing each other’s devices and limits the blast radius if one guest’s laptop is compromised.
Make sure you also add a corresponding rule on your internal LAN interface that blocks traffic originating from the guest VLAN. Firewall rules are stateful, so the inbound rule on the guest interface is often enough, but a deny rule on the LAN side is a belt-and-braces approach favored by many network engineers.
DHCP Configuration for the Guest Network
Your guest VLAN needs its own DHCP scope so guests automatically get an IP address. On pfSense, go to Services > DHCP Server, select the VLAN 20 interface, and enable a range such as 192.168.20.100 to 192.168.20.200.
If your access points sit on a different VLAN than your DHCP server, you need to configure a DHCP relay, also called an IP helper. This is exactly the configuration recommended in the Cisco community forums. On a Cisco switch, the command is ip helper-address 192.168.1.1 on the guest VLAN interface, pointing at your DHCP server. Without this step, guests will see the SSID but never receive an IP address.
Set a short DHCP lease time for the guest network, around 1 hour is common. This keeps your address pool clean, prevents stale entries, and ensures guests who leave do not hold addresses indefinitely. Several Reddit users in r/networking specifically recommend short lease times for guest networks as a simple operational improvement.
Testing Your Guest Network Isolation
Once everything is configured, testing matters more than configuration itself. Grab a phone or laptop and connect to the guest SSID.
First, confirm the device gets an IP address in your guest subnet. Open a terminal or command prompt and run ipconfig on Windows or ifconfig on macOS and Linux. You should see an address in 192.168.20.x.
Next, try to reach an internal resource. Try your router’s IP address, your NAS, or any internal service by typing the IP directly into a browser. It should fail to load. Try pinging your main subnet. Pings should time out. This is the moment of truth and it is how you verify the firewall rules actually work.
Finally, confirm that normal internet access works. Browse a few sites, run a speed test, and check that DNS resolves correctly. If internet works but internal resources do not, your isolation is working exactly as designed.
Troubleshooting Common Guest VLAN Issues
Even experienced network administrators hit snags when configuring guest VLANs for the first time. Here are the issues I see most often, and how to fix them.
DHCP Not Working on Guest VLAN
If guests connect to the SSID but never receive an IP address, you almost certainly have a missing or misconfigured DHCP relay. Make sure your switch has ip helper-address configured on the guest VLAN pointing at your DHCP server. Also confirm that the trunk port on the switch actually allows VLAN 20 tagged traffic.
Guests Can Still Reach Internal Resources
This usually means your firewall rules are too permissive. Check that you have an explicit block rule on the guest VLAN interface that targets RFC1918 ranges. Many consumer firewalls default to allowing all traffic that originates from any connected interface, which defeats the purpose of VLAN isolation entirely.
Trunk Port Misconfigurations
If your access point and switch disagree on which VLANs are tagged, traffic will silently drop. Double-check that both sides of every trunk link have matching VLAN lists. Pay particular attention to the native VLAN. If the native VLAN on one side does not match the other, you will see strange intermittent connectivity issues that are hard to diagnose.
Asymmetric Routing
In some setups, return traffic from a server on the main LAN takes a different path than the original request from the guest VLAN. This breaks stateful firewall inspection and causes connections to fail mysteriously. The fix is to ensure your router uses a single routing table and that the default gateway for the guest VLAN is consistent for both directions.
Once these issues are addressed, your guest Wi-Fi VLAN will reliably isolate visitors from your internal network. The whole setup typically takes an hour or two the first time and pays back every time someone asks for the Wi-Fi password.
Frequently Asked Questions
Is a guest network just a VLAN?
No, a guest network is not automatically a VLAN. Many consumer routers offer a guest network feature that only blocks internet-to-LAN traffic at the routing layer. A true VLAN-based guest network separates the broadcast domain entirely and uses firewall rules to enforce isolation, which is far more secure and reliable.
Can you do VLANs with WiFi?
Yes, modern access points support VLANs through 802.1Q tagging. Each SSID can be assigned to a specific VLAN, and the access point tags wireless traffic accordingly before sending it over the wired network. This is the standard way to run multiple isolated wireless networks on a single access point.
What are the disadvantages of using a guest Wi-Fi network?
Guest networks can introduce complexity, especially when devices need to communicate across them, such as a guest wanting to print to a network printer. They also require VLAN-capable hardware, which costs more than basic consumer gear. Additionally, misconfigured firewall rules can either over-restrict guests or under-isolate your internal network.
How do I stop guests from seeing my internal network?
The most reliable method is to assign your guest SSID to a separate VLAN with its own subnet, then configure firewall rules on your router to block all traffic from the guest VLAN to your internal subnets. Use interface-based rules rather than IP-based rules, and verify the setup by attempting to access internal resources from a guest device.
Final Thoughts on Your Guest Wi-Fi VLAN Setup
Setting up a guest Wi-Fi VLAN that cannot reach your internal network is one of those rare networking projects that is genuinely worth the effort. The core idea is simple: assign your guest SSID to its own VLAN, give it a separate subnet, and use interface-based firewall rules to block all traffic toward your private subnets while allowing internet access.
Take the time to test thoroughly, document your VLAN IDs and subnets, and revisit your firewall rules whenever you add new internal services. Once it is in place, you can hand out the guest password with confidence, knowing your NAS, smart home gear, and workstations stay invisible to anyone who connects.