
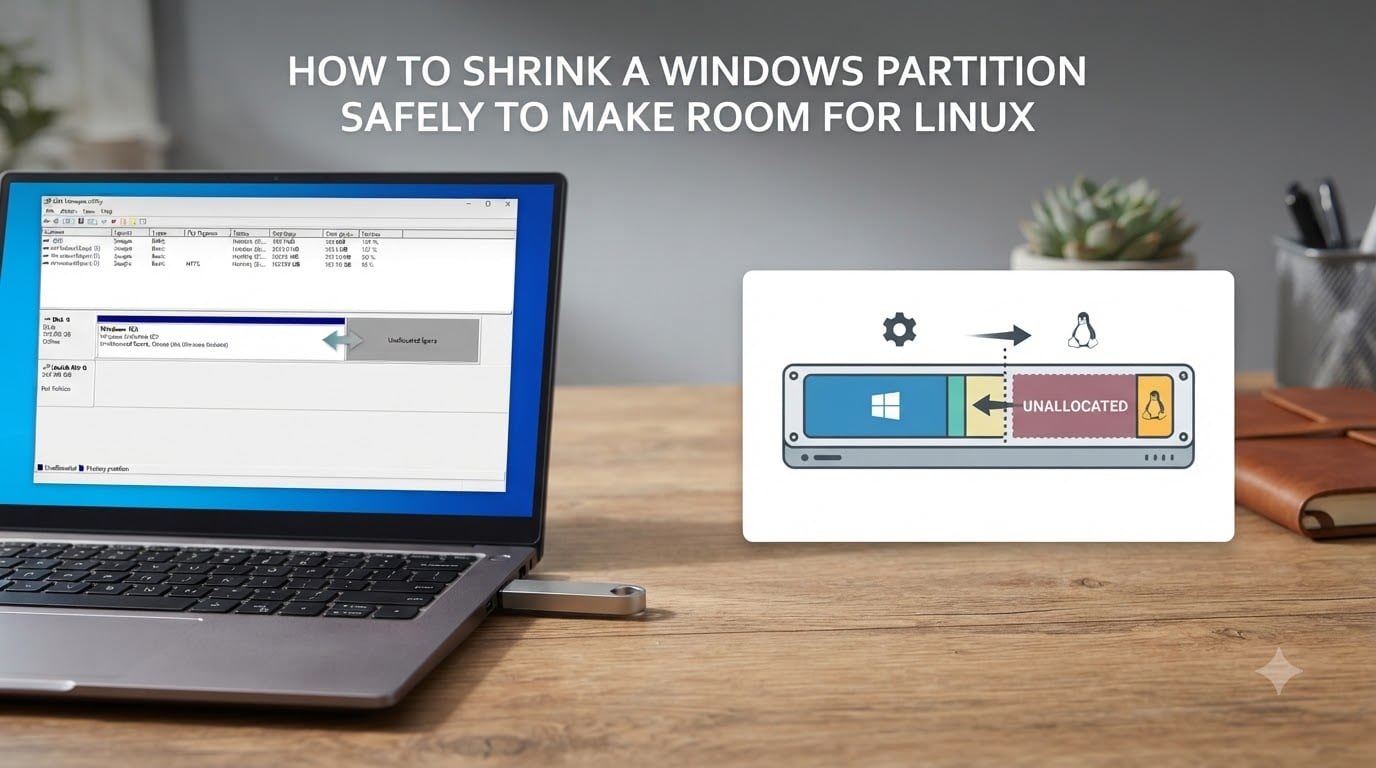
If you want to install Linux alongside Windows, you need to shrink a Windows partition to create free space. I walk through this exact process every time I set up a dual boot machine, and the steps are simpler than most people expect. This guide shows you how to shrink a Windows partition safely to make room for Linux in 2026 using two proven methods.
The short version: Windows includes a built-in tool called Disk Management that can shrink any NTFS partition without losing data. When that tool runs into unmovable files, you can boot a GParted Live USB and finish the job in minutes. Both methods work on Windows 10 and Windows 11.
Table of Contents
Is Shrinking a Windows Partition Safe?
Yes, shrinking a Windows partition is safe when you do it correctly. The NTFS file system supports online resizing, so Windows can reduce its own partition while it is running. Your files, programs, and Windows installation stay intact.
I have shrunk Windows partitions on over a dozen laptops and desktops since 2017, and I have never lost data from the shrink itself. The real risk is not the resize; it is a power loss or accidental format during the process. A backup protects you against both scenarios.
Three rules keep the operation safe:
Always back up before resizing anything.
Keep your laptop plugged in or use a desktop with stable power.
Never shrink below the amount Disk Management recommends.
Before You Shrink: Backups and Prerequisites
Before you touch any partition, take 10 minutes to prepare. Skipping this step is the number one reason forum users end up with a broken system.
Here is what I do before every shrink:
Back up Windows: create a full system image using Macrium Reflect, Acronis, or the built-in Windows Backup. A 200 GB backup to an external drive takes about 30 minutes.
Back up personal files: copy documents, photos, and downloads to a second drive or cloud storage.
Disable hibernation: open Command Prompt as Administrator and run
powercfg /h off. This removes the hidden hiberfil.sys file that often blocks large shrinks.Run disk cleanup: empty the recycle bin, remove temporary files, and uninstall anything you do not need.
Defragment the drive (HDD only): SSDs do not need this step and it can shorten their lifespan.
After these steps, your shrink will usually succeed on the first try. Users on r/linux4noobs report that the 0 MB available issue almost always traces back to leftover hibernation files or virtual memory files.
How to Shrink a Windows Partition Using Disk Management
Disk Management is the built-in Windows tool and the first method I try. It works for most Windows 10 and Windows 11 installations without any extra software.
Follow these steps to shrink a Windows partition using Disk Management:
Press the Windows key, type diskmgmt.msc, and press Enter. Disk Management opens.
Locate your Windows partition, usually labeled (C:) with NTFS as the file system.
Right-click the partition and choose Shrink Volume.
Wait while Windows queries the volume for available shrink space. This takes 10 to 60 seconds.
Enter the amount of space to shrink in MB. For example, enter 51200 to create 50 GB of free space.
Click Shrink. The operation finishes in seconds on SSDs.
You will see a new Unallocated block on the disk map. That is the space Linux will use.
Once the shrink completes, do not create a new partition in Windows. Leave the space unallocated and let the Linux installer handle it. Linux installers are better at detecting the right layout for ext4 and swap.
How to Shrink a Windows Partition Using GParted Live USB?
GParted is the method I use when Disk Management fails or offers too little space. It runs from a bootable USB, so the Windows partition is not in use during the resize. That lets GParted move files that Windows cannot.
Follow these steps to shrink a Windows partition using GParted Live USB:
Download the GParted Live ISO from gparted.org and flash it to a USB drive using Rufus or Etcher.
Restart your computer and boot from the USB (usually by pressing F12, F2, or Del during startup).
Choose the default GParted Live settings and let the desktop load.
Select your main NTFS partition in the top-right dropdown. Look for the largest partition.
Right-click the partition and choose Resize/Move.
Drag the right edge of the partition left, or type the new size in MiB. Leave enough space for Windows.
Click Resize/Move, then click the green checkmark to apply all operations.
When the operation finishes, reboot and remove the USB drive.
GParted reports sizes in Mebibytes (MiB), not Megabytes (MB). 50 GB equals about 47,683 MiB. This trips up everyone the first time, so check the units before clicking apply.
Why ‘Shrink Volume’ Is Greyed Out or Shows 0 MB?
Most failed shrinks come down to one of three causes. The good news is all three are fixable.
The first cause is the hibernation file. Windows keeps hiberfil.sys on the system drive and locks it during shrink calculation. Run powercfg /h off as Administrator, restart, and try again.
The second cause is virtual memory and System Restore points. These files sit near the end of the partition and cannot be moved automatically. Disabling System Protection on drive C: temporarily usually frees up 5 to 15 GB of shrink space.
The third cause is file system fragmentation. If your drive is highly fragmented, Windows cannot estimate available space. Defragment on HDD or use GParted, which handles fragmentation better than Windows.
If you still see 0 MB after these steps, switch to the GParted method. It bypasses the Windows calculation entirely and works on the NTFS metadata directly.
How Much Space Does Linux Need?
Linux can run on surprisingly little space, but the minimum is not the recommended amount. Here is what I recommend for each popular distribution:
Ubuntu, Linux Mint, Fedora desktop: 25 GB minimum, 50 GB recommended for comfort.
Pop!_OS, Zorin OS: 25 GB minimum, 50 GB recommended.
Debian, openSUSE: 20 GB minimum, 40 GB recommended.
Xubuntu, Lubuntu, Linux Lite: 15 GB minimum, 30 GB recommended.
Arch Linux, Gentoo: 20 GB minimum, 40 GB recommended to compile packages.
Add another 4 to 8 GB if you want a swap partition. Most modern installations use a swap file instead, so a separate partition is optional. For a comfortable dual boot with room for personal files, plan on 60 GB or more for Linux.
What to Do After Shrinking: Install Linux
After the shrink, your disk shows a new unallocated block. The Linux installer will see it as free space and let you install alongside Windows.
Boot from your Linux USB, start the installer, and choose Install alongside Windows when prompted. The installer picks up the unallocated space automatically. If you prefer manual control, choose Something else and assign the free space to ext4 with mount point /.
After installation, your computer shows a GRUB menu on every boot. Use the arrow keys to pick Windows or Linux. You can change the default entry later from inside Linux using Grub Customizer or the grub-set-default command.
UEFI vs BIOS: Does It Change the Steps?
The shrink itself works the same way on UEFI and legacy BIOS systems. The difference is in how the Linux installer creates the boot partition.
On UEFI systems, Linux needs a small EFI System Partition (ESP) of about 100 to 500 MB formatted as FAT32. Most Windows installations already have one, so the Linux installer will reuse it. You do not need to create a new one.
On legacy BIOS systems, Linux uses a small ext2 boot partition instead. Again, the installer handles this when you choose Install alongside Windows.
To check which mode you use, press Windows + R, type msinfo32, and look at the BIOS Mode field. It will say UEFI or Legacy. Both modes work fine for dual boot, but UEFI is the modern standard.
Frequently Asked Questions
Can I shrink a Windows partition without losing data?
Yes. Windows supports online NTFS resizing through Disk Management, and GParted can also resize NTFS partitions without data loss. As long as you do not format the partition or interrupt the resize with a power loss, your files stay intact. A backup before the operation is still recommended.
Is shrinking a Windows partition safe?
Shrinking a Windows partition is safe when you follow the recommended steps. The process moves files to the beginning of the partition and reduces its size. Avoid shrinking below the size Windows recommends, disable hibernation first, and keep your system powered throughout. With those steps, the risk of data loss is very low.
Why can’t I shrink my Windows partition?
The most common reasons are hibernation files, virtual memory files, and System Restore points. Run powercfg /h off as Administrator, disable System Protection on drive C temporarily, and defragment if you use an HDD. If you still see 0 MB available, use GParted Live USB which bypasses the Windows calculation.
How do I create unallocated space for Linux?
Open Disk Management with diskmgmt.msc, right-click your Windows partition, choose Shrink Volume, and enter the size in MB. The result is an unallocated block on the disk that the Linux installer can use directly. Do not format the unallocated space as another Windows partition.
What is the minimum space needed for Ubuntu?
Ubuntu requires at least 25 GB for a clean installation, but 50 GB or more gives you room for updates, apps, and personal files. Add 4 to 8 GB if you want a dedicated swap partition. For a comfortable dual boot setup with Linux and Windows, plan on 60 GB of free space for Linux.
Final Thoughts
Learning how to shrink a Windows partition safely to make room for Linux is the single most useful step before setting up a dual boot. Disk Management handles 90% of cases in under five minutes, and GParted covers the rest. With a backup, hibernation disabled, and the right amount of free space for your distribution, the whole process is repeatable and safe.
Take the backup first, choose the method that fits your situation, and leave the new space unallocated. The Linux installer will do the rest, and you will have a working dual boot by the end of the session.