
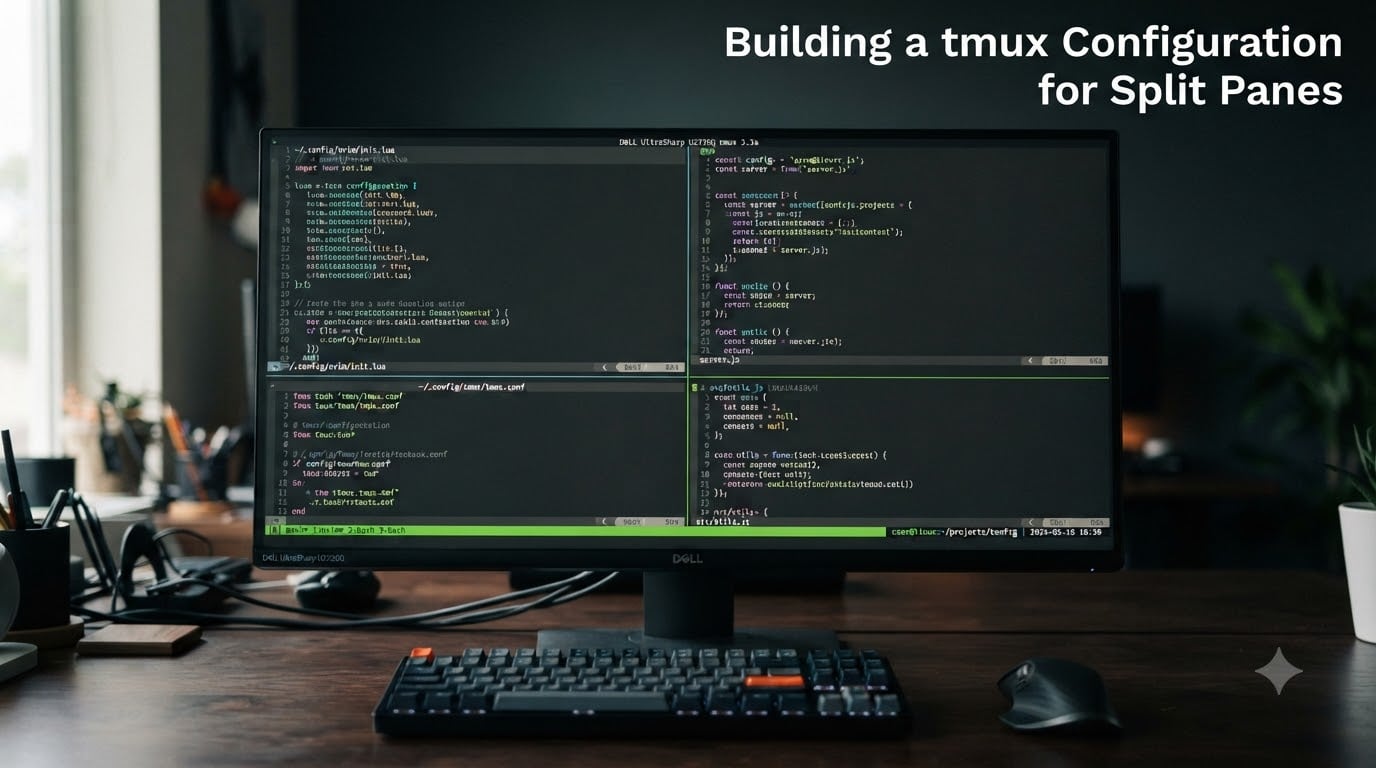
Building a tmux configuration for split panes transformed how I work in the terminal. Instead of juggling five terminal windows across two monitors, I now run everything inside a single tmux session with panes arranged exactly how I need them.
If you have ever felt that managing multiple terminal tabs is slowing you down, tmux split panes solve that problem. This guide walks you through setting up a tmux configuration for split panes from scratch, with a complete .tmux.conf you can copy and adapt.
I will cover the prefix key, vertical and horizontal splits, VIM-style navigation, same-directory splits, mouse mode, and copy/paste workflows. By the end, you will have a working tmux setup that fits your daily development or server administration routine.
Table of Contents
What Is tmux and Why Use It for Split Panes?
tmux is a terminal multiplexer that lets you split one terminal window into multiple panes, each running its own shell. You can detach from a session and reattach later, which means your work survives even if your SSH connection drops.
A terminal multiplexer works differently from just opening new terminal tabs. With tmux, everything lives inside a single process. You can arrange panes side by side, stack them vertically, resize them with keyboard shortcuts, and switch between them without touching your mouse.
The hierarchy is straightforward. A session holds multiple windows, and each window can hold multiple panes. Think of sessions as workspaces, windows as tabs, and panes as the actual split views inside those tabs.
Is tmux still used? Absolutely. In 2026, developers, system administrators, and DevOps engineers rely on tmux for remote server management, development workflows, and container orchestration. The GitHub repository remains active, and community dotfiles keep evolving.
Installing tmux on Your System
Before configuring anything, you need tmux installed. The installation depends on your operating system.
macOS (using Homebrew):
brew install tmux
Ubuntu / Debian:
sudo apt install tmux
Fedora / RHEL:
sudo dnf install tmux
Arch Linux:
sudo pacman -S tmux
Verify the installation by running tmux -V. You should see a version number. Anything 3.0 or higher supports all the configurations in this guide.
Understanding tmux Terminology: Sessions, Windows, and Panes
The biggest source of confusion for new tmux users is the terminology. Getting these straight before you start configuring makes everything else click into place.
A session is the top-level container. You can have multiple sessions running simultaneously, each with its own set of windows. Sessions persist even when you detach from them, which is what makes tmux so powerful for remote work.
A window lives inside a session and functions like a tab in a browser. You switch between windows using prefix + n (next) and prefix + p (previous), or by number with prefix + 0-9.
A pane is a split inside a window. This is where the actual terminal output appears. One window can contain many panes arranged however you like, and this guide focuses on configuring those splits.
Building a tmux Configuration for Split Panes: The Basics
Building a tmux configuration for split panes starts with a single file: ~/.tmux.conf. This file runs every time tmux starts, and it is where you define your keybindings, split behavior, and visual settings.
Create the file if it does not exist:
touch ~/.tmux.conf
Open it in your preferred text editor. Every line in this file is a command that tmux reads at startup or when you reload the configuration.
To reload your tmux config after making changes without restarting your session, add this line to your file:
bind r source-file ~/.tmux.conf ; display "Config reloaded!"
Now pressing prefix + r reloads your config instantly. The source-file command tells tmux to re-read the file, and display shows a confirmation message at the bottom of the screen. This is one of the most useful bindings you will ever add.
Customizing Your Prefix Key
Every tmux command starts with a prefix key. By default, that key is Ctrl+b, which requires an awkward finger stretch on most keyboards.
Most tmux users remap the prefix to Ctrl+a, which is much easier to reach. The community on Reddit and in dotfiles repositories almost universally prefers this change. Here is how to do it:
unbind C-bset -g prefix C-abind C-a send-prefix
The first line removes the default prefix. The second line sets Ctrl+a as the new prefix globally. The third line lets you press Ctrl+a twice to send the actual keystroke to applications inside tmux, which matters if you use Emacs or other tools that rely on Ctrl+a.
After reloading your config, every tmux command now starts with Ctrl+a instead of Ctrl+b. Your pinky finger will thank you.
Basic Split Pane Commands in tmux
The default split commands in tmux use % and ", which are hard to remember and require reaching for shifted keys. I recommend remapping them to something more intuitive.
Here are the default split commands:
prefix + % splits the pane vertically (side by side).prefix + " splits the pane horizontally (top and bottom).
Note that tmux terminology can feel reversed from what you expect. A vertical split creates two panes side by side with a vertical divider between them. A horizontal split stacks panes with a horizontal divider.
For a much better experience, remap the split keys in your .tmux.conf:
bind | split-window -hbind - split-window -v
Now prefix + | creates a vertical split and prefix + - creates a horizontal split. The visual key matches the divider line it creates, which makes the commands trivial to remember.
You also want the splits to open in your current pane directory. Add the -c flag to each binding:
bind | split-window -h -c "#{pane_current_path}"bind - split-window -v -c "#{pane_current_path}"
Each new pane now opens in the same directory as the pane you split from, which is the single most requested feature in tmux forums.
Splitting Panes in the Same Directory
If you have ever split a pane and found yourself back in your home directory, you are not alone. This is the number one complaint in the r/tmux community.
By default, tmux opens new panes in the directory where the tmux server started. That might be your home directory, not the project directory where you were working.
The fix is the #{pane_current_path} variable. When you pass it to split-window with the -c flag, tmux captures the current working directory of the active pane and opens the new pane there.
Apply this to new windows as well:
bind c new-window -c "#{pane_current_path}"
Now every new pane and every new window opens in the directory you are already working in. This small change eliminates a frustrating context switch that happens dozens of times per day.
If you use a shell plugin like tmux-resurrect to save and restore sessions, same-directory splits also persist correctly across reboots. Your entire workspace snaps back exactly as you left it.
Pane Navigation: Moving Between Splits
Once you have multiple panes open, you need to move between them efficiently. The default navigation uses prefix + arrow keys, which works but is slow if your hands live on the home row.
For VIM users, the natural choice is hjkl navigation. These four keys let you move left, down, up, and right without leaving the home row:
bind h select-pane -Lbind j select-pane -Dbind k select-pane -Ubind l select-pane -R
Now prefix + h moves left, prefix + j moves down, prefix + k moves up, and prefix + l moves right. If you already use VIM or Neovim, this feels completely natural.
Prefer arrow keys without the prefix? You can use the -n flag to bind navigation without requiring a prefix press:
bind -n M-Left select-pane -Lbind -n M-Right select-pane -Rbind -n M-Up select-pane -Ubind -n M-Down select-pane -D
Now Alt + arrow keys switches panes instantly with no prefix needed. This is fast, but be aware that some terminal emulators or shell plugins might already use Alt-arrow combinations.
To cycle between panes sequentially, use prefix + o to rotate forward. Press prefix + q to display pane numbers overlaid on each pane, then type a number to jump directly to that pane.
Resizing and Rearranging Panes
Panes rarely start at the size you want. You can resize them with the resize-pane command, but typing that each time is impractical.
Bind the resize commands to repeatable keys so you can hold prefix and tap multiple times:
bind -r H resize-pane -L 5bind -r J resize-pane -D 5bind -r K resize-pane -U 5bind -r L resize-pane -R 5
The -r flag makes the key repeatable, so you press prefix + H once and then tap H repeatedly to shrink the pane left in 5-cell increments. Release the keys when the pane is the right size.
For quick layouts, tmux includes five preset arrangements. Press prefix + Space to cycle through them:
The preset layouts include even-horizontal, even-vertical, main-horizontal, main-vertical, and tiled. Each one rearranges your panes instantly without losing any of the shells running inside them.
You can also swap two panes with prefix + { and prefix + }. This rotates panes without resizing, which is handy when you want a specific pane in the primary position.
Enabling Mouse Mode in tmux
By default, tmux ignores your mouse entirely. You cannot click to switch panes, scroll through output, or resize borders with a drag.
Enable mouse support with a single line:
set -g mouse on
This turns on pane selection by clicking, scrollback with the mouse wheel, and pane resizing by dragging borders. For most users, this is an instant quality-of-life improvement.
One caveat: with mouse mode enabled, you need to hold Shift to select and copy text the normal way your terminal handles it. This is because tmux intercepts mouse events before your terminal emulator sees them.
Copy Mode and Paste Workflow with Splits
Copy mode lets you scroll through pane output and select text to copy into tmux’s paste buffer. This becomes especially useful when you have multiple panes and need to grab output from one to paste into another.
Enter copy mode with prefix + [. You can then navigate with arrow keys or, if configured, VIM keys. The default keybindings for starting and confirming a selection depend on whether you are in Emacs or VIM copy mode.
For a VIM-style copy mode, add these lines:
setw -g mode-keys vibind -T copy-mode-vi v send -X begin-selectionbind -T copy-mode-vi y send -X copy-pipe-and-cancel "pbcopy"
The first line enables VIM-style navigation in copy mode. The second binds v to start a visual selection. The third binds y to yank the selection through pbcopy (macOS). On Linux, replace pbcopy with xclip -selection clipboard or wl-copy for Wayland.
Paste from the tmux buffer with prefix + ]. The text you copied in one pane can be pasted into any other pane in the same session.
Status Bar and Visual Customization
The status bar at the bottom of your tmux window shows session info, window names, and the current time. Customizing it makes your split pane workspace easier to navigate at a glance.
Here are some practical settings to start with:
set -g status-style bg=black,fg=whiteset -g status-left "#[fg=green]#S "set -g status-right "#[fg=cyan]%Y-%m-%d #[fg=yellow]%H:%M "set -g status-left-length 30
The #S variable shows the session name, and the date/time variables give you a clock. You can use color codes like #[fg=green] to highlight different sections.
Keep the status bar simple at first. Once you are comfortable, you can add window indicators, pane border styles, and active pane highlighting to make navigation faster.
Complete tmux Configuration Example for Split Panes
Here is a complete .tmux.conf that combines everything covered in this guide. Copy it, save it as ~/.tmux.conf, and reload with prefix + r.
# --- Prefix ---unbind C-bset -g prefix C-abind C-a send-prefix
# --- Reload config ---bind r source-file ~/.tmux.conf ; display "Reloaded!"
# --- Splits (same directory) ---bind | split-window -h -c "#{pane_current_path}"bind - split-window -v -c "#{pane_current_path}"bind c new-window -c "#{pane_current_path}"
# --- VIM navigation ---bind h select-pane -Lbind j select-pane -Dbind k select-pane -Ubind l select-pane -R
# --- Resize panes ---bind -r H resize-pane -L 5bind -r J resize-pane -D 5bind -r K resize-pane -U 5bind -r L resize-pane -R 5
# --- Mouse ---set -g mouse on
# --- Copy mode (VIM) ---setw -g mode-keys vibind -T copy-mode-vi v send -X begin-selectionbind -T copy-mode-vi y send -X copy-pipe-and-cancel "pbcopy"
# --- Status bar ---set -g status-style bg=black,fg=whiteset -g status-left "#[fg=green]#S "set -g status-right "#[fg=cyan]%Y-%m-%d #[fg=yellow]%H:%M"
This configuration gives you intuitive splits, same-directory panes, VIM navigation, repeatable resizing, mouse support, and a clean status bar. It is roughly 30 lines and covers the core of what most developers need.
Tips and Common Mistakes
Forgetting to reload. After editing your .tmux.conf, you must reload it for changes to take effect. Use prefix + r if you added the reload binding, or run tmux source-file ~/.tmux.conf manually.
Confusing vertical and horizontal splits. A vertical split puts panes side by side with a vertical line between them. A horizontal split stacks panes top and bottom. If the result looks wrong, you likely swapped -h and -v.
Losing the prefix on nested sessions. If you run tmux inside tmux (over SSH, for example), the outer prefix intercepts the inner one. Use send-prefix twice or configure a different prefix for the nested session.
Mouse mode blocking terminal copy. Hold Shift while selecting text to bypass tmux and let your terminal handle the copy operation directly.
Split not full height. If a vertical split does not take the full window height, check whether another pane in the window is constraining the layout. Use prefix + Space to cycle to a preset layout that uses the full space.
Frequently Asked Questions
How do you create a split pane in tmux?
Press your prefix key (default Ctrl+b) followed by % for a vertical split or the double-quote character for a horizontal split. You can remap these in your tmux.conf to more intuitive keys like the pipe symbol and hyphen.
Is tmux still used?
Yes, tmux remains widely used in 2026 by developers, system administrators, and DevOps engineers. It persists terminal sessions across SSH disconnections and allows multiple panes in a single window.
How to cycle between panes in tmux?
Press your prefix key followed by o to cycle to the next pane, or use prefix + q to display pane numbers and type a number to jump directly. You can also bind hjkl keys for VIM-style navigation.
How do you manage panes in tmux?
Use prefix + z to zoom a pane to full window, prefix + x to kill a pane, prefix + { or } to swap panes, and prefix + Space to cycle through preset layouts. The resize-pane command adjusts pane boundaries.
Conclusion
Building a tmux configuration for split panes comes down to a handful of settings in your .tmux.conf. A remapped prefix, intuitive split keys, same-directory pane opening, VIM-style navigation, and mouse mode cover what most users need.
Start with the complete configuration example above, then adjust the keybindings to match your muscle memory. The best tmux setup is the one you stop thinking about because it just works.