
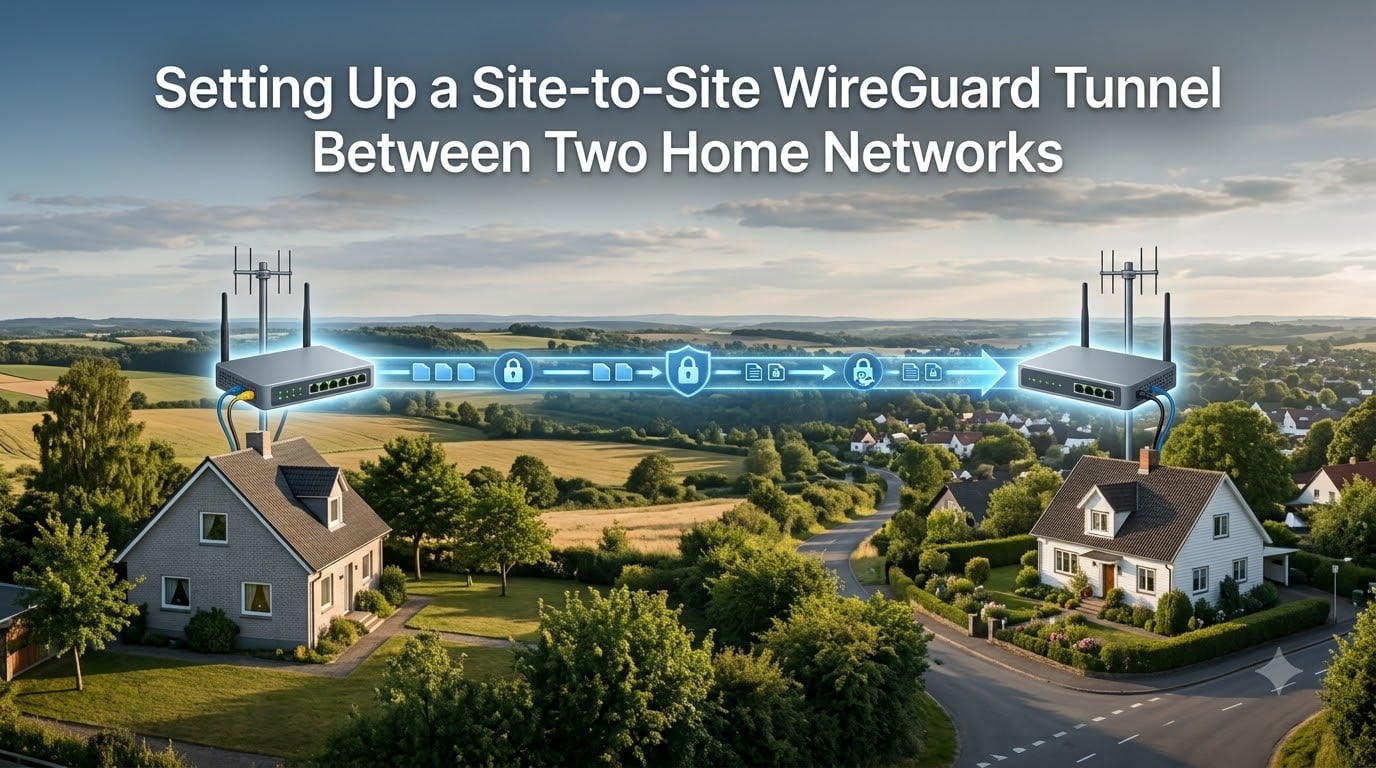
Last weekend I set up a site-to-site WireGuard tunnel between my house and my parents’ place so I could reach my home file server without poking holes in my router. It took me about an hour, most of which was figuring out two things: which subnet to give the tunnel, and why my traffic made the handshake but refused to actually ping. This guide is the cleaned-up version of that afternoon, aimed at home users who want to connect two home networks with WireGuard without buying enterprise gear.
By the end, you will have a working LAN-to-LAN tunnel where a device on Site A can talk to a device on Site B as if they shared a switch. I will use plain Linux examples, but the same configuration blocks apply on OpenWrt, OPNsense, pfSense, MikroTik, GL.iNet, and even Raspberry Pi gateways. I will also call out the spots where home networks behave differently from a data center.
Table of Contents
What Is a Site-to-Site WireGuard VPN?
A site-to-site WireGuard tunnel is a VPN configuration that connects two whole networks through an encrypted link so every device on each side can reach the other side without running VPN software itself. Instead of installing WireGuard on your laptop, you install it once on a gateway at each location, and the gateways route traffic for the entire LAN.
This is different from the more common remote-access setup, where a single phone or laptop joins a remote network. With site-to-site, the network itself is what is remote. My laptop at my parents’ house never knows WireGuard exists. It just sees the shared printer and the file server.
WireGuard is well suited for this job because it is fast, runs in kernel space on Linux, and its configuration is short enough to fit on a screen. A site-to-site setup only needs two peers (one per gateway), a tunnel subnet, and the two LAN ranges behind each gateway.
Prerequisites: What You Need Before Starting
Before you touch a config file, gather these so you are not flipping between browser tabs during the setup. I have broken them into a quick checklist you can copy.
- Two gateways running a recent Linux kernel (5.6 or newer) with the
wireguardmodule. OpenWrt 21.02+, Ubuntu 22.04+, Debian 12+, OPNsense 23+, and pfSense 2.6+ all qualify. - Root or sudo access on both gateways, plus the ability to edit firewall rules.
- A public IPv4 address on at least one side. The other side can sit behind NAT as long as it can initiate.
- UDP port 51820 (default) reachable from the internet on whichever side has the public IP. Forward it on the home router if needed.
- Two non-overlapping LAN ranges. The classic headache is both homes running 192.168.1.0/24. Pick something else for at least one side.
- A tunnel subnet that is also unique, for example 10.10.10.0/24, for the WireGuard interface addresses.
- Optional but recommended: a Dynamic DNS hostname if the public IP changes.
Tip: write down the values for Site A and Site B in a small table before configuring. I use a plain text file and update it as I go.
Understanding the Network Topology
Before any configuration, picture the traffic flow. Here is the topology I am assuming. Adjust the numbers to match your own home networks.
Site A (Your house)
  WAN IP: 203.0.113.10   (or DDNS hostname, e.g. home-a.example.net)
  LAN:    192.168.10.0/24
  Gateway WireGuard IP: 10.10.10.1/24

Site B (Family/second home)
  WAN IP: 198.51.100.20  (or DDNS hostname, e.g. home-b.example.net)
  LAN:    192.168.20.0/24
  Gateway WireGuard IP: 10.10.10.2/24

Tunnel subnet: 10.10.10.0/24 (used only by the two gateways)
The tunnel subnet is the “wire” between the two routers. Real LAN traffic stays on each LAN; the gateways encrypt and forward it across the tunnel using the tunnel IP as source. If you skip this step mentally, the rest of the guide will feel like magic.
Generating WireGuard Keys on Both Sites
Every WireGuard peer needs a private key, a public key derived from it, and a pre-shared key (optional but recommended for site-to-site). Generate them on each gateway. Never copy a private key to the other site.
On Site A:
wg genkey | tee /etc/wireguard/site-a.key | wg pubkey > /etc/wireguard/site-a.pub
wg genpsk > /etc/wireguard/site-a.psk
chmod 600 /etc/wireguard/site-a.key /etc/wireguard/site-a.psk
cat /etc/wireguard/site-a.pub
On Site B, run the same three commands but with names swapped. At the end, you should have a clean note like this:
Site A public key:  aAbBcCdDeEfFgGhHiIjJkKlLmMnNoOpPqQrRsStT=
Site B public key:  zZyYxXwWvVuUtTsSrRqQpPoOnNmMlLkKjJiIhHgG=
Pre-shared key (both): pPsShHkKeEyYxXwWvVuUtTsSrRqQpPoOnNmM=
Keep the private keys on their own gateway. The public keys are safe to share in chat, screenshots, or even a postcard.
Configuring the WireGuard Interface
Now build the wg0 interface on each side. I will use wg-quick and a standard conf file at /etc/wireguard/wg0.conf.
Site A configuration (/etc/wireguard/wg0.conf):
[Interface]
Address = 10.10.10.1/24
ListenPort = 51820
PrivateKey = <contents of site-a.key>
PreSharedKey = <contents of site-a.psk (or shared psk)>
MTU = 1420
PostUp = iptables -A FORWARD -i wg0 -j ACCEPT; iptables -A FORWARD -o wg0 -j ACCEPT; iptables -t nat -A POSTROUTING -o eth0 -j MASQUERADE
PreDown = iptables -D FORWARD -i wg0 -j ACCEPT; iptables -D FORWARD -o wg0 -j ACCEPT; iptables -t nat -D POSTROUTING -o eth0 -j MASQUERADE

[Peer]
PublicKey = <site-b.pub>
PresharedKey = <site-a.psk>
Endpoint = home-b.example.net:51820
AllowedIPs = 10.10.10.2/32, 192.168.20.0/24
PersistentKeepalive = 25
Site B configuration:
[Interface]
Address = 10.10.10.2/24
ListenPort = 51820
PrivateKey = <contents of site-b.key>
PreSharedKey = <contents of site-b.psk>
MTU = 1420
PostUp = iptables -A FORWARD -i wg0 -j ACCEPT; iptables -A FORWARD -o wg0 -j ACCEPT; iptables -t nat -A POSTROUTING -o eth0 -j MASQUERADE
PreDown = iptables -D FORWARD -i wg0 -j ACCEPT; iptables -D FORWARD -o wg0 -j ACCEPT; iptables -t nat -D POSTROUTING -o eth0 -j MASQUERADE

[Peer]
PublicKey = <site-a.pub>
PresharedKey = <site-a.psk>
Endpoint = home-a.example.net:51820
AllowedIPs = 10.10.10.1/32, 192.168.10.0/24
PersistentKeepalive = 25
A few things worth highlighting. The AllowedIPs line on each peer is the heart of routing: it tells WireGuard which destination IPs should be sent through the tunnel. On Site A, I list the Site B tunnel IP plus the Site B LAN. On Site B, I mirror that. The PostUp lines enable forwarding and NAT for any traffic that comes off the tunnel and needs to reach a LAN device. Replace eth0 with your actual WAN interface (sometimes wan0 or ppp0).
Bring both interfaces up:
sudo systemctl enable --now wg-quick@wg0
sudo wg show
If wg show lists both peers with a recent handshake, the cryptographic half is working.
Configuring Peers on Site A and Site B
Peer configuration is where most first-timers get stuck, because WireGuard is symmetric: each side describes the other. The mental model that helped me was to ask, “what IPs would I send down this tunnel if I were this gateway?” On Site A, the answer is “the Site B tunnel IP and the Site B LAN”. On Site B, the mirror.
AllowedIPs has two meanings depending on context. In the [Interface] section it sets the IP of the local WireGuard interface. In [Peer] it is a routing hint plus a cryptographic filter: only traffic whose destination matches is allowed through, and only traffic from those source IPs is accepted from that peer. Getting this wrong is the single most common reason a tunnel appears up but does nothing.
If your home router firmware exposes WireGuard through a GUI (OpenWrt, OPNsense, pfSense, GL.iNet), the same fields appear. Enter the public key instead of pasting a long base64 string, choose the tunnel address, set the endpoint, and tick a box to add the LAN subnet to AllowedIPs. The router will write the same conf file underneath.
Enabling IP Forwarding and Firewall Rules
WireGuard can bring the tunnel up, but the kernel still needs permission to forward packets between wg0 and your LAN interface. On Linux, that is a one-line sysctl plus the iptables rules in the PostUp block above.
echo "net.ipv4.ip_forward=1" | sudo tee /etc/sysctl.d/99-wireguard.conf
sudo sysctl -p /etc/sysctl.d/99-wireguard.conf
Verify with sysctl net.ipv4.ip_forward. It must return 1. Without this, the kernel silently drops forwarded packets and you will see handshakes with zero data.
For the firewall, I keep three rules: allow forwarding into wg0, allow forwarding out of wg0, and NAT traffic leaving the WAN interface. If your home router uses nftables instead of iptables, translate the same logic. On OPNsense and pfSense, this is two GUI clicks: allow WireGuard to any, and add an outbound NAT rule for the tunnel source.
If you hit issues with HTTPS or large file copies hanging, add MSS clamping to fix Path MTU discovery over the tunnel:
iptables -t mangle -A FORWARD -p tcp --tcp-flags SYN,RST SYN -j TCPMSS --clamp-mss-to-pmtu
Routing Traffic Between the Two LANs
For most home setups, the AllowedIPs on each peer and IP forwarding are enough, because WireGuard programs the routes for you. A wg show on each side will list the AllowedIPs and the kernel will install routes that match.
Where extra static routes are needed is on devices that are not the WireGuard gateway themselves. If Site A has a separate firewall/router in front of the WireGuard box, the firewall needs a route that says “for 192.168.20.0/24, next hop 10.10.10.1”. On consumer all-in-one routers running OpenWrt this is usually automatic because the WireGuard interface is part of the same routing table.
If you only want to expose a single host on a LAN (for example, only the printer, not the whole 192.168.20.0/24), shrink AllowedIPs on both sides to that single IP, plus the tunnel IP. Forum users do this all the time to limit blast radius.
Handling Dynamic IPs and NAT Traversal
Home ISPs rotate public IPs, sometimes weekly, sometimes every reboot. WireGuard does not care as long as one side is the “server” with a stable endpoint and the other side only ever initiates. The PersistentKeepalive = 25 line on the side behind NAT is what makes this work; it pokes the public-side peer every 25 seconds so stateful firewalls do not drop the mapping.
For the changing public IP, point a Dynamic DNS hostname at it. Most home routers have a DynDNS, No-IP, or custom update client built in. Replace the literal IP in Endpoint with the hostname. WireGuard resolves the hostname when it tries to handshake, so a DNS update is picked up within a minute or two.
Two edge cases worth flagging. If both sites sit behind carrier-grade NAT (CGNAT), neither can accept inbound UDP, and a pure site-to-site WireGuard will not work without a relay. In that case, Tailscale or ZeroTier are easier answers. If only one side is behind CGNAT, put the relay-free WireGuard endpoint on the side with a real public IP and call it done.
Testing and Verifying the Tunnel
Do not skip the test step. I have shipped “working” tunnels that only worked because my laptop happened to be on the same LAN as the gateway. Here is the order I run.
sudo wg showon both sides. Look for “latest handshake” within the last two minutes and a non-zero “transfer”.- From the Site A gateway,
ping 10.10.10.2. This proves the tunnel itself. - From the Site A gateway,
ping 192.168.20.1(Site B’s gateway LAN IP). This proves forwarding and routing. - From a real device on Site A’s LAN, ping a real device on Site B’s LAN. This proves the LAN path end-to-end.
- For packet loss debugging, run
mtr 192.168.20.1from Site A and watch where drops appear.
If step 1 passes but step 2 fails, the issue is firewall or AllowedIPs. If step 2 passes and step 3 fails, IP forwarding or NAT is missing. If step 3 passes and step 4 fails, the LAN device has its own firewall (Windows Defender, macOS firewall) blocking the source subnet.
Common Problems and Troubleshooting
Across the WireGuard subreddit and the homelab forums, the same handful of issues come up again and again. Here is the cheat sheet I wish I had on day one.
Handshake works, ping fails. Almost always IP forwarding disabled or iptables FORWARD chain dropping. Re-check sysctl net.ipv4.ip_forward and run iptables -L -v to confirm packet counters move on the FORWARD chain when you ping.
Both sites use 192.168.1.0/24. Pick a new range for at least one LAN. The tunnel cannot route to two LANs with the same subnet because the gateway has no way to tell which 192.168.1.50 you mean. I renumber the smaller network to 192.168.50.0/24 and the problem goes away.
Endpoint keeps changing. Set up Dynamic DNS on the side with the public IP and put the hostname in Endpoint. WireGuard only re-resolves when it needs to send, so a fresh DNS record is picked up on the next handshake.
Tunnel up, but HTTPS hangs, ping works. Path MTU problem. Set MTU = 1420 on the interface and add the TCPMSS clamp rule from the firewall section.
Only one direction works. Asymmetric AllowedIPs. The peer that cannot reach the other side has the wrong AllowedIPs list. On Site A, AllowedIPs must contain Site B’s tunnel IP and Site B’s LAN. On Site B, the mirror.
Tunnel dies every few minutes. Missing PersistentKeepalive on the side behind NAT. Set it to 25 seconds.
Frequently Asked Questions
Can WireGuard be used for site-to-site?
Yes. WireGuard supports site-to-site VPN out of the box. Configure a WireGuard interface on a gateway at each site with the other gateway as a peer, set AllowedIPs to the remote tunnel IP plus the remote LAN subnet, enable IP forwarding, and add a forwarding/NAT firewall rule. This is the standard pattern for connecting two home networks with WireGuard.
How to create a VPN tunnel between two sites?
To create a VPN tunnel between two sites: 1) Generate a private and public key on each gateway. 2) Assign each gateway a tunnel IP from a new subnet, for example 10.10.10.1 and 10.10.10.2. 3) Add the other gateway as a peer using its public key and an Endpoint that points to its public IP or Dynamic DNS hostname on UDP 51820. 4) Put the remote tunnel IP and remote LAN subnet in AllowedIPs on both peers. 5) Enable net.ipv4.ip_forward=1 and allow forwarding in the firewall. 6) Test with wg show and ping across the tunnel.
How can I connect two networks using WireGuard?
Connect two networks using WireGuard by installing WireGuard on a small gateway at each site (a Raspberry Pi, OpenWrt router, OPNsense box, or Linux server works), then configuring each gateway as a peer of the other. Add the remote LAN subnet to AllowedIPs on both sides, enable IP forwarding on both gateways, and make sure UDP 51820 (or your chosen port) is forwarded from the public IP to the gateway at the side that accepts inbound connections. Once both peers show a recent handshake, devices on either LAN can reach the other LAN transparently.
What are the disadvantages of WireGuard?
WireGuard’s main disadvantages for site-to-site home use are: it does not assign IP addresses dynamically, so every peer needs a fixed tunnel IP; it does not include NAT on the tunnel side by default, so you must enable IP forwarding and add firewall/NAT rules yourself; it has no built-in mechanism for handling dynamic public IPs, so you need a Dynamic DNS hostname on the side behind a changing IP; and it requires UDP to reach the peer, which fails behind carrier-grade NAT on both sides. There is also no central user management like OpenVPN or IPsec have, so for many peers you manage keys by hand or use a tool such as Tailscale on top of it.
Conclusion
Setting up a site-to-site WireGuard tunnel between two home networks in 2026 is one of those projects that looks intimidating on paper but only needs about ten minutes of real configuration once the plan is in your head. The mental model is simple: one tunnel subnet for the gateways, two LAN ranges for the actual networks, a peer block on each side that mirrors the other, IP forwarding enabled, and a firewall rule that lets the LAN traffic cross.
Pick non-overlapping subnets, generate keys carefully, set PersistentKeepalive on whichever site sits behind NAT, and verify in layers. Once your wg show reports a recent handshake and a ping from a real device on Site A reaches a real device on Site B, you have a working site-to-site WireGuard VPN you can extend to additional home networks just by adding more peers. From here the natural next step is DNS: point a private domain at both LANs and use split-horizon DNS so your devices use friendly names instead of IP addresses.