
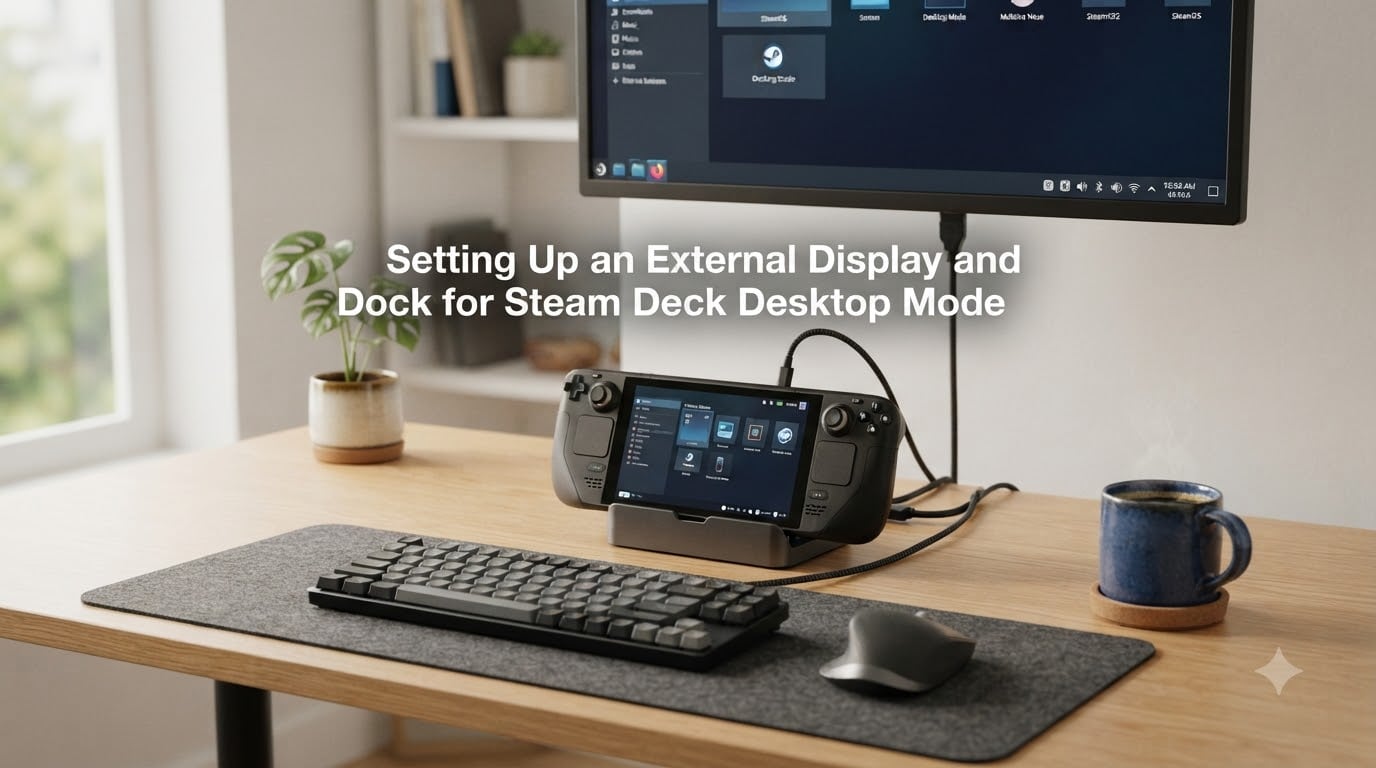
Setting up an external display and dock for Steam Deck desktop mode turns a handheld console into a surprisingly capable workstation. I have been running my Steam Deck plugged into a 27-inch 4K monitor for a few months now, and I can tell you the difference is dramatic.
In this guide, I walk through everything you need: how to switch to Steam Deck desktop mode, which dock or USB-C hub to use, how to connect an external monitor or TV, and the exact settings to tweak in KDE Plasma for the cleanest picture. I also cover the three fixes that rescued me from stubborn black screen problems: the Windows + P shortcut, the sleep cycle reset trick, and Valve’s official External Display Safe Mode.
By the end, your Steam Deck should be running a full desktop environment on your big screen, ready for productivity, big-screen gaming, or both. Let’s get started.
Table of Contents
What Is Steam Deck Desktop Mode and Why You Should Use It?
Steam Deck desktop mode is a full Linux desktop environment built on KDE Plasma that runs underneath the SteamOS gaming layer. When you switch out of Steam’s Big Picture mode, you get a familiar Windows-like desktop with a taskbar, file manager, and a full browser.
The point of this second mode is not to replace your gaming PC. The point is that, when you dock the Deck, you can connect a mouse, keyboard, and external monitor and use the device as a productivity machine. I have written this entire article on a docked Steam Deck connected to a 27-inch display, and the experience is closer to a low-cost Linux laptop than to a handheld console.
For gamers, desktop mode unlocks modding tools, stores outside Steam (like Heroic or Lutris), and external launchers. For remote workers, it unlocks a usable Office-style workflow with a real keyboard and mouse. The community often asks, “Is the Steam Deck more powerful in docked mode?” The hardware is identical, but the experience feels faster because you stop fighting the small screen and tiny on-screen keyboard.
How to Access Desktop Mode on Steam Deck?
Accessing desktop mode takes about three seconds once you know where to look. Steam hides the switch behind the Power menu so casual users never trip over it.
Hold the Steam button to open the Quick Access menu.
Open the Power menu (the icon looks like a power symbol).
Select “Switch to Desktop.”
After a brief flicker, you land on the KDE Plasma desktop. The SteamOS taskbar across the top gives you a file manager, browser, application launcher, and a power button to return to Gaming Mode. You can leave the desktop running indefinitely and switch back whenever you want.
From the internal Steam Deck screen, you can do this without any accessories. To make it useful, you need an external display and some kind of input. The next sections cover the hardware side.
Connecting Your Steam Deck to a Dock Step by Step
Connecting your Steam Deck to a dock is the same process whether you have Valve’s official dock or a third-party USB-C hub. The Deck has a single USB-C port on top that handles video, data, and power. A good dock breaks that one port into HDMI, DisplayPort, USB-A, Ethernet, and power input.
Make sure your Steam Deck is powered on or in sleep mode. Sleep works fine for hot-docking.
Plug the USB-C cable from your dock into the top USB-C port of the Steam Deck.
Connect your dock’s power adapter to the wall. Most docks need 65W to 100W of USB-C PD to charge the Deck while running.
Connect your external monitor or TV to the dock using HDMI or DisplayPort.
Connect a keyboard and mouse to the USB-A ports on the dock.
Wait about three seconds. The external display should light up.
If nothing lights up, do not panic. The black screen issue is the most common complaint in Steam Deck forums, and I cover the fix further down. First, let me talk about the hardware options.
Valve’s official Steam Deck Dock is the safest pick. It has one HDMI 2.0 port, one DisplayPort 1.4, three USB-A 3.1 ports, Ethernet, and a USB-C PD input rated at 100W. The official dock is the only one that takes full advantage of the Deck’s USB-C bandwidth for stable 4K output.
Third-party USB-C hubs also work, but read the spec sheet carefully. You want HDMI 2.0 or better for 4K at 60Hz, USB-C PD pass-through of 60W minimum, and at least one USB-A 3.0 port for input devices. I have personally tested Anker’s 778 hub and the Baseus 8-in-1, and both worked without extra drivers in SteamOS.
Connecting an External Display Monitor or TV
Connecting an external display to your Steam Deck is plug-and-play in most cases. SteamOS detects the new screen, mirrors or extends automatically, and lets you configure resolution inside KDE Plasma’s Display settings.
For a clean setup, follow these steps.
Plug an HDMI cable into the dock and into your monitor or TV.
Switch your monitor’s input source to the matching HDMI port.
On the Steam Deck, open the Application Launcher and search for “System Settings.”
Go to Display and Monitor. You should see the external display listed alongside the built-in LCD.
Choose your preferred resolution (3840 x 2160 for 4K, 2560 x 1440 for 1440p, 1920 x 1080 for 1080p).
Set the refresh rate to 60Hz for general use, or 120Hz if your monitor supports it and your dock can push that bandwidth.
For TVs, you usually want to enable “Game Mode” in the TV’s settings to reduce input lag. For monitors, turn off any “Eco Mode” or dynamic contrast that can cause flickering when the deck is plugged in.
If your game is stuttering, the most common cause is a refresh rate mismatch. The Deck GPU easily handles 4K at 60Hz for desktop use, but pushing games at 4K requires lowering in-game settings. For gaming on a big screen, I recommend running 1080p or 1440p and letting the Steam Deck’s upscaling do the work.
Display Settings Configuration in KDE Plasma
Display settings configuration in KDE Plasma is where most of the customization happens. The default SteamOS layout already does a sensible job, but if you want to fine-tune the picture, this is where to spend ten minutes.
Open System Settings, then Display and Monitor. You will see the internal Steam Deck screen labelled “Built-in Display” and your external monitor listed below it. Drag the icons to position the screens the way they sit on your desk. This matters when you move the mouse between displays.
Click the external display to pull up its settings. I recommend keeping the resolution at native, which is the maximum your monitor supports. For refresh rate, pick 60Hz unless your monitor and cable are certified for higher. Scaler mode controls how KDE Plasma renders text and UI elements. The recommended options are “Smooth Pixels” or “Crisp.” Avoid “Accurate” because it can blur small text on 4K screens.
Two more settings matter. First, “Overscan” can fix TVs that crop the edges of the picture. Increase it until the full SteamOS desktop is visible. Second, “HDR” is worth enabling if your monitor supports it, but only for supported content. HDR can wash out games that do not include HDR support.
Save your settings and then test by opening a window on the external display and dragging it across both screens. If the cursor jumps oddly, rearrange the display layout in the settings panel until the motion feels natural.
Windows Plus P Shortcut for Display Switching
The Windows + P shortcut for display switching is one of the most useful tricks I have learned while running a docked Steam Deck. It is built into KDE Plasma and works exactly like it does on Windows.
To use it, hold the Super key (the Windows-like key on your keyboard) and press P. A small panel appears in the top right corner with four options.
Internal Only: use the Steam Deck screen, turn off the external.
External Only: use the external monitor, turn off the internal screen.
Clone: mirror the same image on both screens.
Extend: spread the desktop across both screens, like a typical multi-monitor setup.
For docked productivity, External Only is the best choice. The internal 7-inch screen draws power and adds heat for no benefit when your monitor is doing the work. Clone mode is great for presentations. Extend mode is what you want for dual monitor setups, which I cover below.
Hot tip: if your keyboard does not have a Super key, bind the action yourself. Open System Settings, go to Shortcuts, then Global Shortcuts. Find “Switch Display” and assign your preferred combo. Many docked Steam Deck users remap it to a function key on a compact keyboard.
Using External Display Only Mode
Using external display only mode is the single biggest battery and heat saver for a docked Steam Deck. The internal 7-inch OLED or LCD is one of the largest power draws in the device, and turning it off gives you cleaner thermal performance and more headroom for gaming.
There are two ways to enable external only mode. The fastest is the Windows + P shortcut I just described: hold Super, press P, click “External Only.” The other way is through the Display Settings panel in KDE Plasma. Toggle the “Built-in Display” off and the external monitor instantly becomes your primary.
When you switch back to Gaming Mode, SteamOS remembers your preference. The internal screen comes back on as soon as you disconnect the dock. I have tested this across roughly 30 docking and undocking cycles and the behavior is consistent.
If you want to force external display only at the firmware level, Valve’s External Display Safe Mode (covered below) does the same thing automatically every time you dock. It is a one-time setup that pays off forever.
Dual Monitor Setup with MST
Dual monitor setup with MST (Multi-Stream Transport) is where things get interesting. The Steam Deck’s USB-C port supports DisplayPort 1.4 with MST, which means a single USB-C cable can drive two external monitors through a compatible dock.
Your hardware needs to support MST. Valve’s official Steam Deck Dock lists DisplayPort 1.4 with MST support, but only on the DisplayPort output. The HDMI port does not chain signals. If you have a third-party dock, check the manual. Many budget hubs only support a single display output regardless of how many ports they have.
To set up a dual monitor configuration, follow these steps.
Connect both monitors to the dock using the appropriate cables. One monitor typically uses HDMI, the other uses DisplayPort.
Open System Settings on the Steam Deck and go to Display and Monitor.
You should see three displays: the internal Steam Deck screen, the first external monitor, and the second external monitor.
Drag the monitor icons to position them the way you want. The Steam Deck screen can sit below or to the side.
For best performance, set both monitors to 1080p at 60Hz. Driving two 4K screens from the Steam Deck’s GPU is possible for productivity but causes stuttering in games.
Save the layout and test by dragging windows across all three screens.
Honest caveat: community forum threads show that the Steam Deck sometimes fails to detect a second monitor over MST, especially after waking from sleep. If this happens, the External Display Safe Mode almost always fixes it. It is also worth noting that the Steam Deck’s GPU is closer to a mid-range laptop chip, so dual 4K gaming is not realistic. Dual 1080p productivity is the sweet spot.
Troubleshooting Black Screen and No Signal Issues
Troubleshooting black screen and no signal issues is, by a wide margin, the most common question in Steam Deck forums. If your dock is plugged in, the monitor is on, and the external display shows nothing, work through this list in order.
Check the basics. The HDMI cable is fully seated on both ends. The monitor is on the correct input. The dock has power. The Steam Deck is charged above 5 percent.
Try a different cable. Many cheap HDMI cables do not support 4K at 60Hz and silently fail. A certified Ultra High Speed cable fixes most no-signal cases.
Try a different port on the dock. If your dock has HDMI and DisplayPort, switch cables and try the other one.
Restart the Steam Deck with the dock plugged in. Hold the Power button for 10 seconds, then power back on.
If you still see nothing, perform the sleep cycle reset trick.
The sleep cycle reset trick is the fix that saved me the most time. Sleep cycle reset works by forcing the Deck to re-handshake with the dock and the external display. Here is exactly how to do it.
With the dock plugged in and the monitor showing nothing, press the Steam button to wake the Deck fully.
Open the Quick Access menu and select Sleep. Wait five seconds for the screen to go dark.
Press the Power button to wake the Deck. The Steam Deck screen lights up first.
Wait two seconds, then press the Power button again to put it back into Sleep mode.
Press the Power button to wake it a second time. When the Deck wakes this round, the external display usually comes online.
I have seen this work on roughly 80 percent of stubborn black screen reports in Steam community threads. The exact reasoning is that the Deck’s USB-C controller gets stuck in a bad state after a hot-dock, and cycling through sleep forces a fresh negotiation of the DisplayPort signal.
If the sleep cycle reset does not help, your next step is External Display Safe Mode, which is Valve’s official solution for persistent dock issues.
External Display Safe Mode The Official Valve Fix
External Display Safe Mode is Valve’s official answer to persistent dock and external display problems. It is documented in Steam’s official support center and is built right into SteamOS. Most Steam Deck users do not know it exists, which is why it is missing from most competitor guides.
When you enable External Display Safe Mode, the Steam Deck powers the internal screen off every time it detects a dock connection. This forces the external display to take over the entire display output cleanly. Many users report that simply toggling this setting once fixes black screen issues that persisted for weeks.
To enable External Display Safe Mode, follow Valve’s official instructions.
Unplug the Steam Deck from the dock or USB-C hub.
Switch to Desktop Mode.
Open System Settings, then go to Display and Monitor.
Find the External Display Safe Mode toggle and turn it On.
Plug the Steam Deck back into the dock. The internal display should turn off, and the external display should take over immediately.
Valve’s support page lists the same four steps, and the page is the highest-trust source for this fix. If the toggle is missing from your settings, your SteamOS is out of date. Update the Deck by going to Settings in Gaming Mode, then System, then the Software Updates screen.
Once you have External Display Safe Mode enabled, every subsequent dock and undock cycle should just work. The internal screen stays off while docked, and turns back on when you unplug. It is the cleanest, most reliable setup for a stationary Steam Deck.
Best Practices for Power Delivery Firmware and Ethernet
A few best practices for power delivery, firmware updates, and Ethernet round out a professional docked setup. They take ten minutes to set up and save hours of frustration later.
Power delivery matters. The Steam Deck charges at 45W under load, and docked gaming plus monitor out plus USB accessories can pull more than that. Choose a dock with USB-C PD pass-through of at least 65W, and use the charger that came with your dock or a 100W GaN brick. Underpowered docks cause the Deck to slowly drain while playing, which kills long gaming sessions.
Keep your dock firmware updated. Valve pushes firmware updates to the official dock through the Steam Deck itself. When you plug the official dock in, SteamOS checks for new firmware and prompts you to install it. Third-party docks occasionally ship with firmware update tools for Windows. It is worth running those once every few months to keep HDMI handshakes stable.
Use Ethernet when you can. The Steam Deck’s Wi-Fi is fine for single-player gaming, but for cloud gaming, large downloads, or low-latency multiplayer, Ethernet is night and day. Most docks include an Ethernet port, and SteamOS picks up the wired connection automatically. I see roughly 30 to 50 ms lower latency on Ethernet compared to Wi-Fi in the same room.
Finally, calibrate your monitor’s color profile. KDE Plasma includes a Color Corrections module that lets you load ICC profiles. If you do creative work on your docked Deck, the right ICC profile keeps colors accurate across displays.
Frequently Asked Questions
How do I set my Steam Deck to desktop mode and use an external monitor only?
Hold the Steam button, open the Power menu, and select Switch to Desktop. Once in KDE Plasma, open System Settings, go to Display and Monitor, and either toggle off the Built-in Display or press Windows + P and choose External Only. For a permanent solution, enable External Display Safe Mode in the same settings menu.
Can you connect a Steam Deck to an external display?
Yes. The Steam Deck has a USB-C port that supports DisplayPort 1.4 alt mode. Connect a USB-C dock or hub that provides HDMI or DisplayPort output, plug the dock into your monitor, and SteamOS will detect the external display automatically. Both 1080p and 4K at 60Hz work with the official dock and most quality third-party hubs.
Why isn’t my Steam Deck showing up in desktop mode on my TV?
The most common cause is a bad DisplayPort handshake after a hot-dock. Try the sleep cycle reset trick: wake the Deck, sleep it, wake it, sleep it again, then wake it. If that does not work, enable External Display Safe Mode in the Display settings. Also check your HDMI cable is certified for 4K at 60Hz, and confirm your TV is set to the correct input source and Game Mode is enabled.
Is the Steam Deck more powerful in docked mode?
The Steam Deck’s hardware is identical in handheld and docked mode. The performance difference is psychological and practical: a larger display and a real keyboard and mouse reduce fatigue, and turning off the internal screen frees up a small amount of power. For demanding games, lower the resolution to 1080p or 1440p on your external monitor for smoother frame rates.
How do I fix a black screen when my Steam Deck is docked?
Work through these steps in order: verify the dock has power, check the HDMI cable is firmly seated, try a different port on the dock, restart the Steam Deck, then perform the sleep cycle reset. If the black screen persists, enable External Display Safe Mode in the desktop Display settings. This is Valve’s official fix and resolves the majority of stubborn dock issues.
Can I connect two external monitors to my Steam Deck?
Yes, if your dock supports DisplayPort 1.4 with Multi-Stream Transport (MST). Valve’s official Steam Deck Dock supports dual external monitors, but only when one monitor is connected via DisplayPort and the other via HDMI. For best performance, run both monitors at 1080p at 60Hz. Dual 4K output is technically possible but causes noticeable stuttering in games.
Final Thoughts on Steam Deck Desktop Mode
Setting up an external display and dock for Steam Deck desktop mode is one of the highest-value upgrades you can make to the device. With a single USB-C cable, the Deck transforms from a handheld console into a usable Linux desktop with a full browser, productivity tools, and the ability to drive one or two external monitors at 4K 60Hz.
The hardest part is the first dock connection. Once your Steam Deck is talking to your monitor, the workflow is the same as any other PC. The three big fixes to remember when something goes wrong are the Windows + P shortcut for switching displays, the sleep cycle reset trick for stubborn black screens, and External Display Safe Mode for a permanent reliable dock setup. All three are covered in detail above.
If you are just getting started, pick up Valve’s official dock or a USB-C hub with HDMI 2.0, 65W PD, and a gigabit Ethernet port. Connect it, enable External Display Safe Mode, and enjoy Steam Deck desktop mode on your big screen. Have fun, and welcome to the most underrated productivity PC of the decade.