
If you have ever rebooted your Ubuntu box only to see unmet dependencies or sub-process /usr/bin/dpkg returned an error code (1), you already know how unsettling a half-configured package feels. I have walked multiple users through this on our community forums, and the panic almost always comes from not knowing which command to run first.
In this guide for 2026, I will show you exactly what apt --fix-broken install does, why your package ended up half-configured in the first place, and the recovery sequence I use on my own Ubuntu servers. We will also cover the cases where the command refuses to work, plus the prevention habits that keep this problem from coming back.
Table of Contents
What Does apt –fix-broken install Actually Do?
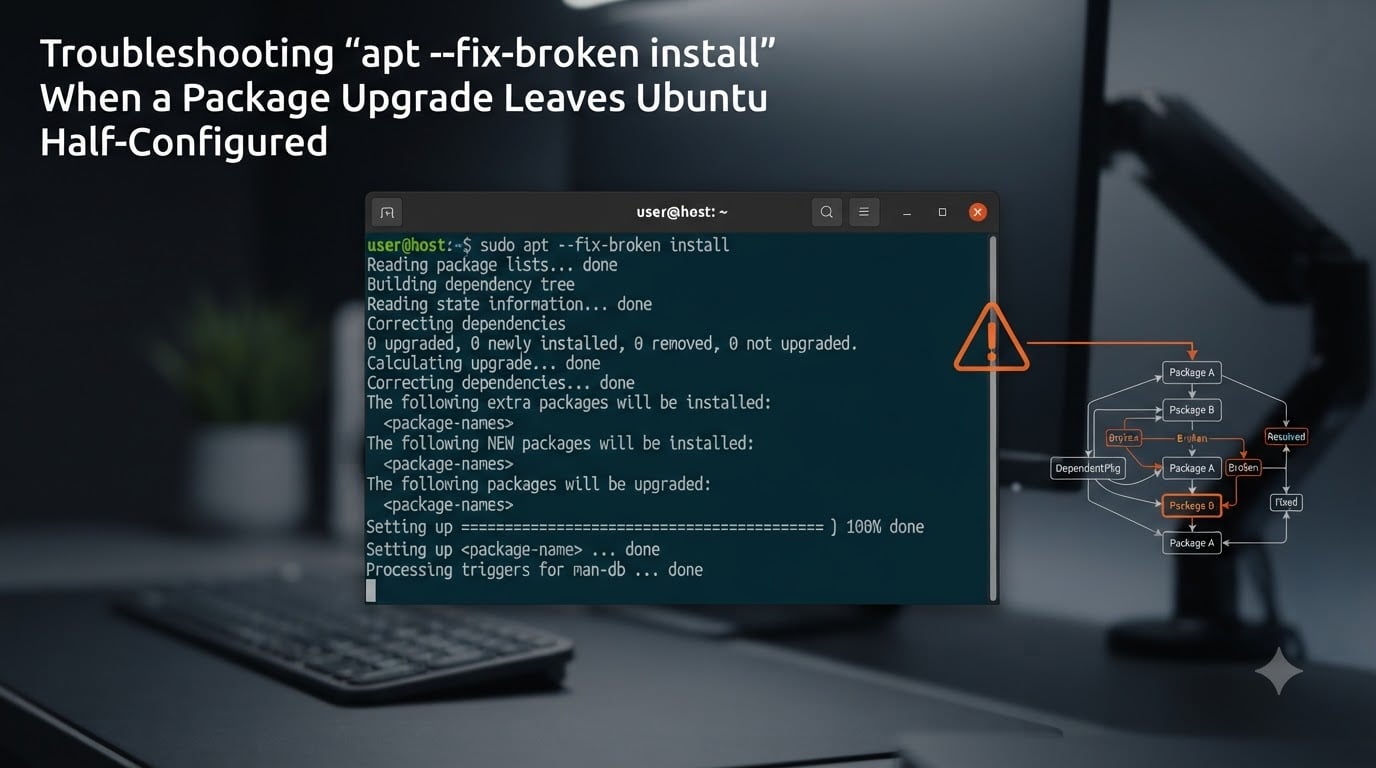
apt --fix-broken install tells APT to scan your system for broken package relationships and try to repair them. When you run it without naming a package, APT walks the entire dependency graph, looks for any package left in a non-clean state, and attempts to either install the missing dependency, complete an interrupted post-install script, or remove a package that cannot be safely resolved.
Under the hood, the command calls into libapt-pkg, which asks dpkg to report the status of every package, then runs dependency resolution with a special flag that allows removal of packages blocking resolution. This is why apt --fix-broken install sometimes uninstalls a package you actually wanted. It is the resolver choosing the lesser evil.
Can apt --fix-broken install repair every kind of broken dependency? Almost, but not always. It handles missing dependencies, half-configured states, and most held packages. It struggles when the broken state is inside dpkg itself, when there is no network access to fetch missing packages, or when the broken package has been manually replaced with something the repository does not know about.
Understanding dpkg Package States
Most guides skip this section, but understanding the dpkg state machine is what separates guessing from fixing. dpkg tracks every package through a series of states recorded in /var/lib/dpkg/status.
The states you will actually see in practice are: installed (the normal state), half-installed (the install started but did not finish unpacking), unpacked (files extracted but post-install scripts not run), half-configured (post-install script crashed midway), triggers-awaited (waiting on another package to finish), and not-installed.
To see which state your packages are in, run dpkg -l | grep -v '^ii'. The second column gives you the state code, the third the error flag. You can also use sudo dpkg --audit, which lists only the packages that need attention and explains why.
This matters because the command you should run depends on the state. A half-configured package usually needs dpkg --configure -a to finish its scripts. A half-installed package usually needs apt --fix-broken install to either complete the install or roll it back. Mixing the two commands up is the single most common reason people end up in deeper trouble.
Common Causes of Half-Configured Packages
Before throwing commands at the problem, it helps to know how you got here. In my experience running Ubuntu on production servers and home workstations, these are the five most common causes.
An interrupted update is the usual suspect. Power loss, a forced reboot, or hitting Ctrl+C during apt upgrade leaves dpkg mid-write. The next time dpkg runs, it refuses to do anything until the broken state is resolved, which is exactly the situation the apt --fix-broken install command exists for.
Third-party repository conflicts are the second leading cause. Adding a PPA that ships a newer version of a system library, then doing a distribution upgrade, can leave your package manager unable to reconcile what is installed with what the repositories expect.
Graphics drivers, especially Nvidia, are notorious. The nvidia-driver-XXX packages touch kernel modules and the X stack, and a kernel update during the same upgrade often leaves the driver half-configured.
WSL environments see a flavor of this where the Linux filesystem is virtualized and certain post-install scripts assume real hardware. Users on Reddit’s WSL subs often report apt --fix-broken install loops that go away only after restarting the WSL instance or rolling back.
Running out of disk space during apt full-upgrade leaves packages unpacked but not configured. Check df -h on / and /var before any recovery attempt.
Quick Fix: The Standard Recovery Sequence
This is the order of operations I follow whenever I see a broken state on an Ubuntu machine. Each step has a purpose, and skipping ahead is what makes recovery harder.
Step 0: Snapshot or back up before doing anything. If you are on a VM (VirtualBox, KVM, Proxmox, VMware), take a snapshot now. On bare metal, at minimum list your installed packages with dpkg --get-selections > ~/packages-backup.txt and back up /etc. The recovery commands are safe in 95% of cases, but the 5% is not a place you want to be unprepared for.
Step 1: Finish any interrupted configuration. Run sudo dpkg --configure -a. This tells dpkg to run any pending post-install, pre-install, or trigger scripts for packages that are unpacked but not configured. Watch the output carefully. If a particular package’s script crashes here, you have identified the offender.
Step 2: Try the headline command. Run sudo apt --fix-broken install. Read the output before pressing Y. APT will tell you exactly what it plans to remove, install, or hold back. If you do not like the plan, decline and investigate further. If you do, accept and let it finish.
Step 3: Refresh your package lists. Run sudo apt clean to drop the cached .deb files, then sudo apt update to rebuild the lists from your enabled repositories. This clears stale metadata that may be reporting wrong version numbers.
Step 4: Retry the fix. After the cache is clean and the lists are fresh, run sudo apt --fix-broken install again. Most stubborn cases clear up at this point.
Step 5: Clean up orphaned dependencies. Run sudo apt autoremove --purge to drop packages that were installed only as dependencies of something you have now removed. This prevents the same broken state from creeping back in through outdated orphans.
When apt –fix-broken Install Is Not Working
Sometimes the standard sequence does not cut it. Here is what to do when apt --fix-broken install itself refuses to make progress or keeps looping on the same error.
First, identify the offending package. Run sudo dpkg --audit and read the messages. The package it names is almost always the one to act on next. If the output says package is in a very bad inconsistent state, you can force removal with sudo dpkg --remove --force-remove-reinstreq <package-name>. This bypasses the usual safety check that prevents removal of a half-installed package.
Next, try purging rather than removing. sudo apt remove --purge <package-name> also drops the package’s configuration files in /etc, which often resolves conflicts where APT detects two versions of the same configuration. After purging, run sudo apt --fix-broken install again.
If APT’s resolver keeps choosing bad solutions, install aptitude and try its interactive resolver. sudo aptitude opens a curses UI that walks you through each proposed solution individually. Many users on the AskUbuntu and Debian forums report that aptitude finds a workable plan where plain APT gives up. The reason is that aptitude scores solutions and ranks them, while APT just picks the first one that does not error.
For really stubborn cases, you can manually edit /var/lib/dpkg/status to delete the offending package’s entry, then run sudo dpkg --configure -a. Treat this as a last resort. Always make a backup of the file first with sudo cp /var/lib/dpkg/status /var/lib/dpkg/status.backup.
Finally, if the broken package is something APT itself depends on (think libc6, apt, dpkg, or coreutils), you have a circular problem. The usual trick here is to download the correct .deb files manually with wget and install them with sudo dpkg -i --force-overwrite *.deb. I have used this trick to revive machines whose libc6 upgrade left them unable to run any binary.
Error Messages and What They Mean
Reading error messages is half the battle with APT. Here are the ones I see most often on the Eglug forums, paired with what they really mean and what to do.
“Unmet dependencies. Try ‘apt –fix-broken install’ with no packages.” This is APT telling you it cannot proceed with the upgrade or install you requested because some other package is in a broken state. The fix is exactly what it says: run sudo apt --fix-broken install on its own, resolve the broken state first, then retry your original command.
“Unable to correct problems, you have held broken packages.” This means one or more packages are pinned to a version that is no longer available. Run apt-mark showhold to see what is held, then either unhold with sudo apt-mark unhold <package> or update those packages explicitly with sudo apt install <package>=version.
“Sub-process /usr/bin/dpkg returned an error code (1)”. This is a catch-all that means a post-install script crashed. Look two or three lines up in the output for the actual command that failed. Then run sudo dpkg --configure -a to retry it. If it keeps failing, debug the script directly in /var/lib/dpkg/info/<package>.postinst.
“dpkg was interrupted, you must manually run ‘sudo dpkg –configure -a’ to correct the problem.” This means dpkg was killed mid-run. Just run the command it tells you to. After that completes, sudo apt --fix-broken install should pass.
“Unable to fetch some archives, maybe run apt-get update or try with –fix-missing”. This is a network or cache issue, not a broken-package issue per se. Run sudo apt update first, then retry. If the same archive still fails, your repository list probably has an entry pointing at an old Ubuntu release that has reached end of life.
How to Prevent Broken Packages on Ubuntu?
Prevention is boring but pays off. These five habits have kept my Ubuntu boxes clean for years.
Always run sudo apt update immediately before sudo apt upgrade. Skipping the update step is the most common cause of held and broken packages, because APT tries to act on stale metadata.
Avoid mixing distribution releases. Going from one Ubuntu LTS to the next should be done with sudo do-release-upgrade, not by editing /etc/apt/sources.list by hand. Hand-editing releases is the fastest path to dependency hell.
Treat third-party PPAs as one-way doors. Pin their packages with apt-mark hold once you have the version you need, or remove the PPA after you are done with it. A forgotten PPA shipping a newer libc6 or openssl is how a lot of systems end up with held broken packages.
Never interrupt an apt process in flight. If you absolutely must cancel, run sudo dpkg --configure -a and sudo apt --fix-broken install immediately after. Do not reboot first.
Keep at least 2 to 3 GB free on /var and /. apt full-upgrade downloads packages into /var/cache/apt/archives before installing. Running out of space mid-install is one of the surest ways to land in a half-configured state.
FAQ
How to fix a broken install on Ubuntu?
Open a terminal and run sudo dpkg u002du002dconfigure -a to finish any interrupted package configuration. Then run sudo apt u002du002dfix-broken install to repair unmet dependencies. Finally, run sudo apt update followed by sudo apt upgrade to verify the system is clean. If a specific package refuses to install, purge it with sudo apt remove u002du002dpurge and retry.
How to fix apt u002du002dfix broken install?
Run sudo apt u002du002dfix-broken install on its own, without naming any package, so APT can scan your entire dependency graph. If it still fails, run sudo dpkg u002du002dconfigure -a first to finish any pending post-install scripts, then retry. As a last resort, identify the offending package with sudo dpkg u002du002daudit and force-remove it with sudo dpkg u002du002dremove u002du002dforce-remove-reinstreq .
Can apt fix repair broken dependencies?
Yes, in most cases. apt u002du002dfix-broken install tells APT to scan for missing or unsatisfied dependencies and try to install them, complete interrupted configurations, or remove blocking packages. It cannot repair broken states inside dpkg itself, networks that cannot reach a repository, or circular dependencies between low-level system packages, which require manual dpkg intervention.
What is the alternative to apt in Ubuntu?
The closest alternatives are aptitude, which uses a more interactive dependency resolver, and the lower-level dpkg tool, which does not resolve dependencies at all. For non-Debian systems the equivalents are dnf on Fedora and pacman on Arch. On Ubuntu, aptitude is the most capable apt replacement because it scores and ranks dependency solutions rather than picking the first one that does not error.
Conclusion
A half-configured Ubuntu package looks scary, but it is almost always fixable with the same five-command sequence: snapshot first, then dpkg --configure -a, then apt --fix-broken install, then refresh the cache with apt clean and apt update, and finally apt autoremove. When the standard apt --fix-broken install does not work, the issue is usually one specific package that needs to be purged, force-removed, or rescued manually with dpkg.
If you hit a wall after trying these steps, post the exact error output on the Eglug community or AskUbuntu. Include the output of sudo dpkg --audit, your Ubuntu version from lsb_release -a, and the contents of /etc/apt/sources.list. With that information in 2026, someone can usually point you to the right fix in under an hour.