
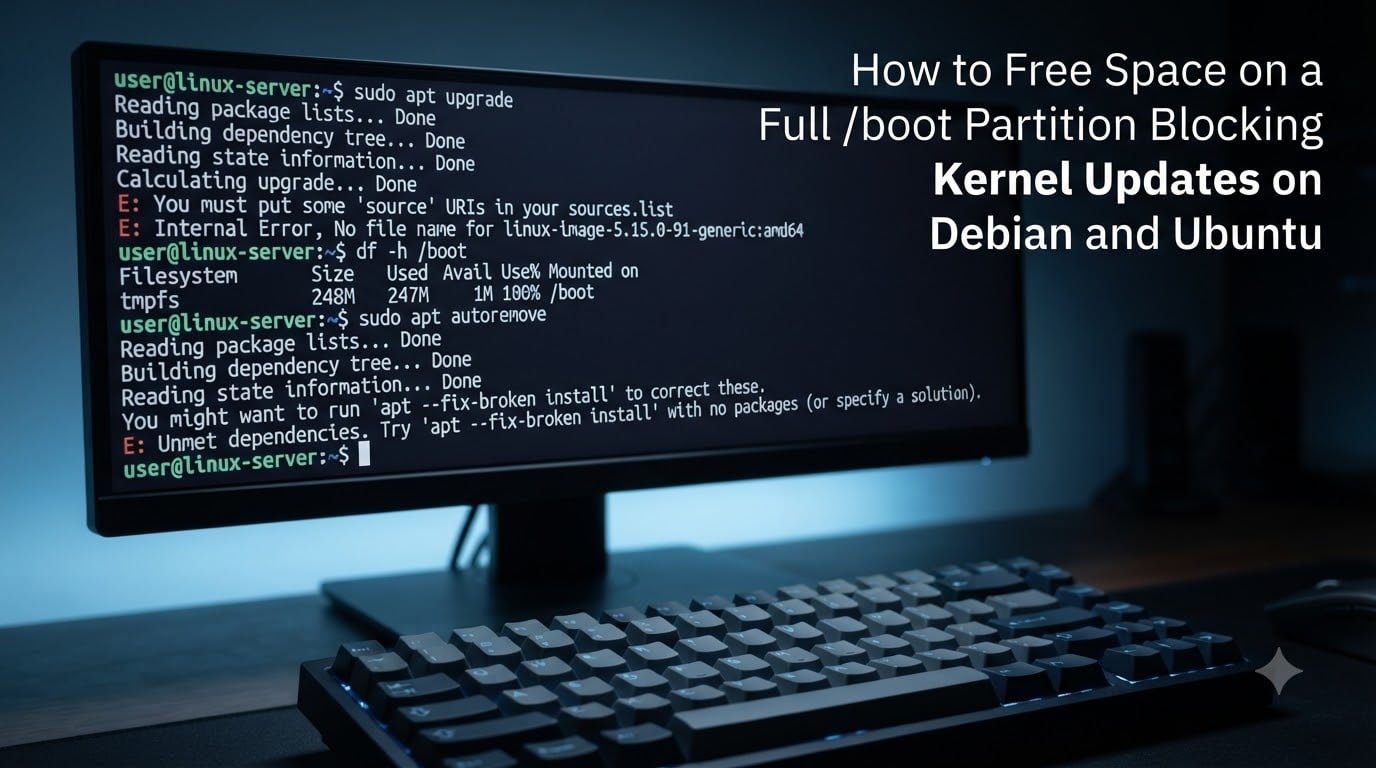
Running into a “No space left on device” error when you try to update your system is one of the most frustrating Linux problems out there. Your package manager refuses to install a new kernel, your security updates pile up, and a warning pops up on every reboot telling you your /boot partition is full.
This happens because Debian and Ubuntu keep every old kernel package they ever installed. Each kernel release drops a vmlinuz file, an initramfs image, and associated modules into the small /boot partition. Over months of updates, that 500MB partition fills to 100% and blocks everything.
The good news is that you can safely free space on a full /boot partition in about five minutes once you know which commands to run. In this guide I will walk you through the exact steps to identify your active kernel, remove old ones, recover from a stuck apt-get, and prevent the problem from coming back.
Table of Contents
Quick Fix: TL;DR Commands
If you just need the commands right now, run these in order. Skip any kernel that matches your running version.
df -h /bootuname -rdpkg -l | grep linux-imagesudo apt-get purge linux-image-5.15.0-XX-genericsudo apt-get --purge autoremovesudo update-grub
Read the full guide below before running these if you have never done kernel cleanup before. One wrong kernel removal can leave your system unbootable.
Why Your /boot Partition Fills Up
The /boot partition stores everything GRUB needs to start your system. That includes the compressed kernel image (vmlinuz), the initial RAM filesystem (initramfs or initrd.img), the GRUB configuration files, and sometimes bootloader stage files.
A single kernel install takes roughly 30 to 60 MB of space in /boot. The kernel image itself is around 10 to 14 MB, and the initramfs adds another 25 to 50 MB depending on how many modules are packed into it. Headers and modules live outside /boot, but the image and initramfs always land there.
Every time apt-get upgrade pulls a new kernel release, the package manager installs the new files alongside the old ones instead of replacing them. This is intentional. Keeping old kernels means you can fall back to a working kernel if the new one has a bug or a driver regression. The problem is that nobody told the system when to stop accumulating them.
On a default Ubuntu or Debian installation, the /boot partition is often only 250 to 500 MB. After six or seven kernel updates, you run out of room entirely. That is when you see errors like gzip: stdout: No space left on device during update-initramfs, or E: Unable to fetch some archives during a system upgrade.
One more thing that catches people off guard: the linux-modules-extra package for each kernel also lands in /boot indirectly through its dependencies. Removing a kernel without purging its extra modules can leave orphaned files behind. This is why autoremove sometimes reports it cannot free space even after you removed a kernel.
How to Free Space on a Full /boot Partition Blocking Kernel Updates on Debian and Ubuntu?
This is the full step-by-step process. I recommend doing this over SSH or at a physical terminal so you can see every command’s output clearly. Do not rush through these steps.
Step 1: Check Current /boot Disk Usage
Start by confirming that /boot is actually full and seeing how much space is left.
df -h /boot
You will see output like this:
Filesystem Size Used Avail Use% Mounted on
/dev/sda1 472M 441M 0 100% /boot
If Use% shows 100% and Avail shows 0, you have confirmed the problem. If your system does not have a separate /boot partition (common with LVM installs), check the root filesystem instead: df -h /.
Step 2: Identify Your Currently Running Kernel
This is the single most important step. Write this version number down. Never remove it.
uname -r
Output will look something like 5.15.0-91-generic on Ubuntu or 6.1.0-13-amd64 on Debian. This is the kernel your system booted with and is currently running. Every other kernel version on your system is a candidate for removal.
Warning: Removing the running kernel will not immediately crash your system, but it will break the next reboot. Your GRUB menu will reference a kernel that no longer exists, and you will get a GRUB rescue prompt or kernel panic. Always double-check the output of uname -r before purging anything.
Step 3: List All Installed Kernel Packages
Now list every kernel image package installed on your system.
dpkg -l | grep -E 'linux-image-[0-9]'
On Ubuntu you will see entries like:
ii linux-image-5.15.0-88-generic 5.15.0-88.98 amd64 Linux kernel image for version 5.15.0 on 64 bit x86 SMP
ii linux-image-5.15.0-90-generic 5.15.0-90.100 amd64 Linux kernel image for version 5.15.0 on 64 bit x86 SMP
ii linux-image-5.15.0-91-generic 5.15.0-91.101 amd64 Linux kernel image for version 5.15.0 on 64 bit x86 SMP
On Debian the names follow a slightly different pattern, such as linux-image-6.1.0-13-amd64. The principle is identical.
You can also check for headers, which take up space on the root filesystem but often block package removal due to dependencies:
dpkg -l | grep linux-headers
To see the actual files sitting in /boot, run:
ls -lh /boot
This shows the vmlinuz, initrd.img, config, and System.map files for each kernel version. Anything that does not match your uname -r output is safe to remove through the package manager.
Step 4: Remove Old Kernels Safely
For each old kernel version (anything that is not your running kernel), purge the package. Use purge rather than remove so that configuration files are deleted too.
sudo apt-get purge linux-image-5.15.0-88-generic
Repeat for each old version. If you have several to remove, you can pass them all at once:
sudo apt-get purge linux-image-5.15.0-88-generic linux-image-5.15.0-90-generic
On Debian, the equivalent command targets the Debian naming convention:
sudo apt-get purge linux-image-6.1.0-12-amd64
During removal you will see update-initramfs regenerate images for remaining kernels. This is normal and confirms GRUB is updating its configuration.
Important: Keep at least one or two kernels as a fallback. I recommend keeping your running kernel plus the newest installed one. That way, if a future update ships a broken kernel, you can select the previous one from the GRUB advanced options menu at boot.
Never delete kernel files directly from /boot using rm. The package manager tracks these files, and manual deletion leaves broken package database entries that will cause problems on every future upgrade. Always use apt-get purge.
Step 5: Clean Up Remaining Dependencies
After removing old kernel images, run autoremove to clean up orphaned header packages, module packages, and other dependencies that were pulled in with those kernels.
sudo apt-get --purge autoremove
This command scans for packages that were automatically installed as dependencies and are no longer needed. On a system with multiple old kernels, this can free hundreds of megabytes across both /boot and the root filesystem.
If you only want to remove unused dependencies without purging config files, use:
sudo apt-get autoremove
However, --purge is preferred for kernel-related cleanup because leftover configuration files can confuse future package operations.
Step 6: Update GRUB and Verify
After cleanup, regenerate the GRUB configuration so the boot menu only lists installed kernels.
sudo update-grub
Then verify that /boot has free space again:
df -h /boot
You should now see meaningful free space. A healthy /boot partition should sit at 40% to 60% usage with room for at least two future kernel updates.
If the numbers look right, try the update that originally failed:
sudo apt-get update && sudo apt-get upgrade
Your kernel update should now complete without the “No space left on device” error.
How to Recover When apt-get Itself Is Stuck
Sometimes the problem is worse. A kernel update fails halfway through because /boot ran out of space mid-installation. Now apt-get refuses to do anything, reporting a broken package state. The autoremove command also fails because the half-installed package has dependencies in an inconsistent state.
This is a common scenario reported across Linux forums, and it requires a specific recovery sequence.
First, try to repair the package database:
sudo dpkg --configure -a
This attempts to finish any interrupted package configuration. If it fails because there is still no space in /boot, you need to manually remove an old kernel file to create breathing room.
Find an old initramfs image that does not belong to your running kernel:
ls -la /boot/initrd.img-*
Identify one that is not your current kernel version. Remove just that file manually:
sudo rm /boot/initrd.img-5.15.0-88-generic
This creates a small amount of free space in /boot. This is the one scenario where manual file removal from /boot is necessary, because the package system is stuck and cannot do it for you. Be extremely careful to only remove files for old, non-running kernel versions.
Now retry the repair:
sudo dpkg --configure -asudo apt-get -f install
The -f install flag fixes broken dependencies. Once this completes successfully, return to Step 4 above and purge the old kernels through the package manager to clean up properly.
One frequently overlooked culprit in this scenario is the linux-modules-extra package. Each kernel version has a corresponding linux-modules-extra package that contains additional drivers. When you try to purge a kernel, this dependency can block removal. If apt-get purge refuses to remove a kernel, check for and purge the extra modules first:
sudo apt-get purge linux-modules-extra-5.15.0-88-generic
Then purge the kernel image itself.
How to Prevent /boot From Filling Up Again
Cleaning up once fixes the immediate problem, but without a prevention strategy you will be back in the same situation after the next few kernel updates.
The simplest prevention habit is to run autoremove after every system update. Get into the practice of running these two commands together:
sudo apt-get update && sudo apt-get upgradesudo apt-get --purge autoremove
This removes old kernels automatically as part of your regular update routine. The autoremove command is smart enough to keep your current kernel and one previous version.
If you use unattended-upgrades for automatic security patches, you should also install a periodic cleanup tool. The byobu package includes a script called purge-old-kernels that automates safe removal:
sudo apt-get install byobusudo purge-old-kernels
By default this keeps the current kernel and the two most recent ones. You can adjust it with --keep N to retain more or fewer.
For long-term prevention, consider whether your /boot partition is simply too small. The old standard of 250 MB is not enough for modern kernels. If you are reinstalling or repartitioning, aim for at least 1 GB for /boot. If your system uses LVM, you can also consider removing the separate /boot partition entirely and letting the kernel files live on the root filesystem, which typically has far more room.
Understanding kernel metapackages also helps. On Ubuntu, the package linux-image-generic is a metapackage that always points to the latest kernel. It depends on the newest linux-image-X.X.X-generic package. When you install a new kernel, the metapackage updates its dependency but does not remove the old one. This is why old kernels accumulate. Debian works the same way with linux-image-amd64. Knowing this helps you understand why autoremove is the correct cleanup tool: it targets the old kernels that the metapackage no longer depends on.
Frequently Asked Questions
How to free up boot space in Ubuntu?
Run uname -r to find your active kernel, then list installed kernels with dpkg -l | grep linux-image. Purge old versions with sudo apt-get purge linux-image-X.X.X-generic (never the running version), then run sudo apt-get u002du002dpurge autoremove to clean up dependencies. Finally run sudo update-grub.
Should boot be ext2 or ext4?
ext2 is technically sufficient for /boot since it rarely changes and does not need journaling. However, ext4 works perfectly fine and adds journaling for safety against power failures during kernel updates. There is no meaningful performance difference for /boot. Use ext4 unless you have a specific reason to choose ext2.
How to clean up boot partition in Linux?
Identify your running kernel with uname -r, list installed kernels with dpkg -l, purge old ones with apt-get purge or dpkg u002du002dpurge, then run apt-get u002du002dpurge autoremove to remove orphaned dependencies. Finish with update-grub to rebuild the boot menu. Never manually delete files from /boot unless apt-get itself is stuck.
Can I delete all old kernels from /boot?
You should keep at least two kernels: your currently running one and the most recent installed one. Removing every old kernel except the running one works, but having a backup kernel lets you recover if a future update ships a broken kernel. Never delete the kernel reported by uname -r or your system will not boot on the next restart.
Knowing how to free space on a full /boot partition is a skill every Debian and Ubuntu administrator needs eventually. The process is straightforward once you understand it: check usage, find your running kernel, purge old ones, clean dependencies, and update GRUB. Keep two kernels as a safety net, run autoremove after every update, and you will never see that “No space left on device” error during a kernel update again.