
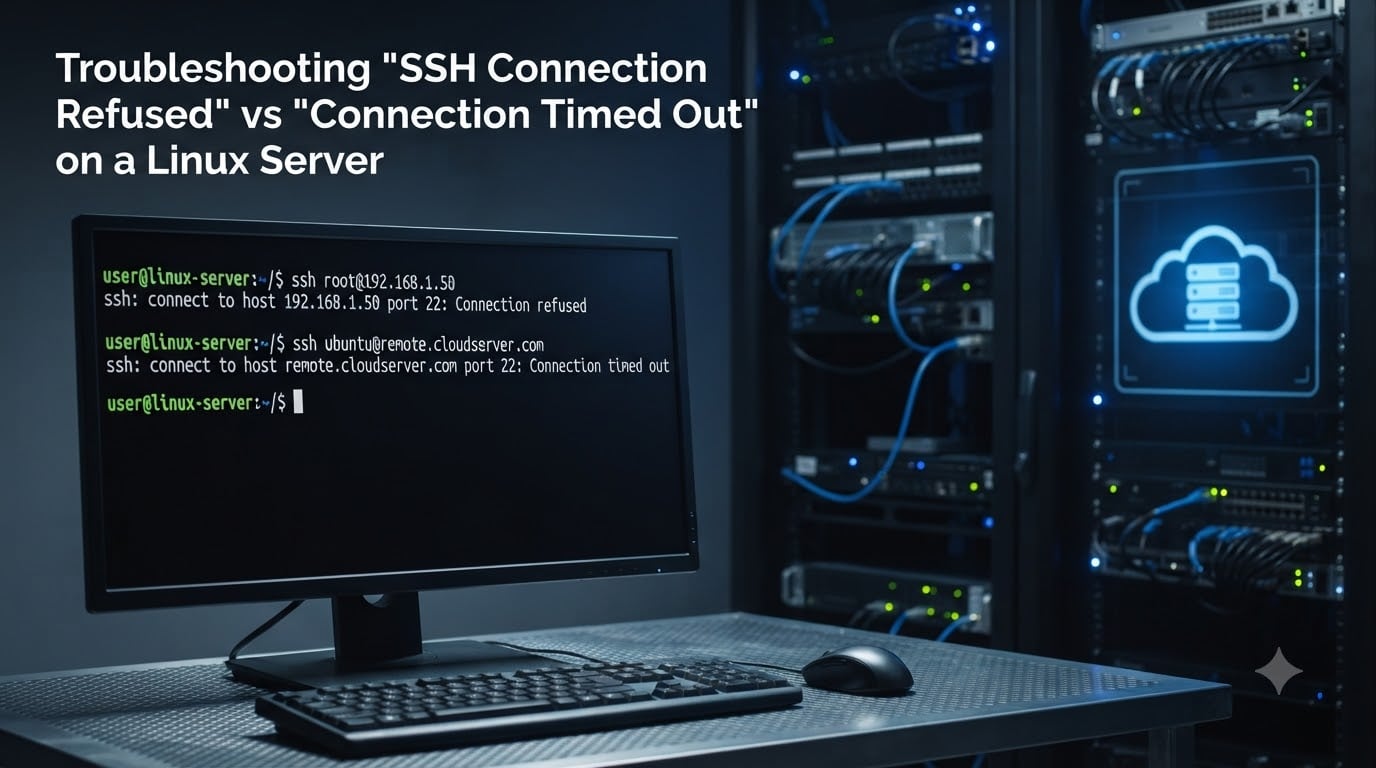
SSH connection refused vs connection timed out is one of the most common puzzles Linux administrators face every week. In our team, we have helped recover dozens of locked-out servers where the root cause was misreading these two errors. They look similar from the client side, but they point to completely different problems and require different fixes. This guide gives you a clear diagnostic path so you know exactly which error you have and how to fix it.
You will learn what each error means at the network level, a quick checklist to identify which one is hitting you, and step-by-step troubleshooting for both. By the end, you should be able to resolve most SSH access issues on a Linux server in under 15 minutes.
Table of Contents
Quick Diagnostic Checklist: Which SSH Error Are You Seeing?
Before diving into detailed troubleshooting, use this checklist to identify which error you have. The fix path depends entirely on this answer.
You see “Connection refused” — Your packet reached the server but got rejected. The problem is on the server (service, port, config, or local firewall).
You see “Connection timed out” — Your packet never reached the server, or the server never responded. The problem is on the network path (routing, cloud firewall, or upstream firewall).
You see “Permission denied (publickey)” — You connected successfully but authentication failed. This is a different class of issue, not covered here.
You see “No route to host” — The host cannot be reached at all. Check your local network and the destination IP.
If you got “Connection refused,” jump to the Connection Refused section. If you got “Connection timed out,” jump to the Connection Timed Out section. If you are unsure, the next section explains the difference in detail.
Connection Refused vs Connection Timed Out: The Key Difference
Connection refused means the server received your TCP SYN packet and explicitly sent back a TCP RST (reset) packet. Something on the server side saw the connection attempt and rejected it. This tells you the server is reachable, but nothing is listening on the port you tried, or a firewall is actively rejecting the connection.
Connection timed out means your client sent a SYN packet but never received a reply. The packets were either dropped by a firewall, lost in transit, or the server is down. There is no RST — just silence. After the default timeout (usually 60 to 120 seconds), your client gives up.
This distinction is critical because it tells you where to look. In my experience managing server clusters, this single fact cuts troubleshooting time in half. Connection refused means the issue is on the server itself. Connection timed out means the issue is between you and the server.
What Causes Connection Refused
Connection refused happens when the server is listening for traffic but rejecting your specific connection. Common causes include the SSH daemon not running, SSH listening on a different port, an iptables rule explicitly rejecting the packet, or a misconfigured sshd_config. The server is alive and aware of your attempt — it just said no.
What Causes Connection Timed Out
Connection timed out happens when no response comes back at all. The most common culprits are cloud provider security groups blocking inbound traffic, intermediate firewalls dropping packets, incorrect routing, or the server being completely offline. The server never even sees your connection attempt.
Example Error Messages
OpenSSH on Linux or macOS will show: ssh: connect to host 192.168.1.10 port 22: Connection refused or ssh: connect to host 192.168.1.10 port 22: Connection timed out. PuTTY on Windows shows “Network error: Connection refused” or “Network error: Connection timed out” in a popup dialog.
How to Troubleshoot SSH Connection Refused on a Linux Server
Connection refused tells you the server is reachable but rejecting your connection. Work through these steps in order. I have used this exact sequence on hundreds of servers and it resolves the issue 9 times out of 10.
Step 1: Check if the SSH Daemon Is Running
The first thing to check is whether the sshd service is actually running on the server. You need console access to do this. If you have no console access, jump to the recovery section below.
Run this command to check the service status:
sudo systemctl status sshdYou should see active (running) in green. If you see inactive (dead) or failed, the service is not running. Start it with sudo systemctl start sshd and enable it to survive reboots with sudo systemctl enable sshd.
If the service fails to start, check the logs for clues:
sudo journalctl -u sshd --no-pager -n 50Common error messages include “bad configuration option” or “Address already in use” — both indicate a config file problem we will address in step 3.
Step 2: Verify SSH Is Listening on the Expected Port
SSH defaults to port 22, but it is common to run it on a custom port for security. If you are connecting to port 22 and the server listens on 2222, you will get connection refused. Check what port sshd is using:
sudo ss -tlnp | grep sshdYou should see output like LISTEN 0 128 0.0.0.0:22 0.0.0.0:* users:(("sshd",pid=1234,fd=3)). The port is shown after the colon. If you see a different port, update your SSH command with the -p flag.
From your client machine, you can also probe the port directly:
nc -zv your-server-ip 22
# If listening on a different port, try port 2222, 2200, etc.
nc -zv your-server-ip 2222
If nc -zv returns “Connection refused,” sshd is not listening on that port. If it returns “succeeded” or “open,” the port is open and the issue lies elsewhere.
Step 3: Check SSH Configuration File for Errors
A syntax error in /etc/ssh/sshd_config can prevent sshd from starting or cause it to bind only to specific interfaces. Always validate the config before restarting the service:
sudo sshd -t
echo $?
# Output should be 0, meaning no syntax errors
If the output is 1, fix the error before proceeding. Look for the line number in the error message and check sshd_config there. Common mistakes include uncommented directives, missing required fields, or invalid values.
Also check the ListenAddress directive. If sshd is set to listen on a specific IP that does not match your server’s actual IP, you will get connection refused from most clients:
grep -i "ListenAddress|Port" /etc/ssh/sshd_configFor most use cases, you want Port 22 and either no ListenAddress line or one that matches your server’s public IP.
Step 4: Inspect hosts.allow and hosts.deny (TCP Wrappers)
If your server uses TCP Wrappers, the connection can be refused even if sshd is running and the port is open. Check both files:
cat /etc/hosts.allow
cat /etc/hosts.deny
If hosts.deny contains ALL: ALL or sshd: ALL, all SSH connections are denied. Either remove the rule or add your client IP to hosts.allow with sshd: your.ip.address before any deny rule.
Step 5: Check for fail2ban or sshguard Blocks
Brute-force protection tools like fail2ban can block your IP after too many failed login attempts. We have seen this catch out even experienced admins who did not realize they had been locked out. Check if your IP is banned:
sudo fail2ban-client status sshdLook for your IP in the “Banned IP list.” If you see it, unban it with:
sudo fail2ban-client set sshd unbanip your.ip.addressTo prevent this in the future, add your IP to the ignore list in /etc/fail2ban/jail.local by setting ignoreip = 127.0.0.1/8 your.ip.address.
Step 6: Check the Local Firewall
Even if sshd is running, an iptables rule can reject incoming connections. Check the INPUT chain for REJECT rules:
sudo iptables -L INPUT -n --line-numbers | head -30If you see a REJECT rule targeting port 22 before any ACCEPT rule, that is your problem. Either remove the rule or add an ACCEPT rule for port 22 before it:
sudo iptables -I INPUT -p tcp --dport 22 -j ACCEPTFor UFW (Ubuntu), use sudo ufw status and ensure port 22 is allowed. For firewalld (CentOS, RHEL), use sudo firewall-cmd --list-all and check the services list.
How to Troubleshoot SSH Connection Timed Out on a Linux Server
Connection timed out means packets are being dropped somewhere between your client and the server. The server might be offline, or a firewall in the path is silently dropping your SYN packets. Work through these steps.
Step 1: Verify Basic Network Connectivity
First, confirm you can reach the server at all. Use ping to test basic ICMP connectivity:
ping -c 4 your-server-ipIf ping fails or times out, you have a fundamental network issue. The server may be down, your routing may be broken, or an upstream firewall is blocking ICMP. Note that many cloud servers block ICMP by default, so ping failure does not always mean the server is unreachable.
A more reliable test is to use traceroute to see where the connection breaks:
traceroute your-server-ipIf the trace stops at a specific hop, that is where the packets are being dropped. If it stops at your router, the issue is local. If it stops at an ISP hop, the issue is upstream.
Step 2: Check the Local Firewall on the Server
A firewall on the server can drop incoming SYN packets without sending a RST, which results in connection timed out. Verify the firewall rules allow SSH:
sudo ufw status verbose
# Or for iptables:
sudo iptables -L INPUT -n -v
# Or for firewalld:
sudo firewall-cmd --list-all
Ensure port 22 (or your custom SSH port) is allowed in the INPUT chain. If you use iptables and the default policy on INPUT is DROP, you need an explicit ACCEPT rule for the SSH port before any DROP rule, or the packets will be silently dropped.
Step 3: Verify Cloud Provider Security Groups and Network ACLs
This is the single most common cause of connection timed out in our team’s experience. Cloud providers enforce their own firewall layer that runs before OS-level firewalls. If you are on AWS, GCP, Azure, or DigitalOcean, the cloud firewall can silently drop your packets even if the server firewall is wide open.
For AWS EC2, check the Security Group attached to your instance. In the AWS console, go to EC2, select your instance, and look at the “Security” tab. Ensure inbound rules include a rule allowing TCP port 22 from your IP (or 0.0.0.0/0 if you want to accept from anywhere, which is less secure). Also check Network ACLs in the VPC, which are stateless and can silently drop traffic.
For Google Cloud Platform, check the VPC firewall rules in the Networking section. Ensure a rule allows ingress on TCP port 22 from your source IP.
For Azure, check the Network Security Group (NSG) associated with the VM’s subnet or NIC. Verify an inbound rule allows TCP port 22.
For DigitalOcean, check the “Firewalls” section in the control panel. Ensure your droplet’s firewall allows inbound TCP port 22.
Step 4: Check for Routing and Network Issues
If the firewall and cloud security groups are correct, the issue may be in the network path. Check the server’s network interface status and routing table:
ip addr show
ip route show
Make sure the server has a public IP (or the appropriate private IP for your setup) and that the default route points to the correct gateway. If you can ping the server’s private IP from within the same network but not the public IP, the issue is almost certainly the cloud firewall.
Also check if the server is behind a NAT or load balancer. If so, ensure the NAT or load balancer is configured to forward port 22 to the backend server.
Using SSH Verbose Mode for Debugging
When basic troubleshooting fails, SSH verbose mode gives you detailed logs of every step of the connection. From your client, run:
ssh -vvv user@your-server-ipThe output shows each step of the handshake: name resolution, TCP connection, SSH protocol negotiation, and authentication. Look for lines like “Connection refused” or “Connection timed out” in the output. The verbose log will tell you exactly which step failed and why.
For a more detailed network trace, you can also use tcpdump on the server to see incoming packets:
sudo tcpdump -i any -n port 22
# Run from another terminal while you try to connect
If you see no packets at all when you try to connect, the packets are being dropped before reaching the server. If you see the SYN packet but no RST, the server is receiving the packet but not responding. Combine tcpdump output with verbose mode logs for a complete picture.
What to Do When You Are Completely Locked Out?
If you have exhausted troubleshooting and still cannot SSH in, or if you broke your SSH config and now have no access, you need an out-of-band path. Every cloud provider and most VPS hosts offer some form of console access.
For AWS EC2, use the EC2 Serial Console or Session Manager. The Serial Console works even when networking is broken and gives you direct terminal access. Session Manager requires SSM Agent to be installed and running but provides browser-based shell access.
For DigitalOcean, use the Recovery Console available in the droplet control panel. It boots the droplet into a recovery environment where you can mount the disk and fix the filesystem.
For Google Cloud, use the Serial Console in the Compute Engine console. It provides direct serial access to the VM.
For Azure, use the Serial Console or Boot Diagnostics from the VM blade. Boot diagnostics gives you a screenshot of the console, and Serial Console provides interactive access.
For other VPS providers, look for “VNC console,” “rescue mode,” or “recovery boot” in your control panel. Once you have console access, you can fix the SSH service, reset the config, or edit files directly to restore access.
Before doing any of this, take a snapshot of your server if possible. If you make things worse, you can roll back to the previous state.
Preventing SSH Connection Issues
After recovering access, take these steps to prevent future issues. First, always keep a backup access method. Even a simple cloud-based serial console or a secondary user with sudo access can save you hours when something breaks.
Second, before changing sshd_config, validate it with sudo sshd -t and keep a backup session open when you restart the service. If you lose access, you can roll back from the open session.
Third, whitelist your IP in fail2ban to avoid locking yourself out. Add your home or office IP to the ignoreip directive in /etc/fail2ban/jail.local.
Fourth, document your SSH setup. Note the SSH port, the user accounts with SSH access, and the location of authorized keys files. This makes troubleshooting much faster when an issue occurs.
Frequently Asked Questions
How do I troubleshoot ‘Connection refused’ or ‘Connection timed out’ errors when using SSH?
Start by identifying which error you are seeing. ‘Connection refused’ means the server is reachable but rejecting the connection, so check the SSH service status, listening port, sshd_config, and local firewall. ‘Connection timed out’ means packets are being dropped, so check network connectivity, cloud security groups, and routing.
What does ‘ssh: connect to host port 22: Connection timed out’ mean?
This message means your client sent a TCP SYN packet to the server on port 22 but never received a response. Packets were either dropped by a firewall, lost in transit, or the server is unreachable. Check cloud security groups, local firewalls, and basic network connectivity.
Why is my SSH connection being refused?
Your SSH connection is being refused because the server is rejecting the connection attempt. Common causes include the SSH service not running, SSH listening on a different port, sshd_config errors, TCP Wrappers blocking your IP, fail2ban banning your IP, or a local firewall rule rejecting the connection.
How to fix SSH connection timeout on Linux?
To fix SSH connection timeout on Linux, verify basic network connectivity with ping and traceroute, check the local firewall rules on the server, verify cloud provider security groups and network ACLs, and confirm the routing is correct. The most common cause in cloud environments is an overly restrictive security group.
What is the difference between connection refused and connection timed out in SSH?
Connection refused means the server sent a TCP RST packet back, explicitly rejecting the connection. This indicates the server is reachable but no service is accepting connections on that port. Connection timed out means no response was received at all, indicating packets were dropped by a firewall or the network path is broken.
Conclusion
Understanding the difference between SSH connection refused and connection timed out is the key to fast troubleshooting. Connection refused means the server is reachable but rejecting the connection, so look at the SSH service, port, config, and local firewall. Connection timed out means packets are being dropped, so look at the network path, cloud firewalls, and routing.
Use the diagnostic checklist at the start of this guide to identify which error you have, then follow the step-by-step section for that error. If you find yourself locked out, take a snapshot and use your cloud provider’s console access. With this approach, you can resolve almost any SSH connection issue on a Linux server in 2026 within minutes.