
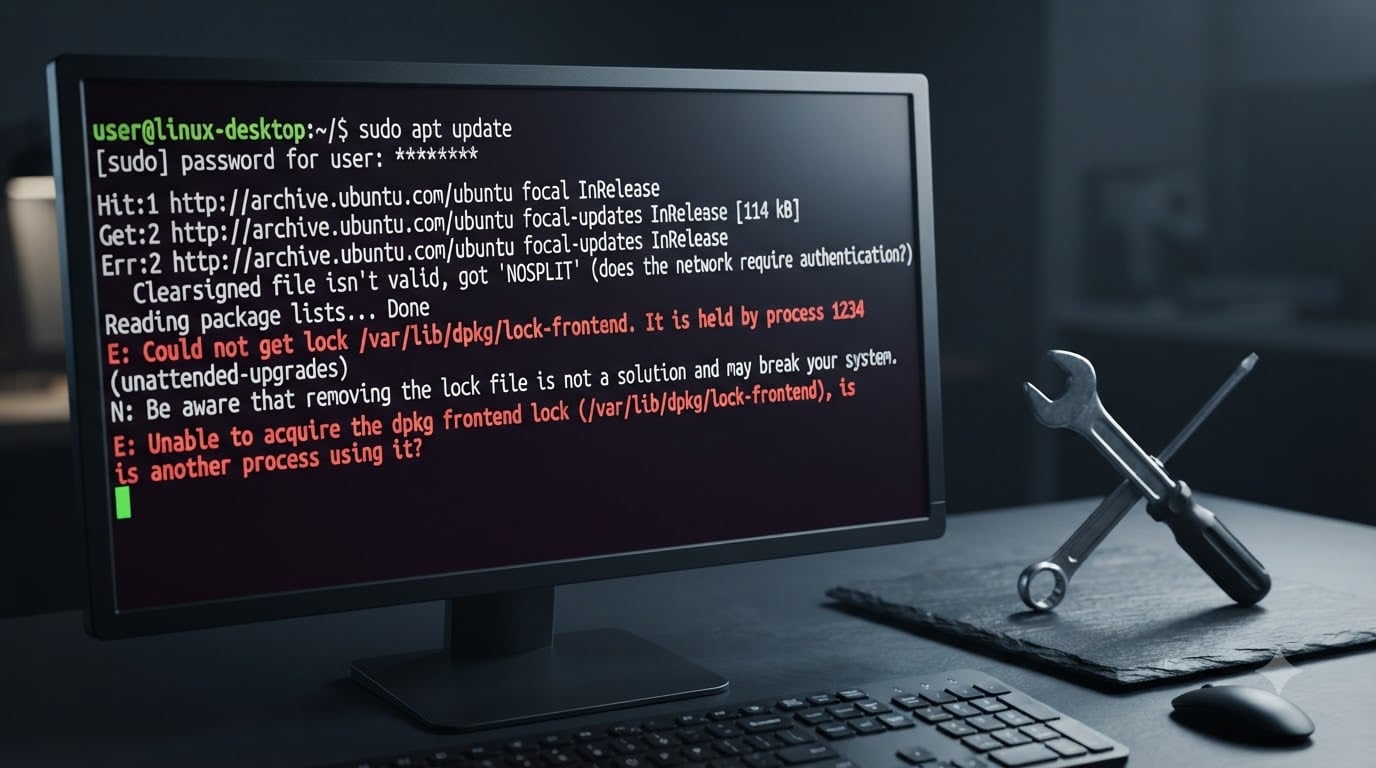
You’re trying to apt install a package and the terminal slams back with this:
E: Could not get lock /var/lib/dpkg/lock-frontend. It is held by process 1234 (unattended-upgr)N: Be aware that removing the lock file is not a solution and may break your system!
I’ve hit this exact error dozens of times on Ubuntu servers and my own desktop. Most guides either rush you into deleting the lock file (which can corrupt your package database) or leave you stuck waiting forever. This guide shows the safe order of operations: check who’s holding the lock, decide whether to wait or kill, then repair any interrupted operations. You’ll learn how to fix the dpkg lock error without breaking apt.
Table of Contents
What the dpkg Lock Error Actually Means?
The dpkg lock error means your package manager is already busy, or it thinks it is. Ubuntu and Debian use lock files so only one package operation runs at a time. Without locks, two processes could modify the package database simultaneously and leave the system in a partial state.
Apt and dpkg coordinate work through these files. When apt install starts, it grabs the lock. When it finishes, it releases the lock. If the process dies mid-installation (a power cut, a closed terminal, a crashed daemon), the lock file stays behind. The next time you run apt, it sees the lock and refuses to run. That’s the error you’re seeing.
The official apt developers added the warning line on purpose. Randomly deleting lock files used to be the top cause of broken apt installs in the early 2010s. We’ve all done it. That’s why the safer workflow below matters.
All Four Lock File Locations Explained
There isn’t one lock file. There are four. Each protects a different part of the package workflow, and the error message tells you which one is held.
/var/lib/dpkg/lock – The classic dpkg lock. Held while dpkg installs or removes packages on disk.
/var/lib/dpkg/lock-frontend – Held by apt itself to prevent apt and dpkg from fighting over the database.
/var/lib/apt/lists/lock – Held while
apt updatedownloads package lists from repositories./var/cache/apt/archives/lock – Held while apt fetches
.debfiles into the download cache.
The error tells you which lock is held. Read it carefully. Most users see the lock-frontend version because that’s the one apt grabs first.
Common Causes of the Lock Error
The lock is held for a reason. Before you do anything, figure out why.
Background unattended upgrades. Ubuntu runs unattended-upgr automatically, usually within 15 minutes of boot. It holds the lock while it installs security updates in the background. If you try sudo apt upgrade during that window, you get the error.
Interrupting a previous installation. Closing the terminal, losing SSH, or rebooting while apt is mid-write leaves the lock behind. This is the most common cause after laptop sleep or VM restarts.
GUI tools running silently. Ubuntu’s Software Updater, GNOME Software, Synaptic, and Update Manager all use apt under the hood. If one is open in another desktop session, it holds the lock even though no terminal command is running.
Container environments. Crostini, LXD, Docker, and WSL users hit this when a container or the host updates at the same time. The lock is held inside the container, not by the host.
Stuck processes after a crash. If dpkg or apt itself crashed (often due to running out of disk space), the process may be in a zombie state and still hold the lock.
Step-by-Step: Finding the Process Holding the Lock
Never delete a lock file until you know who holds it. Use these commands to find out.
1. The classic ps + grep check.
ps aux | grep -i aptThis lists every process whose name contains “apt”. Look for anything that isn’t your current grep. Common culprits: apt-get update, unattended-upgr, dpkg, aptd.
2. The lsof approach. If you see the exact lock file path in your error, run:
sudo lsof /var/lib/dpkg/lock-frontendlsof lists the process holding the file. It’s faster than ps when you already know which lock is stuck.
3. The fuser approach. Many admins prefer fuser because it doubles as a killer:
sudo fuser -v /var/lib/dpkg/lock-frontendThe -v flag shows the process owner and command. Note the PID. You’ll need it for the next step.
How to Safely Kill Stuck apt/dpkg Processes?
Once you have the PID, kill it the right way. There are two signals: SIGTERM and SIGKILL. They behave very differently.
SIGTERM (signal 15) is the polite request. It tells the process to clean up: finish writing logs, release the lock, exit. The command is:
sudo kill 1234Replace 1234 with the PID you found. Wait 5 to 10 seconds. Run ps aux | grep -i apt again to confirm the process is gone.
SIGKILL (signal 9) is the forced shutdown. It tells the kernel to kill the process immediately. Nothing gets to clean up. Use it only when SIGTERM didn’t work:
sudo kill -9 1234If multiple apt-related processes are stuck, killall speeds things up:
sudo killall apt apt-getThis sends SIGTERM to all of them. Add -9 for SIGKILL only as a last resort.
Warning. Killing dpkg or apt with SIGKILL while it’s writing to the package database can leave dpkg in an inconsistent state. That’s why you always run sudo dpkg --configure -a afterward. Treat SIGKILL like pulling the power cord.
When and How to Remove Lock Files Without Breaking apt
Only delete lock files when you’re sure no process is using them. After killing the process, double-check with lsof or fuser first.
Verify nothing is using the lock:
sudo lsof /var/lib/dpkg/lock-frontend
sudo lsof /var/lib/dpkg/lock
If both commands return empty, you’re safe to remove the lock files. Delete only the ones mentioned in your error message:
sudo rm /var/lib/dpkg/lock-frontend
sudo rm /var/lib/dpkg/lock
sudo rm /var/lib/apt/lists/lock
sudo rm /var/cache/apt/archives/lock
Warning. Never delete lock files while another apt or dpkg process is running. The official apt warning in the error exists for a reason. If you skip the kill step and jump straight to rm, two processes will write to the package database at once, and you will break apt.
If your system uses the standard /run directory for locks (newer Ubuntu versions), the locks may be symlinks. The rm command handles both real files and symlinks safely.
Fixing the System After Lock Removal: dpkg –configure -a
Once the locks are gone, repair any package operation that was interrupted. The --configure -a flag tells dpkg to finish any pending configuration from a previous install or upgrade:
sudo dpkg --configure -aThis step is what separates a clean recovery from a broken apt install. It walks through any half-finished package setups and either completes them or rolls them back. The output may list packages it fixed. If any errors remain, run it again until the command completes without errors.
Once dpkg --configure -a finishes cleanly, your package manager is healthy again. Try your original command:
sudo apt update && sudo apt upgradePrevention: Stop the Error From Coming Back
You can avoid most lock errors with a few simple habits.
Check before you install. Run ps aux | grep -i apt as your first reflex when you see the error. It takes two seconds and prevents most mistakes.
Use one package manager at a time. Don’t open Ubuntu Software and the terminal at the same time. Don’t run apt from two SSH sessions. Lock the workflow in your head before you start.
Wait for unattended upgrades. Check the schedule with:
systemctl status unattended-upgradesOn servers, change the random delay window in /etc/apt/apt.conf.d/50unattended-upgrades so security updates run at predictable times when you’re not working.
Keep terminals alive. If you’re running apt over SSH, use tmux or screen. A dropped connection no longer kills your installation.
Free up disk space before updates. Running out of space mid-install is the number-one cause of zombie locks. Run df -h first.
Frequently Asked Questions
How do I fix Could not get lock /var/lib/dpkg/lock?
Run ps aux | grep -i apt to find the process holding the lock, then send SIGTERM with kill PID. If it won’t exit, use kill -9 PID. After the process is gone, run sudo dpkg u002du002dconfigure -a to repair any interrupted package configuration. Only delete the lock file with rm if no process is using it.
Is it safe to delete dpkg lock files?
It is safe only when no apt, dpkg, or unattended-upgr process is running. Verify with sudo lsof /var/lib/dpkg/lock first. If the command returns nothing, you can safely delete the lock file. Then run sudo dpkg u002du002dconfigure -a to repair any unfinished package operations.
What is unattended-upgr and why does it hold the lock?
unattended-upgr is the background service that installs security patches automatically on Ubuntu and Debian. It runs shortly after boot or on a daily schedule. While it installs updates, it holds the dpkg and apt lock files, which is why your manual apt command fails with a lock error.
Why am I getting the lock error even when no process is running?
This happens when a previous apt or dpkg process crashed or was interrupted before releasing the lock file. The lock file itself remains on disk even though no process is using it. The fix is to remove the stale lock file with sudo rm and then run sudo dpkg u002du002dconfigure -a to repair any incomplete package configuration.
Conclusion
The “Could not get lock /var/lib/dpkg/lock” error isn’t a sign that something is broken. It’s apt telling you it’s busy or recovering from a crash. The safe path is always: check who’s holding the lock with ps, lsof, or fuser; kill stuck processes politely with SIGTERM before reaching for SIGKILL; only remove lock files once you confirm no process is using them; and finish with sudo dpkg --configure -a to repair anything left half-done.
Follow that order and your package manager will stay healthy. Skip a step and you risk the very breakage the apt warning is trying to prevent.