
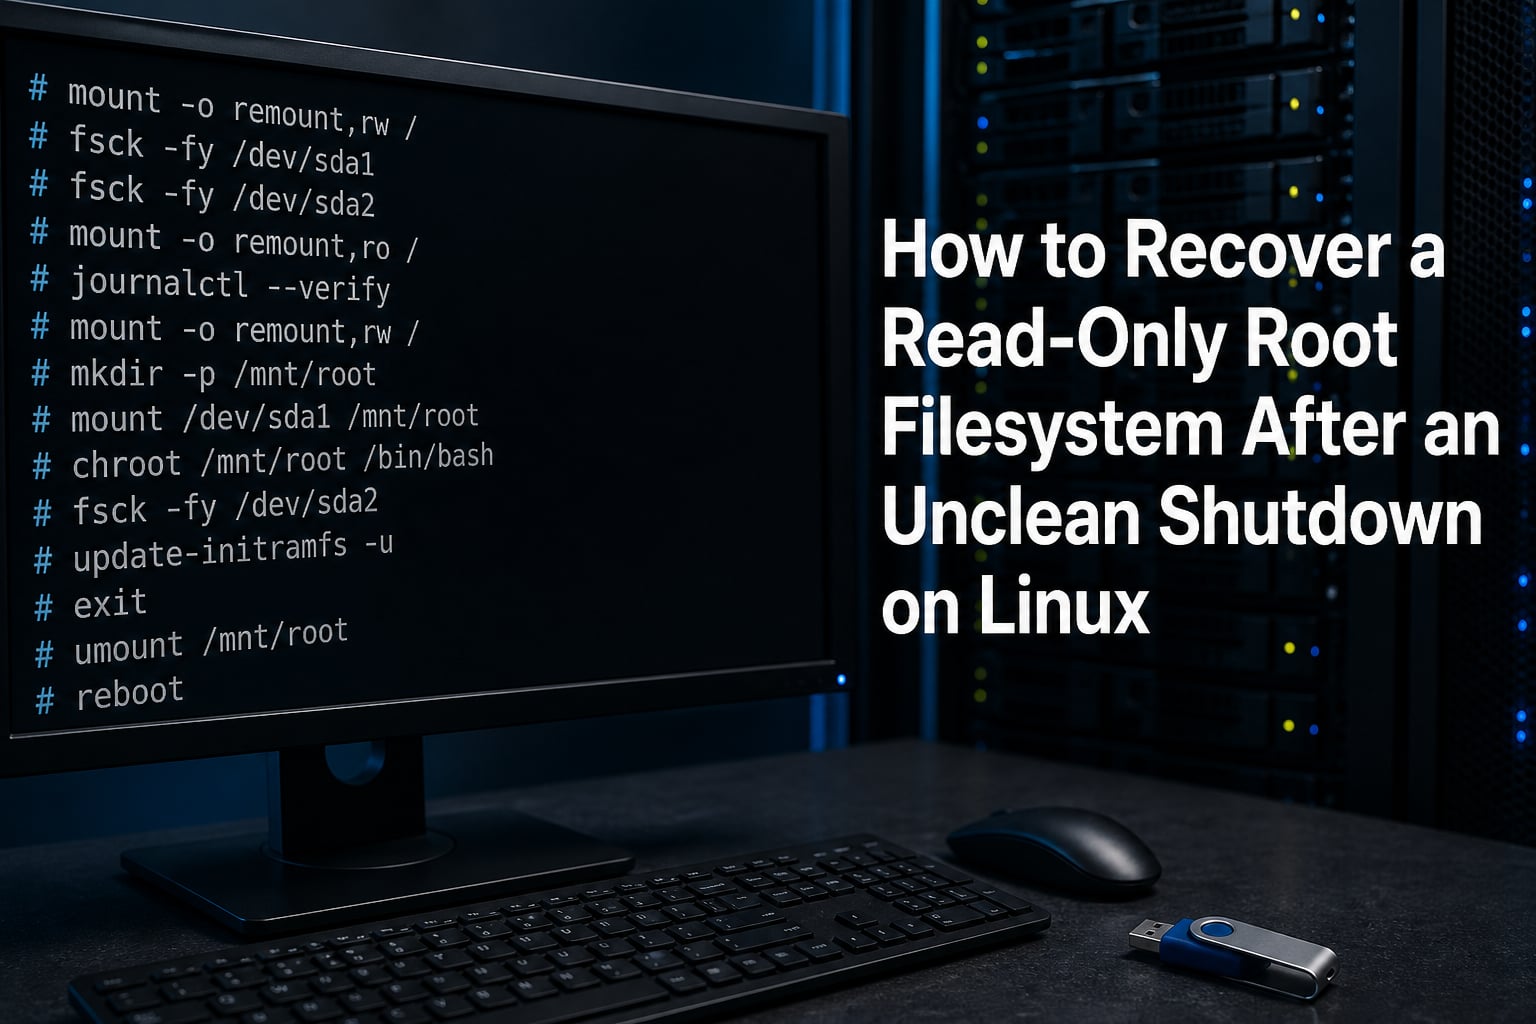
You log in after a power outage or hard crash, try to create a file, and Linux tells you the filesystem is read-only. This is not a bug. It is a built-in kernel safety mechanism that switches your root filesystem to read-only mode when it detects corruption or disk I/O errors, preventing small problems from becoming total data loss. The fix is straightforward once you understand why it happened: diagnose the underlying cause, repair the filesystem with the right tool, and remount read-write. This guide walks through exactly how to recover a read-only root filesystem after an unclean shutdown on Linux, covering everything from a quick remount to full live USB recovery and cloud server rescue.
I have spent years administering Linux servers, and the read-only filesystem error is one of the most common and most misunderstood recovery scenarios. The biggest mistake people make is immediately running mount -o remount,rw / without checking what caused the problem first. That can turn a recoverable situation into permanent data loss. I will show you the correct order of operations so you fix the root cause, not just the symptom.
Here is what we will cover: why the kernel flips your disk to read-only, how to diagnose the actual cause, the step-by-step repair procedure for ext4 and XFS, what to do when the system will not boot at all, recovery on cloud servers like AWS and GCP, and concrete prevention strategies so this stops happening.
Table of Contents
Why Your Root Filesystem Goes Read-Only After an Unclean Shutdown?
A read-only root filesystem is the kernel’s emergency brake. When Linux detects a serious filesystem error or a disk I/O fault during a write operation, the ext4 driver (and others) checks the superblock mount option errors=remount-ro. If that option is set, which it is by default on most distributions, the kernel immediately remounts the partition as read-only. This stops all write activity so corruption cannot spread.
This behavior exists for good reason. Continuing to write to a damaged filesystem can destroy the inode table, overwrite good data with garbage, and make recovery impossible. Read-only mode freezes everything in place until you intervene. The filesystem itself is often intact once repaired, but the disk underneath may also have a hardware problem.
Several scenarios trigger this after an unclean shutdown. A sudden power loss can leave the journal incomplete, meaning pending writes never committed to disk. A kernel panic or hard lockup can interrupt writes mid-operation. A failing drive can produce I/O errors that the kernel interprets as corruption. A restored VM snapshot from a crashed state can carry a dirty filesystem flag forward into the new boot. All of these can land you in read-only mode.
The dirty bit is your first clue. When a filesystem is not cleanly unmounted, it gets flagged as dirty. On the next boot, the journal is normally replayed automatically and the dirty flag clears. But if the journal itself is damaged, or if the kernel encounters errors during journal replay, the automatic repair fails and you are left with a read-only root. Understanding this chain of events tells you exactly which fix to apply.
Step 1: Diagnose Before You Touch Anything
Before you run any repair command, gather information. Blindly remounting or forcing fsck is the number one way to make things worse. The forum posts on r/linuxadmin are full of stories where admins skipped diagnosis and lost data. Take five minutes to understand the state of your system first.
Start by checking the kernel ring buffer for I/O errors and filesystem messages:
dmesg | grep -i "error|i/o|read-only|ext4|xfs"
Look for lines like EXT4-fs error (device sda1): ext4_journal_commit_block or Buffer I/O error on device sda1. These tell you whether the problem is filesystem corruption or a hardware fault. If you see repeated I/O errors on the block device, your disk may be physically failing, and you should clone it before attempting any repair.
Next, check what is actually mounted and in what mode:
findmnt /
This shows the mount options for your root filesystem. If you see ro in the options column, the filesystem is confirmed read-only. Compare this against your /etc/fstab to confirm whether read-only was set intentionally or triggered by an error.
Check the partition layout so you know which device to repair later:
lsblk -f
The -f flag shows filesystem types, which matters because XFS and ext4 use completely different repair tools. Note the device path, the filesystem type, and the mount point. You will need all three for the repair step.
Finally, review the boot logs for what happened during the last startup:
journalctl -b -p err
This shows error-level messages from the current boot. Look for fsck messages indicating it ran and what it found, mount failures, or hardware detection problems. If you see a message like fsck failed, you know the automatic repair did not complete, and you need to run it manually.
Step 2: Try Remounting Read-Write
If your diagnosis shows no hardware I/O errors and the filesystem is read-only due to a dirty flag or minor journal issue, a remount may be all you need. This is the fastest fix and works when the filesystem is fundamentally sound.
Run the remount command:
sudo mount -o remount,rw /
If this succeeds without an error, test it by creating a temporary file:
touch /test-write && rm /test-write
If the file creates and deletes without error, your filesystem is back to read-write. But do not stop here. The dirty flag or error condition that caused the read-only remount is still present, and it will happen again on the next unclean shutdown unless you run a full filesystem check. Schedule a maintenance window to reboot into recovery mode and run fsck properly.
If the remount fails with mount: /: cannot remount / read-write, is write-protected or similar, the kernel is refusing because it detected active errors. This is actually the kernel protecting you. Do not force it. Move to the fsck repair step instead.
A critical warning: if dmesg showed hardware I/O errors, do not attempt a remount. Writing to a failing disk accelerates damage. Clone the disk to a healthy drive first using ddrescue, then run repairs on the clone.
Step 3: Repair the Filesystem with fsck
You cannot run a meaningful fsck on a mounted, actively-used root filesystem. The filesystem is changing in real time, and fsck checking a moving target produces inconsistent results or worse. The correct approach is to get the filesystem unmounted or use a recovery environment where it is not mounted at all.
If your system booted to a login prompt despite the read-only root, reboot into recovery mode. On most systemd distributions, add this to the kernel command line at the GRUB menu:
systemd.unit=rescue.target
Or press e at the GRUB menu, find the line starting with linux, append init=/bin/bash at the end, and boot with Ctrl+X. This drops you to a root shell before the filesystem is fully mounted.
At the recovery shell, remount the filesystem read-only explicitly (if it is mounted), then run fsck:
mount -o remount,ro /fsck -y /dev/sda1
Replace /dev/sda1 with your actual root partition from the lsblk output earlier. The -y flag automatically answers yes to all repair prompts, which you want because there can be dozens of them. Without -y, you would be pressing Y repeatedly for ten minutes.
Alternatively, force fsck on the next boot without entering recovery mode. As root, create the forcefsck flag file and reboot:
touch /forcefsckreboot
You can also add fsck.mode=force fsck.repair=yes to the kernel command line at boot. The initramfs will run fsck before mounting root, which is the safest possible time to do it.
After fsck completes, check the exit code to understand what it found and fixed:
echo $?
An exit code of 0 means the filesystem is clean. Code 1 means errors were found and corrected. Code 2 means the system should be rebooted. Code 4 means errors were left uncorrected, and you need to investigate further or try a more aggressive repair. Code 8 or 16 indicates an operational error or usage error.
Filesystem-Specific Repair: ext4, XFS, and Btrfs
The repair tool depends entirely on your filesystem type. Using the wrong tool does nothing or causes damage. This is one of the most common points of confusion in community forums.
For ext4, use e2fsck (the ext4-specific name for fsck):
e2fsck -fy /dev/sda1
If the superblock itself is corrupted, e2fsck will fail with a superblock error. You can restore from a backup superblock. First, find the backup superblock locations:
mke2fs -n /dev/sda1
The -n flag prints what it would do without writing anything. Note the primary superblock backup location (often block 32768), then run e2fsck with that backup:
e2fsck -b 32768 /dev/sda1
For XFS, do not use fsck. The standard fsck.xfs command does nothing by design, and running ext4 fsck on an XFS partition will corrupt it. Use the XFS-native repair tool instead:
xfs_repair /dev/sda1
If xfs_repair refuses to run because the journal is dirty, zero the log first:
xfs_repair -L /dev/sda1
The -L flag zeroes the log, which can lose data that was in flight during the crash. Use it only when the standard repair fails. After repairing, you may also need to force log replay by mounting and unmounting the filesystem once before normal use.
For Btrfs, use the btrfs-native check tool. Btrfs has its own checksumming and repair mechanisms, so the approach is different:
btrfs check --repair /dev/sda1
Be cautious with --repair on Btrfs. The Btrfs documentation recommends running a read-only check first (btrfs check /dev/sda1) and only using --repair if problems are found, because the repair mode has historically been aggressive.
Step 4: Recovery from a Live USB When the System Will Not Boot
Sometimes the filesystem damage is severe enough that the system will not boot at all. You get a kernel panic, a GRUB rescue prompt, or an initramfs emergency shell. In these cases, you need to repair the filesystem from outside the broken installation using a live USB.
First, create a live USB if you do not already have one. Download the ISO for any major distribution (Ubuntu, Fedora, or SystemRescue work well for recovery). Write it to a USB stick:
sudo dd if=ubuntu.iso of=/dev/sdX bs=4M status=progress
Replace /dev/sdX with your USB device path, not a partition. Use lsblk to confirm which device is your USB stick before writing, because dd will overwrite whatever you point it at.
Boot from the live USB. Open a terminal and identify the root partition of your broken installation:
lsblk -fsudo fdisk -l
Look for the partition with the filesystem type matching your installation. Do not mount it yet.
Run the appropriate repair tool on the unmounted partition:
sudo fsck -y /dev/sda2
After fsck completes, try mounting the filesystem to verify it is readable:
sudo mount /dev/sda2 /mnt
If it mounts successfully, check that your files are present. If you need to reinstall GRUB or fix other boot issues, you can chroot into the repaired system:
sudo mount --bind /dev /mnt/devsudo mount --bind /proc /mnt/procsudo mount --bind /sys /mnt/syssudo chroot /mnt
From inside the chroot, you can reinstall the bootloader, fix fstab entries, or install packages as if you were booted into the system normally.
Cloud Server Recovery: AWS, GCP, and Azure
Cloud servers present a unique challenge because you cannot insert a live USB. When a cloud instance boots into a read-only root or kernel panic, you need the cloud provider’s volume detach and reattach mechanism to run fsck from a healthy instance.
On AWS EC2, stop the affected instance. Detach the EBS volume from the stopped instance in the AWS Console under Elastic Block Store, Volumes. Attach that volume to a healthy EC2 instance in the same availability zone as a secondary device, for example /dev/sdf. SSH into the healthy instance and run fsck on the attached volume:
sudo fsck -y /dev/xvdf1
Once repaired, detach the volume from the rescue instance and reattach it to the original instance as /dev/sda1 (the root device). Start the instance and verify it boots normally.
On Google Cloud Platform, stop the instance. Use the Compute Engine console to detach the disk. Attach it to another instance in the same zone as a non-boot disk. SSH into the rescue instance, identify the disk, run fsck, detach, and reattach to the original instance.
On Azure, stop the VM. Detach the OS disk from the portal. Attach it as a data disk to a recovery VM in the same region. Run fsck from the recovery VM, detach, and reattach as the OS disk to the original VM. Azure also offers the Serial Console feature, which sometimes lets you access GRUB and force fsck without detaching disks at all.
One important note for cloud environments: if the read-only error is caused by the underlying storage rather than filesystem corruption, fsck will not fix it. Check the cloud provider’s status page for storage incidents in your region before spending hours on filesystem repair.
How to Prevent Read-Only Filesystem Errors?
Prevention comes down to three areas: filesystem configuration, hardware health monitoring, and power management. Addressing all three dramatically reduces the chance of waking up to a read-only root.
First, review your ext4 mount options. The default errors=remount-ro is the safest choice because it freezes the filesystem at the first sign of trouble. Some admins switch to errors=continue to avoid service interruptions, but this risks deeper corruption. I recommend keeping remount-ro and instead making sure fsck runs regularly so small errors are caught early. Use tune2fs to control automatic filesystem checks:
sudo tune2fs -c 30 /dev/sda1
This forces a filesystem check every 30 mounts. You can also set a time-based interval:
sudo tune2fs -i 30d /dev/sda1
This forces a check at least every 30 days, even if the mount count has not been reached. Both settings ensure latent corruption is caught before it triggers an emergency read-only remount.
Second, monitor disk health with SMART data. Install smartmontools and enable continuous monitoring:
sudo apt install smartmontoolssudo smartctl -a /dev/sda
Look for reallocated sector count, pending sectors, and uncorrectable errors. Any of these indicate the drive is failing and should be replaced before it causes filesystem corruption. Enable the smartd daemon to get email alerts when SMART attributes cross warning thresholds.
Third, eliminate unclean shutdowns. For physical servers, a UPS is non-negotiable. Configure the UPS daemon (apcupsd or nut) to trigger a clean shutdown when battery power drops below a threshold. For VMs, ensure the hypervisor performs a graceful shutdown rather than a hard power-off. A clean shutdown flushes all pending writes and unmounts filesystems properly, which eliminates the dirty filesystem problem at its source.
Finally, review your /etc/fstab regularly. The pass field (the last number) controls fsck order at boot. Root should be 1, other filesystems should be 2 or 0. If root is set to 0, fsck never runs automatically at boot, and you lose your first line of defense against accumulated corruption.
Quick Reference: Command Cheatsheet
Here is a compact list of every command covered in this guide, in the order you should use them during a recovery scenario.
Diagnose:
dmesg | grep -i "error|i/o|read-only"
findmnt /
lsblk -f
journalctl -b -p err
Quick remount:
sudo mount -o remount,rw /
Boot to recovery shell: add systemd.unit=rescue.target or init=/bin/bash to kernel line in GRUB.
Repair ext4:
e2fsck -fy /dev/sda1
e2fsck -b 32768 /dev/sda1 (backup superblock)
Repair XFS:
xfs_repair /dev/sda1
xfs_repair -L /dev/sda1 (zero log if needed)
Repair Btrfs:
btrfs check --repair /dev/sda1
Force fsck at boot:
touch /forcefsck or add fsck.mode=force fsck.repair=yes to kernel line.
Prevent:
sudo tune2fs -c 30 /dev/sda1
sudo tune2fs -i 30d /dev/sda1
sudo smartctl -a /dev/sda
Frequently Asked Questions
How to recover root filesystem in Linux?
Boot into recovery mode by adding systemd.unit=rescue.target to the kernel command line in GRUB, or boot from a live USB. Unmount the root partition if it is mounted, then run fsck -y /dev/sdXN (replace with your root partition). For XFS, use xfs_repair instead. After the repair completes, reboot normally.
How to resolve read-only file system in Linux?
First check dmesg for I/O errors to confirm the cause. If no hardware errors are present, try sudo mount -o remount,rw / to switch back to read-write mode. If that fails or the filesystem is dirty, reboot into recovery mode and run fsck -y on the unmounted root partition to repair corruption before remounting.
How to remove a read-only file system in Linux?
To switch a read-only filesystem back to read-write, run sudo mount -o remount,rw /mountpoint. To fully unmount a read-only filesystem, run sudo umount /mountpoint. If the filesystem keeps returning to read-only after remounting, it has corruption that requires an fsck repair on the unmounted partition.
Can I run fsck on a mounted root filesystem?
No. Running fsck on a mounted filesystem produces unreliable results because files are changing in real time, and it can actively corrupt data. Always unmount the filesystem first or boot into recovery mode, single user mode, or a live USB where the root partition is not mounted. The only safe exception is the forced fsck at boot triggered by /forcefsck, which runs before root is mounted.
How to prevent filesystem from going read-only at boot?
Set regular automatic filesystem checks with tune2fs -c 30 and tune2fs -i 30d for ext4. Monitor disk health with smartmontools and replace failing drives before they cause corruption. Use a UPS with automatic shutdown for physical servers. Ensure the pass field in /etc/fstab for root is set to 1 so fsck runs at every boot.
Conclusion
Recovering a read-only root filesystem after an unclean shutdown on Linux comes down to three things: diagnose with dmesg and lsblk before touching anything, repair with the correct filesystem-specific tool while the partition is unmounted, and remount only after the check passes. Never skip the diagnosis step, never run fsck on a mounted filesystem, and always use xfs_repair for XFS instead of fsck. Once you recover, set up tune2fs automatic checks, SMART monitoring, and a UPS so you do not have to repeat this process. Keep the command cheatsheet above bookmarked, because when this happens at 3 AM you want the commands ready, not a research project.