
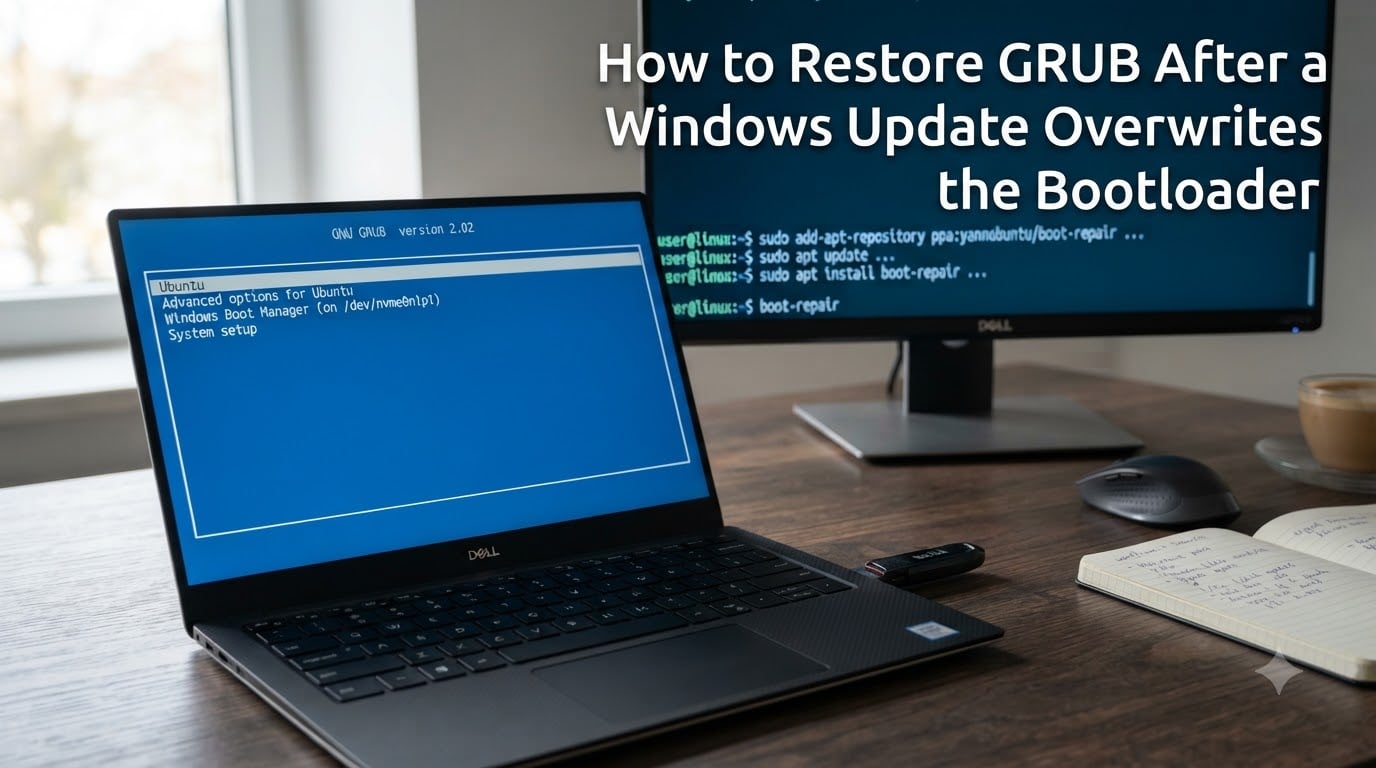
If you dual-boot Linux and Windows, there is a good chance you have logged in after a routine Windows update only to find that Linux no longer appears in the boot menu. I have walked several readers through this exact issue, and it is far more common than most guides admit. Windows treats its own bootloader as the default, and major feature updates quietly reinstall it on the EFI System Partition.
This guide shows you exactly how to restore GRUB after a Windows update overwrites the bootloader, using two reliable methods. The first uses a Live Linux USB and chroot for full control. The second uses the Boot Repair graphical tool for a one-click fix. By the end you will have your Linux boot menu back and a plan to keep it there.
Table of Contents
Understanding Why Windows Overwrites GRUB
GRUB (Grand Unified Bootloader) is the small program that loads your Linux kernel and presents the operating system selection menu. When Windows performs a major update, such as a Windows 10 to 11 upgrade or a large cumulative build, it rewrites the EFI System Partition with its own bootloader files. Because most firmwares boot whatever sits at the top of the UEFI boot order, your Linux entry disappears.
The reason this happens is purely about ownership. Windows assumes it is the only operating system on the machine. Its installer writes a fresh EFI entry, names it “Windows Boot Manager,” and places it ahead of anything else. On Legacy BIOS systems the effect is similar: Windows rewrites the Master Boot Record with code that only knows how to chainload its own partition.
UEFI and Legacy BIOS behave differently here. UEFI systems store boot entries as NVRAM variables plus files on a small FAT32 partition called the EFI System Partition (ESP). Legacy BIOS systems store boot code in the Master Boot Record and partition boot sectors. Your restoration method has to match whichever mode your machine uses, so the first step is to check which one you have.
Prerequisites: What You Need Before Starting
Before you do anything, gather three things. You need a working Linux installation you want to repair, a USB drive of at least 4 GB, and a second computer to create the Live media if the broken machine is your only one.
To create the Live USB, download an Ubuntu, Fedora, or any Linux ISO from the official site. Use a tool like Rufus on Windows, balenaEtcher, or the built-in USB creator on Linux. Flash the ISO to the USB drive and verify it boots by changing your firmware boot order or using the one-time boot menu, usually opened with F12, F2, or Del.
Tip: Make a quick backup of anything you cannot replace before you start. Restoring GRUB does not touch your personal files, but a wrong partition choice during chroot can cause data loss if you format the wrong device.
Method 1: Manual GRUB Restoration via chroot
Use this method when you want full control or when automated tools fail. The plan is to boot a Live environment, mount your installed Linux partition, and use chroot to run commands as if you had booted into your real system. From there you reinstall GRUB directly to the disk.
Step 1: Boot Into the Live Linux USB
Insert the USB drive and reboot. Open the boot menu and select the USB entry, usually labeled with the vendor name or “UEFI:” followed by the vendor. Choose “Try Ubuntu” or the equivalent option, not “Install.” You need a live session, not an installer.
Step 2: Identify Your Linux Partitions
Open a terminal and run sudo fdisk -l or lsblk -f to list all partitions. Look for your Linux root partition. On ext4 filesystems it is usually labeled “Linux.” On UEFI systems you will also see a small FAT32 partition of 100 to 500 MB labeled “EFI” or “EFI System Partition.”
Write down the device names. In the examples below I use /dev/sda2 for the Linux root and /dev/sda1 for the EFI partition. Replace these with whatever your fdisk output actually shows. If you use an NVMe drive, your devices will look like /dev/nvme0n1p2 instead.
Step 3: Mount the Linux Partition
Mount the root partition, then the EFI partition if you have one:
sudo mount /dev/sda2 /mnt
sudo mount /dev/sda1 /mnt/boot/efi
For non-EFI systems, skip the second command. If you have a separate /boot partition, mount it at /mnt/boot before continuing.
Step 4: Bind Mount the Pseudo-File Systems
Bind mount the directories the chroot environment needs:
sudo mount --bind /dev /mnt/dev
sudo mount --bind /proc /mnt/proc
sudo mount --bind /sys /mnt/sys
This step is what trips up most beginners. The chroot needs access to /dev, /proc, and /sys or your installed system cannot see its own devices.
Step 5: Enter chroot
Run sudo chroot /mnt. Your prompt should now show the installed system. If you see no errors and your shell looks different, you are inside chroot.
Step 6: Reinstall GRUB and Update Configuration
On Legacy BIOS systems, install GRUB to the Master Boot Record of the first disk:
grub-install /dev/sda
update-grub
On UEFI systems, install GRUB to the EFI partition and target the EFI architecture:
grub-install --target=x86_64-efi --efi-directory=/boot/efi --bootloader-id=ubuntu
update-grub
For Fedora, replace update-grub with grub2-mkconfig -o /boot/grub2/grub.cfg and grub-install with grub2-install. On Arch-based distros the command is grub-mkconfig -o /boot/grub/grub.cfg after grub-install.
Step 7: Exit, Unmount, and Reboot
Type exit to leave chroot, then sudo umount -R /mnt to unmount everything. Reboot, remove the USB, and your GRUB menu should reappear.
Method 2: Automated GRUB Restoration with Boot Repair
If the manual chroot process feels intimidating, Boot Repair is the tool for you. It is a graphical utility maintained by the Ubuntu community that automates the same chroot commands behind a single button.
Step 1: Boot the Live USB and Add the Boot Repair PPA
Boot into a live Ubuntu session, then open a terminal and run:
sudo add-apt-repository ppa:yannubuntu/boot-repair
sudo apt update
sudo apt install boot-repair
You can also boot the dedicated Boot Repair ISO directly. The community distributes an image called “boot-repair-disk” that includes the tool out of the box.
Step 2: Launch Boot Repair
Launch Boot Repair from the application menu or by typing boot-repair in the terminal. The tool will scan your disks and present you with a “Recommended Repair” button.
Step 3: Apply Recommended Repair
Click “Recommended Repair” and wait. Boot Repair will mount partitions, run grub-install, regenerate the configuration, and report a URL containing the full log. Save that URL. If anything goes wrong, the log is invaluable for troubleshooting.
The advanced options let you reinstall GRUB to a specific disk, purge and reinstall GRUB packages, or back up the EFI partition. Most users only need the recommended option. If your firmware has Secure Boot enabled and Boot Repair complains, you can temporarily disable Secure Boot in your UEFI settings, repeat the repair, and re-enable it afterward.
Boot Repair is widely trusted in the Linux community and is the answer most forum threads give to “how do I restore grub after Windows update broke my boot menu.” When in doubt, start here.
Troubleshooting Common GRUB Restoration Errors
Even with a clean guide, things can go sideways. Here are the errors I see most often in forum posts and how to fix each one.
“error: unknown filesystem” in GRUB Rescue
This message means GRUB loaded but cannot find its configuration or the partition it lives on. From the rescue prompt, run ls to list partitions, then ls (hd0,gpt2)/ for each one until files appear. Once you find the right partition, boot it temporarily with set root=(hd0,gpt2), linux /vmlinuz root=/dev/sda2, and initrd /initrd.img, then boot. Once you are in Linux, follow Method 1 or Method 2 to permanently fix GRUB.
grub-install Says “cannot find EFI directory”
You forgot to mount the EFI partition or mounted it to the wrong location. Unmount everything, mount the FAT32 partition at /mnt/boot/efi, then retry. Run ls /mnt/boot/efi to confirm the partition contains an EFI folder before continuing.
Boot Repair Did Not Fix the Issue
Open Boot Repair’s advanced options and try “Reinstall GRUB” with a specific disk selected. If it still fails, run the manual method. Manual chroot catches problems that Boot Repair skips, such as missing /proc mounts or damaged GRUB packages.
Wrong Device Selected for grub-install
Installing GRUB to the wrong device overwrites that device’s boot sector. Always install to a disk like /dev/sda, not a partition like /dev/sda2. The exception is UEFI, where grub-install targets the EFI partition but writes files rather than overwriting a boot sector.
How to Prevent Windows From Overwriting GRUB Again
Restoring GRUB is a one-time fix. The real win is keeping Windows from clobbering it on the next update.
First, enter your UEFI firmware settings and change the boot order so that GRUB or your Linux entry comes first. Most firmwares remember the order across reboots. Second, disable Windows Fast Startup. Fast Startup leaves the EFI in a hibernation-like state that prevents clean unmount of the ESP. Search “Choose what the power buttons do” in Windows, click “Change settings that are currently unavailable,” and uncheck “Turn on fast startup.”
Third, avoid major Windows feature updates on a dual-boot machine when you can, and always keep a Live USB handy. The recovery takes 15 minutes once you have done it once.
Frequently Asked Questions
Why does Windows overwrite GRUB after an update?
Windows major updates rewrite the EFI System Partition with the Windows Boot Manager files and place that entry first in the UEFI boot order. GRUB is left on disk but is no longer the default bootloader, so your firmware skips it.
Can I restore GRUB without a Live USB?
Not really. Restoration requires running commands against your installed system, and you cannot boot that system without GRUB. A Live USB lets you mount the broken installation from outside and fix the bootloader. As a last resort, Super GRUB Disk can sometimes chainload Linux directly, but it is fragile.
Is Boot Repair safe to use?
Yes. Boot Repair is a community-maintained tool from the Ubuntu developers and is the standard recommendation across AskUbuntu, the Fedora wiki, and Linux forums. It only writes to the disks you tell it to and provides a log URL so you can verify every change it made.
Will restoring GRUB delete my Windows installation?
No. GRUB restoration only writes to the small EFI System Partition or the Master Boot Record. Your Windows files, applications, and documents are untouched. You will simply get a boot menu that lists both operating systems again.
What is chroot and why is it needed?
Chroot changes the apparent root directory for the current process, so commands you run act as if you had booted into your real Linux installation. It lets you run grub-install against your actual disk from a Live environment, which is the cleanest way to restore GRUB after a Windows update overwrites the bootloader.
Conclusion
Restoring GRUB after a Windows update overwrites the bootloader is one of those tasks that feels scary the first time and trivial by the third. Boot from a Live USB, mount your Linux partition, run grub-install either manually through chroot or automatically through Boot Repair, and reboot. Within 15 minutes your dual-boot menu is back.
Pick the method that matches your comfort level. Use Boot Repair if you want a guided fix, and use the manual chroot method if you want to understand exactly what is happening. Whichever path you take, set the UEFI boot order to Linux first and disable Fast Startup so you only have to do this once. If you hit an error the guide did not cover, drop a comment below with the exact message and your disk layout and we will work through it together.