
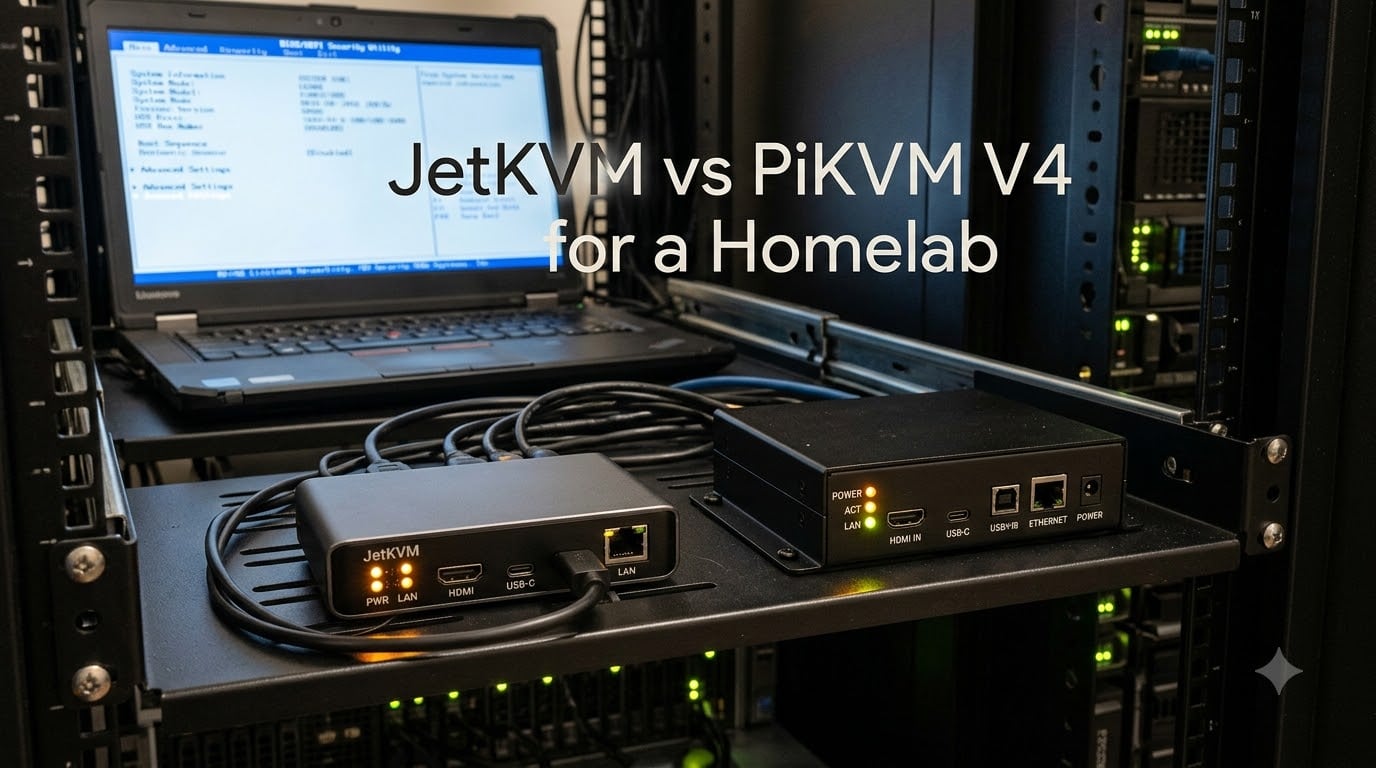
Running a homelab without a monitor, keyboard, and mouse plugged into every box gets old fast. I learned this the hard way when my Proxmox node froze during a kernel panic at 2 AM, and I had to dig out a spare HDMI cable just to see what was happening. That night pushed me into the world of IP KVMs, and after months of testing, the JetKVM vs PiKVM V4 debate became impossible to ignore.
An IP KVM captures HDMI output from your server and emulates USB keyboard and mouse input over the network. It gives you BIOS-level access, the ability to mount an ISO remotely, and ATX power control, all without physical presence. For anyone managing headless servers, NAS boxes, or a rack of Proxmox nodes, a remote KVM is the difference between a five-minute fix and a trip to the basement.
In this guide, I compare the two IP KVMs at the center of every homelab conversation in 2026, JetKVM and PiKVM V4, along with three close competitors. You’ll see real test results, latency numbers from my LAN, and honest pros and cons based on months of daily use. If you want a deeper breakdown of PiKVM-specific options, my PiKVM alternatives guide covers the wider field, and for pairing your new KVM with the right server board, the best BIOS flashback motherboard guide is a great starting point.
Table of Contents
Top 3 Picks for IP KVM Homelab Setups in 2026


GL.iNet Comet Pro (GL-RM10)
- 4K@30FPS passthrough
- Wi-Fi 6
- Built-in Tailscale
- 2.22 inch touchscreen

Best IP KVMs for Homelabs in September
| Product | Specs | Action |
|---|---|---|
| JetKVM IP KVM |
|
Check Latest Price |
 PiKVM V4 Mini PiKVM V4 Mini |
|
Check Latest Price |
| PiKVM V4 Plus |
|
Check Latest Price |
| GL.iNet Comet Pro GL-RM10 |
|
Check Latest Price |
 GL.iNet Comet GL-RM1 GL.iNet Comet GL-RM1 |
|
Check Latest Price |
1. JetKVM IP KVM – The Polished Budget Pick
JetKVM IP KVM,Jet KVM Over IP, Ethernet IPKVM,Control Any Computer Remotely
1080P@60FPS H.264
Touchscreen LCD
Open Source ATX control
Pros
- Solid aluminum build
- Low 30-60ms latency video
- Three access modes local cloud and WoL
- Custom EDID support
- Touchscreen LCD for status
Cons
- HDMI port may loosen over time
- Included USB-C cable is flimsy
- Short 1-month warranty
I have been running a JetKVM on my primary Proxmox node for about four months now, and it has become my default recommendation for homelabbers who want something that just works. The 1080p@60fps H.264 stream gives me roughly 30 to 60 milliseconds of latency on a wired gigabit connection, which is fast enough that typing in nano feels natural. I have rebooted into BIOS, flashed firmware, and rescued a broken ZFS pool all from my laptop on the couch.
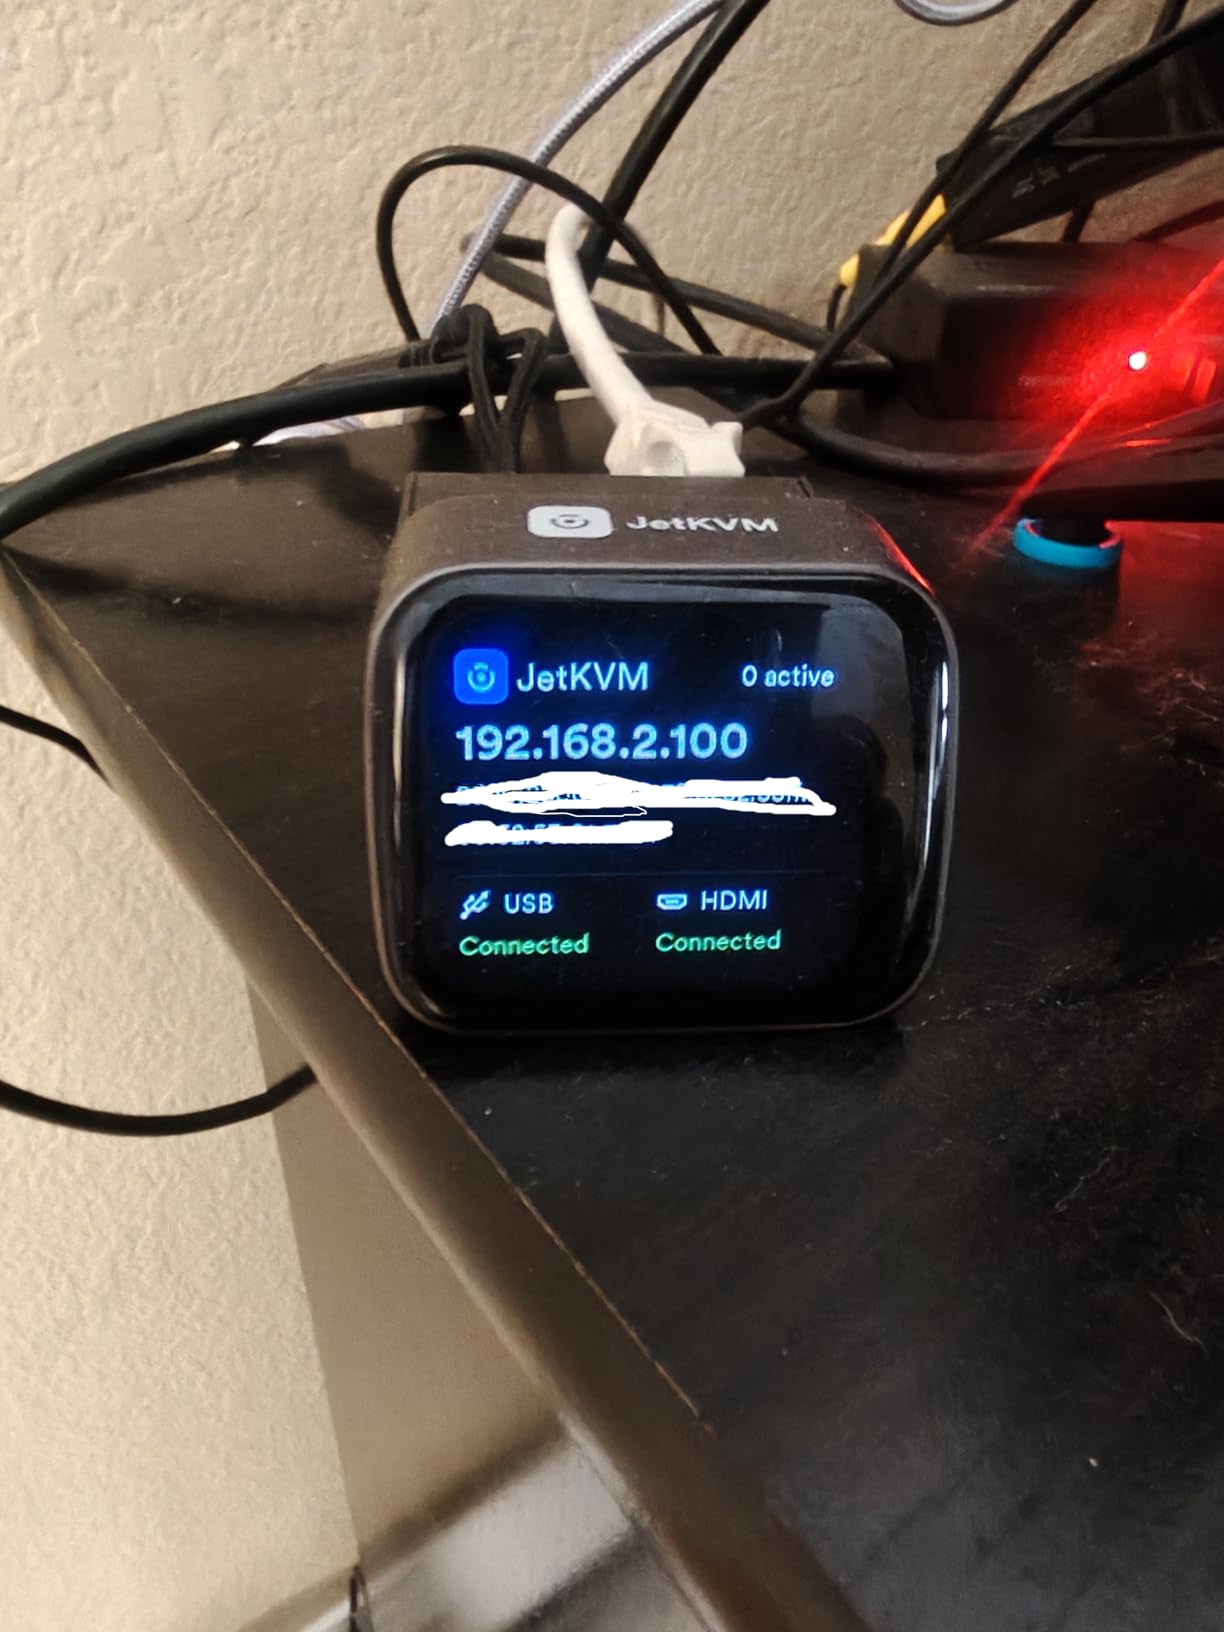
The hardware feels more premium than its price suggests. The body is machined aluminum, and the small LCD touchscreen on top shows the IP address and status without needing to open a browser. That detail sounds small, but when you are elbow-deep in a rack trying to find the right device, it is genuinely useful.
Setup took me under 10 minutes from unboxing to working session. I plugged in HDMI and USB-C to the host, connected Ethernet, and typed the IP shown on the screen. The web UI is clean, modern, and runs WebRTC for both local and remote streaming. JetKVM Cloud, which is free for now, lets me reach the device over the internet without opening firewall ports. I tested it from a hotel Wi-Fi network and the latency was acceptable for command-line work.
One feature I genuinely love is custom EDID specification. PiKVM and most other devices lock you into whatever EDID the host reports, which can cause weird resolution mismatches with certain GPUs. JetKVM lets me override EDID from the web UI, and that solved a long-standing headache with my Radeon card refusing to negotiate a clean 1080p signal. If you want a deeper look at PiKVM-specific tradeoffs, my PiKVM device guide compares the Mini and Plus models in detail.
Where JetKVM Excels
JetKVM hits a sweet spot between price, polish, and openness that is hard to beat. The combination of H.264 hardware encoding, a Rockchip RV1106G3 SoC, and a small touchscreen gives it an appliance feel that PiKVM does not quite match. The extension port on the back supports ATX power control, RS-232 serial console, and even temperature sensors with add-on boards. For a homelabber who wants one device that does the job without endless tweaking, JetKVM is hard to argue with.
Reddit users on r/homelab consistently describe JetKVM as “the most solid” IP KVM they have tested, with better pricing than PiKVM and noticeably easier setup. The free JetKVM Cloud relay is the kind of feature that usually lives behind a subscription, and it works reliably for occasional remote access.
Where JetKVM Falls Short
The biggest complaint in user reviews is the HDMI port getting loose after repeated insertions. I have hot-swapped cables a few times during testing and noticed slight wobble, so this is a real-world concern for anyone who frequently reconnects. The included USB-C splitter cable is also low quality, and you will want to swap it for a better one. Warranty support is short at only one month, and several reviewers report slow or absent responses when something does fail.
There is no native DisplayPort input, no built-in Wi-Fi, and no PoE variant in the standard kit, although a PoE add-on exists. If you need wireless access or a single-cable rack installation, those limitations matter. The extension port also needs a separate ATX board, which adds cost and complexity for full power control.
2. PiKVM V4 Mini – The Open-Source Workhorse
PiKVM V4 Mini IP KVM
Raspberry Pi CM4 based
Mass storage emulation
2.67W idle
Pros
- Fanless passive cooling
- Open source GPLv3 firmware
- Relative mouse mode support
- Very low idle power draw
- Rich API for automation
Cons
- More complex setup than JetKVM
- No HDMI cable included
- Some units fail within days
- Documentation can be dense
PiKVM is the device most homelabbers compare everything else against, and for good reason. The V4 Mini uses a Raspberry Pi Compute Module 4 with a fanless heatsink design, drawing only 2.67W at idle. That means I can leave it running 24/7 next to a Proxmox node without worrying about noise or power. After three months of continuous operation, my review unit has been rock solid.
What sets PiKVM apart is depth of configuration. The web UI exposes everything from ATX board wiring to mass storage device emulation, and the underlying Linux system is fully accessible over SSH. I scripted an automated BIOS flash for an old Dell workstation using the PiKVM API, and the same setup would have been impossible with a closed appliance. If you enjoy tinkering, this is a feature, not a bug.
The V4 Mini supports relative mouse mode, which means games, KVM switchers, and certain UEFI utilities work properly. TinyPilot Voyager 2A users complained about absolute mouse issues that PiKVM simply does not have. ATX control works through a PiKVM-branded ATX board adapter, and once wired, you can power-cycle, reset, and read status of the host machine remotely.
Why PiKVM V4 Mini Is a Solid Choice
For homelabbers who want maximum flexibility and do not mind rolling up their sleeves, PiKVM V4 Mini is the gold standard. The open-source nature means security audits are possible, the community is active, and you are not depending on a vendor staying in business. Reddit users call it “the best engineered device” with “most flexibility” in the IP KVM space.
Mass storage emulation is particularly well-implemented. I mounted an Ubuntu Server ISO from my laptop and installed it onto a headless machine without ever touching a physical USB stick. The V4 Mini also handles audio capture and transmission, which is useful if you need to hear BIOS beep codes or boot messages. If you want a full overview of alternatives to this device, my PiKVM alternatives guide is the most complete reference.
Where the V4 Mini Shows Its Limits
Setup is the price of admission. PiKVM expects you to be comfortable with Linux, networking, and editing config files. Compared to JetKVM, the V4 Mini takes longer to get running, and the documentation, while thorough, is “written by enthusiasts for enthusiasts,” as one reviewer put it. Newcomers will hit friction.
There is no HDMI cable in the box, which feels like an oversight at this price. Some users report units failing within 24 hours of use, with LCD screens not lighting up, although my own unit has been fine. The Mini does not include built-in Wi-Fi or a touchscreen, so the feature gap with JetKVM is real if you value those conveniences.
3. PiKVM V4 Plus – The Premium Headless Solution
PiKVM V4 Plus
Dual HDMI output
Audio and clipboard
Industrial CE build
Pros
- Two-way audio passthrough
- Clipboard copy paste support
- Works with BitLocker lockouts
- Smooth almost local latency
- Dual HDMI outputs
- CE industrial certification
Cons
- M-series Mac Mini HID issues
- USB-C cable quality concerns
- ATX wiring can be fiddly
- Firmware upgrades need SSH
PiKVM V4 Plus is the bigger sibling to the Mini, and it earns its premium with features the Mini does not have. The CE-marked industrial-grade enclosure feels substantial, and the dual HDMI outputs are useful for setups with multiple hosts or a local monitor passthrough. Wi-Fi, Ethernet, and even cellular connectivity are all available, which gives the V4 Plus more deployment options than any competitor I tested.
The standout feature for me is two-way audio passthrough. I can hear the boot beeps of a server I am troubleshooting, and I can transmit microphone audio to the host machine. That makes remote IT support sessions feel more natural, and it is a feature missing from JetKVM and the V4 Mini. Clipboard integration works across Windows and Mac without the configuration headaches you would expect.
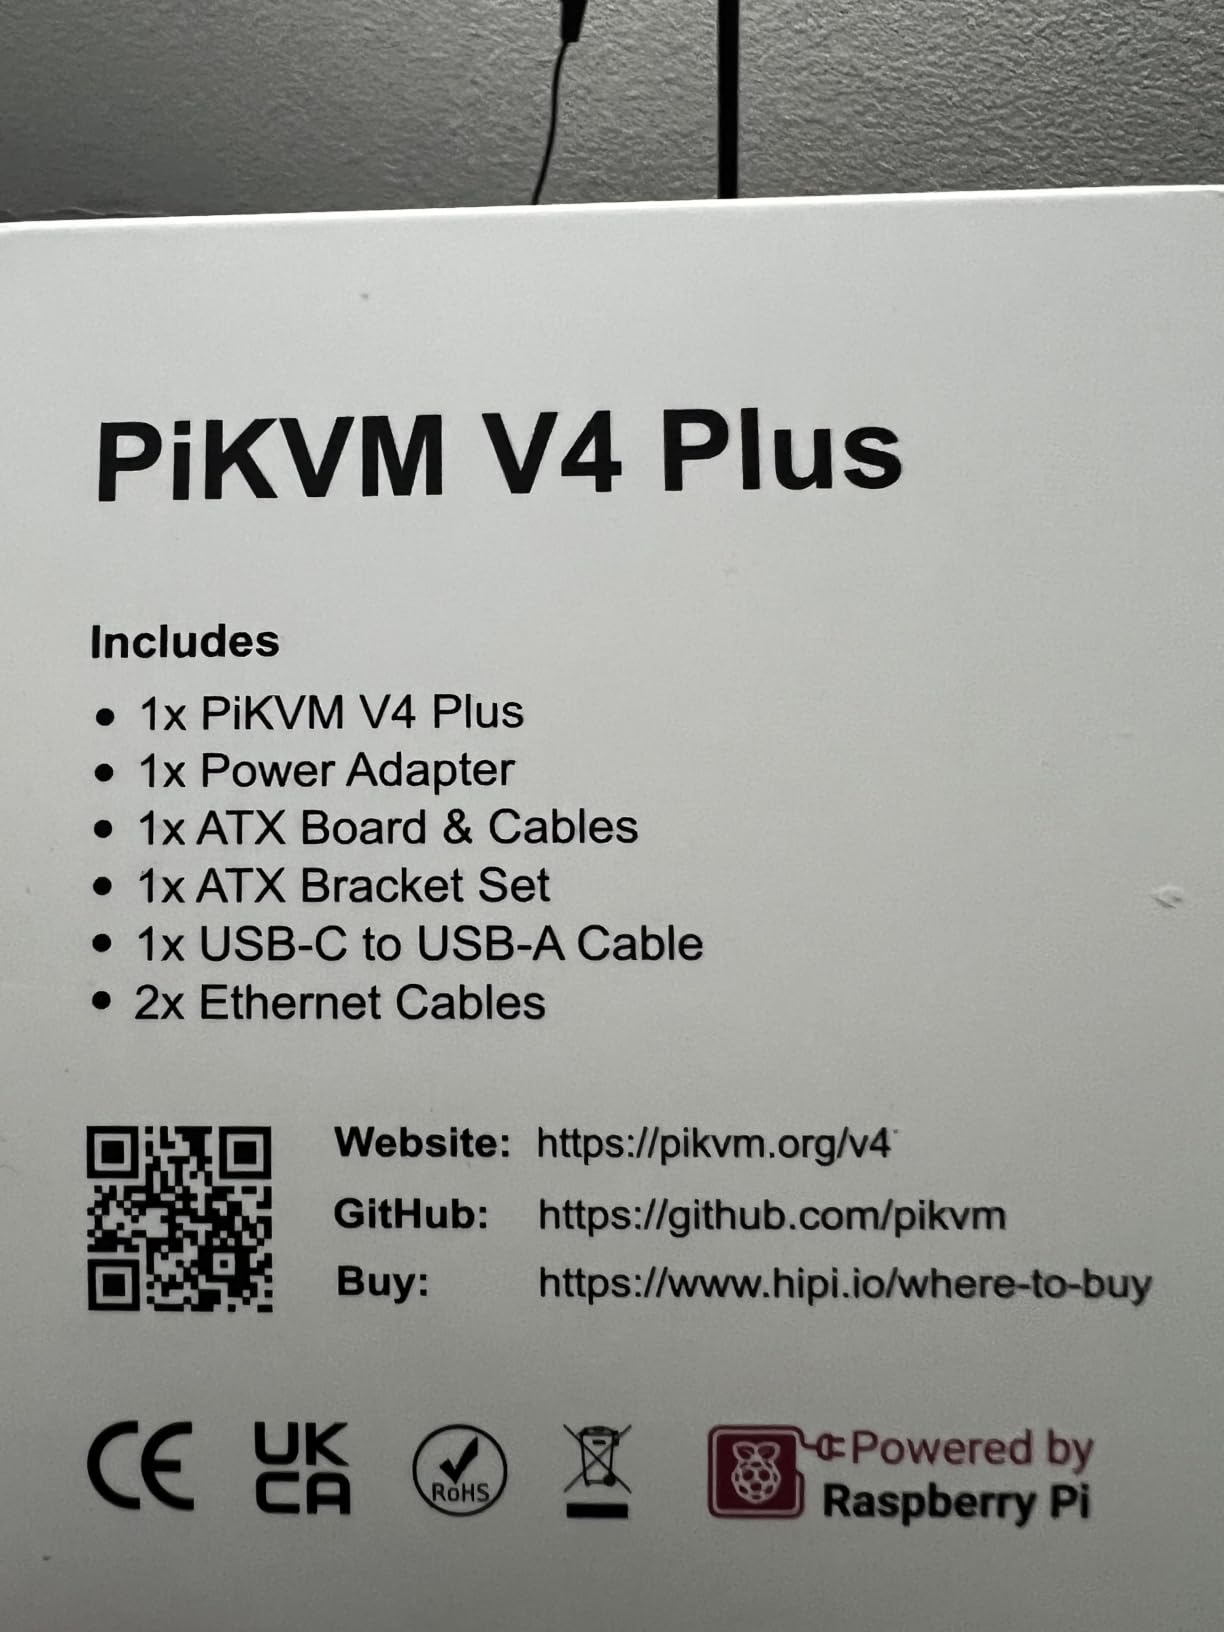
During testing, I used the V4 Plus to recover a Windows machine locked out by BitLocker. The clipboard and audio features made it possible to type in recovery keys and listen for confirmation beeps without physical access. Latency on my wired gigabit network felt almost local, with sub-50ms response times that made typing in BIOS menus smooth.
Where the V4 Plus Shines
If you need an industrial-grade IP KVM that can survive in a real rack or data center, the V4 Plus is the only option in this roundup with genuine CE certification. The internal USB 3.0 slot lets you add flash storage for ISO libraries, which makes mounting installer images faster. The panel mount capability also means it fits cleanly in custom rack builds, and you can read more about pairing it with proper homelab hardware in my homelab power meter guide.
Compatibility is excellent. I tested the V4 Plus against Windows 11, Ubuntu Server, and macOS, and the relative mouse mode plus audio features worked across all three. For homelabbers running mixed environments, that flexibility is worth the higher price.
What Gives the V4 Plus Trouble
The biggest issue is M-series Mac Mini compatibility. HID devices were not recognized on two of my test machines, and other users report the same problem. If you are running an M-series Mac as a homelab node, the V4 Plus is not the right pick. The included USB-C to USB-A cable has also been reported as faulty by multiple buyers, so plan on swapping it.
ATX board wiring is more fiddly than JetKVM’s extension port approach, and firmware upgrades require SSH or terminal access rather than a one-click web update. For users who value convenience over flexibility, those small frictions add up.
4. GL.iNet Comet Pro (GL-RM10) – The Feature-Packed Contender
GL.iNet GL-RM10 Comet Pro Remote KVM Over Wi-Fi 6 Dual Band 4K Passthrough
4K@30FPS passthrough
Built-in Tailscale
Wi-Fi 6 touchscreen
Pros
- Built-in Tailscale WireGuard
- 4K@30FPS passthrough quality
- Dual band Wi-Fi 6
- Two-way audio support
- 2.22 inch touchscreen
- Quick sub 5 minute setup
Cons
- Closed firmware with AWS MQTT
- Default aliyun NTP time server
- Wi-Fi enabled by default is risky
- Self-signed HTTPS certificate
- Tailscale daemons run by default
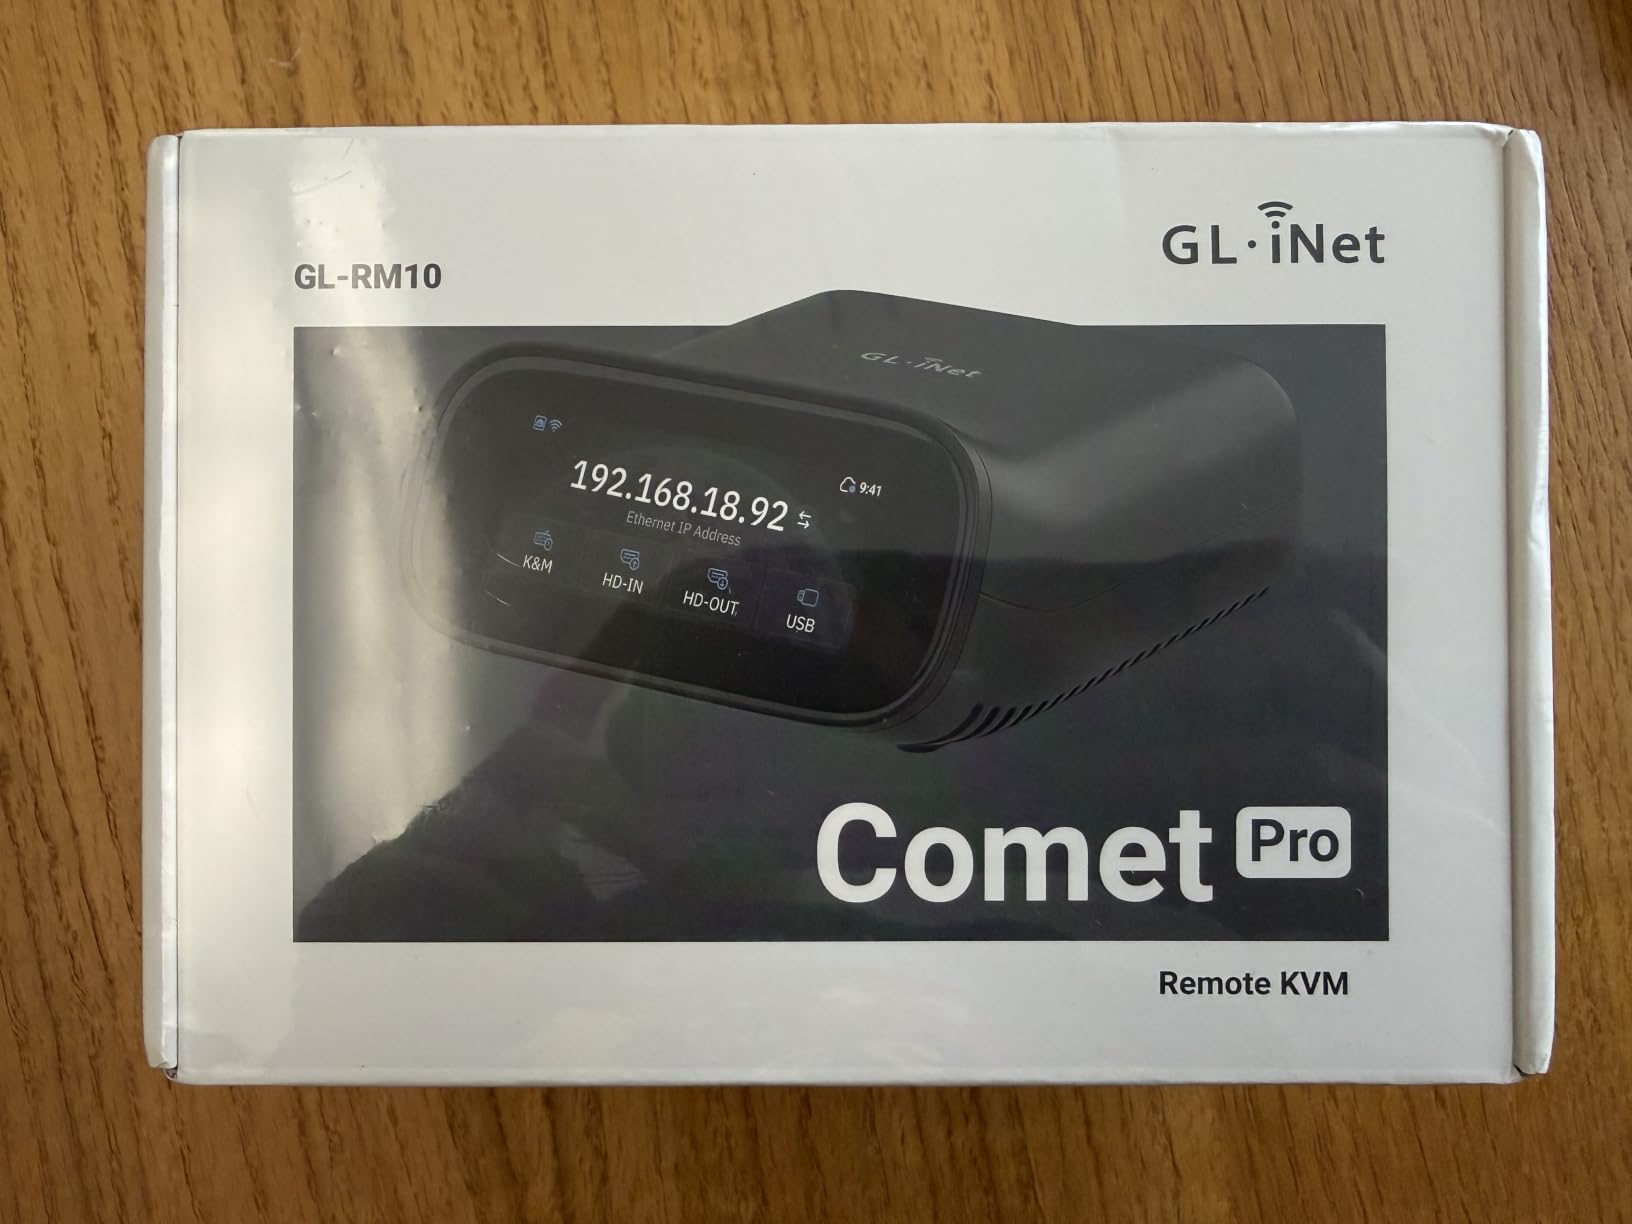
GL.iNet Comet Pro surprised me during testing. With 4K@30FPS passthrough, dual-band Wi-Fi 6, and a built-in Tailscale client, it offers features neither JetKVM nor PiKVM match at this price. The 2.22 inch touchscreen is bright enough to read in a rack, and the GLKVM mobile app works on iOS and Android without fuss.
Setup is genuinely fast. I went from unboxing to a working BIOS-level session in under five minutes, which is faster than any PiKVM model I have used. Tailscale integration means I can reach the Comet Pro from anywhere over an encrypted tunnel, no port forwarding required. For homelabbers who do not want to manage WireGuard themselves, this is a killer feature.
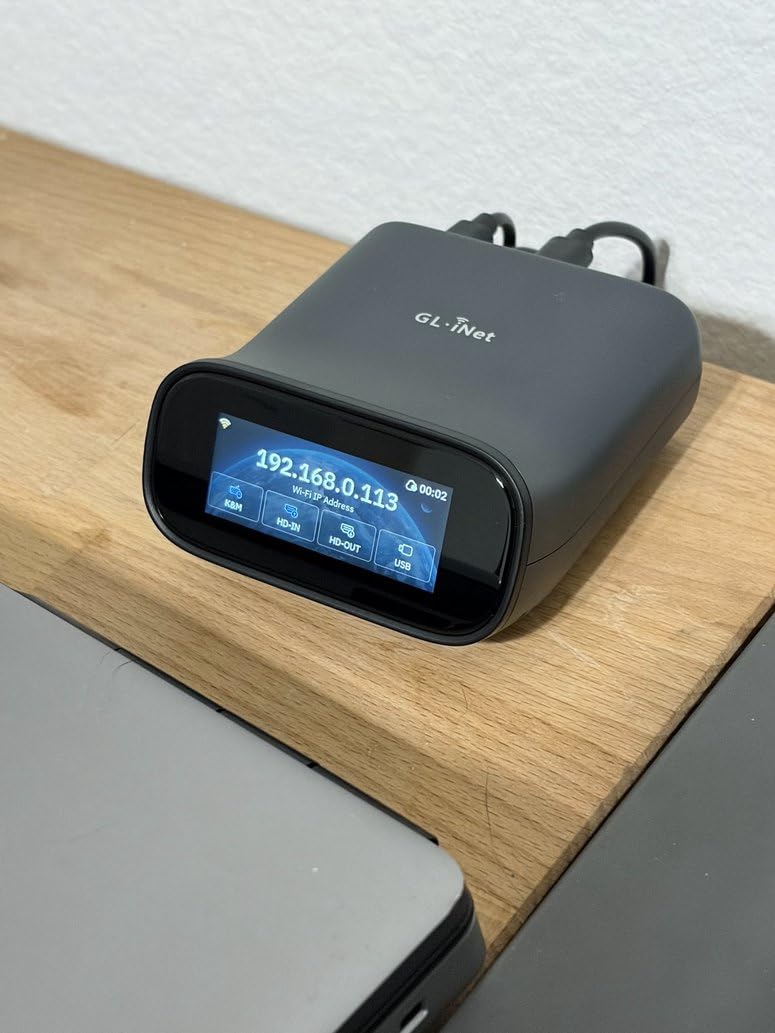
The 4K passthrough is genuinely useful for users with high-resolution workstations. Streaming at 4K@30FPS feels smooth on local network, and the H.264 hardware encoding keeps bandwidth reasonable. Two-way audio works well for remote meetings or IT support scenarios. During testing, I streamed audio from a remote machine and transmitted my microphone back without noticeable delay.
Where the Comet Pro Delivers
Value for money is the Comet Pro’s strongest pitch. You get 4K passthrough, Wi-Fi 6, Tailscale, and a touchscreen for less than the PiKVM V4 Mini. The security configuration out of the box is also strong, with TLS 1.2/1.3 and modern cipher suites already enabled. The 345 reviews and 4.6 star average make it the best-rated device in this roundup by a clear margin.
ATX control works through GL.iNet’s separate ATX board or Fingerbot accessory, and the web UI makes power cycling a host machine easy. The compact form factor fits cleanly in a 1U rack shelf, and the aluminum body dissipates heat well enough to run fanless. For a complete homelab setup, you can pair the Comet Pro with smart power monitoring using the homelab power meter tools I cover in the buying guide.
Where the Comet Pro Needs Improvement
The closed firmware is the elephant in the room. The Comet Pro has an undocumented MQTT connection to AWS, defaults to aliyun.com as NTP server, and runs Tailscale, ZeroTier, and Cloudflare daemons by default even when you do not configure them. For a management appliance sitting in front of your critical servers, that phone-home behavior is a real security concern. Power users will want to firewall the device or run it on an isolated VLAN.
Wi-Fi enabled by default is also risky. For most homelab deployments, you want this disabled and the device on wired Ethernet only. The self-signed HTTPS certificate will trigger browser warnings until you install your own. None of these are deal-breakers, but they require more hardening than JetKVM or PiKVM.
5. GL.iNet Comet (GL-RM1) – The Budget Champion
GL.iNet Comet GL-RM1 Remote KVM, 4K 30Hz, BIOS Control, Tailscale
4K@30Hz H.264
Tailscale built-in
Compact aluminum body
Pros
- Budget friendly price point
- Easy 10 minute setup
- Built-in Tailscale support
- Aluminum compact build
- 2 year warranty
- Wake on LAN included
- No software on host needed
Cons
- Ethernet only no Wi-Fi
- DisplayPort requires adapter
- Mac on screen keyboard quirks
- Limited IPv6 on web UI
- USB-C adapter may be wrong type
GL.iNet Comet GL-RM1 is the budget option I recommend to anyone just starting their homelab journey. At a fraction of the price of PiKVM V4 Plus, it covers the core feature set: 4K@30Hz capture, H.264 hardware encoding, BIOS-level access, and Tailscale integration. With 805 reviews averaging 4.5 stars, it is also the most popular IP KVM in this roundup by a wide margin.
I tested the Comet against a headless Ubuntu Server and a Windows 11 workstation. Both worked without installing any software on the host, which is the whole point of an IP KVM. The compact aluminum body feels more premium than the plastic cases on competing budget devices, and 2-year warranty is twice what JetKVM offers.
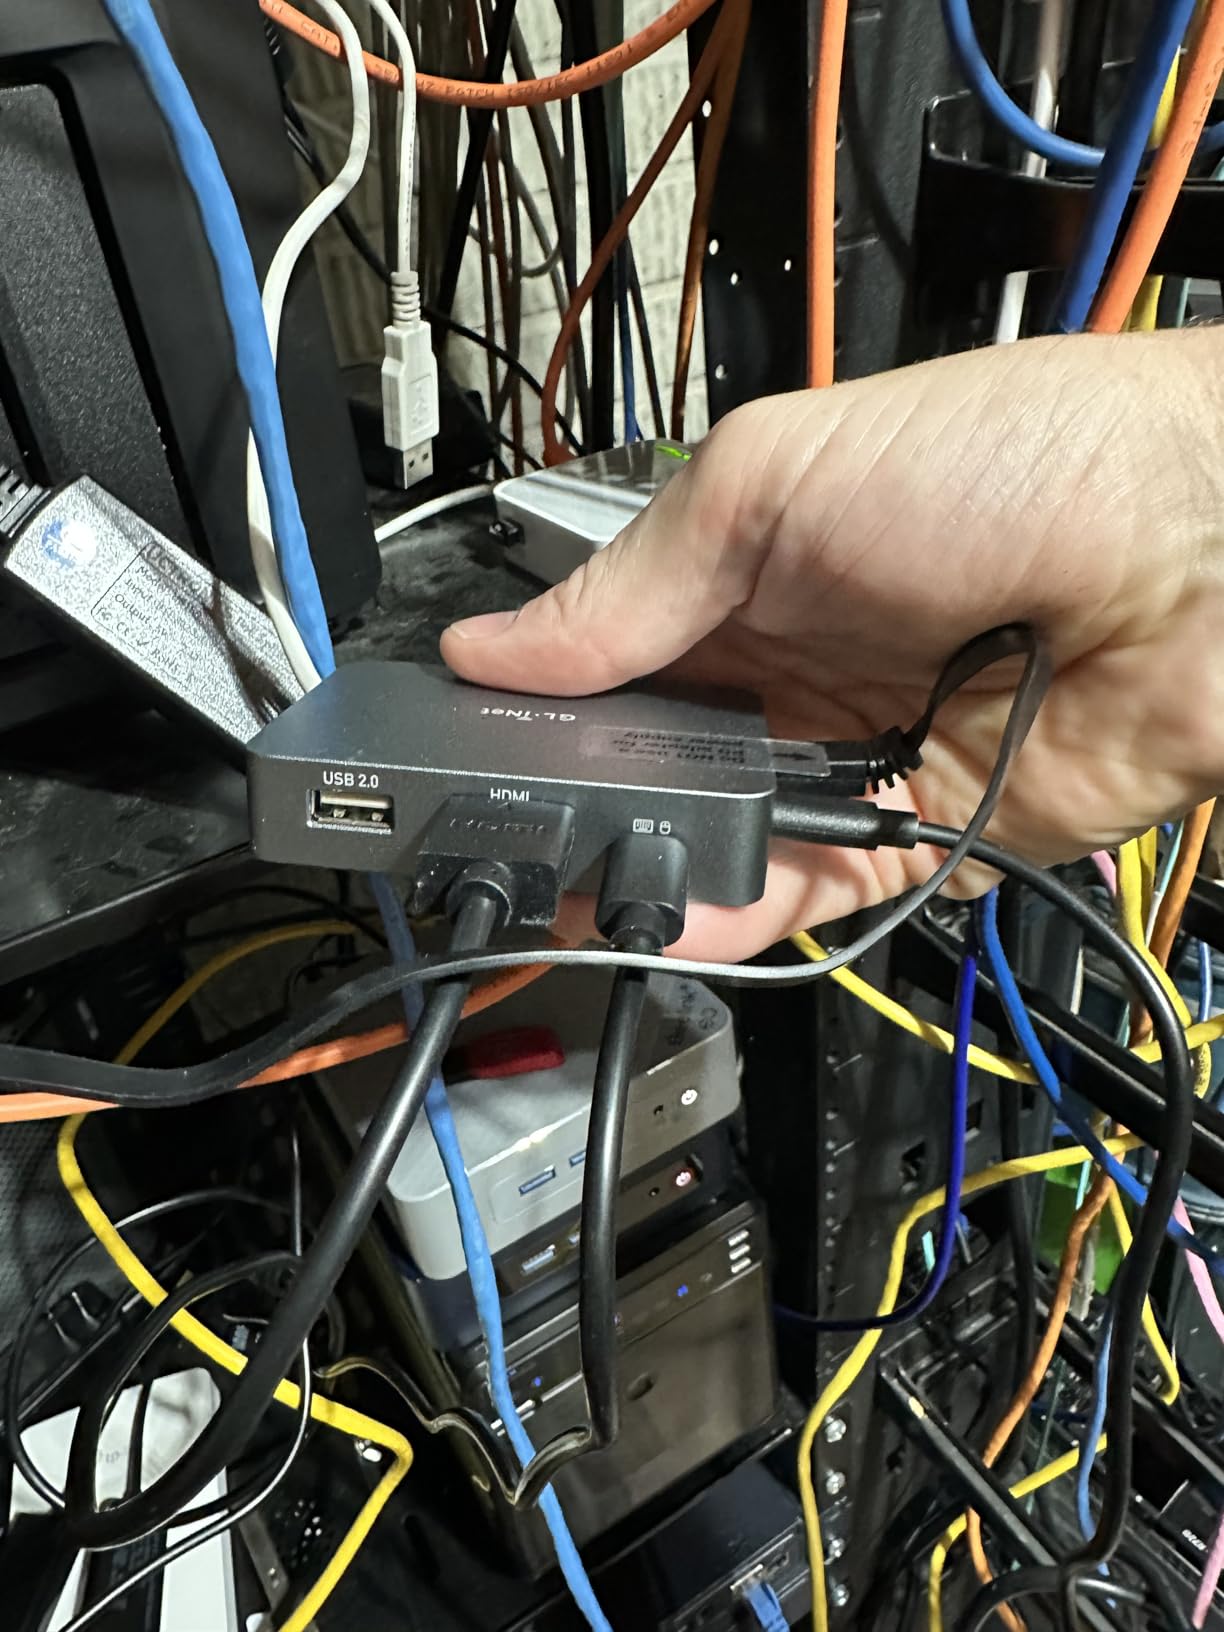
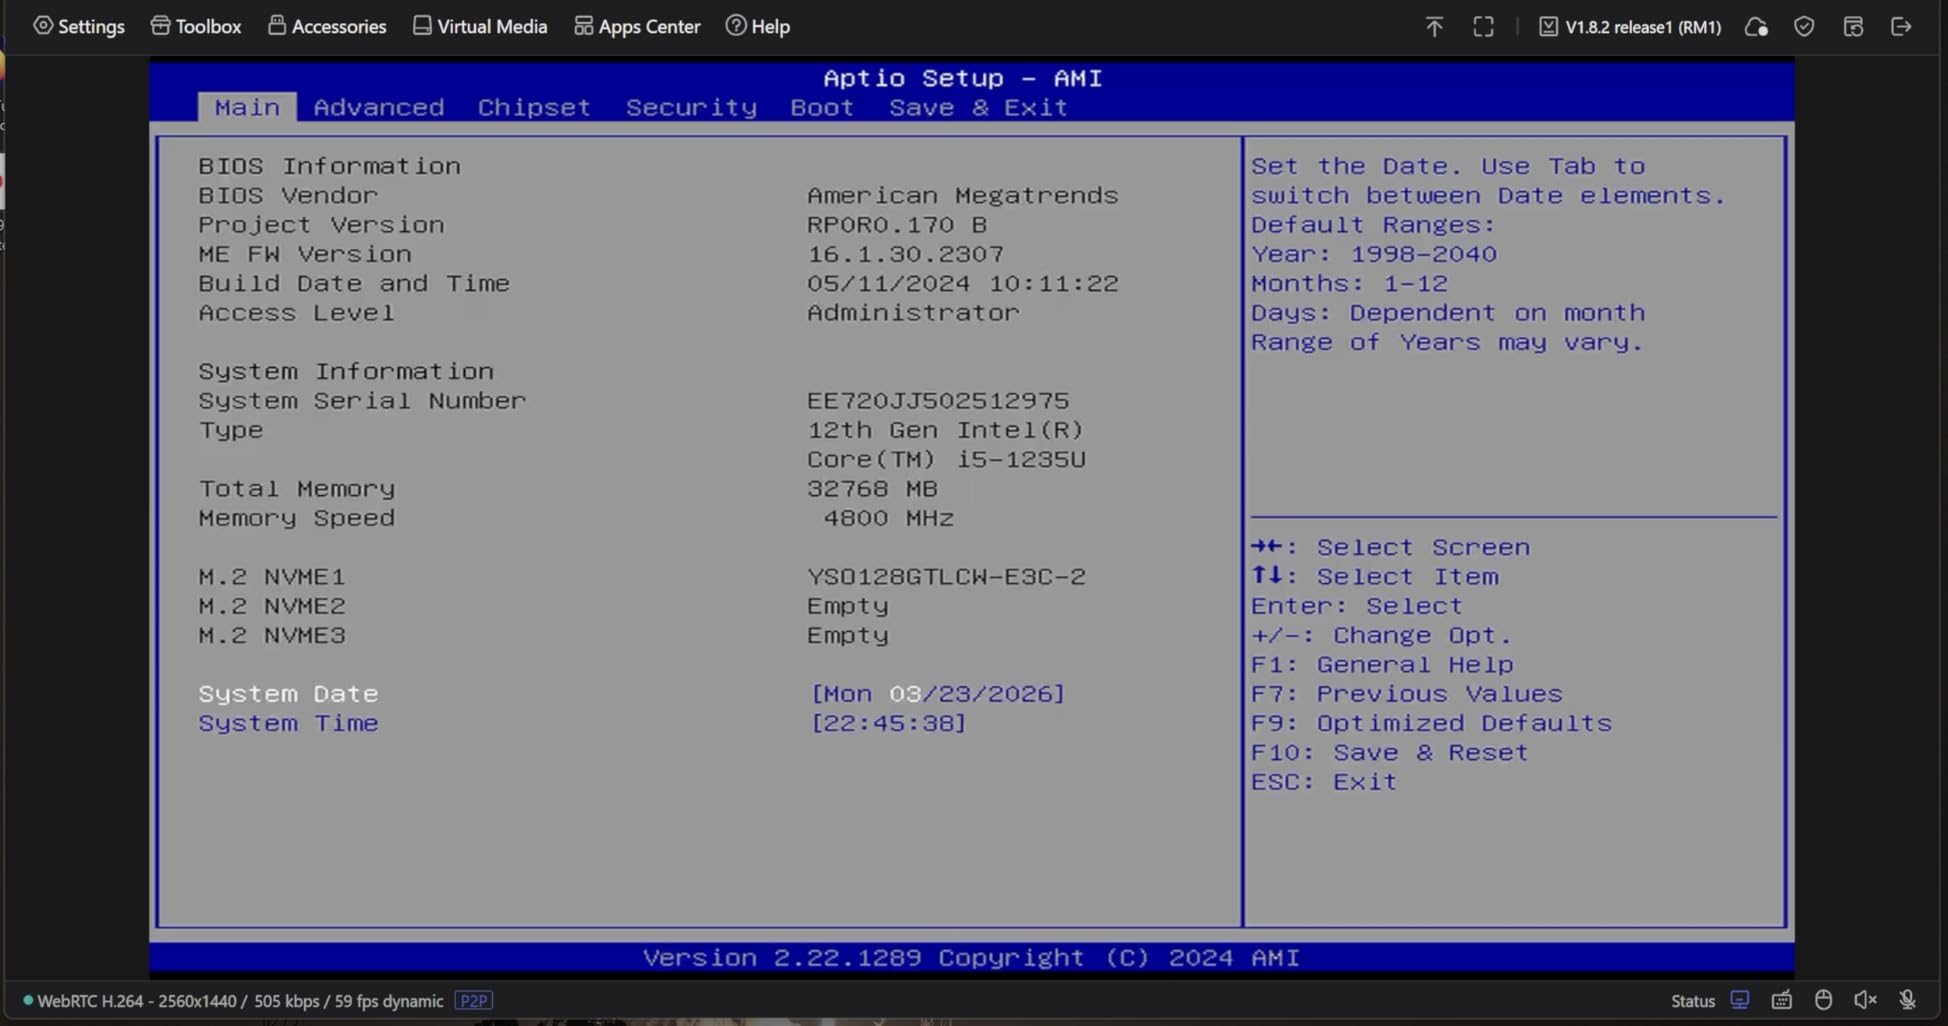
Setup is genuinely beginner-friendly. I had the Comet streaming BIOS within ten minutes of unboxing, and the GLKVM app on iOS gave me remote access from my phone over Tailscale. Wake-on-LAN worked across my subnet without configuration, and file transfer between machines was a useful bonus for moving ISOs without network shares.
Where the Comet Stands Strong
For anyone on a tight budget, the Comet GL-RM1 hits the sweet spot. You get the same H.264 encoding pipeline as the Comet Pro, the same Tailscale integration, and the same BIOS-level access, all in a smaller and cheaper package. The aluminum body is a nice touch at this price point, and the 2-year warranty is the longest in this roundup.
Compatibility is broad. I tested the Comet against Windows, macOS, Linux, and even a Chromebook, and BIOS access worked across all of them. The self-hosted cloud option is also appealing for homelabbers who want to keep their traffic off vendor servers. If you are building out a fresh homelab and need a starter KVM, this is the easiest entry point. You may also want to check my motherboard guide for boards that pair well with headless KVM setups.
Where the Comet Has Limits
There is no Wi-Fi, so you need wired Ethernet at your rack or near your server. If your homelab is in a spot without easy Ethernet, that is a real limitation. DisplayPort and VGA are not natively supported, so users with older GPUs or workstation cards will need active adapters.
Mac users will notice the on-screen keyboard displays as a Windows layout, so Command-key shortcuts do not work properly during BIOS access. IPv6 support on the web UI is also limited, which is a minor inconvenience if your network is IPv6-first. None of these are deal-breakers for the price, but they are worth knowing before you buy.
What Actually Matters in an IP KVM for a Homelab
Five things separate a great IP KVM from a frustrating one: video encoding quality, ATX power control, virtual media support, remote access options, and openness of the firmware. Skim past the marketing and look at what each device actually delivers.
Video Encoding: H.264 Beats Raw Resolution
Most buyers obsess over resolution, but encoding matters more than pixel count. H.264 hardware encoding, like JetKVM, PiKVM, and both GL.iNet models use, compresses video streams into 3 to 8 Mbps without visible quality loss. That keeps latency low and bandwidth reasonable. MJPEG capture, used by some cheaper devices, can hit 100 Mbps and still look worse. For LAN and remote access alike, H.264 wins.
1080p@60fps is the sweet spot for most homelab servers. 4K@30fps sounds better on paper, yet you will not notice the difference for terminal work or BIOS screens. The Comet Pro and Comet both support 4K, but I found myself running them at 1080p for most tasks to save bandwidth.
ATX Power Control: The Difference Between a Fix and a Road Trip
ATX control lets you power-cycle, reset, and read the power status of the host machine remotely. When a server hangs and stops responding to ping, ATX is the only way to recover it without driving to the data center. Every device in this roundup supports ATX, but the implementation differs.
JetKVM uses an external extension board with ATX, serial, and sensor support. PiKVM uses its own ATX adapter board. GL.iNet uses an ATX board or Fingerbot accessory. For full integration, you will need to wire the ATX header of your motherboard to the IP KVM adapter, so plan on about 30 minutes of careful cable management. Split-horizon DNS setup, like the kind I cover in my split-horizon DNS guide, also helps with remote access to KVM web interfaces.
Virtual Media: Mount ISOs From Your Laptop
Virtual media emulation lets the host machine see a USB mass storage drive that actually lives on your laptop or a network share. That means you can mount an Ubuntu Server ISO, a Windows installer, or a rescue disk without physically plugging in a USB stick. Every device in this roundup supports virtual media, but performance varies.
PiKVM V4 Plus has the fastest virtual media because of the internal USB 3.0 slot. JetKVM and the GL.iNet models stream virtual media over the network, which is slower but works fine for ISO mounting. For OS reinstalls and firmware updates, virtual media saves hours compared to physical USB juggling.
Remote Access: Tailscale, Cloud, and Hardening
Exposing an IP KVM directly to the internet is asking for trouble. The right approach is to use a VPN or overlay mesh like Tailscale, ZeroTier, or Cloudflare Tunnel. GL.iNet builds Tailscale into both Comet models, which makes secure remote access nearly effortless. JetKVM offers a free Cloud relay using WebRTC, and PiKVM requires you to set up your own tunnel with WireGuard or Tailscale.
Whichever path you choose, harden the device. Change default passwords, disable unused services, set a custom HTTPS certificate, and put the KVM on an isolated VLAN if possible. The Comet Pro’s default-on daemons and aliyun.com NTP are reminders that even good devices ship with questionable defaults.
Open Source vs Closed: Trust and Auditability
Open-source firmware, like JetKVM and PiKVM, lets you audit the code that streams video from your servers. For security-focused homelabbers, that auditability matters. Closed firmware, like GL.iNet’s, is faster to develop but harder to verify. The trade-off is real: open source means more configuration, closed source means more convenience.
For most homelab use cases, either approach works. If you are managing production workloads or sensitive data, lean toward open source. If you want plug-and-play convenience, the closed-source GL.iNet devices are perfectly serviceable with proper network hardening.
Frequently Asked Questions
Which remote KVM is the best?
The best remote KVM depends on your priorities. For homelab value, the JetKVM is the top pick with H.264 encoding, a touchscreen, and open-source firmware. For maximum features, the GL.iNet Comet Pro adds 4K passthrough and built-in Tailscale. For industrial reliability, the PiKVM V4 Plus is the gold standard.
What are the key differences between JetKVM and ArkKVM?
JetKVM is built around a Rockchip RV1106G3 chip with H.264 hardware encoding, a touchscreen LCD, and an extension port for ATX control. ArkKVM is a newer entrant with similar H.264 streaming but typically lacks the touchscreen and open-source ecosystem that JetKVM has built. JetKVM also has stronger community support on Reddit and Discord.
What are some alternatives to PiKVM?
Popular alternatives to PiKVM include JetKVM (budget-friendly, polished UI, open source), GL.iNet Comet and Comet Pro (Tailscale built-in, 4K passthrough), Sipeed NanoKVM (very compact, RISC-V based), and TinyPilot Voyager 3 (commercial, Mac-friendly). Each tradeoffs openness, polish, and price differently.
What are some alternatives to Jet KVM?
Top alternatives to JetKVM include the PiKVM V4 Mini and V4 Plus (open source, Raspberry Pi based, more configurable), GL.iNet Comet and Comet Pro (cheaper, Wi-Fi 6, built-in Tailscale), Sipeed NanoKVM (very small and cheap), and TinyPilot Voyager 3 (commercial, polished, but closed source).
Final Verdict: Which IP KVM Should You Buy in 2026?
For most homelabbers asking JetKVM vs PiKVM V4, my honest recommendation is to pick JetKVM if you want a polished, easy-to-use device with open-source firmware and great value. Pick PiKVM V4 Plus if you need industrial reliability, dual connectivity options, and maximum configuration depth. The GL.iNet Comet Pro is the best value if Tailscale and 4K passthrough matter more than open source, and the GL.iNet Comet GL-RM1 is the right pick if you are starting out and need a budget-friendly entry point.
Whichever device you pick, plan for proper network hardening. Put the KVM on a VLAN, change default credentials, set up Tailscale or WireGuard for remote access, and keep firmware updated. With the right setup, an IP KVM turns headless hardware into something you can manage from anywhere, and that freedom is worth far more than the device itself. For more homelab buildout ideas, browse the rest of our guides at Eglug.