
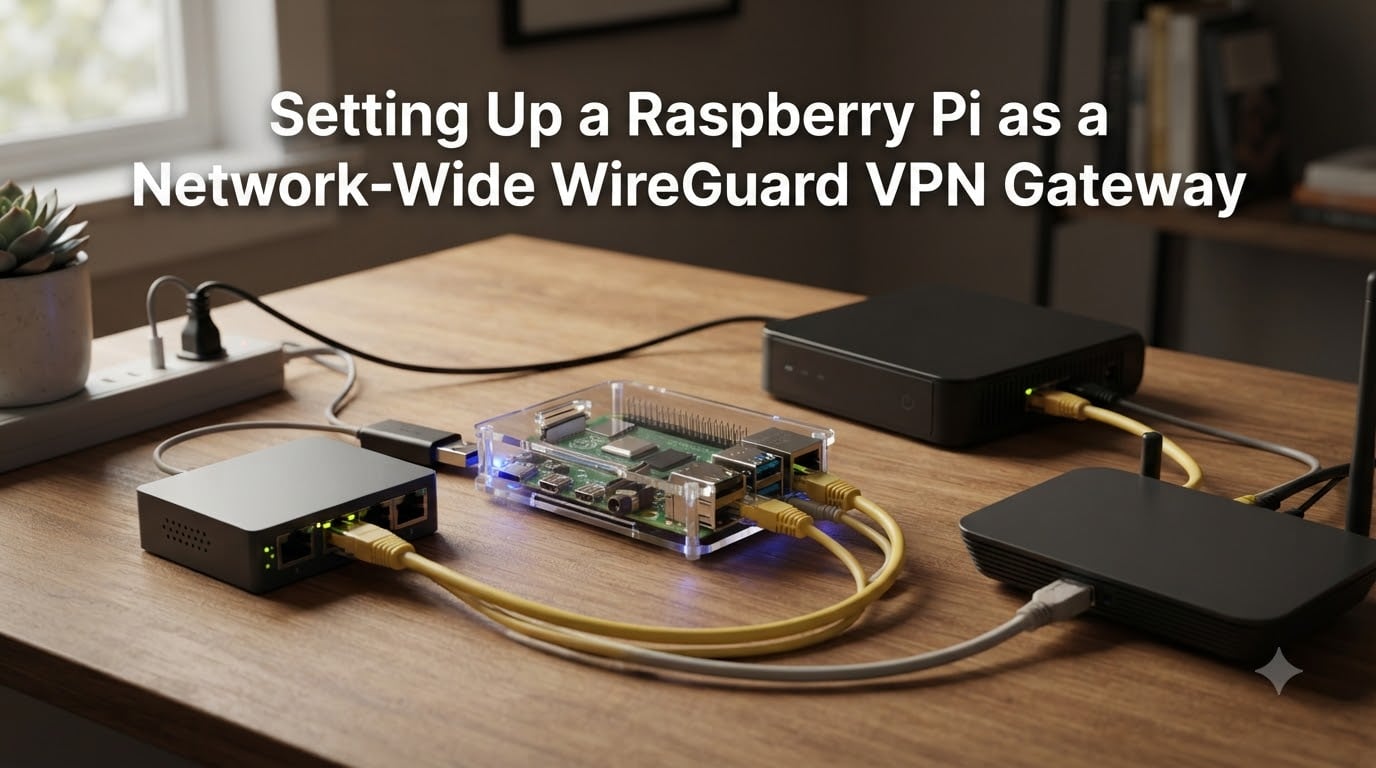
A network-wide VPN gateway sits between your devices and the internet, encrypting every byte of traffic that flows through your home network. Instead of installing a VPN app on each phone, laptop, smart TV, and IoT gadget individually, the gateway handles encryption for all of them at once.
The Raspberry Pi is a natural fit for this role because it is affordable, draws minimal power, and runs Linux out of the box. WireGuard, the protocol we will use, has become the go-to VPN protocol for self-hosters thanks to its small codebase and fast performance.
In this guide, I will walk you through setting up a Raspberry Pi WireGuard VPN gateway from a fresh Raspberry Pi OS install to a fully functioning network-wide VPN. We will cover hardware requirements, WireGuard installation via PiVPN, network interface configuration, IP forwarding, firewall rules, and testing.
By the end, every device on your network can have its traffic routed through an encrypted VPN tunnel without any per-device configuration.
Table of Contents
What You Need: Hardware and Software Requirements?
Setting up a Raspberry Pi as a network-wide VPN gateway requires a Raspberry Pi with at least two network interfaces, a VPN provider or server, and the right software stack. Here is the complete checklist of what you need before starting.
Raspberry Pi Model: Use a Raspberry Pi 4 or Raspberry Pi 5. Both models have Gigabit Ethernet and enough processing power to handle VPN throughput without bottlenecking your connection. Forum users on r/WireGuard and r/pivpn consistently report that Pi 4 and Pi 5 handle VPN traffic easily, even at high speeds.
Two Network Interfaces: This is the single most important hardware requirement for a true gateway. The built-in Ethernet port (eth0) connects to your modem or WAN side, while a USB-to-Ethernet adapter (eth1) connects to your router or LAN switch. Without two interfaces, traffic will not actually route through the Pi as a gateway.
Storage and Power: A 32GB or larger microSD card (A2-rated for reliability) and the official USB-C power supply for your Pi model. A heatsink or small fan helps during sustained VPN traffic.
Software Stack: Raspberry Pi OS Lite (64-bit, Bookworm-based), WireGuard, PiVPN (for simplified setup), dnsmasq (for DHCP on the LAN side), and iptables-persistent (for firewall rule persistence).
How to Install WireGuard on Raspberry Pi with PiVPN
To install WireGuard on a Raspberry Pi, update your system, run the PiVPN installer script, select WireGuard as your protocol, and follow the prompts to generate keys and configuration. PiVPN wraps the entire WireGuard installation into a guided wizard that handles key generation and configuration file creation automatically.
Step 1: Update your system. SSH into your Raspberry Pi or open a terminal and run the following commands to bring everything up to date:
sudo apt update && sudo apt full-upgrade -y
sudo reboot
Step 2: Run the PiVPN installer. PiVPN is a community-maintained script that simplifies WireGuard installation. Run it with:
curl -L https://install.pivpn.io | bashThe installer detects your network configuration and walks you through the setup wizard.
Step 3: Select WireGuard. When prompted, choose WireGuard over OpenVPN. WireGuard is faster, has a smaller codebase, and is easier to configure. Forum users overwhelmingly prefer it for Pi-based VPN setups.
Step 4: Configure the protocol settings. The wizard asks for your DNS provider, the WireGuard port (default 51820 UDP), and the DNS server for VPN clients. Choose a privacy-focused DNS like 1.1.1.1 or 8.8.8.8.
Step 5: Create a client profile. Once installation completes, generate a client configuration with:
pivpn addName the client and PiVPN generates a configuration file and QR code in /home/pi/configs/. You can import this file or scan the QR code on any WireGuard client app.
PiVPN vs Manual WireGuard Setup: PiVPN handles key generation, systemd service creation, and basic firewall rules automatically. A manual WireGuard install gives you more control but requires you to manage wg0.conf, private and public keys, and systemd services yourself. For most users, PiVPN saves time and reduces configuration errors. If you need advanced routing control, a manual install is the way to go.
How to Configure Network Interfaces for the VPN Gateway?
Configuring network interfaces for a VPN gateway means assigning one interface as WAN (internet-facing) and another as LAN (facing your router and devices). The WAN interface gets its IP from your modem, while the LAN interface needs a static IP on your internal network range.
Identify your interfaces. Run ip link show to list all network interfaces. The built-in Ethernet port is usually eth0, and a USB-to-Ethernet adapter typically appears as eth1. Note these names, as you will use them in the configuration.
Set static IPs. On modern Raspberry Pi OS (Bookworm), network configuration is handled by NetworkManager. Assign static IPs using nmcli:
sudo nmcli con add type ethernet ifname eth1 con-name lan-static ipv4.addresses 192.168.2.1/24 ipv4.method manual
sudo nmcli con up lan-static
This gives the LAN interface (eth1) a static IP of 192.168.2.1. Adjust the subnet to match your network planning.
Install and configure dnsmasq. Your LAN interface needs to provide DHCP to connected devices. Install dnsmasq:
sudo apt install dnsmasq -yEdit the configuration file at /etc/dnsmasq.conf:
interface=eth1
dhcp-range=192.168.2.10,192.168.2.100,255.255.255.0,12h
dhcp-option=option:dns-server,192.168.2.1
This tells dnsmasq to hand out IP addresses between .10 and .100 on the LAN interface and set the Pi as the DNS server for connected devices.
Restart the service: sudo systemctl restart dnsmasq
How to Enable IP Forwarding and Configure Routing?
IP forwarding allows the Raspberry Pi to accept packets on one interface and forward them out another. Without it, the Pi drops all transit traffic and cannot function as a gateway. This is the most commonly missed step in VPN gateway setups.
Enable IP forwarding permanently. Edit /etc/sysctl.conf and uncomment or add the following line:
net.ipv4.ip_forward=1Apply the change immediately without rebooting:
sudo sysctl -pVerify it is active. Run cat /proc/sys/net/ipv4/ip_forward. The output should be 1. If you see 0, the setting did not apply.
Configure WireGuard to use the forwarding. Your WireGuard interface (created by PiVPN) needs to route traffic through the VPN tunnel. Check the [Interface] section in your WireGuard configuration, typically at /etc/wireguard/wg0.conf:
[Interface]
Address = 10.6.0.1/24
ListenPort = 51820
PostUp = iptables -A FORWARD -i wg0 -j ACCEPT; iptables -t nat -A POSTROUTING -o eth0 -j MASQUERADE
PostDown = iptables -D FORWARD -i wg0 -j ACCEPT; iptables -t nat -D POSTROUTING -o eth0 -j MASQUERADE
The PostUp and PostDown lines add and remove firewall rules when the tunnel starts and stops. The MASQUERADE rule performs Network Address Translation so traffic from your VPN subnet appears to come from the Pi’s WAN IP.
Understand the traffic flow: A device on your LAN sends a packet to the internet. The packet hits the Pi’s LAN interface (eth1), gets forwarded to the WireGuard interface (wg0), is encrypted and sent through the tunnel to your VPN server, then out to the internet. Return traffic follows the reverse path.
How to Configure Firewall Rules with iptables?
Firewall rules with iptables control how traffic enters, leaves, and passes through your Raspberry Pi gateway. The critical rules are NAT masquerading (so LAN traffic can reach the internet), forwarding rules (to allow transit between interfaces), and input rules (to allow WireGuard’s UDP port).
Many users report on forums that iptables configuration is the most confusing part of the process. The key insight is that you need three types of rules: FORWARD chain rules for transit traffic, NAT rules for masquerading, and INPUT rules for the WireGuard listening port.
Install iptables-persistent. This package saves your rules so they survive reboots:
sudo apt install iptables-persistent -yChoose Yes when asked to save current rules during installation.
Set up NAT masquerading. This rule makes all traffic leaving the WAN interface appear to originate from the Pi’s WAN IP:
sudo iptables -t nat -A POSTROUTING -o eth0 -j MASQUERADEAllow forwarding between interfaces. These rules let traffic flow from LAN to the VPN tunnel and back:
sudo iptables -A FORWARD -i eth1 -o wg0 -j ACCEPT
sudo iptables -A FORWARD -i wg0 -o eth1 -m state --state RELATED,ESTABLISHED -j ACCEPT
The first rule allows new outbound connections from LAN devices through the VPN. The second rule allows return traffic for established connections only, which keeps your network secure.
Allow the WireGuard port. WireGuard listens on UDP port 51820 by default. Open it so remote clients can connect:
sudo iptables -A INPUT -p udp --dport 51820 -j ACCEPTAllow loopback and established traffic:
sudo iptables -A INPUT -i lo -j ACCEPT
sudo iptables -A INPUT -m state --state ESTABLISHED,RELATED -j ACCEPT
Save your rules permanently. After verifying everything works, save the ruleset:
sudo netfilter-persistent saveThis writes the active rules to /etc/iptables/rules.v4, and they will be restored automatically on every boot.
If you make changes later, always run sudo netfilter-persistent save again before rebooting. Otherwise, your changes will be lost.
Testing, Verification, and Auto-Start Configuration
After completing the setup, verify that your VPN gateway works by checking the external IP from a connected device, confirming DNS resolution, and testing failover behavior. Then configure systemd services to auto-start everything on boot.
Test the VPN tunnel. Connect a client device to the WireGuard network using the profile generated by PiVPN. On that device, open a browser and visit a site like ipleak.net or ifconfig.me. The displayed IP address should match your VPN server’s location, not your home ISP.
Verify DNS is working. Run nslookup google.com from a device on the LAN. If it resolves correctly, dnsmasq is forwarding DNS queries through the tunnel as intended.
Check WireGuard status. On the Pi, run sudo wg show to see the active tunnel, connected peers, and data transfer statistics. This command is your go-to diagnostic tool.
Enable auto-start on boot. WireGuard should start automatically via systemd. Verify with:
sudo systemctl enable wg-quick@wg0
sudo systemctl status wg-quick@wg0
If the status shows “active (exited)” or “active (running)”, the service will start on every boot.
Also enable dnsmasq and netfilter-persistent:
sudo systemctl enable dnsmasq
sudo systemctl enable netfilter-persistent
Common troubleshooting issues:
If traffic does not route through the VPN, check that net.ipv4.ip_forward is set to 1 in /proc/sys/net/ipv4/ip_forward. This is the most frequent cause of a non-functional gateway.
If connected devices cannot get IP addresses, verify dnsmasq is running and bound to the correct interface. Check sudo systemctl status dnsmasq and review /etc/dnsmasq.conf.
If the WireGuard tunnel will not start, run sudo wg-quick up wg0 manually to see the error output. The most common cause is a typo in the configuration file or mismatched keys.
If your Pi loses connectivity after a reboot, verify that netfilter-persistent loaded correctly with sudo iptables -L -n. Missing rules after reboot means the save step was skipped.
If DNS queries fail on client devices, confirm that dnsmasq is advertising itself as the DNS server. Test by running dig @192.168.2.1 google.com from a LAN device.
Frequently Asked Questions
How do I set up WireGuard on Raspberry Pi?
Install WireGuard on a Raspberry Pi by updating your system, running the PiVPN installer script (curl -L https://install.pivpn.io | bash), selecting WireGuard as the protocol, and following the wizard prompts to generate keys and client profiles. The entire process takes about 10 minutes.
How do I use Raspberry Pi as a VPN gateway?
To use a Raspberry Pi as a VPN gateway, you need two network interfaces (the built-in Ethernet plus a USB-to-Ethernet adapter), IP forwarding enabled in sysctl, WireGuard installed and configured, iptables firewall rules for NAT and forwarding, and dnsmasq to serve DHCP on the LAN side. The Pi then sits between your modem and router, encrypting all traffic that passes through it.
What are the disadvantages of WireGuard?
WireGuard’s main disadvantages are limited built-in obfuscation (it can be detected and blocked by deep packet inspection), no native dynamic IP assignment for peers (configurations are mostly static), and lack of built-in username and password authentication (it relies solely on cryptographic key pairs). Some VPN providers also have fewer WireGuard server locations compared to OpenVPN.
Is PiVPN discontinued?
No, PiVPN is not discontinued. It remains actively maintained by the community and continues to receive updates. The project supports both WireGuard and OpenVPN, with WireGuard being the recommended protocol for new installations as of 2026.
Conclusion
Setting up a Raspberry Pi WireGuard VPN gateway gives you network-wide encryption for every device without installing individual VPN apps. The process requires two network interfaces, WireGuard via PiVPN, IP forwarding, dnsmasq for DHCP, and a properly configured iptables firewall.
The most critical steps are enabling IP forwarding, getting the iptables NAT and FORWARD rules right, and persisting both your firewall rules and WireGuard service across reboots. If you run into issues, sudo wg show and sudo iptables -L -n are your best diagnostic tools.
Once your gateway is running, consider adding Pi-hole for network-wide ad blocking, configuring DNS-over-TLS for additional privacy, or setting up multiple VPN provider endpoints for failover. The Raspberry Pi platform gives you room to grow your setup well beyond a basic VPN tunnel.