
Getting your development environment right can be tricky. Different projects need different tools, versions, and configurations. Setting up Docker dev containers solves this by packaging everything your code needs to run into isolated, reproducible environments that work the same way for every developer on your team. In this guide, I’ll walk you through setting up dev containers from scratch, covering everything from basic setup to team collaboration best practices.
Table of Contents
- What Are Docker Dev Containers?
- Why Use Dev Containers for Isolated Project Environments?
- Prerequisites for Setting Up Docker Dev Containers
- Setting Up Docker Dev Containers: Step-by-Step Guide
- devcontainer.json Configuration Reference
- Best Practices for Docker Dev Containers in Team Environments
- Common Issues and How to Fix Them
- Frequently Asked Questions
- Conclusion
What Are Docker Dev Containers?
Docker dev containers are lightweight, portable development environments defined as code. Unlike traditional local setups where you install Node.js, Python, databases, and other tools directly on your machine, dev containers package all these dependencies into a Docker container that runs your code. The key difference between dev containers and production containers is their purpose. Production containers are minimal, optimized for running applications. Dev containers include extra tools developers need: debuggers, linters, language servers, and even full IDE extensions.
Think of a dev container as a complete, self-contained workspace. When you open a project with a dev container configuration, VS Code connects to that container instead of your local machine. You’re coding inside Docker, but it feels like you’re working locally. The dev container specification, an open standard maintained by Microsoft and the community, defines how these environments work across different IDEs and platforms. It’s not just a VS Code feature anymore—JetBrains, GitHub Codespaces, and other tools support it too.
Why Use Dev Containers for Isolated Project Environments?
The biggest benefit I’ve seen teams gain is consistency. Every developer gets the exact same environment, regardless of their operating system. The “it works on my machine” problem disappears because the environment is defined in code and versioned alongside your project. Onboarding new developers becomes dramatically faster. Instead of spending half a day installing PostgreSQL, configuring environment variables, and debugging version conflicts, new team members clone the repository, open it in a dev container, and start coding within minutes.
Isolation prevents conflicts between projects. One project might need Node.js 18 while another requires Node.js 20. With dev containers, each project gets its own isolated environment with the exact runtime it needs. Your host machine stays clean. Dependency sprawl—where you accumulate dozens of globally installed packages—becomes a non-issue. Everything lives inside containers. Dev containers also make reproduction of bugs easier. If something breaks, you can rebuild the container from scratch and know you’re working with a clean slate. This is invaluable for debugging environment-specific issues that might take hours to track down otherwise.
Prerequisites for Setting Up Docker Dev Containers
Before diving in, make sure you have Docker Desktop installed and running. On Windows, WSL2 provides the Linux kernel Docker needs—enable it through Docker Desktop settings. On macOS and Linux, Docker runs natively. Verify Docker works by running docker --version in your terminal. Next, install Visual Studio Code. While other IDEs support dev containers, VS Code has the most mature integration. Install the “Dev Containers” extension from Microsoft—this handles the connection between VS Code and your Docker containers.
You’ll also need Git for version control. Some projects use Docker Compose for multi-container setups, so having basic Docker Compose knowledge helps. If you’re on Windows, ensure WSL2 is properly configured and Docker Desktop is set to use the WSL2 backend. This gives significantly better performance than the legacy Hyper-V backend. On Linux, add your user to the docker group to run Docker without sudo. The setup typically takes about 15-20 minutes if you’re starting fresh, faster if you already have Docker installed.
Setting Up Docker Dev Containers: Step-by-Step Guide
Let me walk you through the complete process of creating and configuring dev containers for your project. I’ll cover everything from initial setup to advanced multi-container configurations.
Step 1: Install and Verify Docker
Download Docker Desktop from the official Docker website. On Windows and macOS, the installer handles everything. On Linux, follow your distribution’s package manager instructions. After installation, start Docker Desktop and verify it’s running. Open a terminal and run docker run hello-world. This command pulls a test image and runs it, confirming Docker is properly installed and functioning. If you see a welcome message, you’re ready to proceed.
Check Docker’s resource allocation. Dev containers need sufficient memory and CPU to run smoothly. In Docker Desktop settings, allocate at least 4GB of memory and 2 CPU cores for development work. Adjust based on your project’s needs—Node.js development requires less than heavy Java applications with microservices. Keep Docker Desktop updated. New versions often include performance improvements and bug fixes that make dev containers work better.
Step 2: Install VS Code and the Dev Containers Extension
Download Visual Studio Code from code.visualstudio.com if you haven’t already. Install it using the default settings. Open VS Code and navigate to the Extensions view by pressing Ctrl+Shift+X (Windows/Linux) or Cmd+Shift+X (macOS). Search for “Dev Containers” and install the official Microsoft extension. The extension adds commands for creating, opening, and managing dev containers directly from VS Code’s command palette.
After installing the extension, you’ll see a new “Dev Containers” section in VS Code’s remote explorer. This panel shows all your running containers and lets you manage them. The extension also integrates with VS Code’s status bar, showing when you’re connected to a dev container. Take a moment to review the extension settings. You can configure default Docker paths, volume mounts, and other options. Most projects work fine with defaults, but customizing helps in specific scenarios.
Step 3: Create a devcontainer.json File
Open your project folder in VS Code. Create a .devcontainer directory in your project root. Inside it, create a file named devcontainer.json. This file defines your entire development environment. At minimum, specify a base image and any features you need. Here’s a basic example for a Node.js project:
{
  "name": "My Node Project",
  "image": "mcr.microsoft.com/devcontainers/javascript-node:20",
  "features": {
    "ghcr.io/devcontainers/features/node:1": {}
  },
  "customizations": {
    "vscode": {
      "extensions": ["dbaeumer.vscode-sqlite", "esbenp.prettier-vscode"]
    }
  }
}
The name property identifies your dev container in VS Code. The image property specifies the base Docker image—Microsoft provides pre-built images for common languages. Features add optional tools like Git, Docker-in-Docker, or specific language runtimes. The customizations section lets you specify VS Code extensions that automatically install inside the container. This ensures every developer has the same tools available.
Step 4: Build and Reopen in Container
With your devcontainer.json created, VS Code prompts you to reopen the project in a container. Click “Reopen in Container” when the notification appears. Alternatively, press F1 to open the command palette and select “Dev Containers: Reopen in Container”. VS Code builds the Docker image, starts the container, and connects to it. The first build takes longer because Docker downloads the base image and installs features. Subsequent rebuilds are much faster.
Watch the output panel during the build. It shows download progress and any errors. If the build fails, check the error message—usually it’s a network issue pulling the image or a typo in your configuration. Once connected, VS Code’s status bar shows “Dev Container” and the container name. You’re now working inside Docker. Open a terminal in VS Code—it runs inside the container, not your host machine. Run node --version to verify Node.js is installed and available.
Step 5: Install Extensions and Configure Tools Inside the Container
One of dev containers’ best features is automatic extension management. When you defined extensions in devcontainer.json, VS Code installs them inside the container automatically. These extensions only exist in that container—they don’t clutter your main VS Code installation. Add extensions as you discover needs. Find an extension’s ID by right-clicking it in the Extensions panel and selecting “Copy Extension ID”. Add it to your devcontainer.json’s extensions array.
Configure tools and settings that persist across container rebuilds. VS Code’s settings.json can be mounted into the container, letting you customize editor behavior for the project. Create a .vscode/settings.json in your project and reference it in devcontainer.json. Similarly, you can mount configuration files for other tools like ESLint, Prettier, or your shell. This approach keeps development tooling consistent across your entire team.
Step 6: Add Docker Compose for Multi-Container Setups
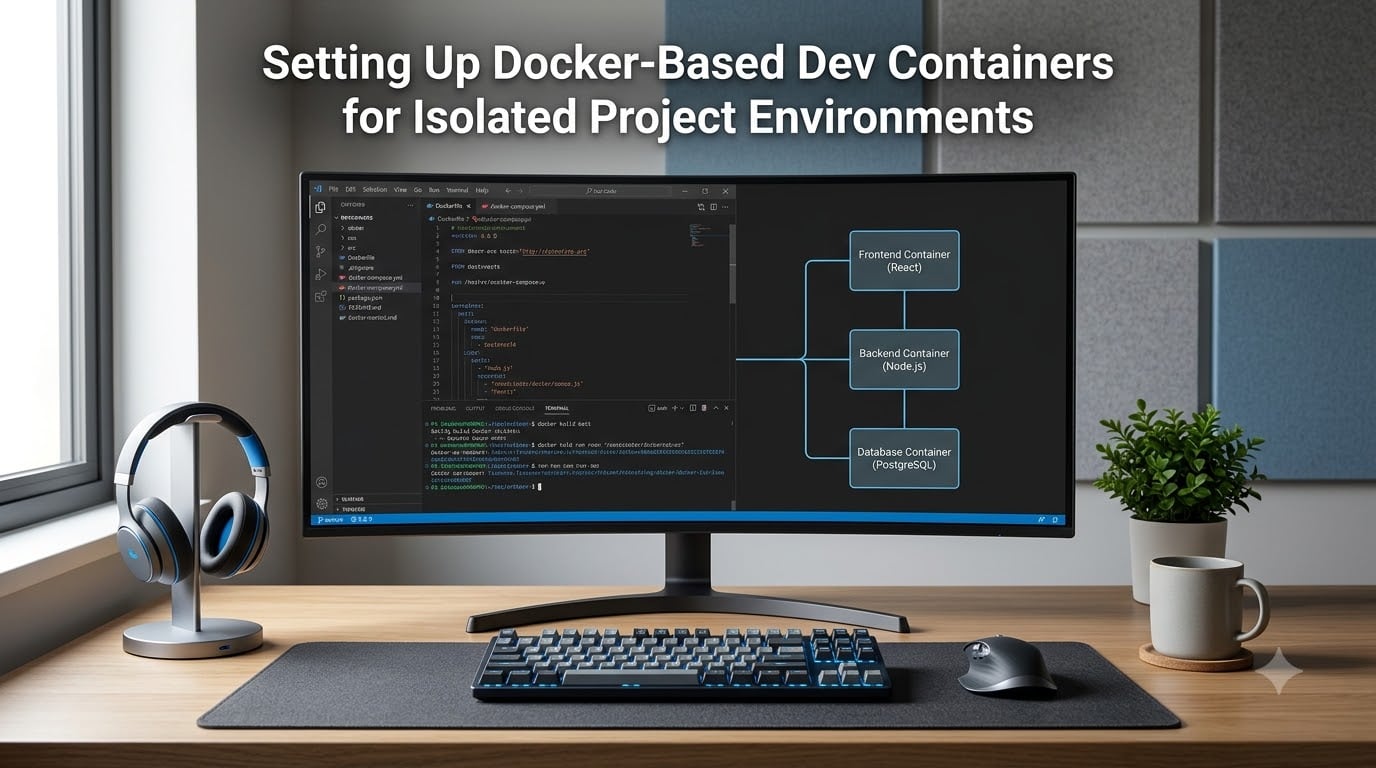
Many projects need more than just a development container. You might need a database, cache, or other services running alongside your code. Docker Compose handles this scenario. Create a docker-compose.yml file in your .devcontainer directory. Define your development container as one service and add additional services for databases or other dependencies. Here’s an example that includes PostgreSQL:
version: '3.8'
services:
  app:
    build:
      context: ..
      dockerfile: .devcontainer/Dockerfile
    volumes:
      - ../..:/workspaces:cached
    command: sleep infinity
    environment:
      DATABASE_URL: postgres://user:pass@db:5432/mydb
  db:
    image: postgres:15
    environment:
      POSTGRES_USER: user
      POSTGRES_PASSWORD: pass
      POSTGRES_DB: mydb
    volumes:
      - postgres-data:/var/lib/postgresql/data
Update your devcontainer.json to use Docker Compose instead of a single image. Replace the image property with "dockerComposeFile": "docker-compose.yml" and specify which service is your development container using "service": "app". This setup gives you a complete development environment with your application and database running together. Your code can connect to the database using the hostname “db” and the credentials you defined.
devcontainer.json Configuration Reference
The devcontainer.json file supports many properties for customizing your environment. The name property provides a human-readable identifier. Use image for a single container or dockerComposeFile for multi-container setups. The build property lets you specify a custom Dockerfile for more control over the container image. Features add development tools without writing custom Dockerfiles. Microsoft’s feature repository includes Git, Docker, Python, Java, and many other common tools.
The customizations property configures IDE-specific settings. For VS Code, you can specify extensions, settings, and even which port forwarding rules to apply. Mounts add volume bindings, letting you share files between your host and container or persist specific directories. The forwardPorts property exposes container ports to your host machine, making it easy to test web applications. Use lifecycle hooks like postCreateCommand to run scripts after the container builds. This is useful for installing dependencies or running setup scripts.
Best Practices for Docker Dev Containers in Team Environments
Version control your devcontainer.json and any Dockerfiles. This ensures everyone works with the same environment definition. When updating the container configuration, commit and push changes so teammates get them on their next pull. Avoid installing tools manually inside the container. If you need something, add it to the devcontainer.json or Dockerfile. This keeps the environment reproducible and documented. Use Docker’s layer caching wisely. Order your Dockerfile instructions to maximize cache hits—put frequently changing instructions at the end.
Optimize container size for faster builds. Use slim base images like node:slim instead of node:latest. Multi-stage builds reduce final image size by separating build dependencies from runtime requirements. Set resource limits in your Docker Compose file to prevent containers from consuming all available memory or CPU. This is especially important when running multiple services. Use named volumes for persistent data like databases. This prevents data loss when rebuilding containers and makes backups easier.
For team workflows, establish conventions for updating the dev container. When someone needs a new tool or extension, they update the configuration file and create a pull request. This gives teammates a chance to review changes before they affect everyone. Document any manual setup steps that can’t be automated in a README file. Include instructions for rebuilding the container when configuration changes. Consider using a devcontainer.json template across projects to standardize your team’s development environment approach.
Common Issues and How to Fix Them
Container builds fail most often due to network issues or typos in configuration. Check the output panel for specific error messages. If Docker can’t pull an image, verify your network connection and try again. For private images, ensure you’re logged into the appropriate container registry. Slow performance inside containers usually stems from insufficient resource allocation. Increase Docker’s memory and CPU limits, especially for heavy development workloads. On Windows and macOS, ensure Docker Desktop uses the recommended backend—WSL2 on Windows, and the default virtualization on macOS.
Extensions not installing correctly is another common problem. Check that extension IDs in your devcontainer.json match the exact IDs from the VS Code marketplace. Some extensions require additional dependencies inside the container. Read the extension documentation for any special requirements. Port forwarding issues often occur when multiple containers try to use the same port. Use different ports for each service or let VS Code assign random ports automatically. If files aren’t syncing correctly, check your volume mounts in devcontainer.json for typos or incorrect paths.
Frequently Asked Questions
What are Docker dev containers?
Docker dev containers are development environments defined as code. They package your project’s dependencies, tools, and configurations into a Docker container that provides a consistent, isolated workspace for coding. Unlike production containers, dev containers include development tools like debuggers, linters, and IDE extensions.
Do dev containers slow down development?
There’s an initial performance overhead when building containers, but once running, dev containers perform nearly as well as local development. Proper resource allocation and using optimized base images minimize any slowdown. Many teams find the consistency and reliability benefits outweigh the slight performance cost.
Can I use dev containers without VS Code?
Yes. While VS Code has the best integration, dev containers work with JetBrains IDEs, GitHub Codespaces, and other tools that support the dev container specification. The configuration format is standardized, so your devcontainer.json works across different editors.
How much disk space do dev containers need?
Disk usage depends on your base image and installed tools. A basic Node.js dev container uses around 1-2 GB. More complex setups with databases and multiple services can require 5-10 GB. Docker shares layers between containers, so running multiple projects doesn’t multiply storage needs linearly.
Are dev containers the same as Docker Compose?
No. Docker Compose orchestrates multiple containers for running applications. Dev containers use Docker Compose as one option for defining development environments, but dev containers specifically focus on providing a workspace for coding, including IDE integration and development tools.
Conclusion
Setting up Docker dev containers transforms how your team approaches development environments. By defining everything in code, you eliminate environment drift, speed up onboarding, and create reproducible workspaces that work identically for every developer. The initial setup investment pays off quickly in reduced debugging time and smoother collaboration. Start with a simple devcontainer.json for one project, then expand to more complex multi-container setups as you get comfortable. The dev container specification continues to evolve, with better tooling and broader IDE support arriving regularly. Now is the perfect time to adopt dev containers and bring consistency to your isolated project environments.